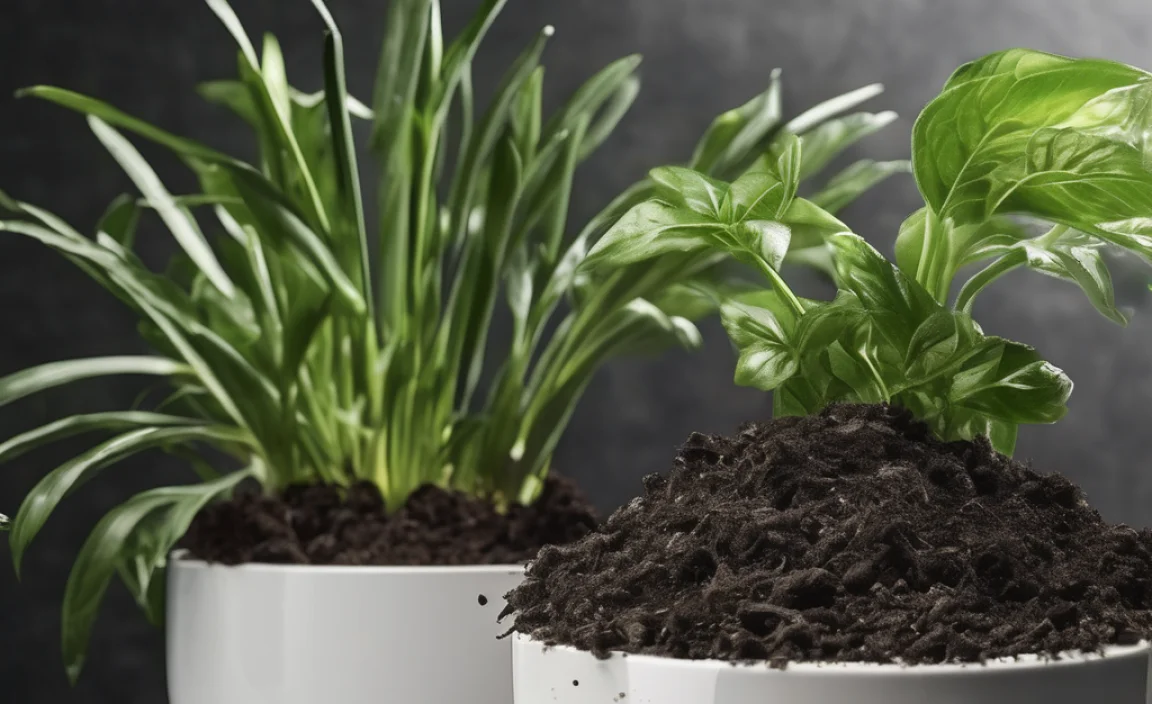
Got wilting houseplants? Yellowing leaves got you down? Don’t toss that sad-looking plant just yet! There’s a simple, earthy secret to reviving your green buddies: compost. It might sound like something for the big garden outside, but compost is a powerhouse for your indoor jungle too. It’s like a superfood for your plants, packed with goodness. We’ll show you exactly how to use it, making your plants happier and healthier in no time. Ready to get your hands a little dirty and watch your plants thrive? Let’s dive in!
Composting for Your Indoor Oasis: A Simple Guide
Hey there, plant pals! Troy D Harn here from TopChooser. I know sometimes diving into gardening can feel like learning a new language, especially when it comes to all the special terms and fancy fertilizers. But what if I told you one of the best ingredients for happy, healthy houseplants is something you might already have, or can easily make yourself? Yep, I’m talking about compost!
Many people think of compost as just for big outdoor gardens, but it’s a game-changer for your indoor plants too. It’s natural, it’s full of nutrients, and it’s fantastic for improving the soil your beloved plants call home. Think of it as a gentle, all-natural boost that your houseplants will absolutely love. Forget those chemical sprays and pricey feeds; compost is the way to go for reliable, sustainable plant care.
This guide is designed to be super straightforward. We’ll break down exactly what compost is, why your indoor plants need it, and most importantly, how to use it correctly without any fuss. Even if you’ve never touched a bag of potting soil before, you can master this. We’ll keep it simple, practical, and focused on getting great results. So, let’s get your indoor plants the nutrients they deserve!
What Exactly is Compost?
Before we start spooning it into pots, let’s quickly chat about what compost actually is. In the simplest terms, compost is decomposed organic matter. Think of kitchen scraps, yard waste – all that natural stuff that breaks down over time. It’s nature’s way of recycling!
When organic materials like fruit peels, coffee grounds, eggshells, leaves, and grass clippings are left to break down, they transform into a dark, crumbly, nutrient-rich material. This isn’t just dirt; it’s a living, breathing soil amendment teeming with beneficial microbes, fungi, and earthworms (if you’re doing vermicomposting, which we’ll touch on later!). It’s basically the earth’s version of a multivitamin.
The magic of compost lies in its ability to:
- Replenish Nutrients: It slowly releases essential nutrients that plants need to grow strong and healthy.
- Improve Soil Structure: It helps sandy soils retain moisture and nutrients, and loosens up heavy clay soils, making it easier for roots to grow and breathe.
- Boost Healthy Microbes: A healthy soil ecosystem means a healthier plant.
For indoor plants, using compost means giving them a natural, gentle, and incredibly effective food source without the harsh chemicals that can sometimes shock delicate roots.
Why Your Indoor Plants Will Thank You for Compost
So, why go the extra mile for your potted pals? Well, indoor plants live in a confined space – their pots. Over time, the nutrients in their potting soil get used up. It’s like eating the same thing day after day; eventually, you crave variety and the nutrients from different foods. Compost provides that essential variety and replenishment.
Here are some super-powered reasons your indoor plants will love compost:
- Slow-Release Nutrients: Unlike quick-release synthetic fertilizers that can burn roots if overused, compost feeds your plants gradually. This means consistent, steady growth and fewer nutrient deficiencies showing up as yellow leaves or stunted growth.
- Better Water Retention: Indoor potting mixes can sometimes dry out quickly. Compost acts like a sponge, helping the soil hold onto moisture for longer. This is a lifesaver, especially if you sometimes forget to water or live in a dry climate.
- Improved Aeration: Healthy roots need oxygen! Compost helps break up compacted soil, allowing air to reach the roots. This prevents root rot, a common problem for houseplants.
- pH Buffering: Compost can help balance the soil’s pH level, making it easier for plants to absorb the nutrients available.
- Disease Suppression: The beneficial microbes in compost can actually help protect your plants from soil-borne diseases. It’s like giving your plant a tiny, natural immune system boost!
Essentially, compost helps create a more stable, forgiving, and nutrient-rich environment for your houseplants, leading to lusher leaves, stronger stems, and more resilient plants overall.
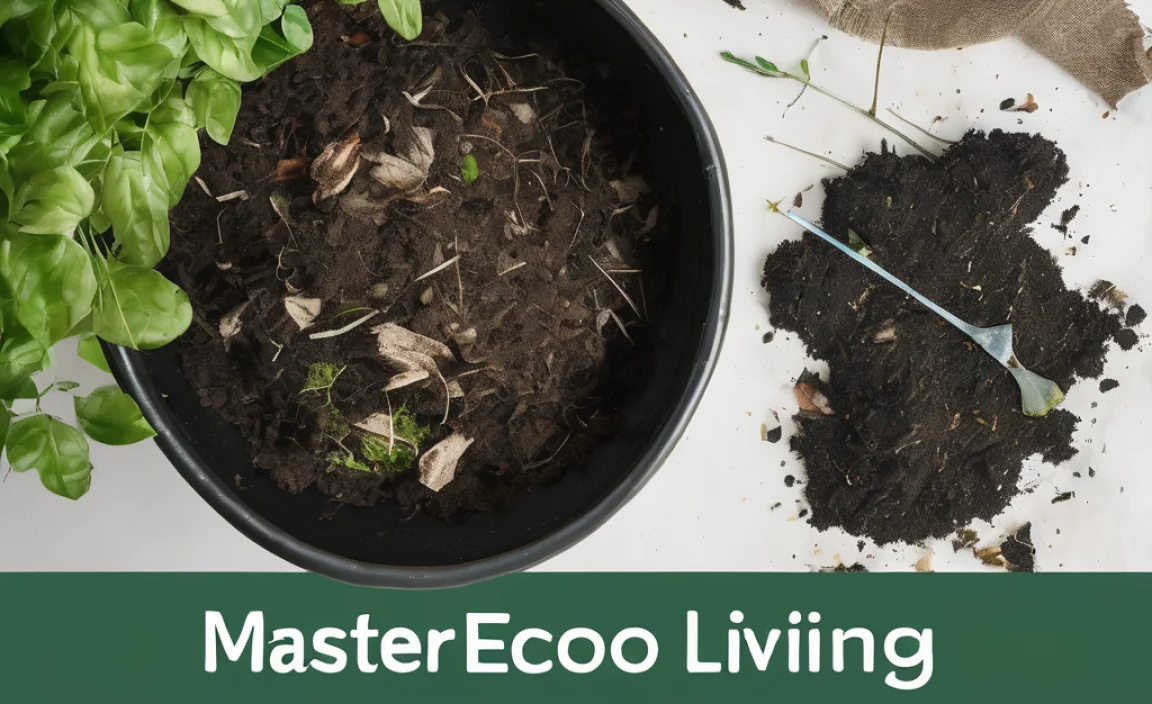
Types of Compost for Indoor Use
When we talk about compost for indoor plants, not all compost is created equal. You want something that’s well-finished, relatively fine, and free of pests or strong odors. Here are the most common types you’ll encounter:
Worm Castings (Vermicompost)
This is arguably the gold standard for indoor plants. Worm castings are the excrement of earthworms, and they are absolutely packed with nutrients in a form that plants can easily absorb. They are also incredibly rich in beneficial microbes and have a neutral pH. Worm castings are lightweight, odorless, and help massively with soil aeration.
Where to get it: You can buy worm castings online or at garden centers. Or, if you’re feeling adventurous, you can start your own worm bin!
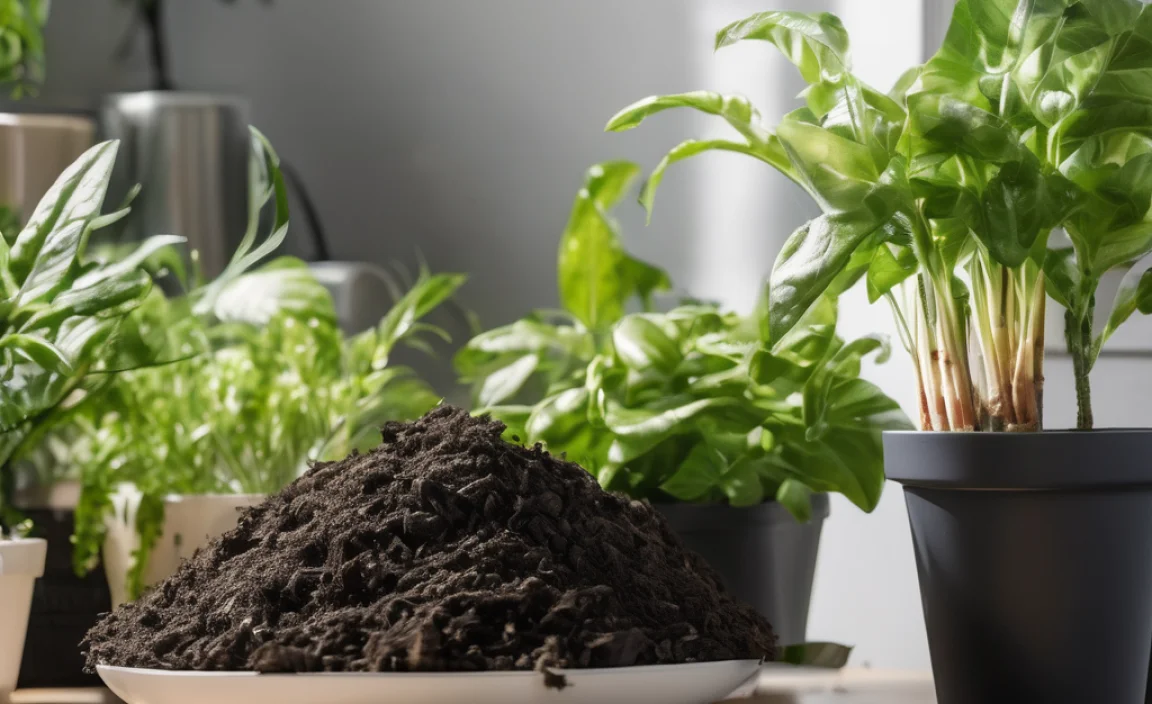
Finished Compost (Well-Aged)
This refers to compost made from a mix of kitchen scraps, yard waste, and other organic materials that has gone through the full decomposition process. The key here is “finished” or “well-aged.” This means it should look dark brown, crumbly, smell earthy (like a forest floor), and contain no recognizable food scraps. Immature compost can be acidic, contain pathogens, or smell unpleasant, which you definitely don’t want indoors!
What to look for: Make sure it’s finely screened and has no weed seeds or pathogens. Store-bought bagged compost often fits this bill, but always check the packaging.
Mushroom Compost
This is the material left over after mushrooms have been grown. It’s usually a blend of straw, peat moss, and other organic matter that has been pasteurized. Mushroom compost is nutrient-rich and can improve soil structure. However, it can sometimes be quite alkaline, so it’s best used in moderation or mixed with other ingredients, especially for acid-loving plants. It also has a distinctive smell that some people find strong.
Compost Tea
This isn’t compost itself, but a liquid fertilizer made by steeping compost (especially worm castings) in water, often with the help of aeration. Compost tea is a fantastic way to deliver readily available nutrients and beneficial microbes directly to your plant’s roots and leaves. It’s a great way to give plants a quick, natural boost.
Important Note on Store-Bought Bagged Compost: Many bagged “potting soils” or “garden soils” contain compost. However, always check the ingredient list. Some may have larger chunks or less refined compost. Ideally, for indoor use, you want something finely sifted and specifically formulated for containers if you’re buying a potting mix with compost.
How to Use Compost for Your Indoor Plants: The Step-by-Step Genius Guide
Alright, now for the part you’ve been waiting for! Using compost for your indoor plants is not complicated. We’ll cover a few different methods, from a simple top-dress to incorporating it into your regular potting mix.
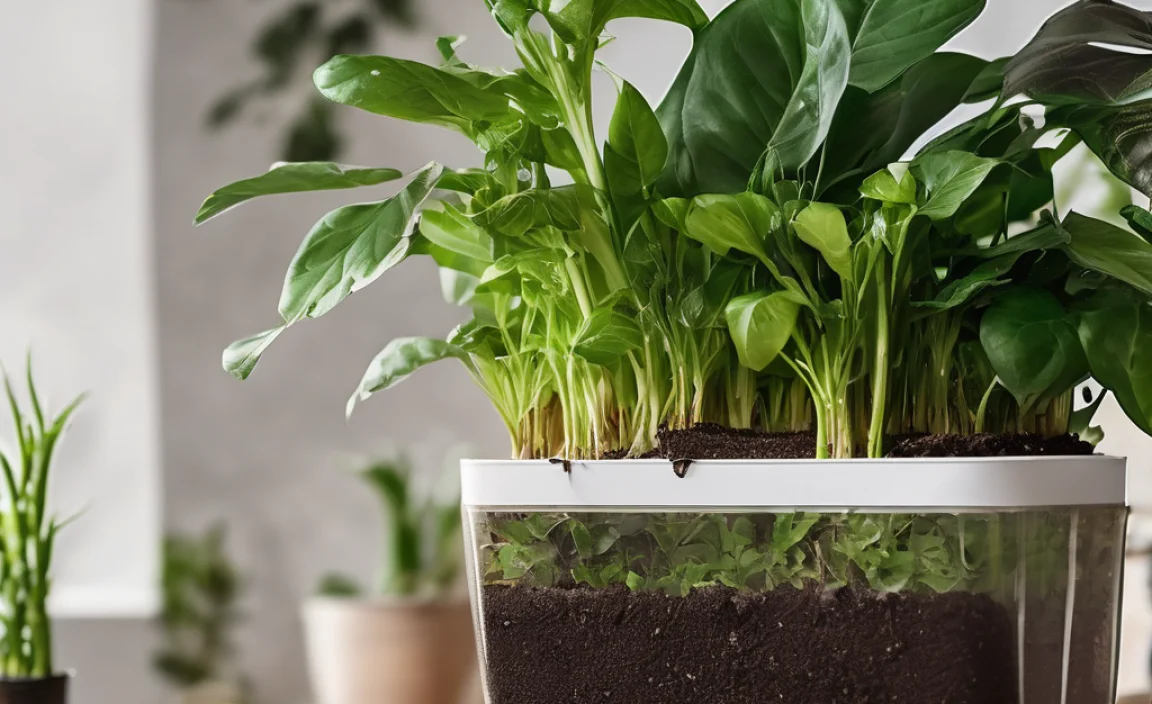
Method 1: The Easy Top-Dress (Best for Established Plants)
This is the simplest way to add a nutrient boost. It’s perfect for when you don’t want to repot but want to give your plant some extra goodness.
- Gather Your Tools: Well-finished compost (worm castings are ideal for this), a small trowel or spoon.
- Assess Your Plant: Make sure your plant is healthy and the soil is slightly moist, not bone dry or waterlogged.
- Apply the Compost: Gently sprinkle a thin layer (about 1/4 to 1/2 inch) of compost over the top of the soil, leaving a small gap from the plant’s stem.
- Water Gently: Water your plant as usual. The water will help the nutrients from the compost leach down into the root zone.
- Frequency: You can do this every 3-6 months, or twice a year.
Troy’s Tip: This method is great for busy folks. Just a little bit of compost on top gives a nice, gradual feeding. It’s also excellent for houseplants that tend to be a bit fussy about root disturbance.
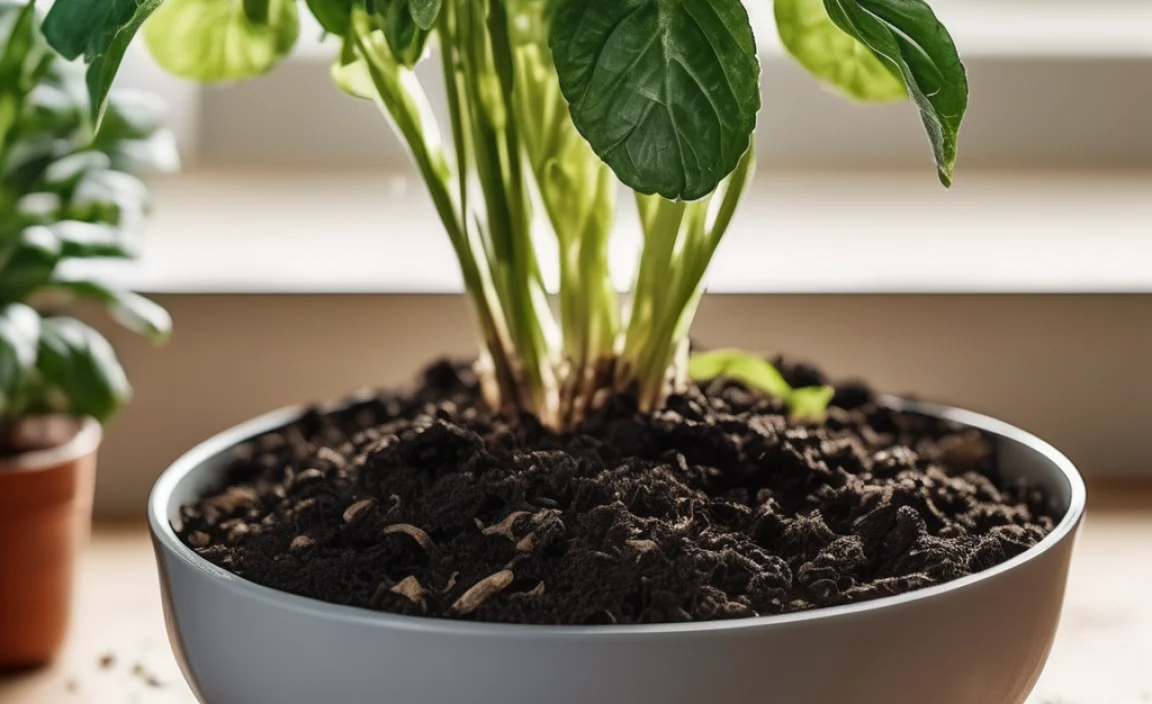
Method 2: Mixing Compost into New Potting Soil
When you’re repotting a plant or starting a new one, this is the best way to ensure it has a nutrient-rich foundation from the start.
- Gather Your Supplies: Your chosen indoor plant, a clean pot, fresh potting mix, well-finished compost (worm castings or fine, finished compost), optional: perlite for drainage.
- Create Your Mix: The most common ratio is 3 parts potting mix to 1 part compost. For example, if you’re using 3 cups of potting mix, add 1 cup of compost. If you’re using worm castings, you can use a higher ratio, like 4 parts potting mix to 1 part worm castings, or even a 1:1 ratio for very hungry plants.
- Add Drainage (Optional but Recommended): For many houseplants, adding a bit of perlite (about 1/4 of the mix) is a good idea to ensure good drainage. So, it could be 2 parts potting mix, 1 part compost, 1 part perlite.
- Mix Thoroughly: In a separate tub or on a tarp, thoroughly mix the potting soil, compost, and perlite until everything is evenly distributed.
- Pot Your Plant: Fill your pot with the new soil mix, plant your new plant or repot your existing one, and water thoroughly.
Troy’s Tip: This method ensures your plant gets a balanced diet and excellent soil structure right from the start. It’s more work upfront but pays off with healthier, happier plants.
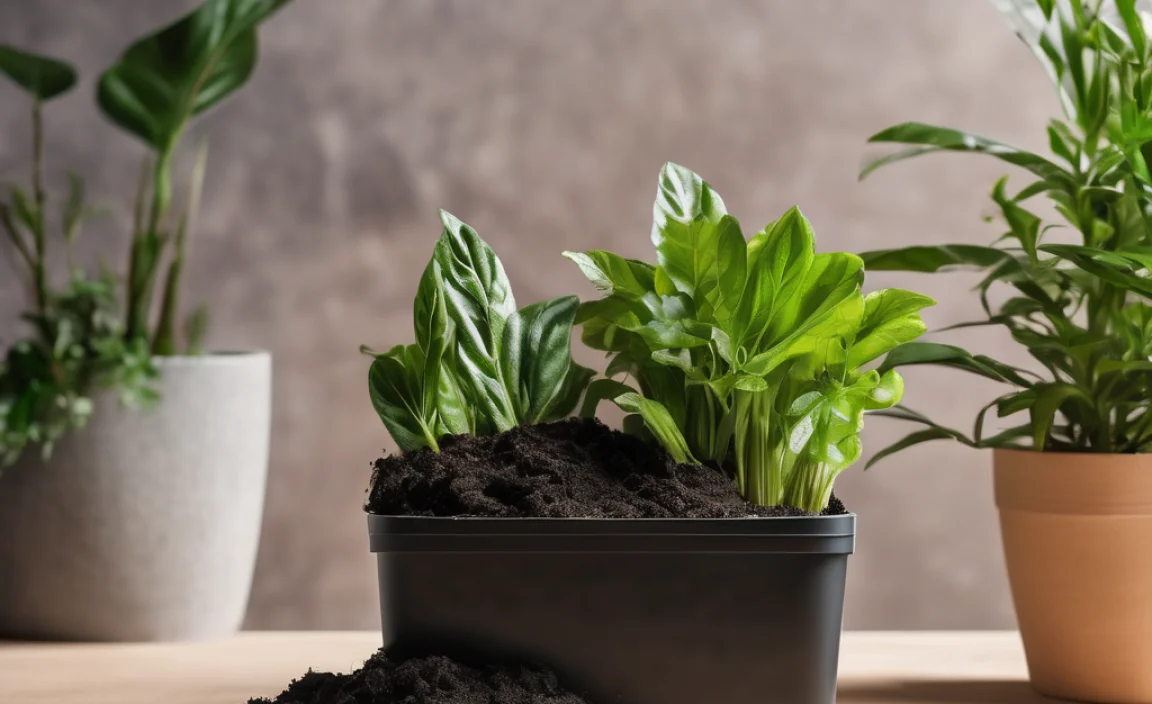
Method 3: Amending Existing Potting Soil (for Repotting)
If you’re repotting a plant and its current soil isn’t completely depleted but could use a boost, you can amend it.
- Gently Remove Plant: Carefully take your plant out of its current pot.
- Loosen Old Soil: Gently loosen some of the old soil from the outer edges and bottom of the root ball. You don’t need to remove it all.
- Add Compost: In your new pot, place a layer of fresh potting mix at the bottom. Sprinkle a good amount of compost (e.g., 1 part compost to 3 parts new potting mix) over this layer and mix it in slightly.
- Place Plant: Position your plant in the pot so the top of its root ball will be about an inch below the rim.
- Fill and Water: Fill the rest of the pot with your amended soil mix (or plain new potting mix if you already mixed compost in the bottom layer), and water well.
Troy’s Tip: This is a great way to refresh tired soil without a complete overhaul. It’s a good compromise for when your plant needs a bigger pot and a nutrient pick-me-up.
Method 4: Using Compost Tea
Compost tea is a liquid feeding that’s perfect for giving plants an easy-to-absorb nutrient boost.
- Gather Supplies: A small amount of compost (worm castings are best), a clean bucket or jar, water (dechlorinated is best – let tap water sit out for 24 hours), an aeration device (optional, but recommended for brewing, like a small aquarium pump with an airstone). If you’re just steeping for a short time without brewing, this is a simpler “compost infusion.”
- Simple Infusion (No Brew): Place about 1 cup of compost in a breathable bag (like a mesh produce bag or old pillowcase). Tie it shut. Submerge the bag in a gallon of water and let it steep for 24-48 hours, stirring occasionally.
- Brewed Tea (Better Option): Place about 1-2 cups of compost (in a mesh bag) into a gallon of water. Put an airstone connected to an air pump into the water. Let it bubble for 12-36 hours. This oxygenates the water and encourages beneficial microbial growth.
- Strain (if needed): If the tea has solids, you might want to strain it through cheesecloth or a fine sieve to avoid clogging your watering can.
- Dilute and Apply: Dilute the tea with plain water until it’s a light brown color (like weak tea). Water your plants with this solution instead of plain water.
- Frequency: Use compost tea every 2-4 weeks during the growing season.
Troy’s Tip: Compost tea is like a healthy smoothie for your plants. It’s fantastic for boosting plant health, encouraging root growth, and even helping to prevent fungal issues. Just make sure to use it within a day or two of making it, as the beneficial microbes start to die off.
Quick Summary: Compost for Indoor Plants at a Glance
Here’s a handy table to quickly see when and how to best use different compost methods for your indoor plants:
| Method | Best For | When to Use | Ease of Use | Compost Type |
|---|---|---|---|---|
| Top-Dress | Established plants needing a nutrient boost without repotting. | Every 3-6 months. | Very Easy | Worm Castings, Well-Finished Compost |
| Mixing into New Potting Soil | New plants or when repotting into a larger container. | When repotting. | Medium | Worm Castings, Well-Finished Compost |
| Amending Existing Soil | Repotting into the same size pot, refreshing tired soil. | When repotting. | Medium | Worm Castings, Well-Finished Compost |
| Compost Tea | Quick nutrient boost, stimulating growth, disease prevention. | Every 2-4 weeks during growing season. | Medium (Brewing), Easy (Infusion) | Worm Castings, Finished Compost |
Things to Watch Out For: Potential Pitfalls and How to Avoid Them
While compost is amazing, there are a few things to keep in mind to avoid common issues:
- Using Unfinished Compost: This is a big one! Unfinished compost can harbor harmful pathogens, weed seeds, and may even contain substances that are toxic to plants. It can also be too acidic or nitrogen-heavy, potentially harming roots or “burning” them. Always use compost that is dark, crumbly, and smells earthy. If you’re making your own, ensure it has fully decomposed.
- Overdoing It: More isn’t always better. While compost is gentle, using excessive amounts, especially finely composted material like worm castings, can sometimes lead to over-fertilization. Stick to the recommended ratios for mixing, and a thin layer for top-dressing.
- Pests: If your compost has had issues with fruit flies or other pests in the past, be cautious. Well-finished and screened compost should be largely pest-free. If you’re concerned, you can bake your compost on a low heat (around 180-200°F or 80-93°C) for 30 minutes to kill potential pests or pathogens, but this can also kill beneficial microbes. For indoor use, buying screened, quality compost is often the easiest way to avoid this.
- Unpleasant Odor: Compost should smell earthy. If it smells sour, like ammonia, or rotten eggs, it’s not ready or has gone anaerobic (lacking oxygen). This type of compost is definitely not suitable for indoor use.
- Using Compost Meant for Outdoors: Some compost designed for large garden beds might be coarser or contain ingredients not ideal for potted plants. Always opt for finer, well-sifted compost or specifically designed potting mixes containing compost for your indoor friends.
By following these simple precautions, you can ensure that using compost will be a positive experience for both you and your plants!
.lwrp.link-whisper-related-posts{
margin-top: 40px;
margin-bottom: 30px;
}
.lwrp .lwrp-title{
}.lwrp .lwrp-description{
}
.lwrp .lwrp-list-container{
}
.lwrp .lwrp-list-multi-container{
display: flex;
}
.lwrp .lwrp-list-double{
width: 48%;
}
.lwrp .lwrp-list-triple{
width: 32%;
}
.lwrp .lwrp-list-row-container{
display: flex;
justify-content: space-between;
}
.lwrp .lwrp-list-row-container .lwrp-list-item{
width: calc(25% – 20px);
}
.lwrp .lwrp-list-item:not(.lwrp-no-posts-message-item){
max-width: 150px;
}
.lwrp .lwrp-list-item img{
max-width: 100%;
height: auto;
object-fit: cover;
aspect-ratio: 1 / 1;
}
.lwrp .lwrp-list-item.lwrp-empty-list-item{
background: initial !important;
}
.lwrp .lwrp-list-item .lwrp-list-link .lwrp-list-link-title-text,
.lwrp .lwrp-list-item .lwrp-list-no-posts-message{
}@media screen and (max-width: 480px) {
.lwrp.link-whisper-related-posts{
}
.lwrp .lwrp-title{
}.lwrp .lwrp-description{
}
.lwrp .lwrp-list-multi-container{
flex-direction: column;
}
.lwrp .lwrp-list-multi-container ul.lwrp-list{
margin-top: 0px;
margin-bottom: 0px;
padding-top: 0px;
padding-bottom: 0px;
}
.lwrp .lwrp-list-double,
.lwrp .lwrp-list-triple{
width: 100%;
}
.lwrp .lwrp-list-row-container{
justify-content: initial;
flex-direction: column;
}
.lwrp .lwrp-list-row-container .lwrp-list-item{
width: 100%;
}
.lwrp .lwrp-list-item:not(.lwrp-no-posts-message-item){
max-width: initial;
}
.lwrp .lwrp-list-item .lwrp-list-link .lwrp-list-link-title-text,
.lwrp .lwrp-list-item .lwrp-list-no-posts-message{
};
}
Related Posts

I am passionate about home engineering. I specialize in designing, installing, and maintaining heating, ventilation, and air conditioning systems. My goal is to help people stay comfortable in their homes all year long.