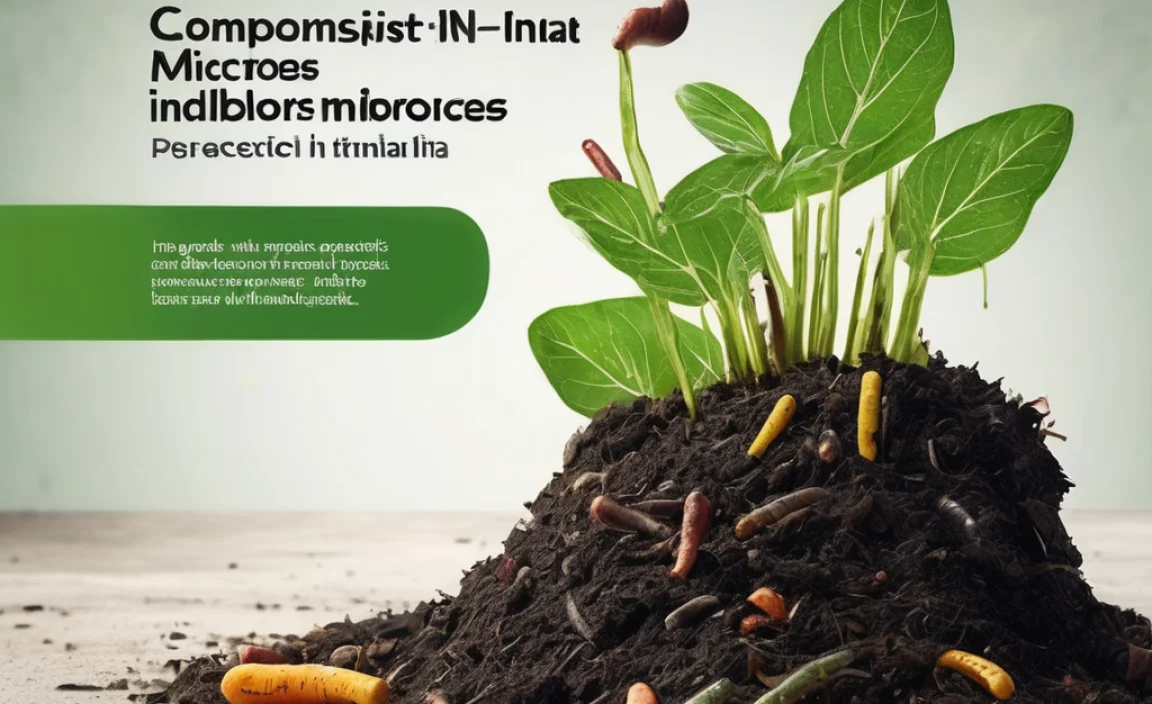
Ever noticed that kitchen scraps become rich, dark soil instead of just a smelly pile? That’s thanks to tiny workers – microbes! In India, understanding these compost microbes is super important for gardeners and farmers. It helps turn waste into a gardener’s best friend. Don’t worry if this sounds complicated; I’m here to break it down simply. Let’s explore the amazing world of compost microbes in India and how they help your garden thrive.
Compost Microbes in India: Your Essential Guide to a Thriving Garden
Hello there! Troy D Harn here, your go-to guide for all things home improvement, gardening, and DIY. Today, we’re diving into a topic that’s a bit like magic, but it’s all science: compost microbes in India. If you’ve ever wondered how your organic waste transforms into nutrient-rich compost, these microscopic superheroes are the answer. They’re essential for healthy soil, and thankfully, they’re pretty easy to understand and work with, especially right here in India’s diverse climate.
Think of compost microbes as the tiny cleanup crew of nature. They break down everything from fallen leaves and grass clippings to your leftover kitchen scraps, turning them into valuable food for your plants. For anyone in India looking to garden more sustainably, reduce waste, or simply get the best harvest from their patch of soil, understanding these microbes is a game-changer. We’ll cover what they are, why they matter, and how you can encourage them to do their best work in your compost bin.
This guide is designed to be super beginner-friendly. No complex science jargon here, just practical tips and clear explanations. We’ll walk through the whole process, from identifying the key players to creating the perfect environment for them to work their magic. So, let’s get started and unleash the power of compost microbes for a greener, healthier India!
Why Compost Microbes Matter for Indian Gardens
In India, where many households are involved in agriculture or have a passion for gardening, effective composting is key. Compost microbes are the unsung heroes of this process. They are the tiny organisms that work tirelessly to break down organic matter. Without them, your compost pile would just sit there, slowly decaying.
These microbes are crucial for several reasons:
- Nutrient Cycling: They convert complex organic materials into simpler forms that plants can absorb, like nitrogen, phosphorus, and potassium. This means healthier, more productive plants for your garden.
- Waste Reduction: Composting with the help of microbes is an excellent way to reduce the amount of waste going to landfills.
- Soil Health Improvement: As they break down matter, microbes create humus, a stable organic component of soil that improves its structure, aeration, and water retention. This is particularly beneficial for Indian soils, which can vary greatly by region and sometimes suffer from poor structure.
- Disease Suppression: A healthy population of compost microbes can help suppress plant diseases by outcompeting or actively antagonizing pathogens in the soil.
Understanding and nurturing these microbial communities can make a significant difference, from small urban balconies experimenting with potted plants to larger rural farms aiming for better crop yields.
Who Are These Tiny Heroes? A Look at Compost Microbes
When we talk about compost microbes, we’re actually talking about a whole ecosystem of living organisms. They’re too small to see without a microscope, but they are incredibly diverse and powerful. The main groups you’ll find working in your compost bin include:
Bacteria
These are usually the most abundant microbes in a compost pile. Bacteria are the workhorses, especially during the initial, hotter stages of decomposition. They thrive in warm, moist conditions and consume sugars and starches from the organic material. Different types of bacteria are active at different temperatures, helping to break down a wide variety of materials.
Fungi
Fungi, like molds and yeasts, are also vital. They excel at breaking down tougher materials that bacteria find difficult, such as woody stems, lignin, and cellulose. Fungi produce enzymes that can break down complex plant compounds. You might see them appear as white, fuzzy threads (mycelium) in your compost.
Actinomycetes
These are a type of filamentous bacteria that give compost its characteristic earthy smell. They are particularly good at breaking down more resistant materials like P. The characteristic “just rained” or “freshly tilled earth” smell is thanks to actinomycetes.
Protozoa and Nematodes
These are slightly larger microorganisms, often considered micro-animals. They feed on bacteria and fungi, helping to regulate the microbial populations and release nutrients in a form plants can use. While they play a role, these are generally less dominant than bacteria and fungi in the initial composting stages.
What Do These Microbes Need to Thrive in India?
Just like any living organism, compost microbes need certain conditions to be happy, healthy, and productive. Providing the right environment is the secret to fast, efficient composting. Here are the key factors:
1. Food (Organic Matter)
Microbes need food to survive and multiply. This food comes from the organic materials you put into your compost bin. A good compost mix provides a balance of “greens” and “browns.”
- Greens: These are nitrogen-rich materials that provide protein for microbes. Examples include fruit and vegetable scraps, grass clippings, coffee grounds, and tea leaves.
- Browns: These are carbon-rich materials that provide energy for microbes. Examples include dry leaves, straw, shredded cardboard, newspaper, and small twigs.
A good general ratio to aim for is about 2 parts browns to 1 part greens by volume. This balance provides the energy and building blocks microbes need.
2. Water (Moisture)
Microbes need moisture to live and carry out their functions. Your compost pile should be as damp as a wrung-out sponge. If it’s too dry, microbial activity slows down dramatically. If it’s too wet, it can become anaerobic (lacking oxygen) and lead to foul odors.
Tip for India: In drier regions of India, you might need to add water more frequently. In wetter regions, especially during monsoons, ensure good drainage to prevent waterlogging.
3. Air (Oxygen)
Most of the beneficial microbes involved in fast composting are aerobic, meaning they need oxygen. Turning or aerating your compost pile regularly introduces fresh air, which is vital for their activity and prevents the growth of smelly anaerobic microbes. This is why it’s important to avoid compacting the pile too much.
4. Temperature
Composting happens in temperature phases. Initially, mesophilic microbes work at moderate temperatures. As they consume readily available materials, they generate heat, and thermophilic microbes take over. These “heat-loving” microbes work best between 55°C and 70°C (130°F and 160°F). This high temperature is crucial for
- Speeding up decomposition.
- Killing weed seeds and pathogens like E. coli and Salmonella.
Once the “food” at these temperatures is used up, the pile cools down, and mesophilic microbes and other organisms re-colonize it to finish the curing process.
Understanding these four elements—food, water, air, and temperature—is your roadmap to successful composting.
Setting Up Your Compost System in India
Choosing the right composting method depends on your space, resources, and the amount of organic waste you generate. Here are a few popular options suitable for various conditions in India:
1. Open Pile Composting
This is the simplest method. You just create a pile of organic materials in a corner of your garden or yard. It requires more space but is easy to manage.
- Best for: Larger gardens or farms where space isn’t an issue.
- Pros: No cost for bins, easy to turn, good aeration.
- Cons: Can look messy, might attract pests if not managed well, takes longer.
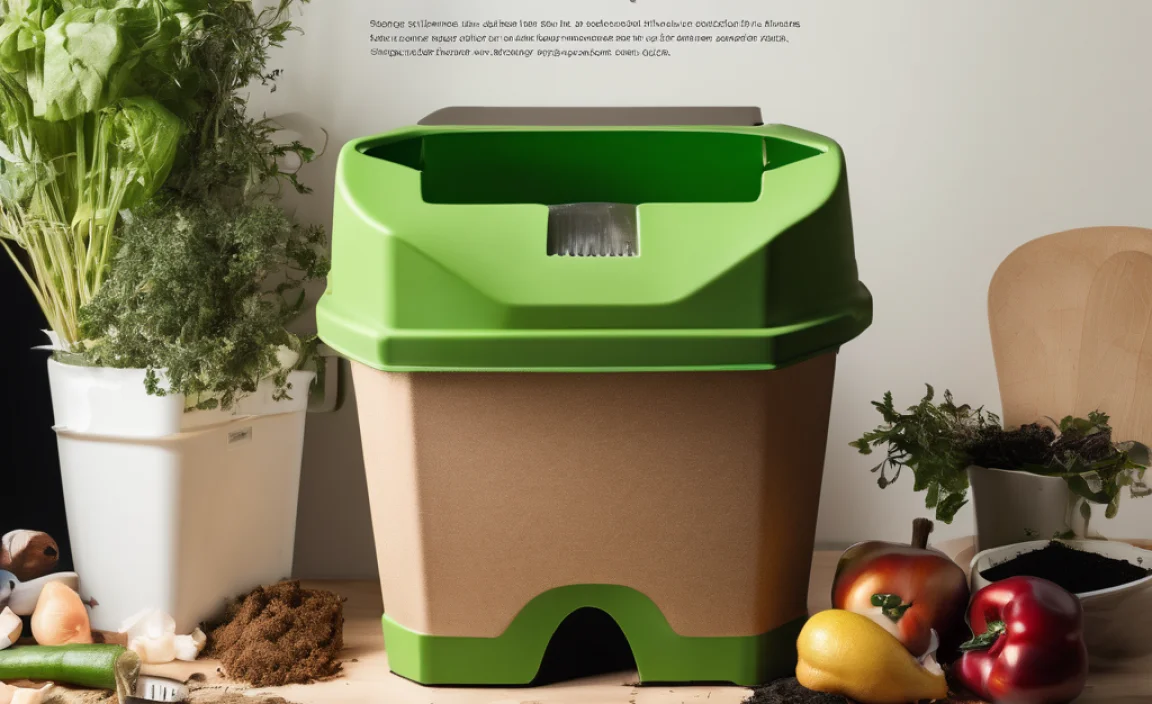
2. Compost Bins
These can be made from wood, wire mesh, or repurposed materials like old barrels. They help contain the compost and can look neater.
- DIY Options:
- Wire Mesh Bin: Create a cylinder using chicken wire or hardware cloth. Easy to build and provides good aeration.
- Pallet Bin: Use old wooden pallets to build a square or multi-bay system.
- Brick or Stone Bin: For a more permanent structure.
- Purchased Bins: Many types are available, including tumblers, stationary bins, and multi-chamber systems.
Tip for India: Look for bins that are not completely sealed to allow for airflow. Many local markets or online stores offer affordable compost bins.
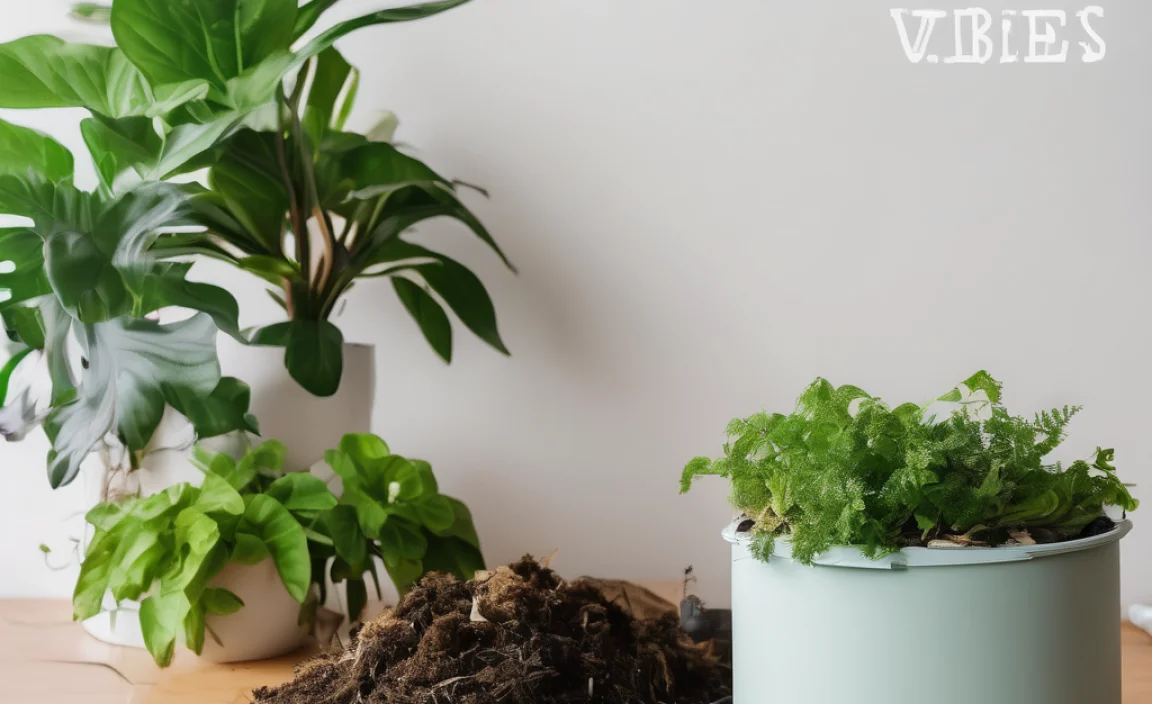
3. Vermicomposting (Using Worms)
This method uses specific types of earthworms (like red wigglers) to break down organic matter. It’s great for smaller spaces and produces very nutrient-rich compost (worm castings).
- Best for: Apartments, balconies, or smaller homes.
- Pros: Fast decomposition, produces high-quality compost, minimal odor, can be done indoors or outdoors.
- Cons: Requires specific composting worms, temperature control can be tricky in extreme Indian climates (too hot or too cold can kill worms).
For vermicomposting in India, it’s essential to protect the worms from direct sunlight and extreme temperatures. A shaded spot, a simple bin, or even indoor setups work well.
4. Bokashi Composting
This is an anaerobic fermentation process that uses a special bran inoculated with effective microorganisms (EM). It can compost practically anything, including meat and dairy, which are typically avoided in traditional composting. The end product is a pre-compost that needs to be buried in soil or added to a traditional compost pile to finish decomposing.
- Best for: Kitchens where traditional composting might be difficult or when you want to compost all food waste.
- Pros: Can handle all food scraps, fast initial decomposition, compact system.
- Cons: Requires purchasing a Bokashi kit and the inoculated bran, the pre-compost still needs further decomposition.
Consider your available space and how much organic waste you produce when selecting a method. For most home gardeners in India, a simple bin or an open pile is a great starting point.
The Composting Process: A Step-by-Step Guide
Let’s get down to business! Here’s a practical guide to creating your compost using a typical compost bin or pile, focusing on getting those microbes working overtime.
Step 1: Choose Your Location
Select a spot that is:
- Easily accessible for adding materials and turning.
- Well-drained to prevent water accumulation.
- Partially shaded to prevent excessive drying out in hot weather.
- Close enough to a water source for easy watering.
Step 2: Gather Your Materials
Start collecting your “greens” and “browns.” Remember the ideal ratio of around 2 parts browns to 1 part greens.
Greens (Nitrogen-rich):
- Fruit and vegetable scraps
- Coffee grounds and tea bags
- Fresh grass clippings (in thin layers to avoid matting)
- Plant trimmings (non-diseased)
Browns (Carbon-rich):
- Dry leaves
- Straw or hay
- Shredded newspaper or cardboard (avoid glossy print)
- Wood chips or sawdust (use in moderation)
- Small twigs and branches
Materials to Avoid:
- Meat, fish, and dairy products (can attract pests and cause odors)
- Oily or greasy foods
- Diseased plants or weeds that have gone to seed
- Pet waste (from cats and dogs, due to pathogens)
- Chemically treated wood or yard waste
Step 3: Start Layering
Begin by placing a layer of coarse brown material (like twigs) at the bottom of your bin or pile. This helps with drainage and aeration. Then, start alternating layers of greens and browns, like making a cake!
Generally, aim for a layer of browns, then a layer of greens, and repeat. Chop larger items into smaller pieces to speed up decomposition.
Step 4: Add Water
After adding a few layers, water the pile. It should be moist but not soggy – imagine wringing out a sponge. If you’re adding dry materials like lots of leaves, you might need to add more water.
Step 5: Aerate (Turn) Your Compost
This is crucial for providing oxygen to the microbes. How often you turn depends on your system and desired speed:
- Fast Composting: Turn the pile every 1-2 weeks. This helps heat up the pile and speeds up decomposition significantly.
- Slow Composting: Turn the pile every 4-6 weeks or even less. It will take longer but requires less effort.
You can use a pitchfork, compost aerator tool, or even just a sturdy shovel to mix the materials. Try to bring the material from the outside to the inside and the bottom to the top.
Step 6: Monitor and Maintain
Keep an eye on the moisture level. If it feels dry, add water when you turn the pile. If it seems too wet and is smelling sour, add more brown materials and turn it well to introduce air.
You should notice the pile heating up, especially after turning and adding new materials. This “hot composting” phase is when the thermophilic microbes are working hard.
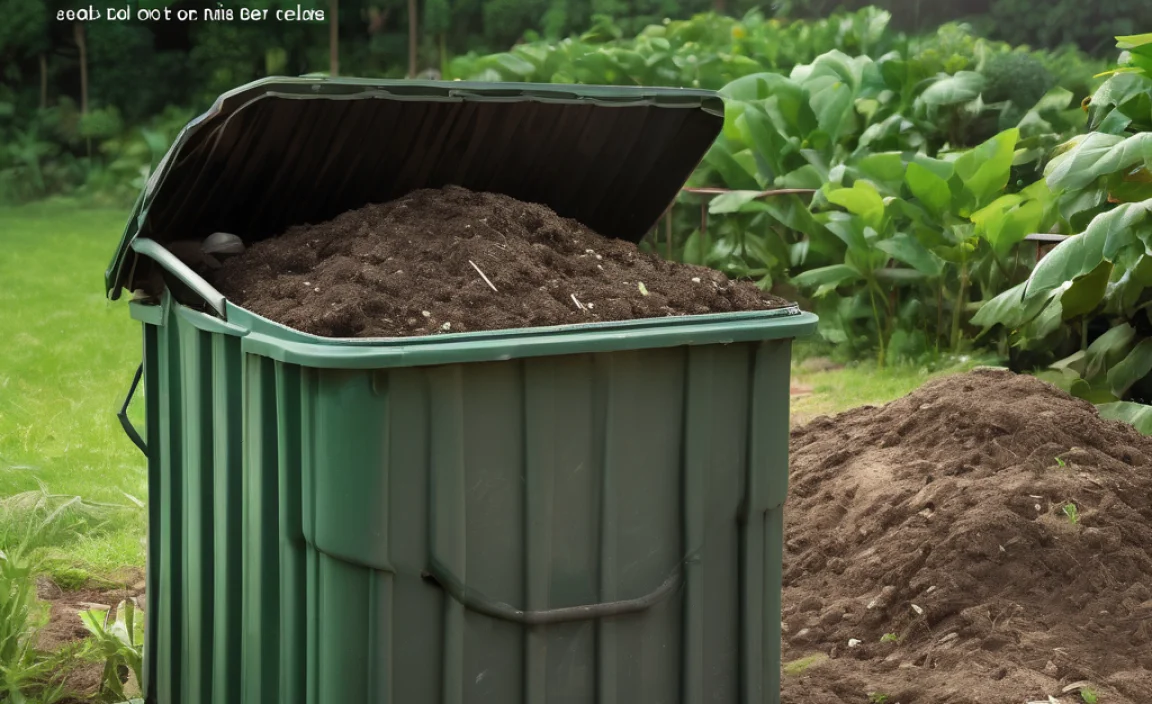
Step 7: Harvesting Your Compost
Compost is ready when it looks and smells like dark, crumbly soil, and the original materials are no longer recognizable. This can take anywhere from 2 months for a very actively managed hot compost pile to a year or more for a slow, passively managed pile. You’ll know it’s ready because:
- It has a pleasant, earthy smell.
- It’s dark brown and crumbly.
- You can no longer identify the original materials.
To harvest, you can either stop adding new materials to an older pile and let it finish curing, or you can screen it to remove any larger, unfinished pieces. The finished compost can be used directly in your garden beds, mixed into potting soil, or spread around plants as mulch.
Understanding the Compost Te mperature and Phases
The temperature of your compost pile is a great indicator of what’s happening inside. It’s a dynamic process driven by microbial activity. Here’s a breakdown of the typical temperature phases:
| Phase | Temperature Range (°C / °F) | Key Microbes | Activity | Duration |
|---|---|---|---|---|
| Mesophilic Phase | 20-40°C / 68-104°F | Mesophilic bacteria & fungi | Initial breakdown of sugars and starches. | A few days to a week. |
| Thermophilic Phase (Heating) | 55-70°C / 130-160°F | Thermophilic bacteria & actinomycetes | Rapid decomposition of proteins, fats, and complex carbohydrates. Kills pathogens and weed seeds. The pile “heats up.” | Days to several weeks, depending on material and aeration. |
| Cooling Phase | Below 40°C / 104°F | Mesophilic bacteria, fungi, protozoa, nematodes, actinomycetes | Breakdown of tougher materials (lignin, cellulose). Curing and stabilization of compost. | Weeks to months. |
| Curing Phase | Ambient temperature | Fungi, actinomycetes, mesophilic organisms | Maturation and humification. Microbes create stable humus. | Ongoing until compost is ready. |
A hot compost pile is great for speed and sanitization. However, even a cooler pile will eventually break down through the action of mesophilic microbes and fungi. The goal is always healthy microbial reproduction and efficient decomposition.
Troubleshooting Common Composting Problems in India
Even with the best intentions, compost piles can sometimes have issues. Here are some common problems and how to fix them, with an eye on conditions relevant to India:
Problem: Foul Odors (Ammonia or Rotten Egg Smell)
Cause: Usually due to a lack of oxygen (anaerobic conditions) or too much ”green” material.
Solution:</
Related Posts

I am passionate about home engineering. I specialize in designing, installing, and maintaining heating, ventilation, and air conditioning systems. My goal is to help people stay comfortable in their homes all year long.