Hey there, fellow compost enthusiasts! Ever peek into your compost bin and scratch your head, wondering why things aren’t quite composting? You’ve tossed in your kitchen scraps and yard waste, but instead of that nice earthy goodness, you might be seeing sliminess, weird smells, or just… nothing happening. It’s like your compost pile is on a vacation and forgot to pack its work ethic! Don’t worry; this is super common, and the magic behind composting is actually happening thanks to tiny, invisible helpers: microbes. When these little guys get stressed or something throws them off their game, your compost can stall. But the good news is, troubleshooting these compost microbe problems is totally doable. We’ll break down what might be going wrong and how to fix it, step-by-step, so you can get back to making that amazing, nutrient-rich compost for your garden!
Understanding Your Compost’s Unseen Workforce: The Microbes
Think of your compost pile as a bustling restaurant for microscopic organisms. These aren’t the creepy-crawly kind; we’re talking bacteria, actinomycetes, fungi, and protozoa. They’re the real MVPs of composting! These amazing microbes feast on the organic matter you put in your bin, breaking it down into simpler compounds. It’s a natural process, but like any good team, they need the right conditions to work efficiently. When things go wrong, it’s usually because one or more of these essential conditions isn’t quite right for our microbial buddies.
What Do Our Tiny Helpers Need?
For your compost microbes to thrive and do their decomposition dance, they need a few key things:
- Food: They need a balanced diet of “greens” (nitrogen-rich materials like fruit and veggie scraps, grass clippings) and “browns” (carbon-rich materials like dry leaves, shredded cardboard, twigs).
- Air: Most of the helpful microbes are aerobic, meaning they need oxygen to survive and work.
- Moisture: They need to be damp, like a wrung-out sponge, but not soaking wet.
- Temperature: Many beneficial microbes work best in a warm environment, especially during the initial hot composting phase.
When these factors are out of whack, you can start seeing a few common compost microbe problems. But don’t let that discourage you! Identifying the issue is the first step to easily fixing it and getting your compost back on track.
Common Compost Microbe Problems and Their Solutions
Let’s dive into the most frequent issues you might encounter and how to tackle them. It’s usually a simple fix!
Problem 1: The Smelly Pile (Rotting, Sulfurous, Ammonia Smells)
This is probably the most common and off-putting compost problem. If your compost pile smells like rotten eggs, ammonia, or just a general foul odor, it’s a strong sign that something is out of balance. Usually, this means there’s too much moisture and not enough air. Anaerobic bacteria (the ones that don’t need oxygen) have taken over, and they produce these unpleasant smells as they break down your materials.
Why it Happens:
- Too Wet: The pile is saturated, like a waterlogged sponge.
- Poor Aeration: Materials are packed too tightly, preventing air from circulating.
- Too Much “Greens”: An imbalance of too many nitrogen-rich materials can lead to ammonia production.
Essential Solutions:
The fix is all about bringing back the air and balancing the moisture:
- Aerate, Aerate, Aerate! This is priority number one. Get a compost aerator tool (they’re inexpensive and easy to use) or a sturdy pitchfork and turn the pile. Try to fluff up the materials and mix the wet, compact bits with drier areas. If you’re using a bin, try to mix from the bottom up. Aim to do this every week or two, especially if it’s smelling.
- Add “Browns”: If your pile is too wet and smells, it’s likely drowning in “greens.” Mix in a generous amount of carbon-rich “brown” materials. Think shredded cardboard, dry leaves, straw, or sawdust. These materials act like little sponges, soaking up excess moisture, and they also help create air pockets.
- Improve Drainage: If your compost bin is sitting in a puddle or has poor drainage, the microbes will stay too wet. Ensure the bin is on permeable ground, or if it’s a contained bin, make sure the bottom is open or has drainage holes.
- Adjust Your Ratio: For future additions, try to maintain a good balance of greens and browns. A good starting point is about 2-3 parts browns to 1 part greens by volume.
Pro Tip: If the smell is really strong from ammonia, it might mean you have too much nitrogen. Adding more browns will help absorb that ammonia and balance the C:N ratio.

Problem 2: The “Nothing’s Happening” Pile
You’ve added your materials, maybe even turned it a few times, but the pile just isn’t shrinking. It looks much the same as it did weeks ago. This usually means your compost microbes are either too cold, too dry, or lacking the right food combination.
Why it Happens:
- Too Cold: Microbial activity slows way down in cold temperatures.
- Too Dry: Microbes need moisture to live and multiply.
- Lack of “Greens”: Not enough nitrogen-rich materials means the microbes don’t have enough ‘protein’ to get their work done.
- Materials Too Large: Big chunks take a lot longer for microbes to break down.
Essential Solutions:
Let’s get those microbes motivated:
- Chop It Up: Before adding materials, chop or shred them into smaller pieces. Smaller pieces mean more surface area for microbes to feast on! This is especially important for things like large vegetable scraps or cardboard.
- Boost the “Greens”: If you suspect a nitrogen shortage, add more nitrogen-rich materials. Fresh grass clippings (in thin layers to avoid matting), coffee grounds, or vegetable scraps are great additions. This gives your microbes the ‘fuel’ they need.
- Add Water: If the pile feels dry, it’s time to add some moisture. Use a hose or watering can to dampen the materials as you turn them. Remember the “wrung-out sponge” test – damp, not dripping.
- Insulate (in Cold Weather): In cooler months, you can help your pile retain heat. Pile more organic matter around it, or use a compost bin that offers some insulation. Turning the pile can also help activate its internal heating process.
- Jump-Start with Finished Compost: If you have access to a bit of finished compost, adding a shovel-full can introduce a fresh batch of active microbes to get things going. It’s like inviting more workers to the ‘restaurant’!
Problem 3: The Slimy, Mushy Pile
Sometimes compost can turn into a goopy, slimy mess. This is often a variation of the “smelly pile” problem, indicating too much moisture and not enough air, leading to anaerobic conditions and the breakdown of beneficial organisms.
Why it Happens:
- Excess Moisture: Often from too many “greens” or being left uncovered during heavy rain.
- Poor Airflow: Matting of materials, especially grass clippings, can block air.
- Overabundance of Soft “Greens”: Things like fruit waste, coffee grounds, and grass clippings, if not balanced with browns, can create a very wet, dense environment.
Essential Solutions:
We need to dry it out and fluff it up:
- Incorporate Dry “Browns”: This is your primary weapon. Add plenty of shredded cardboard, dry leaves, straw, or wood chips. Mix them thoroughly into the slimy areas.
- Turn and Aerate: Just like with the smelly pile, regular turning is crucial. This helps to distribute moisture, introduce oxygen, and break up any matted materials.
- Cover the Pile (if needed): If rain is a constant problem, consider covering your compost pile with a tarp or lid, especially during heavy downpours. Ensure the cover allows for some airflow.
- Remove Excess Water: If parts are truly saturated, you might even need to carefully fork out some of the excessively wet material and replace it with dry browns, then mix thoroughly.
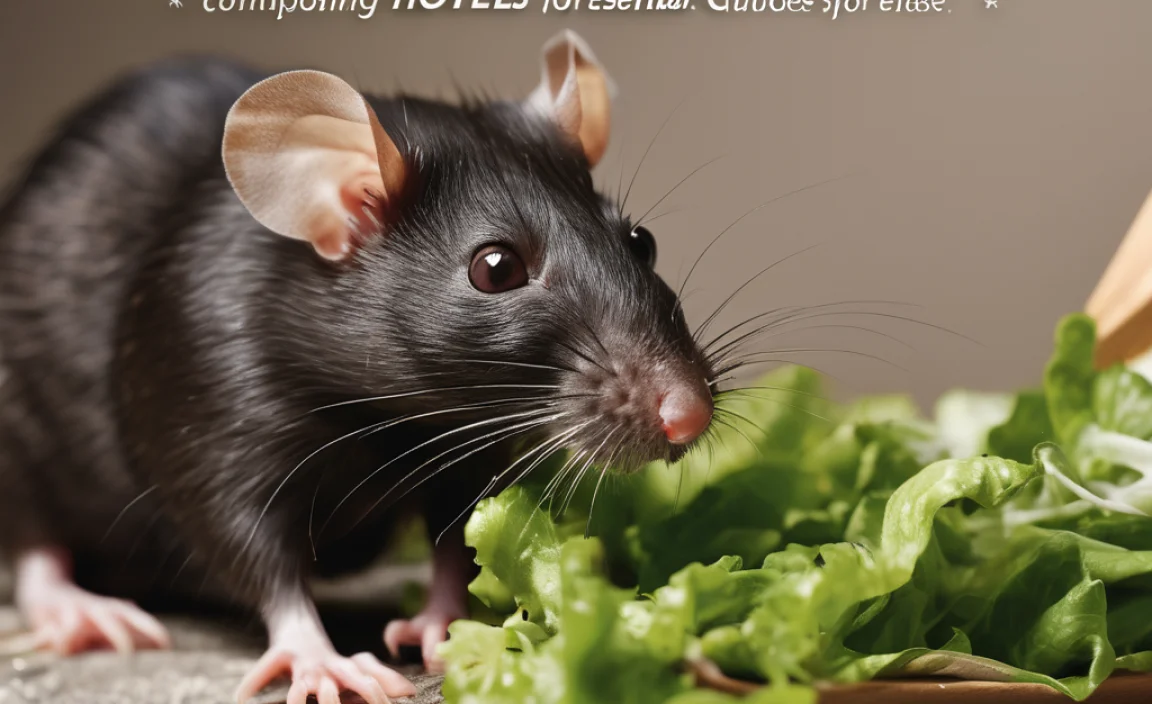
Problem 4: Pest Problems (Flies, Rodents)
While not strictly a microbial issue, pest infestations are often a sign that your compost pile’s conditions are attracting unwanted attention. This usually means it’s too wet, too packed with attractive food scraps, or not hot enough to deter them.
Why it Happens:
- Uncovered Food Scraps: Exposed kitchen waste is a beacon for flies and rodents.
- Pile is Too Wet: Moisture can make materials more appealing to certain pests.
- Not Hot Enough: A hot compost pile cooks potential food sources and deters many pests.
- Wrong Materials: Adding meat, dairy, or greasy foods can attract rodents.
Essential Solutions:
Make your compost pile less of a buffet:
- Bury Kitchen Scraps: Always bury your fresh kitchen scraps (greens) deep within the pile, preferably in the center, and cover them with a layer of browns. This hides the evidence!
- Maintain a Good “Brown” Layer: Keep a good supply of dry browns handy to cover new additions.
- Turn Regularly: This helps the pile heat up and mixes in scraps, making them less accessible.
- Avoid Problematic Foods: Don’t add meat, bones, dairy, oily foods, or pet waste (from cats and dogs) to your general compost pile, as these will attract pests and can harbor pathogens.
- Use a Secure Bin: If pests are a persistent issue, consider using a robust compost bin with a secure lid and sturdy construction, ideally one designed to deter rodents. For example, the EPA’s composting guidelines mention that enclosed bins are often best for pest control.
Problem 5: The “Nematode Nightmare” (or other creepy crawlies)
Sometimes, you might find an unusual number of small, unappetizing critters like specific types of worms, grubs, or even small white worms. While many of these are harmless composters, an overload can be a sign of imbalance, often too much moisture or too many soft, decaying materials.
Why it Happens:
- Too Much Moisture: Damp conditions are ideal for many unwelcome guests.
- Too Many Soft “Greens”: Over-reliance on fruit and vegetable waste, especially if it sits too long.
- Lack of Aeration: Stagnant, moist conditions encourage these organisms.
Essential Solutions:
Regain control of your compost ecosystem:
- Add Dry Browns: Your go-to solution again! Shredded newspaper, cardboard, dry leaves, or straw will absorb excess moisture and balance the carbon-to-nitrogen ratio.
- Turn Actively: Regular turning will aerate the pile and help it dry out.
- Adjust Your Mix: Ensure you’re not adding too many high-moisture greens without enough browns.
- Consider Temperature: If your pile isn’t heating up sufficiently, these critters may not have competition from the beneficial thermophilic (heat-loving) microbes and bacteria.
While it can be unsettling to see unusual critters, remember that a healthy compost pile is a living ecosystem with many different organisms. The goal is balance, not sterility. The solutions for pest issues often overlap with solutions for smell and moisture problems.
Understanding the Compost Ecosystem: A Quick Reference
To help you diagnose issues, here’s a quick look at what ideal conditions generally mean for your microbes:
| Symptom / Problem | Likely Cause(s) | Primary Solutions |
|---|---|---|
| Foul odors (rotting, ammonia, sulfur) | Too wet, not enough air (anaerobic conditions), too much nitrogen (“greens”) | Turn pile, add dry “browns” (leaves, cardboard), improve drainage |
| Pile is not decomposing (stalled) | Too dry, not enough nitrogen (“greens”), materials too large, too cold | Add water, add “greens” (grass, scraps), chop materials smaller, insulate pile in cold |
| Slimy, mushy texture | Excessive moisture, poor aeration, too many soft “greens” | Add plenty of dry “browns”, turn thoroughly, cover from rain |
| Attracting flies, rodents, or large numbers of unwelcome bugs | Exposed food scraps, too wet, not hot enough, inappropriate materials (meat, dairy) | Bury food scraps, add dry “browns”, turn regularly, avoid meat/dairy, use secure bin |
The Carbon-to-Nitrogen (C:N) Ratio: A Deeper Dive
One of the key factors microbes use is the balance of carbon (for energy) and nitrogen (for protein and reproduction). This is often referred to as the C:N ratio. Most microbes work best with a ratio around 25:1 to 30:1 (carbon to nitrogen by weight). In simple terms, this means for every pound of nitrogen-rich “green” material, you need about 25-30 pounds of carbon-rich “brown” material.
When you have too much nitrogen (too many greens), you get ammonia smell, and decomposition can be too rapid and inefficient. When you have too much carbon (too many browns), decomposition slows down because the microbes lack sufficient nitrogen building blocks and protein to multiply rapidly. Your goal is to find that sweet spot.
To give you an idea of material sources:
| High Nitrogen (“Greens”) – Lower C:N Ratio | High Carbon (“Browns”) – Higher C:N Ratio |
|---|---|
| Fruit and vegetable scraps | Dry leaves |
| Grass clippings (fresh) | Shredded cardboard |
| Coffee grounds | Shredded newspaper |
| Tea bags | Straw |
| Manure (herbivore) | Wood chips/sawdust (use in moderation) |
| Green plant trimmings | Pine needles (use sparingly due to acidity) |
A general rule of thumb is use about two to three times as much volume of browns as greens. Don’t stress too much about exact ratios; observing your pile and making adjustments is the best way to learn!
Tools to Help You Troubleshoot
You don’t need a fancy lab to fix compost problems! Here are a few simple tools that can make a big difference:
- Compost Aerator Tool: These long, corkscrew-like tools are fantastic for easily turning and aerating your compost without a lot of heavy lifting.
- Pitchfork: Your trusty garden pitchfork can also be used to turn and fluff the compost pile.
- Garden Hose / Watering Can: Essential for adding moisture when the pile is too dry.
- Shredder (Optional but helpful): For breaking down larger cardboard or yard waste into smaller, faster-composting pieces.
- Gloves: To keep your hands clean and protected.
For those who want to get a little more technical, a soil moisture meter can be surprisingly useful for checking the dampness of your pile, and a compost thermometer can tell you if your pile is reaching the ‘hot’ composting temperatures (often 130-160°F or 55-70°C) which helps kill weed seeds and pathogens, and indicates active microbial work.
FAQ: Your Compost Questions Answered
Q1: My compost smells like rotten eggs. What’s wrong?
A1: That’s a classic sign of an anaerobic (oxygen-deprived) environment. It means your pile is too wet and compacted. The solution is to turn the pile thoroughly to introduce air and add dry, carbon-rich “brown” materials like shredded cardboard or dry leaves to absorb excess moisture.
Q2: I added my compost pile ingredients weeks ago and nothing is happening. Why?
A2: Your compost microbes might be too cold, too dry, or lack nitrogen (“greens”). Try adding some fresh nitrogen-rich materials (like grass clippings or vegetable scraps), water the pile if it’s dry, chop larger materials into smaller pieces, and insulate the pile if it’s cold. A small amount of finished compost added can also introduce active microbes.
Q3: Is it okay if my compost pile has a lot of worms and bugs?
A3: Generally, yes! Many worms and bugs are beneficial decomposers. An overabundance of certain types, especially if accompanied by sliminess or foul odors, might indicate too much moisture or too many soft “greens.” The key is balance. Adding more dry “browns” and turning the pile can help re-establish that balance.
Q4: Can I compost meat scraps or dairy products?
A4: For most backyard composting systems, it’s best to avoid meat scraps, bones, dairy products, and oily foods. These attract pests like rodents and can create foul odors. They also take much longer to break down and can harbor harmful pathogens. Stick to plant-based materials and herbivore manure.
Q5: How often should I turn my compost pile?
A5: For faster composting and to prevent problems like bad smells, aim to turn your pile every 1-2 weeks. If your pile isn’t smelling or showing signs of trouble, you can turn it less often, perhaps monthly, or when you add significant new material.
Q6: My compost is too wet, even after adding lots of dry leaves. What else can I do?
A6: If it’s persistently too wet, an additional layer of finely shredded cardboard can help absorb more water. Also, ensure your compost bin has good drainage and isn’t sitting in a perpetually soggy spot. If you’re using a bin with a solid bottom, consider lifting it slightly off the ground with some bricks or blocks to improve airflow and drainage underneath.
Conclusion: Be Patient and Observe
Composting is a natural process, and it’s a living system. Sometimes, our little microbial workers just need a little nudge in the right direction. Don’t get discouraged if you encounter a problem! By understanding what your compost microbes need – air, moisture, food, and the right temperature – you can easily diagnose and solve most issues. Remember, regularly observing your compost pile is your best tool. Look for changes in texture, smell, and signs of activity. With a few adjustments and a bit of patience, you’ll be rewarded with wonderful, nutrient-rich compost that your garden will absolutely love. Happy composting, my friends!

I am passionate about home engineering. I specialize in designing, installing, and maintaining heating, ventilation, and air conditioning systems. My goal is to help people stay comfortable in their homes all year long.