Got a composting project that seems a bit… sluggish? Maybe your pile isn’t heating up, or it’s smelling a little funny. Don’t worry, it happens to the best of us! The magic behind great compost is tiny, invisible helpers: microbes. When they’re happy and active, your compost works wonders. We’ll walk through how to give these little guys the perfect environment, turning your kitchen scraps into garden gold. Ready to boost your compost game?
Compost Microbes Solutions: Genius Essential Tips for a Thriving Pile
Hey there, fellow garden enthusiasts and eco-conscious homeowners! Troy D Harn here from TopChooser, and today we’re diving deep into something super important for anyone looking to make fantastic compost: the unseen workhorses, compost microbes. If your compost bin feels more like a neglected corner than a powerhouse of nature’s recycling, you’re in the right place. Think of these microbes as the tiny chefs in your compost kitchen. When they’re well-fed and comfortable, they whip up rich, dark compost that your plants will absolutely love.
Many of us start composting with the best intentions, tossing in our fruit peels and coffee grounds, only to be met with slow decomposition or even unpleasant odors. It can be frustrating, right? You’re trying to do good for the planet and your garden, and it feels like it’s not working. The good news is that this isn’t a lost cause! With a few simple adjustments and understanding what these amazing microbes need, you can transform your composting experience. We’re going to break down exactly what makes these microbes tick and how you can become their best friend.
Understanding Your Compost Microbe Crew
So, who exactly are these compost microbes? They’re a diverse team of bacteria, fungi, and other tiny organisms. They work around the clock to break down organic matter—that’s your food scraps, yard waste, and paper products. Think of them as nature’s ultimate cleanup crew. They come in two main shifts:
- Mesophilic Microbes: These guys work at moderate temperatures (around 50-100°F or 10-38°C). They’re the first responders, getting the initial breakdown party started.
- Thermophilic Microbes: Once the mesophiles do their thing, the pile heats up, and these heat-loving microbes (up to 160°F or 71°C) take over. They break down tougher materials and kill off weed seeds and pathogens.
The process is super fascinating. As they eat, microbes release energy. Some of this energy escapes as heat, which is why a well-working compost pile gets warm. This warmth is a sign that your microbial colony is thriving and actively working to turn your waste into nutrient-rich compost.
Why Your Compost Might Be Slow or Smelly
When your compost isn’t working optimally, it’s usually because the microbes aren’t happy. Here are the most common reasons:
- Too Wet (Anaerobic Conditions): If there’s not enough air, a different type of microbes takes over. These anaerobic microbes don’t need oxygen, and they produce that sour, rotten-egg smell. It’s a sign your pile is suffocating!
- Too Dry: Microbes need moisture to live and work. If your compost pile is as dry as a desert, their activity will grind to a halt.
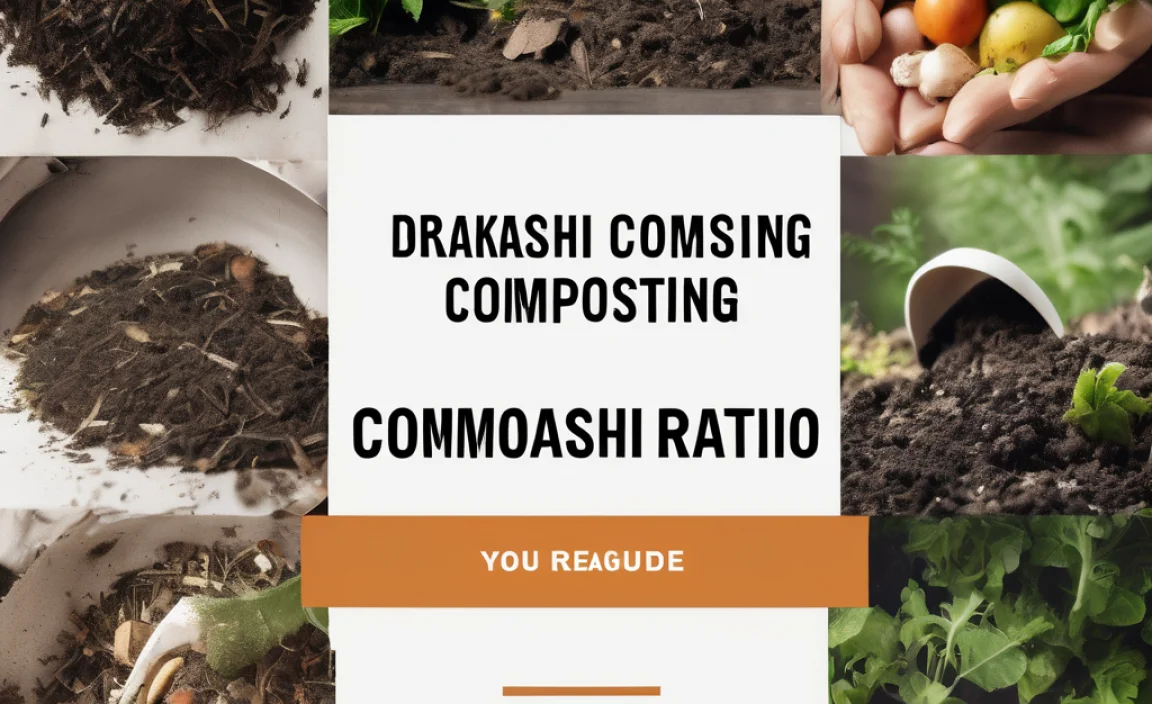
- Lack of Nutrients (Wrong Carbon-to-Nitrogen Ratio): Microbes need a balanced diet, just like us! They need both “browns” (carbon-rich materials like dried leaves and cardboard) and “greens” (nitrogen-rich materials like food scraps and grass clippings). Too much of one and not enough of the other starves them.
- Materials Too Big: If your kitchen scraps or yard waste are in large chunks, it takes microbes a lot longer to break them down.
- Lack of Aeration: Even if it’s not too wet, if air can’t circulate through the pile, you can still end up with anaerobic conditions and that unpleasant smell.
Essential Tips for Happy Compost Microbes
The good news is that fixing these issues is usually quite simple. It’s all about creating the right environment for our microbial friends. Let’s get to some genius tips that will make your compost pile sing!
1. Nail That Carbon-to-Nitrogen (C:N) Ratio
This is probably the most critical factor. Think of “browns” as the energy source (carbon) and “greens” as the protein shake (nitrogen) for your microbes. A good starting balance is roughly 25-30 parts carbon to 1 part nitrogen by weight. In everyday terms, this often translates to about 2-3 parts browns to 1 part greens by volume. It doesn’t have to be exact science, but understanding the balance is key.
Browns (Carbon-Rich):
- Dried leaves
- Straw
- Shredded newspaper or plain brown paper bags
- Cardboard (torn into small pieces)
- Wood chips or sawdust (use sparingly, can slow things down)
- Twigs and small branches (chopped up)
Greens (Nitrogen-Rich):
- Fruit and vegetable scraps
- Coffee grounds and tea bags
- Grass clippings (add in thin layers to avoid matting)
- Plant trimmings (non-woody)
- Manure (from herbivores like cows, horses, rabbits – avoid pet waste)
Pro Tip: If your compost is smelling like ammonia (a strong, pungent odor), you likely have too many greens. Add more browns to balance it out. If it’s not heating up and seems slow, you might need more greens. A simple visual guide can be helpful:
Visual Guide to C:N Balance
| Condition | Likely Cause | Solution |
|---|---|---|
| Smells like ammonia | Too many greens (nitrogen) | Add more browns (carbon-rich materials). |
| Smells sour/rotten | Too wet, not enough air (anaerobic) | Add browns, turn the pile to aerate. |
| Pile is small and not decomposing | Too dry or not enough greens | Add water and/or nitrogen-rich greens. |
| Compost is slow to break down | Materials too large; poor aeration; need more greens | Chop materials smaller, turn pile, add some greens. |
2. Get the Moisture Level Just Right
Imagine a wrung-out sponge. That’s the ideal moisture level for your compost pile. It should be damp to the touch, but not soaking wet. If you squeeze a handful, only a drop or two of water should come out. Too much water suffocates the microbes, leading to anaerobic conditions and foul smells. Too little water and they become dormant.
How to Check and Adjust Moisture:
- The Squeeze Test: Grab a handful of compost from the middle of the pile and squeeze it. If water drips out freely, it’s too wet. If it crumbles apart easily, it’s too dry. If it holds together with just a little moisture squeezing out, it’s perfect.
- If Too Wet: Add more dry, carbon-rich materials (browns) like shredded cardboard, dry leaves, or sawdust. Turn the pile thoroughly to help it dry out and introduce air.
- If Too Dry: Sprinkle water over the pile, aiming for even distribution. You can also add more nitrogen-rich materials (greens) like fresh kitchen scraps, which contain natural moisture. Turn the pile to help the moisture spread.
3. Aeration is Key: Let Them Breathe!
Microbes need oxygen to do their best work. This is where turning your compost pile comes in. Regularly turning your pile introduces fresh air, which is vital for the aerobic microbes that break down organic matter efficiently and without odor. Aim to turn your compost pile at least once every week or two, especially when it’s actively decomposing.
How to Aerate:
- Turning Tools: Use a pitchfork, compost aerator tool, or even a shovel to mix and turn the materials. The goal is to move the materials from the outside to the inside and vice versa.
- For Bins: If you have a tumbling composter, simply give it a few spins. For stationary bins, you might need to use a large fork or shovel to mix the contents from top to bottom.
- Signs of Poor Aeration: If you notice foul odors (like rotten eggs or sour milk), your pile is likely too dense and needs more air.
You don’t have to turn it every single day, but consistent turning makes a huge difference. It’s like giving your microbial workforce a fresh breath of air, and they’ll thank you by working faster and more effectively.
4. Chop It Up: Smaller Pieces = Faster Decomposition
The smaller the pieces of organic matter you add to your compost pile, the more surface area is exposed to the microbes. This means they can break it down much faster. Think of it like this: a whole apple will take much longer to decompose than an apple that’s been chopped into small pieces.
What to Chop:
- Larger vegetable scraps
- Stems and branches
- Cardboard and paper products
- Anything that looks like it will take a while to break down
DIY Tip: Keep a pair of sturdy kitchen shears or small pruning shears near your compost bin for quick chopping of kitchen scraps. For yard waste, a lawnmower can often shred leaves and small branches effectively.
5. Introduce Compost Microbe Boosters (Optional but Helpful!)
While a compost pile will eventually develop its own microbial community, you can give it a head start or a boost by adding inoculants. These are commercial products or even just a shovelful of finished compost from a healthy pile or rich garden soil.
What to Use:
- Finished Compost: A scoop of healthy, mature compost or good garden soil acts as a natural starter, introducing a diverse range of beneficial microbes.
- Commercial Compost Starters: Many garden centers sell products designed to kick-start composting. These often contain specific strains of bacteria and fungi. Follow the package instructions for best results.
- Yogurt or Buttermilk: While less common, some people have success adding a bit of plain yogurt or buttermilk. The lactic acid bacteria can help get the process going.
When to Use: It’s most beneficial to add these at the beginning of a new pile or if you have a pile that has been slow to start or has gone “stale.”
6. Pay Attention to Temperature
Temperature is a great indicator of microbial activity. A healthy, actively composting pile will heat up. This “hot composting” stage is crucial for killing weed seeds and pathogens. The optimal temperature for thermophilic composting is between 130°F and 160°F (55°C and 71°C).
How to Monitor:
- Feel the Heat: Stick your hand into the center of the pile. If it feels hot, your microbes are working hard!
- Compost Thermometer: For more precise monitoring, a compost thermometer is a useful tool. You can find these at most garden supply stores. They have a long probe that you can insert into the pile.
What to Do If It’s Not Heating Up:
- Check Moisture: Too dry? Add water.
- Check C:N Ratio: Too many browns? Add greens.
- Check Aeration: Needs turning? Turn the pile.
- Materials too Big: Chop them smaller.
If the pile gets too hot, it can kill off beneficial microbes. This usually happens if you add too many greens at once. If it overheats, the solution is often to turn it more frequently to dissipate some of the heat. For more information on the science behind compost temperatures, resources like the Michigan State University Extension offer excellent in-depth guides.
7. Consider Your Location and Bin Type
The environment your compost pile lives in also matters. Microbes thrive in a range of conditions, but some factors can help or hinder them.
Sun vs. Shade: In hotter climates, a shady spot is often better to prevent the pile from drying out too quickly. In cooler climates, a sunny spot can help kick-start the heating process, especially in spring and fall. Some people even use a dark-colored bin to absorb more solar heat.
Bin Type:
- Open Piles/Bins: These are great for aeration but can dry out faster and might be more appealing to pests if not managed well.
- Tumblers: These make turning easy and can speed up composting due to good aeration and heat retention.
- Closed Bins: These help retain moisture and heat and deter pests, but they often require more effort to aerate properly.
Whatever your setup, the principles of moisture, aeration, and C:N ratio remain the same. Adjust your management based on your specific bin and environment.
8. What NOT to Compost (and Why it Matters for Microbes)
Just as important as knowing what to add is knowing what to avoid. Some items can harm your microbial community, attract pests, or create toxic compost.
Avoid:
- Meat, fish, and dairy products: These attract pests and can create foul odors as they decompose slowly and anaerobically.
- Oils and fats: They coat materials, preventing air and water from reaching microbes, and can lead to anaerobic conditions.
- Diseased plants: If your compost doesn’t get hot enough, it might not kill the disease-causing pathogens, which could then spread to your garden.
- Weeds that have gone to seed: Similar to diseased plants, they may survive the composting process if the pile doesn’t reach high temperatures.
- Pet waste (dog and cat feces): These can contain harmful pathogens that aren’t always killed by standard composting temperatures for home gardeners. (Manure from herbivores is generally safe.)
- Chemically treated wood or yard waste: You don’t want these chemicals in your garden.
While not directly harmful to microbes, these items can disrupt the composting process and create an unusable, or even harmful, end product, which is the opposite of what our microbial friends are trying to help us achieve!
Troubleshooting Common Compost Problems
Even with the best intentions, you might encounter hiccups. Here’s a quick guide to common compost problems and their microbe-friendly solutions:
Problem: My compost smells awful!
Cause: Usually too much moisture and not enough air (anaerobic conditions). Think rotten eggs or strong ammonia.
Solution: Add plenty of dry, carbon-rich materials (browns) like shredded paper or dry leaves. Turn the pile thoroughly to introduce oxygen and help it dry out. If it smells like ammonia, there are too many greens; add more browns.
Problem: My compost is not decomposing and is just sitting there.
Cause: Could be too dry, not enough nitrogen (greens), or materials are too large. Microbes are inactive.
Solution: Check the moisture—add water if dry. Ensure you have a good mix of greens and browns. Chop larger materials into smaller pieces. If you suspect a lack of microbial life, add a shovel full of finished compost or garden soil to inoculate it with microbes.
Problem: My compost pile is too wet and slimy.
Cause: Too much moisture, often from too many kitchen scraps (greens) or rain.
Solution: Add a generous amount of dry brown materials (shredded cardboard, straw, dry leaves). Turn the pile thoroughly to mix everything and improve air circulation, helping it dry out.
Problem: I can’t seem to get my pile to heat up.
Cause: This often points to an imbalance. Could be too dry, too many browns, not enough greens, or a lack of nitrogen to fuel the thermophilic microbes.
Solution: Moisten the pile if it’s dry. Add some nitrogen-rich greens (like grass clippings or kitchen scraps). Ensure you’re turning it occasionally to help the process along. A pile that’s too small might also struggle to heat up; aim for at least a 3x3x3 foot (1 cubic meter

I am passionate about home engineering. I specialize in designing, installing, and maintaining heating, ventilation, and air conditioning systems. My goal is to help people stay comfortable in their homes all year long.