Ever felt like your kitchen scraps are just… going to waste? We toss them in the trash, and poof, they’re gone. But what if there was a super simple way to turn that food fuss into garden gold, right from your apartment? No smelly bins, no complicated setups. Just easy, breezy composting that makes both you and your plants happy. Stick around, because I’m about to show you how a “compost pile apartment” can be a total game-changer for effortless, eco-friendly living.
What Exactly is a “Compost Pile Apartment”?
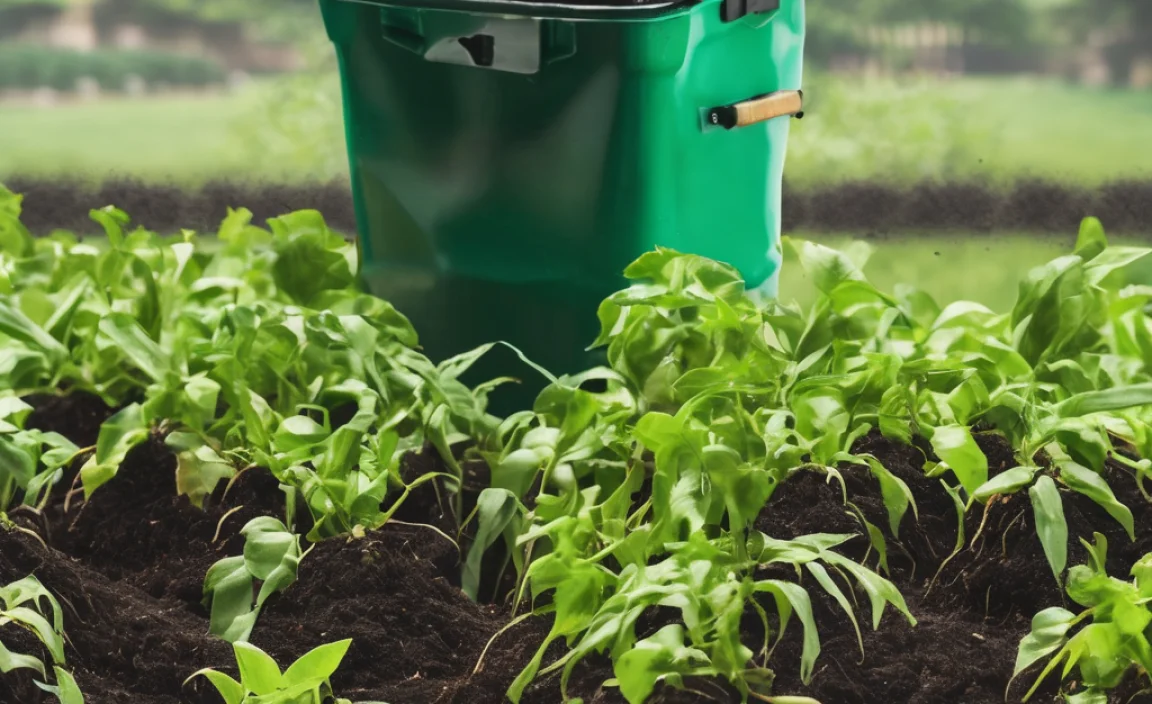
Okay, let’s clear the air. When I say “compost pile apartment,” I’m not picturing a massive heap of rotting leaves on your balcony! It’s a modern, contained approach to composting that’s perfect for smaller spaces. Think of it as a tiny, efficient composting system right inside your home or on your patio. It’s designed to be odor-free, pest-resistant, and incredibly low-maintenance. It’s all about making composting accessible, even if you don’t have a sprawling backyard.
Why is this such a hot topic? Because more and more people are living in apartments and realizing the impact of their waste. Plus, who doesn’t love the idea of producing their own super-rich fertilizer for houseplants, container gardens, or even just to give to a gardening friend? It’s a win-win for your wallet and the planet.
Why Go “Apartment Compost”? The Awesome Benefits
Before we dive into the “how-to,” let’s talk about why you’d even consider this. The benefits are pretty compelling, especially for apartment dwellers:
Reduce Your Trash, Boost Your Budget
- Less Waste: You’ll be amazed at how much food waste you divert from landfills. This means fewer trash bags and a lighter conscience.
- Free Fertilizer: Imagine never buying plant food again! Your compost is a nutrient-dense freebie for your greenery.
- Healthier Plants: Compost adds vital organic matter to soil, leading to stronger, more vibrant plants.
Eco-Love, Right at Home
- Lower Carbon Footprint: Food waste in landfills produces methane, a potent greenhouse gas. Composting significantly reduces this.
- Sustainable Living: It’s a tangible way to participate in a circular economy, where waste becomes a resource.
- Educate & Inspire: You become a mini-eco-hero, showing others that sustainable practices are possible anywhere.
The “Effortless” Factor
- Minimal Odor: Properly managed systems are virtually scent-free.
- Pest-Free: Sealed containers keep unwanted guests out.
- Space-Saving: Unlike traditional piles, these systems are designed for compact living.
- Quick Results: Many methods are faster than traditional backyard composting.
Choosing Your Apartment Composting Method: The Top Contenders
Not all apartment composting solutions are created equal. Here are the most popular and effective methods, broken down so you can pick the best fit for your lifestyle:
1. Worm Composting (Vermicomposting) – The Tiny, Hungry Workers
This is probably the most common and beginner-friendly method for apartment living. You use special composting worms (like Red Wigglers, Eisenia fetida) in a bin to break down food scraps. They eat, they poop, and their castings are pure gardening gold!
What You Need for Worm Composting:
- A Worm Bin: You can buy one or make your own. Look for bins with ventilation and drainage. The EPA provides great resources on waste reduction that composting fits into perfectly.
- Bedding: Shredded newspaper, cardboard, coconut coir, or peat moss. This gives the worms a cozy place to live and absorb moisture.
- Composting Worms: Red Wigglers are the superstars here. You can usually order them online.
- Food Scraps: Fruits, vegetables (no citrus in large amounts), coffee grounds, tea bags, crushed eggshells.
How it Works (Simple Version):
Dampen your bedding, add your worms, and then start feeding them small amounts of food scraps. They’ll munch away, and over a few months, you’ll have finished worm castings to harvest.
2. Bokashi Composting – The Fermenting Force
Bokashi is a bit different. It’s a fermentation process that uses a special Bokashi bran (inoculated with effective microorganisms, or EM) to pickle your food waste. It handles things worm bins can’t, like meat, dairy, and oils, and it’s faster.
What You Need for Bokashi:
- A Bokashi Bin: These are airtight containers with a spigot at the bottom to drain “Bokashi tea” (a nutrient-rich liquid).
- Bokashi Bran: The magic ingredient. You can buy this online.
- Food Scraps: Almost anything goes, including meat, dairy, and cooked foods.
How it Works (Simple Version):
You layer food scraps and Bokashi bran in the bin, ensuring it’s airtight. The microbes get to work fermenting everything. The Bokashi tea can be diluted and used as liquid fertilizer. Once the bin is full, you let it sit for a couple of weeks, and then the fermented material needs to be buried in soil (in a larger pot outdoors, or a community garden) to fully decompose. It doesn’t produce finished compost on its own but pre-composts material.
3. Electric Composters – The High-Tech Helper
These are countertop appliances that use heat, aeration, and agitation to break down food scraps into a dry, soil-like amendment in a matter of hours. They’re the fastest and most convenient, but also the most expensive.
What You Need for an Electric Composter:
- The Appliance: Brands like Lomi, Vitamix FoodCycler, or Pela all offer different models.
- A Power Outlet: That’s pretty much it!
How it Works (Simple Version):
You toss your food scraps (again, most types are okay, check the manual) into the machine, close the lid, and press a button. A few hours later, you have a dry, nutrient-rich compost. It’s incredibly simple but doesn’t have the same microbial benefits as traditional composting.
Let’s Get Green: Setting Up Your Apartment Compost Pile (Worm Bin Focus)
Since worm composting is the most popular and accessible for beginners, let’s walk through setting up a basic worm bin. It’s easier than you think!
Step-by-Step: Your First Worm Bin
-
Choose Your Bin Location:
Find a spot that’s out of direct sunlight and stays between 45-80°F (7-27°C). A closet, under the sink, or a shady corner of your balcony works well.
-
Prepare the Bedding:
Shred newspaper, cardboard (remove tape and glossy print), or use coconut coir. Moisten it until it’s damp, like a wrung-out sponge. Don’t make it soggy!
-
Set Up the Bin:
Place your bedding material in the worm bin. If you have a multi-layer bin, set up the bottom layer first. Ensure there are air holes.
-
Introduce Your Worms:
Gently place your Red Wigglers on top of the bedding. They’ll naturally burrow down to escape the light. Leave them for a day or two to settle in before feeding.
-
Start Feeding (Slowly!):
Dig a small “pocket” in the bedding and add a small amount of food scraps. Bury the scraps to avoid attracting fruit flies. Begin with small amounts – about 1/4 lb of food scraps per pound of worms per day is a general guideline. You can always add more once they’re established.
-
Monitor Moisture and Air:
Check the moisture level regularly. If it’s too dry, the worms might try to escape. If it’s too wet, it could get anaerobic and smelly. Ensure ventilation is good.
-
Harvest Your Castings:
After a few months, you’ll see dark, crumbly material – that’s your finished worm castings! There are several ways to harvest, but a simple method is to stop feeding one side of the bin and let the worms migrate to the fresh food on the other side. Then you can easily scoop out the finished compost.
What to Feed Your Worms (and What to Avoid)
Worms are picky eaters! Stick to these guidelines for happy worms and healthy compost:
Worm Buffet (Good Stuff!):
- Fruit and vegetable scraps (peels, cores, wilted greens)
- Coffee grounds and tea bags (remove staples/plastic)
- Crushed eggshells (helps buffer acidity)
- Plain cooked pasta or rice (in moderation)
- Bread (in moderation, avoid moldy bread)
Worm Warning (Avoid These!):
- Citrus peels (lemons, oranges, limes) – too acidic
- Spicy foods
- Onions and garlic (small amounts are okay for some worms, but best to avoid initially)
- Meat, fish, and dairy products (can attract pests and cause odors)
- Oily or greasy foods
- Processed foods
- Diseased or pest-ridden plant matter
- Pet waste
Troubleshooting Common Apartment Composting Pests
Even in a contained system, you might encounter a few little critters. Don’t panic! Most are harmless and signs of a healthy ecosystem, or easily fixed.
The Usual Suspects and Solutions:
-
Fruit Flies:
Why: Exposed food scraps, not burying food deep enough.
Fix: Bury food scraps completely under the bedding. Add more carbon-rich bedding (like shredded paper). You can also place a small cup with apple cider vinegar near the bin to trap them. -
Mites (Small, White or Brown):
Why: Often a sign of too much moisture or too much acidic food.
Fix: Add more dry carbon material (shredded newspaper, cardboard). Avoid adding citrus or acidic foods for a while. Gently stir the bedding. -
Odors (Smelly Bin):
Why: Too much food, not enough air, or too wet. The system is likely going sour or anaerobic.
Fix: Stop feeding for a week. Gently aerate the bin by fluffing the bedding. Add dry carbon material. Ensure drainage is clear and bedding isn’t saturated. -
Ants:
Why: Typically attracted to moisture or food escaping the bin.
Fix: Ensure the bin is sealed and doesn’t have food residue on the outside. Check that the bedding isn’t too wet. You can place the bin on “moats” of water (a shallow dish filled with water under each leg of the bin).
Remember, a little observation goes a long way. If your bin seems off, take a moment to assess what might be causing it.
Beyond Worms: Bokashi and Electric Composter Quick Guide
While worm composting is fantastic, let’s briefly touch on the others for completeness.
Bokashi Fast Facts:
- Pros: Handles meat/dairy, fast fermentation, produces liquid fertilizer (Bokashi tea).
- Cons: Requires purchasing Bokashi bran, fermented material needs further decomposition in soil.
- Ideal for: Those who want to compost almost all food waste and have a space to bury the fermented matter.
Electric Composter Fast Facts:
- Pros: Extremely fast (hours), very convenient, handles most food types, no smell.
- Cons: High upfront cost, uses electricity, doesn’t create the same microbial-rich compost as traditional methods.
- Ideal for: Busy individuals who prioritize speed and convenience and have the budget.
You can find great comparisons of home composting systems on sites like The Spruce, which offer detailed reviews and guides.
Harvesting and Using Your Apartment Compost
This is the reward! Whether it’s worm castings or the output from an electric composter, here’s how to use your homemade treasure.
Worm Castings: The Black Gold
Worm castings are dark, crumbly, nutrient-rich, and odorless. They are one of the finest soil amendments available.
- Potting Mix: Mix 1 part worm castings with 3-4 parts potting soil for your houseplants or container gardens.
- Top Dressing: Sprinkle a thin layer around the base of your plants.
- Compost Tea: Steep castings in water for 12-24 hours (with aeration) to create a liquid fertilizer.
Electric Composter Output: A Soil Amendment
The dried output from electric composters is a great soil amendment. It’s less concentrated but still beneficial.
- Soil Improvement: Mix it into your potting soil or garden beds to improve texture and aeration.
- Mulch: It can be used as a light mulch layer.
- Composting Booster: Add it to an outdoor compost pile if you have one or contribute it to a community garden.
Compost Pile Apartment: DIY vs. Store-Bought
When starting your apartment composting journey, you have a choice: DIY or buy a pre-made system. Both have their place.
DIY Options
- Pros: Cheaper, customizable, satisfying to build yourself.
- Cons: Can sometimes be less aesthetically pleasing, requires a bit more effort to get right.
- Examples: Stacking plastic totes with holes drilled for a worm bin, using a simple bucket system for Bokashi.
Store-Bought Options
- Pros: Often more aesthetically pleasing, designed for efficiency, comes with instructions.
- Cons: More expensive, less customizable.
- Examples: Specialized worm farm bins (like Urbalive, Worm Factory), pre-made Bokashi kits, electric composters.
For beginners, a store-bought worm bin can be a foolproof way to start. If you’re on a tight budget or love a good project, DIY is fantastic!
Table: Pros and Cons of Apartment Composting Methods
To help you decide, here’s a quick comparison:
| Method | Pros | Cons | Ease of Use (Beginner) |
|---|---|---|---|
| Worm Composting (Vermicomposting) | Produces nutrient-rich castings, low odor, relatively inexpensive to start, excellent for plant growth. | Cannot process meat/dairy/oils, requires specific worms, can be sensitive to temperature fluctuations. | High |
| Bokashi Composting | Handles all food waste (meat, dairy, oils), fast fermentation, produces liquid fertilizer, compact system. | Requires Bokashi bran purchase, fermented material needs burial, not finished compost directly. | Medium |
| Electric Composter | Extremely fast (hours), very convenient, processes most food waste, no odor, no mess. | High upfront cost, uses electricity, output has fewer beneficial microbes than biological methods. | Very High |
When is it “Finished”? Understanding Compost Maturity
Knowing when your compost is ready is key. For worm castings, it’s easy to recognize:
- Appearance: Dark brown, crumbly, and resembles coffee grounds.
- Texture: No recognizable food scraps left.
- Smell: Pleasant, earthy smell, like a forest floor. No sour or rotten odors.
- Worms: Ideally, most of the original worms have migrated away from the harvested areas.
For Bokashi, the “finished” fermented material will look like pickled food and smell vinegary. It needs to be buried in soil for another 2-4 weeks to fully break down into a compost-like material. Electric composter output is typically ready immediately and resembles dry soil.
Conclusion: Effortless Green Living Starts Here
There you have it! Turning your kitchen scraps into garden gold in an apartment is not just possible, it’s “genius, effortless living.” Whether you opt for the tiny, bustling world of worm composting, the efficient fermentation of Bokashi, or the speed of an electric composter, you’re taking a fantastic step towards a more sustainable home.
You’re reducing waste, creating a valuable resource, and connecting with nature, all from the comfort of your apartment. Don’t let the idea of composting intimidate you. Start small, be patient, observe your system, and you’ll soon be enjoying the benefits of your own homegrown, nutrient-rich compost. Happy composting!
FAQ: Your Apartment Composting Questions Answered
Here are some common questions people have when starting an “apartment compost pile.”
Q1: Will my apartment smell bad if I compost?
A: No, not if you’re doing it right! A well-managed worm bin or Bokashi system should not smell. If you get odors, it usually means there’s too much food, too much moisture, or not enough air. Electric composters are virtually odorless.
Q2: What kind of worms do I need for worm composting?
A: You need specific types of “composting worms” like Red Wigglers (Eisenia fetida) or European Nightcrawlers (Eisenia hortensis). Standard earthworms from your garden won’t thrive in a bin.
Q3: How much food waste can an apartment composter handle?
A: This varies greatly by system size. A small worm bin might handle a few cups of scraps per week, while larger systems or electric composters can handle several pounds. It’s always better to start slow and feed your system as it can process.
Q4: Do I need to buy special bins, or can I make my own?
A: You can absolutely make your own! Simple DIY worm bins from storage totes are very popular and cost-effective. For Bokashi, you can also find DIY instructions online, though specialized bins with spigots are very convenient.
Q5: Can I compost meat and dairy products in an apartment?
A: In a traditional worm bin, no. These can attract pests and cause odors. Bokashi systems are designed to handle meat, dairy, and oils, as are most electric composters.
Q6: How long does it take to get finished compost?
A: With worm composting, it typically takes 2-6 months from setup to your first harvest of castings. Bokashi fermentation takes about 2-3 weeks, followed by a few more weeks of decomposition. Electric composters finish in hours.
Q7: Can I put my finished compost directly on my plants?
A: Worm castings and electric composter output are generally safe to use directly or mixed with soil. Bokashi-fermented material must be buried in soil to finish decomposing before being used around plants, otherwise, it can burn them.

I am passionate about home engineering. I specialize in designing, installing, and maintaining heating, ventilation, and air conditioning systems. My goal is to help people stay comfortable in their homes all year long.