Got a balcony but dreaming of fresh tomatoes or herbs? Thinking composting is only for those with big yards? Think again! Many city dwellers feel like they’re missing out on the composting magic. It can seem complicated, messy, or just plain impossible in a small space. But what if I told you there’s a super simple, genius way to start your own compost pile right on your balcony? We’re going to break it down step-by-step, proving that fresh compost is totally achievable, no matter your living situation.
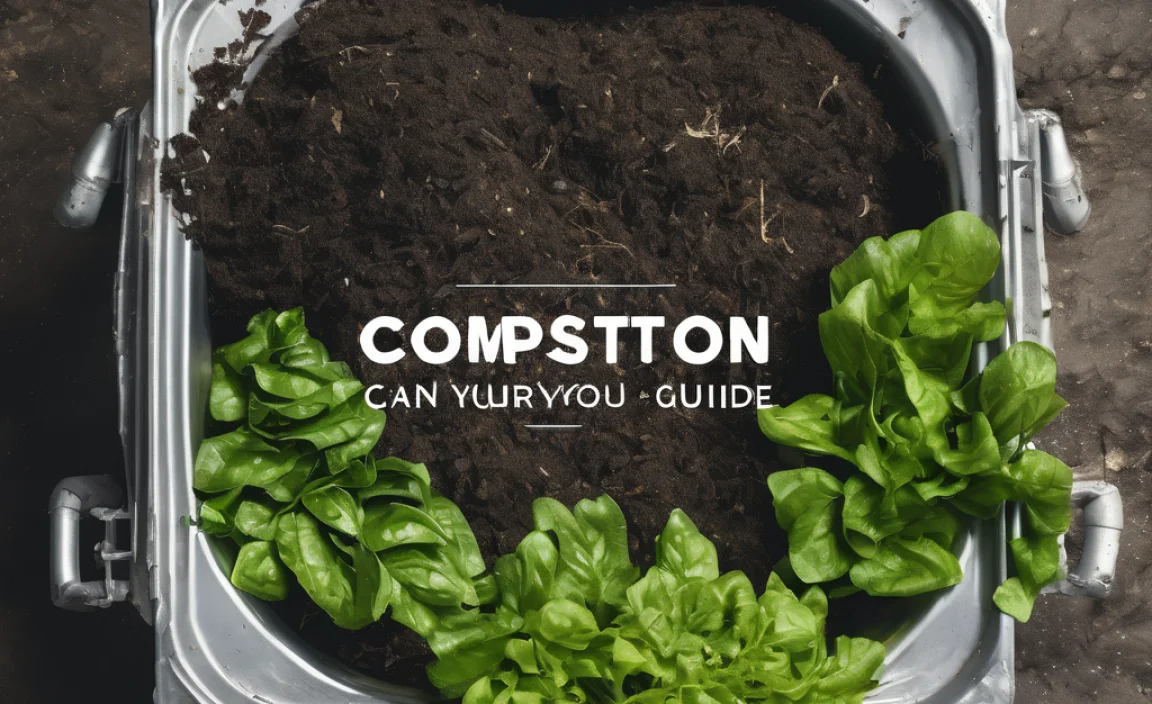
Balcony Composting: Your Green Thumb in the Sky
Who says you need acres of land to compost? With a few clever tricks and the right setup, your balcony can become a thriving hub for delicious, nutrient-rich compost. It’s like having a secret weapon for your potted plants, giving them the best possible start. Plus, it’s a fantastic way to reduce your food waste and feel good about your environmental impact. Let’s get this done!
Why Composting on Your Balcony Works
Many people think of a big, messy pile when they hear “compost.” That image doesn’t exactly scream “balcony-friendly,” right? But modern composting has evolved! For balconies, we’re talking about contained systems that manage odor and mess. Think compact bins, not sprawling heaps. This approach is perfect for:
- Apartment dwellers with limited outdoor space.
- Renters who can’t dig up a yard.
- Anyone who wants to try composting the easy way.
- People who want to enrich their container garden soil.
The key is choosing the right method and materials. We’ll focus on solutions that are tidy, efficient, and don’t require a lot of fuss. You’ll be amazed at how quickly you can turn kitchen scraps into garden gold.
Choosing Your Balcony Compost Bin: The Perfect Fit
This is where the “genius” part really kicks in. Not all compost bins are created equal, especially when space is at a premium. We need something that’s designed for smaller footprints, controls smell, and makes the process straightforward. Here are the top contenders for your balcony:
1. The Tumbler Composter
Imagine a sealed barrel on a stand that you can easily spin. That’s a tumbler! You add your materials, close it up, and give it a good turn every few days. This tumbling action aerates the compost and speeds up decomposition. They are usually enclosed, which helps keep smells contained and pests away. Many models are sleek and don’t look out of place on a modern balcony.
Pros:
- Fast composting (can be ready in weeks).
- Excellent for odor control.
- Keeps pests out.
- Easy to mix and aerate.
- Compact designs available.
Cons:
- Can be more expensive upfront.
- Requires manual effort to turn.
- Some models can be heavy when full.
2. The Stationary Bin (Compact Versions)
These are like smaller, more stylish versions of traditional compost bins. They sit in one place and you layer your materials inside. Look for bins specifically designed for balconies or small spaces; some are tall and narrow, fitting neatly into a corner. Many have a door at the bottom to access finished compost. Ventilation is usually built-in through small holes or a slatted design.
Pros:
- Generally more affordable than tumblers.
- Simple to use – just add and layer.
- Some models have easy access for finished compost.
Cons:
- Mixing and aeration might require a tool (like a compost aerator or pitchfork).
- Might take a bit longer to break down materials than tumblers.
- Odor control can be slightly less effective if not managed properly.
3. The Worm Composter (Vermicomposting)
This is a popular and highly effective method for small spaces. Worm bins use special composting worms (like red wigglers) to break down food scraps. They are typically stacked trays, with the worms migrating upwards as they consume the food and leave behind nutrient-rich castings. These bins are often very compact and can even be kept indoors if you have a very small balcony or prefer extra protection. Trust me, the little wormies are super efficient!
Pros:
- Extremely efficient at breaking down scraps.
- Produces high-quality compost (worm castings) and liquid fertilizer.
- Very low odor when managed correctly.
- Compact and aesthetically pleasing designs available.
- Can be started with a small investment.
Cons:
- Requires specific composting worms, not just any earthworm.
- Sensitive to extreme temperatures (can be an issue on very hot or cold balconies).
- Needs a specific diet for the worms (avoiding certain foods).
What to Look for in a Balcony Compost Bin: Our Top Picks Checklist
When you’re browsing, keep an eye out for these features that make balcony composting a breeze:
Size: Measure your balcony space first! You don’t want a bin that’s too big. Look for bins that are tall and narrow, or compact and square.
Material: UV-resistant plastic is common, durable, and easy to clean. Some are made from recycled materials, which is a nice bonus.
Ventilation: Good airflow is crucial for aerobic composting (the good kind that doesn’t smell). Look for vents or drilled holes.
Odor Control: Sealed lids and proper balancing of “greens” and “browns” (more on this later!) are key.
Ease of Use: Can you easily add materials? Can you access the finished compost without a major excavation? For tumblers, is it easy to turn?
Aesthetics: Let’s be honest; you want something that doesn’t look like an eyesore. Many modern bins come in neutral colors and sleek designs.
The “Effortless” Setup: Step-by-Step Guide
Setting up your “genius” balcony compost pile is surprisingly simple. We’ll cover the most common and forgiving method: a compact stationary bin or a tumbler, as worm composting has slightly different initial steps. The principles of what you put in remain the same!
Step 1: Choose Your Spot
Find a corner on your balcony that gets some sun but isn’t in direct, scorching heat all day. This helps the compost heat up naturally for faster breakdown, but too much heat can kill beneficial microbes and dry things out. Ensure it’s easily accessible for adding scraps and for turning/mixing. A spot with a bit of overhead cover can also protect it from heavy rain.
Step 2: Set Up Your Bin
Follow the manufacturer’s instructions for assembly. For stationary bins, place it directly on your balcony floor. Some prefer to elevate it slightly on bricks or a small pallet to improve airflow underneath and prevent moisture buildup on the balcony surface. For tumblers, ensure the stand is stable and level. If you’re using a worm bin, set up the trays according to its specific instructions.
Step 3: Gather Your Compostable Materials (The “Greens” and “Browns”)
This is the heart of composting. You need a good mix of nitrogen-rich materials (“greens”) and carbon-rich materials (“browns”). Aim for a ratio of about 2 parts browns to 1 part greens. This balance is crucial for efficient composting and preventing smells.
Greens (Nitrogen-Rich):
- Fruit and vegetable scraps (peels, cores, rinds, wilted produce)
- Coffee grounds and tea bags
- Grass clippings (in thin layers)
- Plant trimmings (non-diseased)
- Eggshells (crushed)
Browns (Carbon-Rich):
- Dry leaves
- Shredded newspaper (black and white ink is fine)
- Cardboard (torn into small pieces, no glossy or plastic coatings)
- Paper towel and toilet paper rolls
- Wood chips or sawdust (in moderation)
- Brown paper bags
What NOT to Compost (Especially on a Balcony):
- Meat, fish, and bones (attract pests, cause odors)
- Dairy products (same reasons as meat)
- Oily or greasy foods
- Diseased plants
- Pet waste (cat or dog feces)
- Weeds that have gone to seed
- Chemically treated yard waste
- Glossy paper or colored inks
Step 4: Start Layering!
Begin with a layer of browns at the bottom of your bin. This helps absorb moisture and provides airflow. Then, start adding your kitchen scraps (greens) mixed with more shredded browns. A good method is to add a layer of greens, then cover it completely with a layer of browns. This is your first defense against flies and odors.
Pro Tip: Keep a small container with a lid in your kitchen for collecting scraps. When it’s full, take it out to your balcony bin and add it, making sure to cover it with browns.
Step 5: Moisture Management
Your compost pile needs to be moist, but not soaking wet. It should feel like a wrung-out sponge. If it’s too dry, decomposition slows down. If it’s too wet, it can turn anaerobic and smelly. You can test this by grabbing a handful and squeezing. If water drips out, it’s too wet. If it crumbles apart, it’s too dry.
Adding Water: If too dry, sprinkle in some water and mix. For stationary bins, you might add a cup or two of water and mix. For tumblers, some have small water ports, or you can open the lid and sprinkle. Remember, wet kitchen scraps add moisture too.
Draining Excess Moisture: If it’s too wet, add more dry brown materials (shredded paper, dry leaves) and mix thoroughly. Ensure your bin has drainage holes.
Step 6: Aeration and Mixing
This is vital for healthy compost. Without air, the process can become slow and stinky.
For Tumblers: Give the tumbler a good spin for 1-2 minutes every 2-3 days. This is the easiest aeration method!
For Stationary Bins: Use a compost aerator tool or a small garden fork to mix and turn the contents every 1-2 weeks. Try to bring the material from the bottom to the top and vice-versa.
For Worm Bins: Gently turn the top layers or add new food in a different spot to avoid disturbing the worms too much. The worms naturally aerate, but adding new food helps!
Step 7: Patience and Observation
Composting takes time. Depending on your bin type, temperature, and the mix of materials, it can take anywhere from a few weeks to a few months for compost to be ready. You’ll know it’s ready when it’s dark, crumbly, and smells earthy, like a forest floor. You shouldn’t be able to identify the original food scraps.
Keep an eye (and nose!) on your compost. If it smells like ammonia, you likely have too many greens. If it smells rotten, it’s too wet or not getting enough air. Adjust your “greens/browns” ratio or aeration accordingly.
Compost Pile Balcony: The Best Materials for Success
Choosing the right things to throw into your balcony compost bin is just as important as the bin itself. Here’s a quick rundown of what works best and what to avoid to keep your balcony compost happy and stink-free.
What Goes In: Your Compost Buffet
Think of your compost bin as hungry for a balanced meal. You need a variety of inputs to make it work well.
- Kitchen Scraps: All those fruit and veggie peels, coffee grounds, and tea leaves are gold! They provide nitrogen (the “greens”) and moisture. Chop them up into smaller pieces; they’ll break down faster.
- Paper and Cardboard: Torn-up newspaper (avoid glossy magazines), paper towels, and plain cardboard boxes are fantastic “browns.” They add carbon and absorb excess moisture.
- Yard Waste: If you have a small balcony garden, your pruned leaves or spent flowers can go in, as long as they aren’t diseased. Small amounts of grass clippings are also good, but add them thinly so they don’t clump and rot.
- Eggshells: These add calcium, but make sure to crush them well to help them decompose.
What to Leave Out: Compost No-Nos
Some items can cause unpleasant smells, attract pests, or simply won’t break down properly on a balcony.
- Meat, Dairy, and Oily Foods: These are the biggest culprits for attracting unwanted visitors like rodents and flies, and they can make your compost smell rancid. It’s best to avoid them entirely in a small-scale balcony setup.
- Diseased Plants: You don’t want to spread plant diseases. If your plants are sick, toss them in the regular trash.
- Weeds That Have Gone to Seed: Similar to diseased plants, these can result in a weed takeover in your compost or garden if they aren’t fully decomposed.
- Pet Waste: Dog and cat feces can contain pathogens harmful to humans and aren’t suitable for compost used on food crops.
- Chemically Treated Materials: Anything sprayed with pesticides or herbicides can harm the composting microbes and contaminate your finished compost.
The Magic Ratio: Balancing Greens and Browns
Getting the mix right is crucial for that “effortless” vibe. Too much of one thing can lead to problems. Here’s a simple way to think about it:
Greens = Wet & Nitrogen-Rich: These are your kitchen scraps, grass clippings. They provide nitrogen, which helps the microorganisms multiply and heat up the pile.
Browns = Dry & Carbon-Rich: These are your leaves, shredded paper, cardboard. They provide carbon, which is the energy source for those microorganisms, and they help with airflow and absorb excess moisture.
The Ideal Mix: Think of it like making a cake. You don’t just use flour; you need liquids and other ingredients too. A good starting point is about 2 parts Browns to 1 part Greens by volume. If your bin seems too wet and smelly, add more browns. If it’s not heating up and seems sluggish, add more greens (and mix well!).
Visualizing the Ratio:
| Material Type | Examples | Role | Proportion |
|---|---|---|---|
| Greens (Nitrogen) | Fruit & Veggie Scraps, Coffee Grounds, Grass Clippings | Heat, Microbe Food | 1 part |
| Browns (Carbon) | Dry Leaves, Shredded Paper/Cardboard, Twigs | Energy, Airflow, Moisture Absorption | 2 parts |
This ratio is a guideline, not a strict rule. You’ll get a feel for it as you go. Don’t be afraid to experiment a little!
Troubleshooting Your Balcony Compost Pile
Even with the best intentions, your compost pile might throw a little curveball. Don’t worry; these are usually easy fixes! Think of it as fine-tuning your system.
Problem: My compost smells bad (rotten egg or ammonia smell).
Why it happens: Too much moisture, not enough air, or too many greens.
Solution: Add more brown materials (shredded paper, dry leaves) to soak up excess moisture and improve airflow. Give the pile a good mix to introduce air. If the smell is strongly of ammonia, you definitely need more browns.
Problem: It’s not breaking down, it’s really slow.
Why it happens: Too dry, not enough greens, or the pieces are too large.
Solution: Check the moisture level; it should be like a damp sponge. If too dry, add a little water and mix. Ensure you have a good balance of greens. Chop larger food scraps into smaller pieces. For tumblers, make sure you’re turning it regularly. For stationary bins, try aerating more often.
Problem: I’m seeing fruit flies or other small bugs.
Why it happens: Exposed food scraps or the pile is too wet.

I am passionate about home engineering. I specialize in designing, installing, and maintaining heating, ventilation, and air conditioning systems. My goal is to help people stay comfortable in their homes all year long.