Looking to turn kitchen scraps and yard trimmings into garden gold without breaking the bank? You’re not alone! Many people think composting needs fancy bins or a big budget, but that’s just not true. We’ll show you how to build a super effective compost pile for next to nothing, using items you probably already have or can get for free. Get ready to boost your garden’s health and reduce your waste, the affordable way!
Compost Pile Cheap: Your Genius, Affordable Guide

Hey neighbors! Troy D Harn here from TopChooser. I’ve always loved getting my hands dirty in the garden, and one of the biggest game-changers for me was learning how to compost. It’s like a magic trick – you feed it your leftovers, and it gives you incredible, nutrient-rich food for your plants. But who wants to spend a small fortune on a fancy compost bin? Not me, and I bet not you either! That’s why today, we’re diving deep into how to create a fantastic compost pile that’s incredibly cheap, super effective, and surprisingly easy to manage. We’ll cover everything from what materials to use to how to get your pile cooking. Let’s get this dirt party started!
Why Bother With Composting? It’s Easier (and Cheaper!) Than You Think!
Before we get into the “how,” let’s quickly cover the “why.” Composting is a natural process where organic materials decompose and transform into a dark, crumbly, soil-like substance called compost or humus. This “black gold” is a powerhouse for your garden. It:
- Improves soil structure: Helps sandy soil hold water and makes clay soil drain better.
- Enriches soil with nutrients: A natural fertilizer that feeds your plants.
- Reduces the need for chemical fertilizers: Saves you money and is better for the environment.
- Helps retain moisture: Means you’ll water your garden less.
- Suppresses plant diseases and pests: Healthier plants are tougher plants!
- Reduces landfill waste: A fantastic way to be more eco-friendly right at home.
And the best part? You don’t need a fancy, store-bought bin to achieve all these benefits. A simple, well-managed compost pile can be just as effective, if not more so, and it costs next to nothing to set up.
What’s In – And What’s Out? Your Compost Recipe
Think of composting like making a balanced meal. You need the right mix of ingredients to get things working smoothly. We talk about compost ingredients in terms of “greens” and “browns.”
“Greens” – The Nitrogen Rich Stuff
These are generally moist materials that break down quickly and provide nitrogen, which is food for the microorganisms doing the composting work. They give your pile that initial “oomph.”
- Fruit and vegetable scraps (peels, cores, rinds)
- Coffee grounds and paper filters
- Tea bags (remove any staples or plastic tags)
- Grass clippings (use in thin layers to avoid matting)
- Plant trimmings (non-diseased)
- Old flowers
- Eggshells (crushed)
- Manure from herbivores (chicken, rabbit, cow, horse – aged is best)
“Browns” – The Carbon Rich Stuff
These are drier, bulkier materials that provide carbon. They give the pile structure, allow air to circulate, and prevent it from becoming a slimy, smelly mess.
- Dried leaves
- Straw or hay
- Shredded newspaper or plain cardboard (avoid glossy or colored inks)
- Twigs and small branches (chopped or shredded make them break down faster)
- Sawdust or wood shavings (from untreated wood only, use sparingly)
- Pine needles (use in moderation as they can be acidic)
- Dryer lint (from natural fibers like cotton)
What to Absolutely Avoid
Some things just don’t belong in a home compost pile. Putting them in can attract pests, create foul odors, or spread disease.
- Meat, fish, and bones
- Dairy products (cheese, yogurt, milk)
- Oily or greasy foods
- Diseased plants or weeds that have gone to seed
- Pet waste (dog or cat feces – can contain pathogens)
- Treated lumber or sawdust from treated wood
- Coal or charcoal ash
- Synthetic materials (plastics, foams)
The Magic Ratio: Greens to Browns
The ideal compost pile is a balance between greens and browns. A good rule of thumb is to aim for roughly 2 parts Browns to 1 part Greens by volume. Don’t get too hung up on exact measurements; it’s more about a visual balance. If your pile seems too wet and smelly, add more browns. If it’s dry and not breaking down, add more greens and moisture.
Think about it this way: Greens provide the fuel (nitrogen) for the decomposers, while Browns provide the air pockets and steady fuel supply (carbon) so the process can work efficiently without getting bogged down.
Building Your Cheap Compost Pile: The “No-Bin” Method
This is where we get truly budget-friendly. You don’t need a fancy bin. You can simply create a heap on the ground!
Step 1: Choose Your Location
Find a convenient spot in your yard that’s relatively level and has decent drainage. Direct sunlight is okay, but some shade can help keep it from drying out too quickly. Make sure it’s accessible for adding materials and eventually for shoveling out finished compost. You’ll typically want a space at least 3 feet by 3 feet.
Step 2: Start with a Brown Base
Lay down a layer of coarse brown materials on the ground, like small twigs or straw. This helps with aeration and allows excess moisture to drain away.
Step 3: Layer Your Greens and Browns
Now, start adding your kitchen scraps (greens) and yard waste (browns). The key is to alternate layers, just like you’re making lasagna. A good pattern would be:
- A layer of Browns (about 4-6 inches thick)
- A layer of Greens (about 2-4 inches thick)
- Water lightly if materials are dry.
- Repeat layers until you run out of materials for the day or have a decent pile built up.
Try to finish with a layer of browns on top. This helps to deter flies and contain odors.
Step 4: Keep it Moist
Your compost pile needs to be about as damp as a wrung-out sponge. If you live in a dry climate or it’s been hot, you’ll need to water it regularly. If you see rain frequently, you might not need to do much watering. If you can squeeze a bit of water from a handful of compost, it’s probably just right. If water runs out, it’s too wet. If it crumbles apart, it’s too dry.
Step 5: Aerate Your Pile (The Turning Part)
Composting organisms need air to survive and do their work. Turning your compost pile regularly helps introduce oxygen and speeds up decomposition. You can use a garden fork or a shovel to mix the outer layers into the center and the inner layers to the outside. How often? Ideally, once a week or every other week. If you’re less concerned about speed, turning it once a month will still get the job done, just slower.
A simple way to think about turning: take what’s on the outside and shovel it into the middle. Then take what’s in the middle and put it on the outside. Easy peasy!
Alternative Cheap Compost Systems
While the open pile method is the most basic and cheapest, here are a couple of other low-cost options if you have specific needs:
The Simple Wire Bin
This is still incredibly affordable. All you need is a length of hardware cloth or chicken wire (3-4 feet tall) and some zip ties or wire to fasten the ends together, forming a cylinder. You can also use wooden stakes to secure it.
Pros:
- Keeps materials contained better than an open pile.
- Good airflow.
- Very inexpensive to build.
Cons:
- Requires turning with a fork to mix.
- Can dry out quickly on the sides.
- Less aesthetically pleasing to some.
Pallet Compost Bin
You can often find free wooden pallets from local businesses, construction sites, or online marketplaces like Craigslist or Facebook Marketplace. You’ll need 3 or 4 pallets.
- Stand three pallets up to form three sides of a square.
- Fasten them together at the corners using screws, sturdy wire, or zip ties.
- You can leave the fourth side open for easy access, or add a fourth pallet (secured loosely) so you can remove it for turning.
Pros:
- Uses free or very cheap materials.
- Creates a sturdy, contained bin.
- Good for larger gardens.
Cons:
- Can be heavy and cumbersome to move.
- Requires basic tools for assembly.
- Wood will eventually rot.
For all these methods, you can use a tool like a compost aerator ($20-$30) if you really want to avoid turning with a fork, but it’s not essential for a cheap setup.
Troubleshooting Common Compost Pile Problems
Even with the best intentions, sometimes your compost pile throws a curveball. Here are a few common issues and their simple fixes:
| Problem | Cause | Solution |
|---|---|---|
| The pile smells bad (like rotten eggs or ammonia) | Too many “greens” (nitrogen-rich materials) or it’s too wet, leading to anaerobic (low-oxygen) decomposition. | Add more “browns” (carbon-rich, dry materials) like shredded cardboard, leaves, or straw. Turn the pile thoroughly to introduce air. Ensure it’s not waterlogged. |
| The pile isn’t heating up or breaking down | Too many “browns,” not enough “greens,” too dry, or not enough volume. Composting organisms need nitrogen and moisture to thrive. Your pile needs to be at least 3x3x3 feet to hold heat effectively. | Add more “greens” like kitchen scraps or grass clippings. Water the pile if it’s dry. Turn the pile to mix ingredients and distribute moisture. If the pile is too small, add more material. |
| The pile is attracting pests (flies, rodents) | Exposed food scraps, meat/dairy/oily food added, or pile is too wet. | Always bury fresh kitchen scraps in the center of the pile, covering them with browns. Avoid adding prohibited items (meat, dairy, oils). Ensure the pile isn’t overly wet. Adding a layer of straw or leaves on top can deter some pests. If pests become a serious issue, consider a more enclosed bin system. |
| The pile is too dry | Not enough moisture, too much sun, or too many brown materials. | Sprinkle the pile with water while turning it. Start adding more “greens.” Cover the pile with a tarp during hot, dry spells to retain moisture. |
Remember, building great compost is a process. Don’t get discouraged if your first attempt isn’t perfect. Every pile is a learning experience!
When Is My Compost Ready?
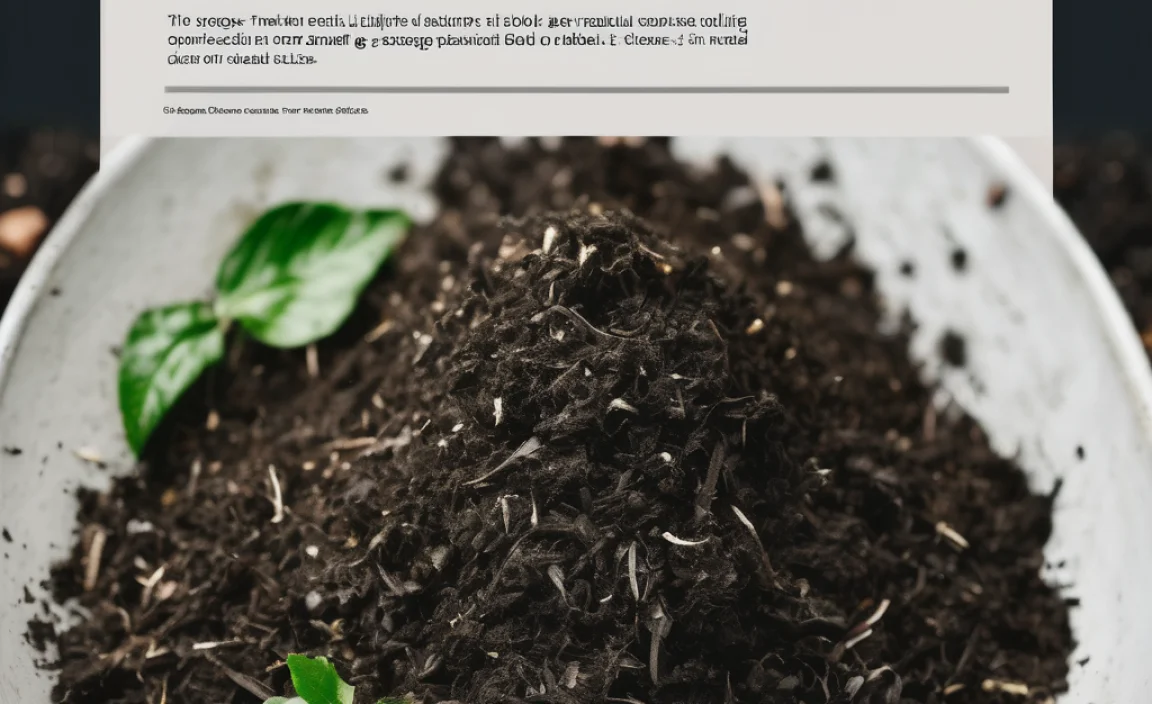
Your ready-to-use compost will be dark brown or black, crumbly, and will smell earthy and pleasant – like a forest floor after rain. You shouldn’t be able to recognize the original materials you put in (though you might see a stray eggshell or two). The time it takes varies greatly depending on how often you turn it, the mix of materials, and the weather, but typically:
- Hot, actively managed piles (turned weekly): 2-3 months
- Cooler, less actively managed piles (turned monthly or less): 6 months to a year
You can use finished compost to top-dress your garden beds, mix it into potting soil, or use it as a mulch. Your plants will thank you!
The Eco-Friendly Advantage: Why Cheap is Smart
Choosing a cheap compost pile isn’t just about saving money; it’s about embracing resourcefulness and sustainability. By diverting waste from landfills, you’re reducing methane gas production, a potent greenhouse gas. You’re also creating a valuable soil amendment that improves your garden’s health without resorting to synthetic fertilizers, which can be costly and have environmental drawbacks. According to the EPA, composting is a key strategy for waste reduction. By creating your own nutrient-rich soil amendment, you’re closing the loop, turning waste into a resource that nourishes your plants and soil naturally.
Plus, the “no-bin” or DIY bin approach encourages a deeper understanding of the natural decomposition process. You become more attuned to what your compost needs, leading to a more rewarding gardening experience. It’s about working smarter, not harder, and definitely not more expensively!
Frequently Asked Questions About Cheap Composting
Q1: Can I really compost just by making a pile on the ground? Won’t it just spread out everywhere?
A1: Yes, you absolutely can! If you maintain a decent size pile (at least 3x3x3 feet) and keep it reasonably contained, it generally stays put. The sides might look a little rough, but that doesn’t affect its composting ability. For better containment, consider the wire or pallet bin options described earlier.
Q2: My compost pile smells bad. What did I do wrong?
A2: A stinky compost pile usually means it’s too wet and lacking air, or it has too many “greens” (nitrogen). Try adding more dry “brown” materials like leaves or shredded cardboard and turn the pile well to introduce air. Make sure you’re not adding prohibited items like meat or dairy.
Q3: How often do I need to turn my compost pile?
A3: To speed up decomposition and ensure good airflow, turning it every 1-2 weeks is ideal. However, if you’re not in a hurry, turning it once a month or even less will still result in compost, just at a slower pace. Regular turning is key for a “hot” compost pile. For a “cold” pile, you can essentially just add materials and let nature take its course over a longer period.
Q4: Can I compost yard waste like twigs and branches?
A4: Yes, but with a caveat! Larger woody materials will take much longer to break down. It’s best to chop them into smaller pieces (1-2 inches) or shred them if possible. They are excellent “brown” materials and provide crucial structure and airflow, but they won’t decompose quickly on their own. They are best mixed in with faster-decomposing “green” materials.
Q5: My compost pile isn’t getting hot. Is it broken?
A5: Don’t worry! An inactive pile not generating heat is usually a sign of an imbalance. It might be too dry, need more green materials, or simply be too small to build up sufficient heat. Add moisture if dry, mix in some kitchen scraps or grass clippings if it’s mostly browns, and ensure your pile is at least 3 feet wide and tall to help retain heat.
Q6: How long does it take to get finished compost?
A6: It can take anywhere from 2-3 months for a very actively managed, “hot” pile that’s turned frequently, to 6-12 months for a “cold” pile that receives less attention. The best indicator is the appearance and smell: it should be dark, crumbly, and smell earthy.
Q7: Can I put grass clippings in my compost pile?
A7: Yes, grass clippings are a fantastic “green” (nitrogen-rich) ingredient! However, it’s important to add them in thin layers, mixing them with “brown” materials. Thick layers of grass clippings can mat together, blocking airflow and leading to a slimy, smelly pile. It’s also best to let them dry slightly for a day if possible before adding them.
Conclusion: Your Wallet-Friendly Path to Garden Nirvana
There you have it! Composting doesn’t require fancy

I am passionate about home engineering. I specialize in designing, installing, and maintaining heating, ventilation, and air conditioning systems. My goal is to help people stay comfortable in their homes all year long.