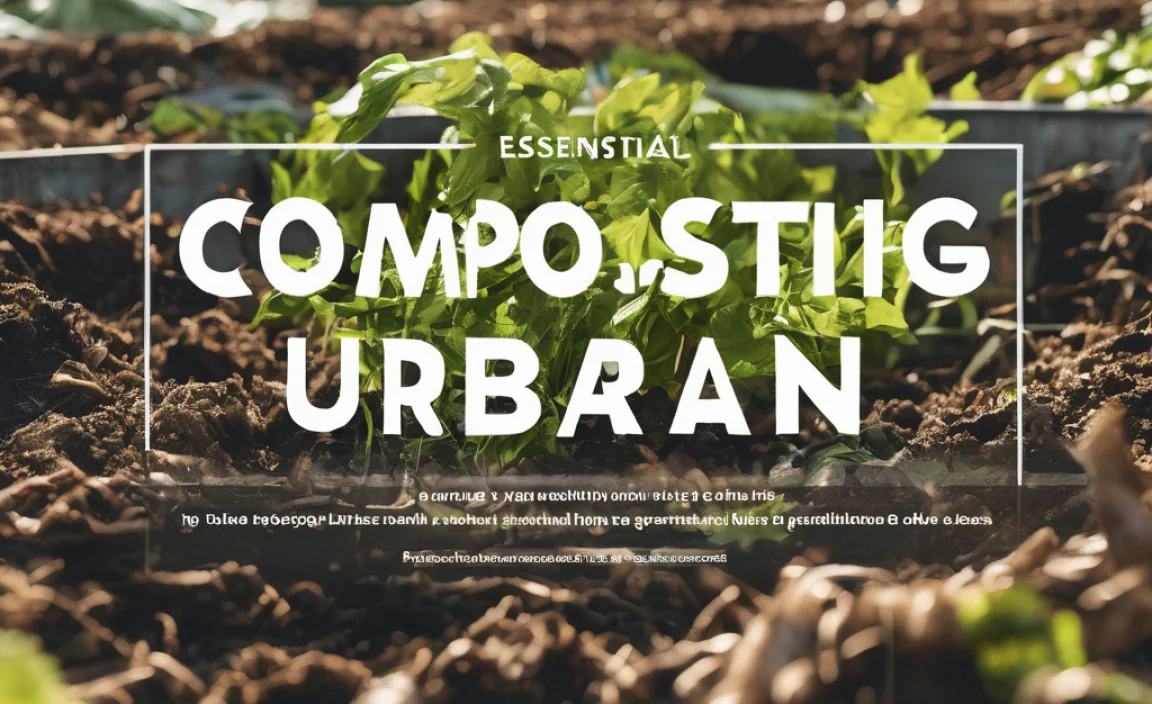
Ever felt a little overwhelmed by the idea of composting? You’re not alone! Many folks think it’s complicated, messy, or just takes too much work. But what if I told you it could be super simple and incredibly rewarding for your garden? I’m Troy D Harn, and my goal is to make things like composting easy to understand and even easier to do. We’re going to break down different ways to build a compost pile, making it effortless for even the busiest gardener. Get ready to turn kitchen scraps and yard waste into black gold for your plants!
Compost Pile Methods: Turning Waste into Garden Gold
Hey there, fellow garden enthusiasts and DIYers! Troy D Harn here from TopChooser. If you’ve got a garden, you know how much joy it brings. And what makes a garden truly thrive? Healthy soil! Composting is one of the absolute best ways to boost that soil health without spending a fortune. It’s like upgrading your garden’s diet with the finest, homemade superfood. But maybe you’ve heard that composting is a big, complicated chore. I’m here to tell you it doesn’t have to be! We’re going to explore some tried-and-true compost pile methods that are surprisingly simple and get fantastic results. Ready to ditch the synthetic fertilizers and embrace nature’s recycling program? Let’s get started.
Why Bother with a Compost Pile? The Big Benefits
Before we dive into the “how,” let’s chat about the “why.” Making your own compost might seem like an extra step, but trust me, the payoff is huge. It’s like giving your garden a multivitamin and a spa day all at once!
- Supercharges Your Soil: Compost is packed with nutrients that plants absolutely love. It improves soil structure, helping sandy soil hold onto moisture and heavy clay soil drain better.
- Reduces Waste: Think about all those kitchen scraps and yard trimmings you toss. Composting diverts a significant amount of waste from landfills, which is great for the environment. Who knew your banana peels could be so heroic?
- Saves Money: Buying bags of fertilizer and soil amendments can add up. Making your own compost is practically free! Your wallet will thank you.
- Healthier Plants: Nutrient-rich soil leads to stronger, healthier, more disease-resistant plants. That means more blooms, bigger veggies, and happier greenery all around.
- Water Conservation: Compost acts like a sponge, helping your soil retain moisture. This means you’ll need to water less often, a win for both your plants and your water bill.
Understanding the Ingredients: What Goes In?
Think of composting like baking a cake or, even better, building a perfectly balanced meal for your soil. You need the right mix of ingredients. These fall into two main categories: “Greens” and “Browns.”
The “Greens” (Nitrogen-Rich Materials)
“Greens” are typically moist materials that provide nitrogen. They help heat up the compost pile, which speeds up decomposition. Don’t worry, “green” doesn’t always mean the color green here!
- Fruit and vegetable scraps (peels, cores, rinds)
- Coffee grounds and tea bags
- Grass clippings (in thin layers to avoid matting)
- Plant trimmings (non-diseased)
- Manure from herbivores (cows, horses, chickens, rabbits – ensure it’s aged if possible)
- Seaweed
The “Browns” (Carbon-Rich Materials)
“Browns” are usually dry, woody materials that offer carbon. They provide bulk and allow air to circulate through the pile. This is like the flour and sugar in our baking analogy – it gives it structure.
- Dry leaves
- Straw and hay
- Shredded newspaper and cardboard (avoid glossy paper and colored inks if possible)
- Wood chips and sawdust (use in moderation, especially from treated wood)
- Pine needles
- Eggshells (crushed)
- Corn stalks
What to Keep Out (or Be Careful With)
Some things are best left out of your compost pile to avoid attracting pests, spreading disease, or creating bad odors.
- Meat, bones, and dairy products (attract pests, smell bad)
- Oily or greasy foods
- Diseased plants (to avoid spreading disease)
- Weeds that have gone to seed (unless your pile gets very hot)
- Pet waste (from cats and dogs – can contain pathogens)
- Treated wood or sawdust
- Coal or charcoal ash
Choosing Your Compost Pile Method: The Best Fit for You
There isn’t a single “right” way to compost. The best method depends on your space, how much time you have, and how much material you generate. We’ll cover a few popular and effective ways to get started.
Method 1: The Simple Open Pile (The “Set It and Forget It” Approach)
This is the most basic method. You essentially create a heap of organic materials in a corner of your yard. It’s low-effort and great if you have plenty of space.
How to do it:
- Choose a spot: Find an out-of-the-way location in your yard that gets some sun but isn’t in direct, scorching heat all day. Good drainage is key.
- Start layering: Begin with a thick base layer of “browns” like twigs or straw. This helps with airflow. Then, start adding alternating layers of “greens” and “browns.” Aim for a ratio of about 2-3 parts browns to 1 part greens.
- Size matters: An ideal open pile is at least 3x3x3 feet. This size helps the pile retain heat, which speeds up decomposition.
- Moisten: Keep the pile about as damp as a wrung-out sponge. If it’s too dry, add water. If it’s too wet, add more browns and turn it.
- Turning: This method is less hands-on with turning. Ideally, you’d turn the pile with a pitchfork every few weeks or months to aerate it and speed things up. However, you can get by with minimal turning, it will just take longer.
Pros:
- Extremely simple, requires minimal upfront effort.
- Can handle large volumes of material.
- No special bins or equipment needed.
Cons:
- Can look untidy if not managed well.
- Takes longer to break down than managed piles.
- Might attract pests if not balanced or turned.
Method 2: The Compost Bin (Neat and Contained)
Compost bins are a popular choice because they keep things tidy and can speed up the composting process. They come in various forms, from simple DIY structures to store-bought tumblers.
DIY Compost Bin (Pallet Bin)
This is a fantastic, budget-friendly option that’s easy to build.
What you’ll need:
- 4 wooden pallets (often available for free from local businesses)
- Wire, zip ties, or screws to hold them together
- Optional: Wire mesh for the sides if there are large gaps
How to build and use:
- Arrange pallets: Stand three pallets on their edges to form three sides of a square.
- Connect sides: Securely fasten the pallets together at the corners using wire, strong zip ties, or screws.
- Add the fourth side: Place the fourth pallet across the front. You can either fasten it permanently, or leave it loose and attached with hinges, or simply wire it in place so it can be opened for easy access.
- Fill and manage: Start layering your greens and browns as described for the open pile. Aim for the 2-3 parts browns to 1 part greens ratio.
- Turning: You’ll need to turn the compost every 1-2 weeks for faster results. You can do this by forking material from one side to the other within the bin, or by moving the material to a new bin if you have two.
Store-Bought Compost Bins (Stationary)
These are often made of plastic, are durable, and designed to hold heat and moisture well. Many have lids and bottom access doors.
How to use:
- Assembly: Follow the manufacturer’s instructions for assembly (usually quite simple).
- Location: Place it on bare soil in a convenient spot.
- Layering: Add your greens and browns, maintaining that ideal ratio.
- Moisture: Check moisture levels regularly and add water if needed. The enclosed nature helps retain moisture, so be mindful not to overwater.
- Turning: Most stationary bins require you to turn the compost with a pitchfork or compost aerator tool. Some have mechanisms to help, but manual turning is often still the most effective.
Store-Bought Compost Tumblers
These are a step up in convenience and speed. They are enclosed drums that rotate on an axle, making turning incredibly easy. Tumblers also heat up quickly and can produce compost faster.
How to use:
- Setup: Assemble according to instructions.
- Filling: Add your greens and browns. Don’t overfill, as it makes tumbling difficult.
- Tumbling: Rotate the drum every few days. It’s a workout, but a fun one!
- Moisture: Tumblers retain moisture well, so it’s less likely to dry out. Ensure it’s not too saturated, which can lead to odors.
- Patience: While faster than other methods, it still takes weeks to months depending on the temperature and how often you turn it.
Pros of Compost Bins (General):
- Keeps the compost tidy and contained.
- Can help retain heat and moisture for faster decomposition.
- Helps deter some pests.
- Tumblers make turning easy and fast.
Cons of Compost Bins (General):
- Requires some initial investment or building effort.
- Capacity can be limited, especially for smaller bins or tumblers.
- May require more active management (turning).
Method 3: The Worm Composting (Vermicomposting) – A Special Kind of Magic
This is a bit different but incredibly effective, especially if you have limited outdoor space or want to compost primarily kitchen scraps. It uses specific types of worms (red wigglers, not earthworms) to break down food waste.
What you’ll need:
- A worm bin (can be purchased or DIY from plastic bins)
- Bedding material (shredded newspaper, coconut coir, peat moss)
- Red wiggler worms (Eisenia fetida)
- Food scraps (limited fruit/veg, coffee grounds, tea bags – avoid citrus and onions in large quantities)
- A dark, temperature-controlled location (garage, basement, under sink)
How to do it:
- Set up the bin: Prepare your bin with bedding material that is moist but not soaking wet.
- Add worms: Gently place the red wigglers onto the bedding. They will burrow down.
- Feed them: Start by feeding small amounts of food scraps. Bury the food under the bedding to avoid fruit flies.
- Harvest: After a few months, you’ll have nutrient-rich worm castings (worm poop) that are excellent for your plants. There are various methods to separate the worms from the finished compost.
Pros:
- Excellent for small spaces (even apartments).
- Produces incredibly rich compost (worm castings).
- Very fast decomposition of food scraps.
- Minimal odor and aesthetically pleasing if managed properly.
Cons:
- Requires specific worms.
- Can be sensitive to temperature fluctuations.
- Only good for food scraps and very small amounts of other materials.
- Initial setup and worm purchase needed.
Getting Started: The Basic Steps to Success
No matter which method you choose, the core steps are similar. I like to think of it as a recipe that’s hard to mess up!
- Choose Your Method & Location: Based on space, time, and preference, pick your pile or bin. Ensure it’s accessible and has good drainage.
- Gather Your Materials: Start collecting your “greens” and “browns.” Keep a small kitchen pail for food scraps and a separate spot for yard waste.
- Build Your Base: For open piles and bins, start with a layer of coarse “browns” like twigs or straw to create airflow.
- Layer Smartly: Alternate layers of greens and browns. Don’t stress too much about perfect ratios initially; aim for a good mix. A general guideline is 2-3 parts browns to 1 part greens. If you add a lot of greens (like grass clippings), make sure to add plenty of browns to balance it out.
- Maintain Moisture: Your compost pile should feel like a damp sponge. If it’s dry, add water. If it’s soggy, add more browns and turn it to aerate.
- Aerate (Turn) Your Pile: This is crucial for speeding up decomposition and preventing bad smells. For open piles and stationary bins, use a pitchfork or compost aerator every 1-2 weeks. Tumblers do this by rotation. Even infrequent turning helps!
- Be Patient: Composting takes time. Depending on the method, materials, and how often you turn it, compost can be ready in a few months to a year. You’ll know it’s ready when it’s dark, crumbly, and smells earthy – no longer like the original materials.
Table: Comparing Compost Pile Methods
Here’s a quick rundown to help you pick the best method for your needs:
| Feature | Open Pile | Compost Bin (Stationary) | Compost Bin (Tumbler) | Worm Composting (Vermicomposting) |
|---|---|---|---|---|
| Effort Level | Low | Medium | Low to Medium (depending on turning frequency) | Medium (feeding and managing bin) |
| Speed of Composting | Slowest | Medium to Fast | Fastest | Fast for food scraps |
| Space Required | Most (large area) | Medium | Small to Medium | Smallest (can be indoor) |
| Initial Cost | None | Low to High (DIY vs. store-bought) | High | Low to Medium |
| Pest Potential | Higher if unmanaged | Lower | Very Low | Low if managed correctly |
| Tidiness | Lowest | High | High | High |
| Best For | Large yards, lots of yard waste, low effort tolerance | Suburban yards, medium waste volumes, desire for tidiness | Busy gardeners, desire for speed and ease of turning | Apartments, small spaces, primary focus on kitchen scraps |
Troubleshooting Common Compost Problems
Even the best-laid composting plans can hit a snag. Don’t fret! Most issues are easily fixed.
- Problem: Foul Odors (Rotten Egg Smell)
- Cause: Too wet, not enough air, too many greens.
- Solution: Turn the pile to aerate. Add more dry “brown” materials (leaves, cardboard) to absorb moisture and balance the greens. Ensure good airflow at the base.
- Problem: Pile Isn’t Heating Up / Decomposing Slowly
- Cause: Too dry, not enough “greens” (nitrogen), pile is too small.
- Solution: Add water and

I am passionate about home engineering. I specialize in designing, installing, and maintaining heating, ventilation, and air conditioning systems. My goal is to help people stay comfortable in their homes all year long.