<strong>Friendly, supportive, and approachable — like a helpful friend who knows tech.</strong>
<strong>Simple and clear — avoid heavy technical jargon, use plain everyday words.</strong>
<strong>Encouraging and confidence-building — reassure readers that they can solve their problem or make the right choice.</strong>
<strong>Practical and trustworthy — focus on safe, reliable, and easy-to-follow solutions.</strong>
<strong>Engaging and relatable — mix expert knowledge with real-world usability.</strong>
Compost Pile Stores: Your Genius Essential Guide
Ever feel like your kitchen scraps and yard waste are just… trash? You’re not alone! Getting your compost pile just right can feel a bit overwhelming at first. But imagine turning that “waste” into amazing food for your garden. It’s like magic, but it’s totally achievable for anyone. This guide breaks down how to create and manage perfect compost pile stores, making it super simple. We’ll walk through everything, so you can get started with confidence right away!
What Exactly Are Compost Pile Stores, and Why Bother?
Let’s clear the air – there’s no fancy, complicated machinery involved when we talk about “compost pile stores.” It simply refers to the system and the materials you use to create and manage your compost. Think of it as your DIY compost setup. It’s the neat, effective way you’ll organize your compostable materials so they break down into nutrient-rich “black gold” for your garden.
Why should you bother? Well, composting is a fantastic way to:
- Reduce Waste: Less stuff ends up in landfills, which is great for the environment.
- Save Money: You won’t need to buy as much fertilizer or soil amendments for your plants.
- Improve Soil: Compost adds vital nutrients and improves soil structure, helping your plants thrive.
- Feel Good: It’s incredibly satisfying to turn everyday scraps into something so valuable.
Getting your compost pile stores sorted is the first step to a greener garden and a cleaner conscience. Don’t worry if you’re new to this; we’re going to make it super easy.
Choosing Your Compost Pile Store Setup: Bins vs. Piles
When you think about storing compost, two main approaches come to mind: an open pile or a compost bin. Both have their perks, and the best choice for you depends on your space, how much waste you generate, and how tidy you like things to look.
Open Compost Piles
This is the most basic method. You simply designate an area in your yard and start piling your compostable materials. It’s free and easy to start.
Pros of Open Piles:
- Cost-Effective: Absolutely no cost to start.
- Easy to Add Materials: Just toss them on top.
- Good for Large Amounts: If you have a lot of yard clippings, this is a great way to manage them.
- Aeration: Open piles tend to get good natural airflow.
Cons of Open Piles:
- Can Look Untidy: Doesn’t always present the best aesthetic.
- Might Attract Pests: If not managed well, it can be a buffet for critters.
- Can Dry Out or Get Too Wet: More exposed to the elements.
- Takes Longer to Decompose: Can be slower without contained heat.
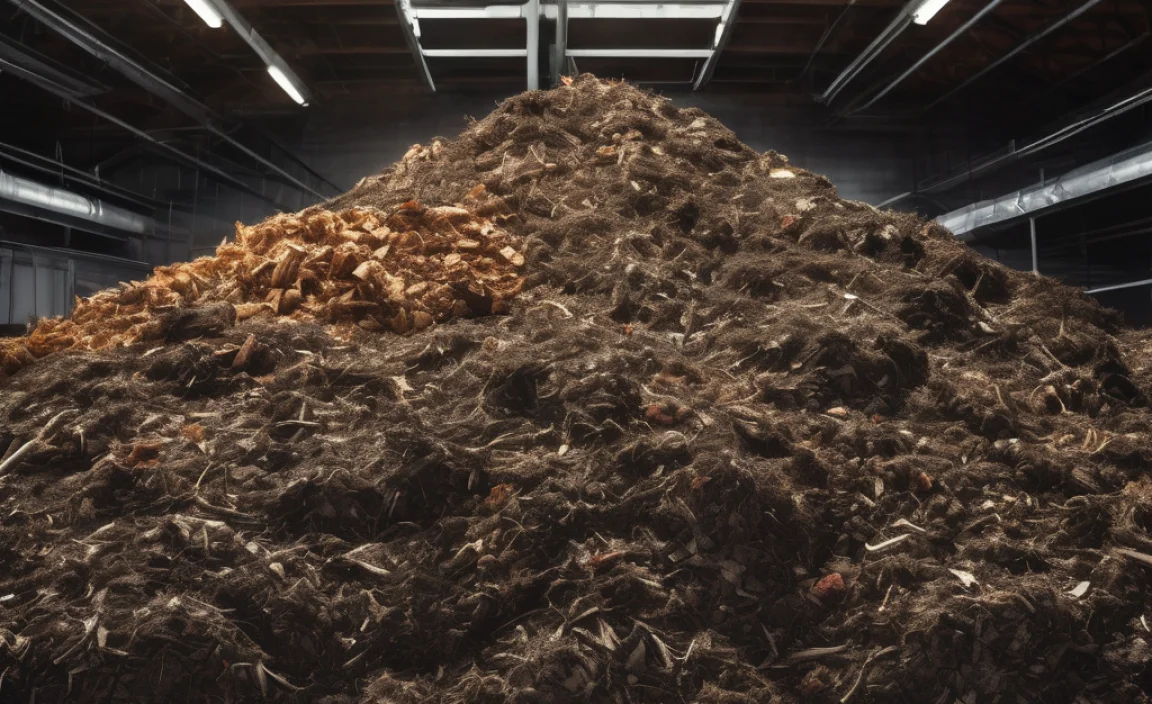
Compost Bins
Compost bins are structures designed to hold your compost materials. They come in many shapes and sizes, from simple DIY wooden boxes to rotating tumblers. They help keep things contained and can speed up the composting process.
Types of Compost Bins:
- Stationary Bins: These are often made of wood, metal, or plastic and stay in one place. Some have lids and doors for easy access.
- Tumbler Bins: These are enclosed drums that you can rotate. This makes turning the compost much easier and speeds up decomposition.
- Worm Bins (Vermicomposting): While a bit different, worm composting is a type of bin composting that uses specific types of worms to break down food scraps.
Pros of Compost Bins:
- Neater Appearance: Keeps your yard looking tidy.
- Pest Deterrent: Enclosed bins offer better protection against animals.
- Moisture Control: Helps retain moisture and heat, speeding up decomposition.
- Can Be More Efficient: Tumblers and well-managed bins often compost faster.
Cons of Compost Bins:
- Cost: Bins can range from affordable to quite expensive.
- Limited Capacity: Some bins might be too small for large amounts of yard waste.
- Assembly Required: Many bins need to be put together.
- Turning Can Be Tricky: Some stationary bins can be hard to turn.
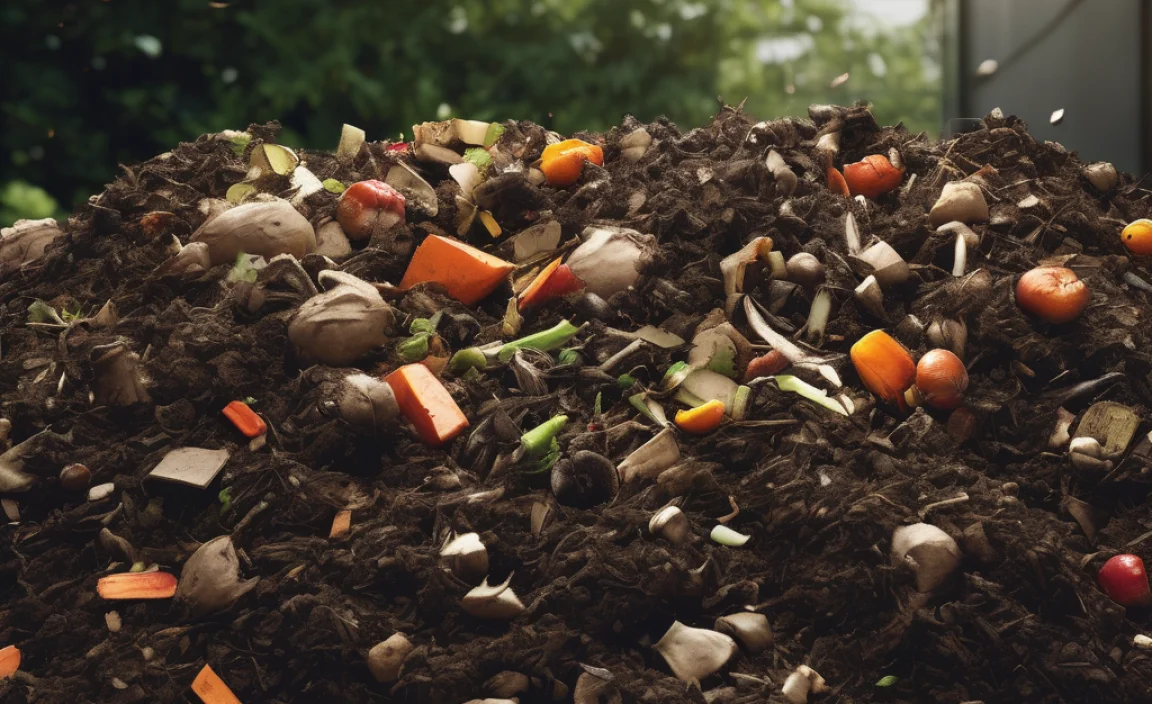
Your Essential Compost Pile Ingredients: Greens and Browns
The secret to great compost is getting a good balance of “greens” and “browns.” Think of these as the fuel for your compost pile. Too much of one and not enough of the other, and your compost won’t break down properly. It might get slimy, smelly, or just sit there.
“Green” Materials: The Nitrogen Rich Stuff
Greens are generally moist materials that provide nitrogen. Nitrogen is super important for the microorganisms that do the hard work of breaking down your compost.
Examples of green materials:
- Fruit and vegetable scraps (peels, cores, rinds)
- Coffee grounds and tea bags
- Grass clippings (in thin layers to avoid matting)
- Plant trimmings (non-woody)
- Eggshells (crushed)
- Manure from herbivores (like chickens, rabbits, or cows – avoid dog/cat waste)
“Brown” Materials: The Carbon Rich Stuff
Browns are typically dry materials that provide carbon. Carbon acts like the energy source for the microbes. They also help create air pockets, which is crucial for decomposition.
Examples of brown materials:
- Dry leaves
- Shredded newspaper and cardboard (avoid glossy or colored inks)
- Straw and hay
- Wood chips and sawdust (use in moderation, especially from treated wood)
- Twigs and small branches (chopped or shredded)
- Pine needles (use in moderation as they can be acidic)
- Paper-based packaging and egg cartons (torn up)
The Ideal Ratio: Aim for About 2-3 Parts Browns to 1 Part Greens
This is just a guide! You’ll get a feel for it as you go. A good rule of thumb is to have more browns than greens. If your pile starts to smell, you probably have too many greens. If it’s not heating up and seems dry, you might need more greens or moisture.
What to Avoid in Your Compost Pile Stores
Not everything belongs in your compost bin. Some things can attract pests, introduce diseases, or simply won’t break down properly.
Here’s a list of common items to keep OUT:
- Meat, fish, and bones: These will attract pests and create unpleasant odors.
- Dairy products: Similar to meat, these can attract pests and smell bad.
- Oily or greasy foods: These can slow down decomposition and attract pests.
- Diseased plants: You don’t want to spread plant diseases to your garden.
- Weeds that have gone to seed: The seeds might survive composting and sprout in your garden.
- Pet waste (dog, cat feces): These can contain harmful pathogens.
- Treated wood: Chemicals in treated wood can be toxic.
- Coal or charcoal ash: Can contain harmful substances.
- Synthetic materials: Plastics, styrofoam, etc., will not break down.
When in doubt, leave it out! It’s better to be safe than sorry.
Building Your Compost Pile: A Step-by-Step Genius Guide
Ready to get started? Let’s build your compost pile. This guide is for a basic open pile or the base of a bin. If you’re using a bin, follow its specific instructions for assembly.
Step 1: Choose Your Location
Find a spot that’s:
- Accessible: Easy to get to with kitchen scraps and yard waste.
- Well-Drained: Avoid areas that get waterlogged.
- Partially Shaded: Too much direct sun can dry it out; too much shade can keep it too cool and wet.
- Near a Water Source: You’ll need to water it.
- Respectful of Neighbors: If using an open pile, don’t place it right on a property line where it might be an eyesore or odor issue.
Step 2: Lay the Foundation (Optional but Recommended)
For an open pile or a bin without a solid bottom, you can start with a layer of coarse browns like twigs or small branches. This helps with drainage and airflow from the bottom.
Approximate size: About 4-6 inches thick.
Step 3: Start Layering Greens and Browns
Now, begin adding your materials. The goal is to alternate layers of greens and browns. Think of it like making a lasagna!
- Add a layer of browns: About 4-6 inches.
- Add a layer of greens: About 2-4 inches.
- Water lightly: Just enough to make the layer damp, not soggy.
- Repeat: Continue alternating layers until your pile reaches the desired size or you run out of materials.
Tip: Chop or shred larger items (like cardboard or tough plant stems) to help them break down faster.
Step 4: Aim for Size and Aeration
A compost pile that’s at least 3 feet by 3 feet by 3 feet (1 cubic yard) will heat up best. If your pile is smaller, it will still compost, but more slowly.
When adding materials, try not to compact them too much. Fluffing them up as you add them helps.
Step 5: Cover Your Pile (Optional)
You can cover your pile with a tarp, a lid (if using a bin), or a thick layer of browns. This helps retain moisture and heat, and also discourages pests.
Managing Your Genius Compost Pile Stores
Once your pile is built, the real work (or lack thereof!) begins. Good management means ensuring the right conditions for decomposition.
Moisture: The Miracle Ingredient
Your compost pile should be as damp as a wrung-out sponge. Not dripping wet, but not dry and crumbly either.
- Too Dry? Add water. Turn the pile as you water to distribute moisture evenly.
- Too Wet? Add more brown materials and turn the pile to help it dry out.
Aeration: Let it Breathe!
Microorganisms need oxygen to thrive. Turning your compost pile introduces air.
- How often? Aim to turn your pile every 1-4 weeks. The more you turn it, the faster it will break down.
- How to turn? Use a pitchfork or a compost aerator tool. Dig down to the bottom and turn the contents over. If you have a tumbler, just give it a spin!
Temperature: The Compost Cooker
A healthy, actively decomposing compost pile will heat up. This heat is important for killing weed seeds and pathogens. You might not be able to measure it accurately without a thermometer, but you’ll notice the pile feels warm or hot when you turn it.
If your pile isn’t heating up, it’s usually due to an imbalance of greens/browns, lack of moisture, or poor aeration.
Patience: Nature’s Timeline
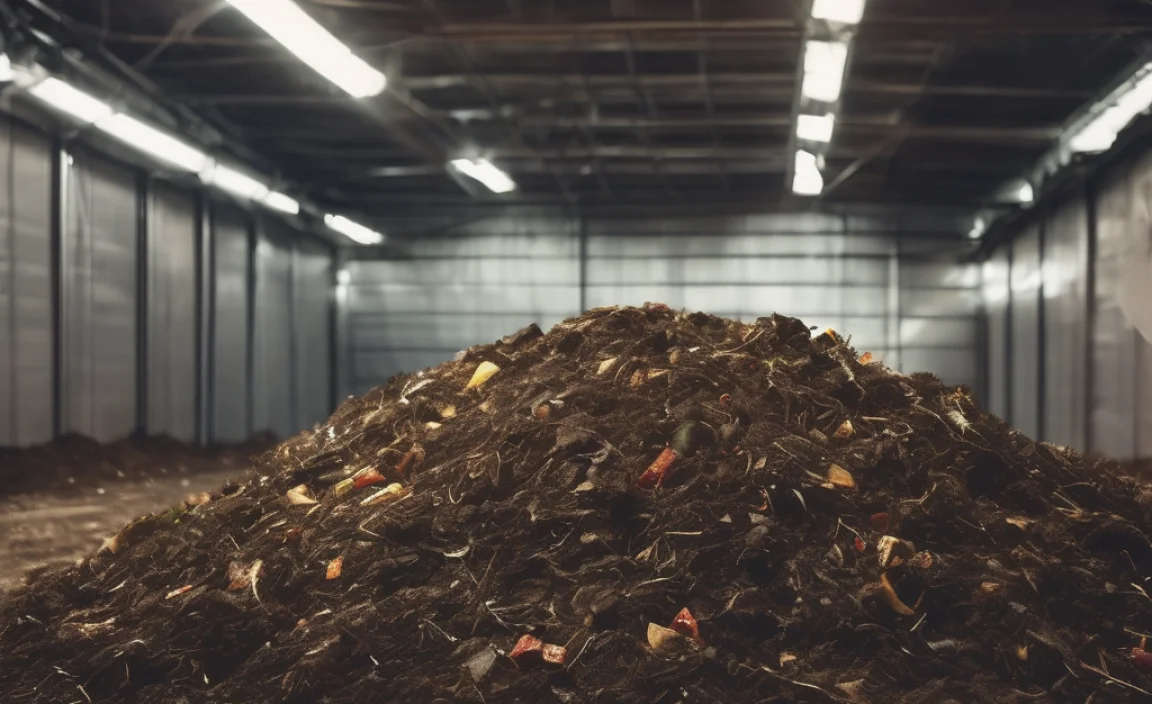
Composting takes time. Depending on how actively you manage your pile, the materials you use, and the weather, it can take anywhere from a few months to a year to get finished compost.
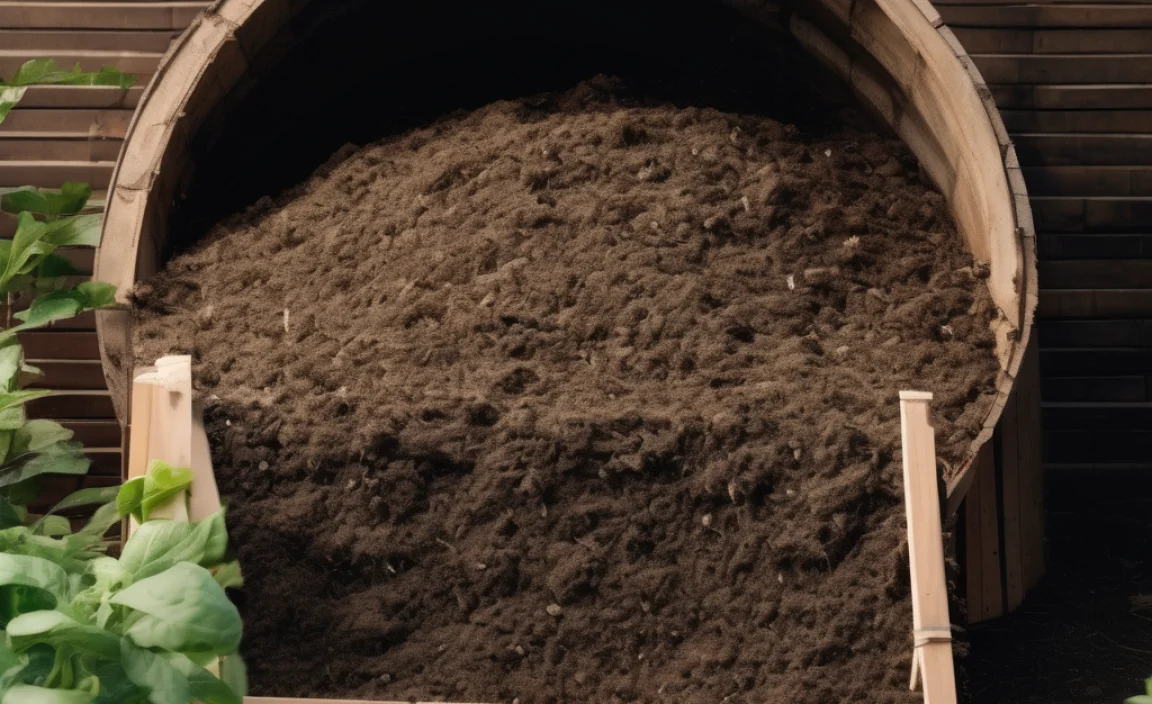
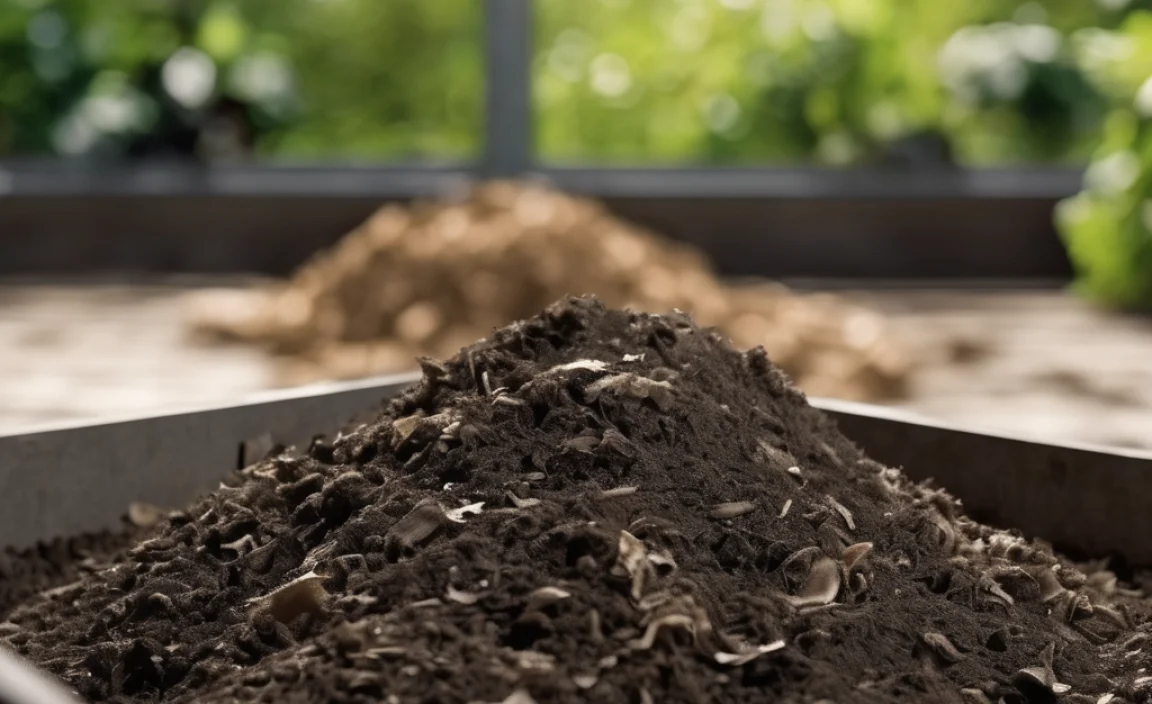
What Does Finished Compost Look Like?
Finished compost is dark, crumbly, and smells earthy, like a forest floor after rain. You shouldn’t be able to recognize the original materials you put in.
If there are still recognizable pieces, it just means it needs a bit more time to break down. You can sift out the larger pieces and put them back into a new compost pile to get them started.
Compost Pile Stores Troubleshooting: Common Issues and Solutions
Even with the best intentions, you might run into a few hiccups. Here’s how to fix some common compost pile problems.
Problem: Smelly Pile (Ammonia or Rotten Egg Smell)
Cause: Too many green materials (excess nitrogen) or the pile is too wet, leading to anaerobic (without air) decomposition.
Solution:
- Add a generous layer of brown materials (leaves, shredded paper, straw).
- Turn the pile thoroughly to introduce air and mix the browns in.
- Ensure the pile isn’t waterlogged.
Problem: Pile Isn’t Heating Up
Cause: Too many brown materials (lack of nitrogen), pile is too small, too dry, or not enough air.
Solution:
- Add more green materials.
- Ensure the pile is at least 3x3x3 feet.
- Add water and turn the pile.
- Turn the pile to increase aeration.
Problem: Pile is Too Dry
Cause: Not enough moisture, too much sun, or needs turning.
Solution:
- Water the pile thoroughly while turning it.
- Add materials that hold moisture well.
- Consider a cover to retain moisture.
Problem: Pests (Rodents, Flies)
Cause: Access to attractive food scraps like meat, dairy, or oils; pile is too dry and exposed.
Solution:
- Avoid adding meat, dairy, and oily foods.
- Bury food scraps deep within the pile.
- Ensure the pile is actively composting and heating up (this deters many pests).
- Use a secure bin with a lid.
- Turn the pile regularly.
Tools for Your Genius Compost Pile
You don’t need a lot of fancy equipment to succeed with compost pile stores. Here are some essentials:
| Tool | Purpose | Why it’s helpful |
|---|---|---|
| Pitchfork or Garden Fork | Turning compost, aerating, moving materials. | Essential for mixing and aerating larger piles. Makes turning much easier than a shovel. |
| Compost Aerator Tool | Aerating without heavy turning. | Great for smaller piles or if you want to maintain aeration without fully turning. Lightweight and easy to use. |
| Shovel | Moving finished compost, adding bulk materials. | Useful for scooping finished compost out of a bin or pile. |
| Watering Can or Hose with Sprayer | Moistening the compost. | Crucial for maintaining the right moisture level. |
| Kitchen Countertop Compost Pail | Collecting kitchen scraps before taking them to the main pile. | Keeps your kitchen clean and makes collecting scraps easy. Many have charcoal filters to reduce odors. |
| Gloves | Protecting your hands. | Keeps your hands clean and protected from any sharp items. |
| Sieve or Screen (Optional) | Separating finished compost from unfinished materials. | Helps you get finer compost and allows you to return larger chunks to the active pile. Great for a polished end product. |
For more information on garden tools, feel free to check out resources from
Related Posts


I am passionate about home engineering. I specialize in designing, installing, and maintaining heating, ventilation, and air conditioning systems. My goal is to help people stay comfortable in their homes all year long.