Ever felt overwhelmed by your compost pile? You’re not alone! Many folks think composting is complex, but it doesn’t have to be. Getting your compost pile “trained” simply means knowing how to help it break down kitchen scraps and yard waste into rich, garden-ready soil. It’s easier than you think and a fantastic way to reduce waste. We’ll walk through it step-by-step, making sure you get the best compost without any guesswork. Ready to turn your scraps into garden gold?
Compost Pile Training: Your Genius Essential Guide
Hey there, garden enthusiasts and aspiring eco-warriors! Troy D Harn here from TopChooser, ready to break down one of the most rewarding DIY projects for your home: compost pile training. If you’ve ever eyed those compost bins at the garden center and thought, “That looks complicated,” I hear you. But here’s the secret: it’s not rocket science! It’s more like giving Mother Nature a little helping hand. Think of me as your friendly neighbor who’s figured out the best way to get this done without any fuss. We’re going to make composting simple, effective, and even a little bit fun.
Why bother with compost? Well, it’s like a magic potion for your garden. It enriches your soil, helps your plants grow stronger and healthier, and significantly cuts down on what you throw away. Instead of tossing those banana peels and coffee grounds into the trash, you’ll be transforming them into black gold that your veggies and flowers will absolutely love. This guide is all about making that transformation happen smoothly. We’ll go from picking a spot to knowing exactly what goes in and what stays out, plus how to keep your pile happy and working for you.
What Exactly IS Compost Pile Training?
Let’s clear the air. “Compost pile training” isn’t about teaching your pile to do tricks. It’s all about creating the right environment and providing the right ingredients so that tiny microorganisms – bacteria, fungi, and even little critters like worms – can do their job efficiently. They’re the real composters! Our training involves giving them what they need: a good mix of “greens” and “browns,” moisture, and air.
Think of it like building a cozy home for these busy workers. If their home is too wet, too dry, or they don’t have enough food variety, they slow down. By understanding what makes them thrive, we “train” our compost pile to decompose waste quickly and effectively. This means you get usable compost faster, and you contribute less to landfill waste.
Why You Need to “Train” Your Compost Pile
So, why go through this “training” process? Here are a few compelling reasons:
- Faster Decomposition: A well-managed pile breaks down waste much quicker than one that’s just left to its own devices. Instead of waiting a year or more, you could have usable compost in a few months.
- Better Quality Compost: Trained piles produce nutrient-rich compost that’s great for your soil. It’s finer, more uniform, and free from recognizable food scraps.
- Reduced Odor: A common fear about composting is that it will smell bad. A balanced, aerobic (oxygen-rich) pile actually smells earthy, not rotten. Training helps maintain this healthy balance.
- Pest Prevention: By managing what goes in and keeping the pile healthy, you’re less likely to attract unwanted guests like rodents or flies.
- Maximizing Waste Reduction: The more efficiently your pile works, the more kitchen and yard waste you can divert from landfills.
Getting Started: Your Compost Pile Training Toolkit
Before we dive into the how-to, let’s gather what you might need. Many of these items are things you might already have around the house!
The Essentials:
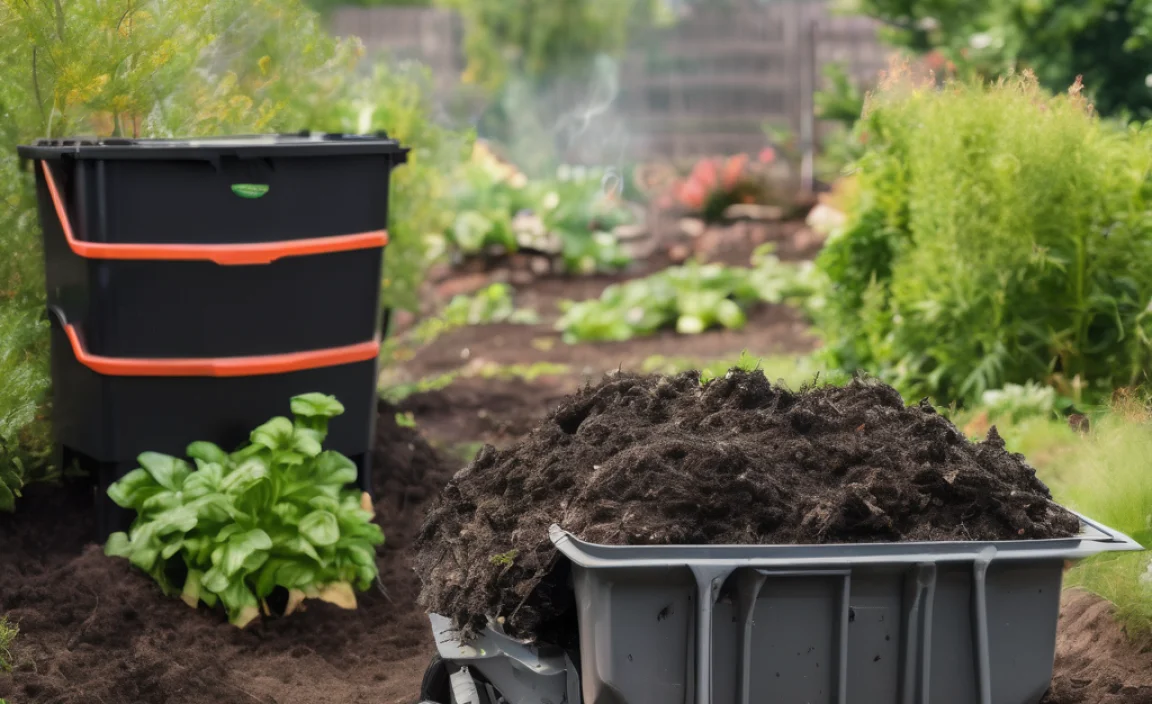
- A Compost Bin or Pile Location: This can be a commercial bin, a homemade wooden structure, or simply a designated spot in your yard (at least 3 feet by 3 feet).
- Kitchen Compost Pail: A small bin with a lid for collecting scraps indoors before taking them to the main pile.
- Pitchfork or Garden Fork: For turning and aerating the pile.
- Water Source: A hose or watering can.
- Gloves: To keep your hands clean.
- Optional: A Thermometer: A compost thermometer helps monitor the internal temperature, indicating good microbial activity.
Choosing Your Compost Spot:
Location matters! Pick a spot that’s:
- Convenient: Easy to access from your kitchen and garden.
- Well-Drained: Avoid areas that get waterlogged.
- Partially Shaded: Direct sun can dry it out too quickly, while deep shade can keep it too cool and damp. A little sun and a little shade is ideal.
- Away from Waterways: To prevent runoff.
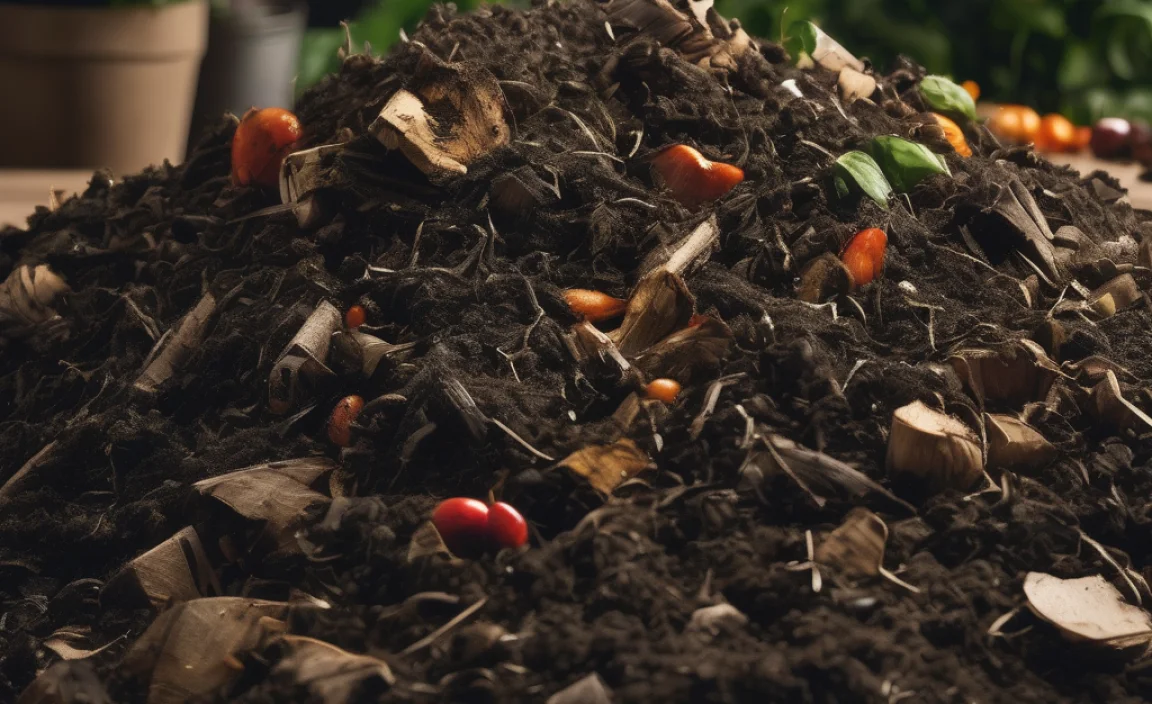
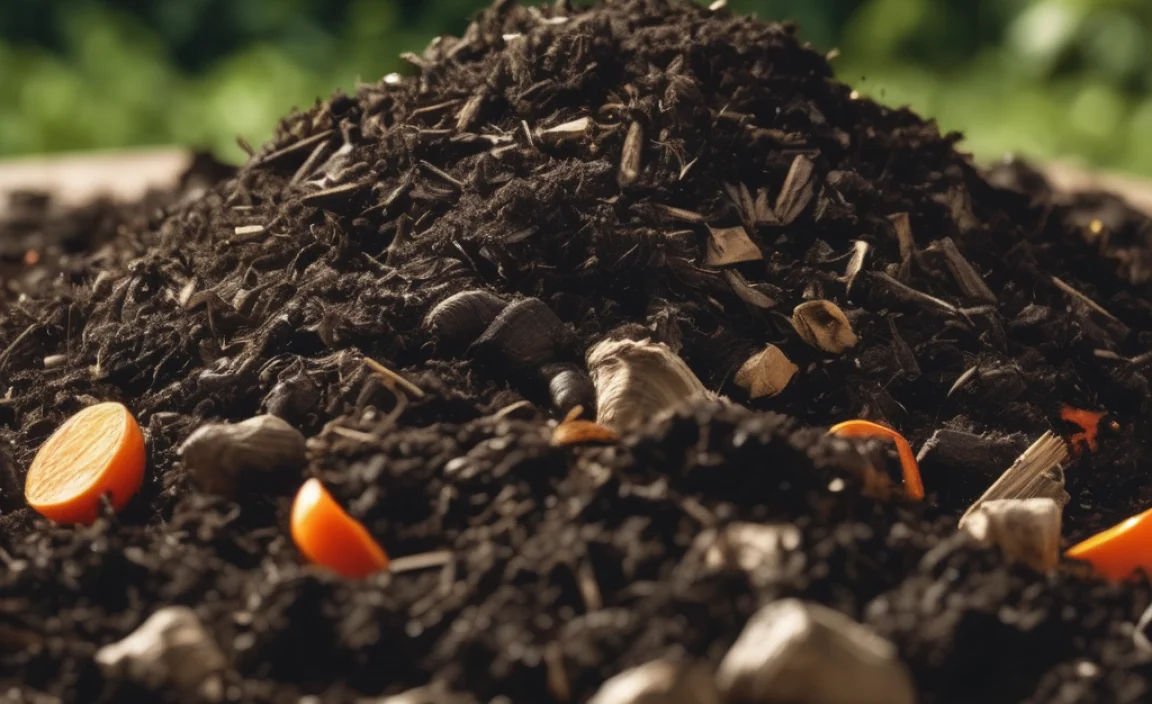
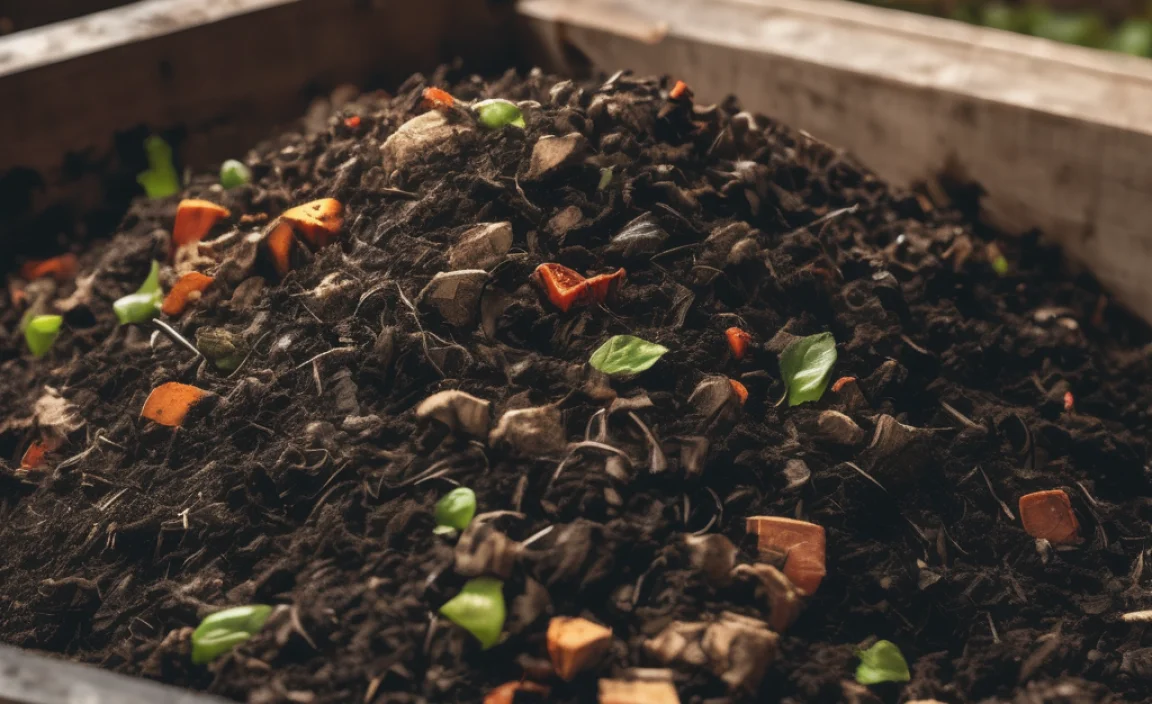
The “Green” and “Brown” Balance: The Heart of Training
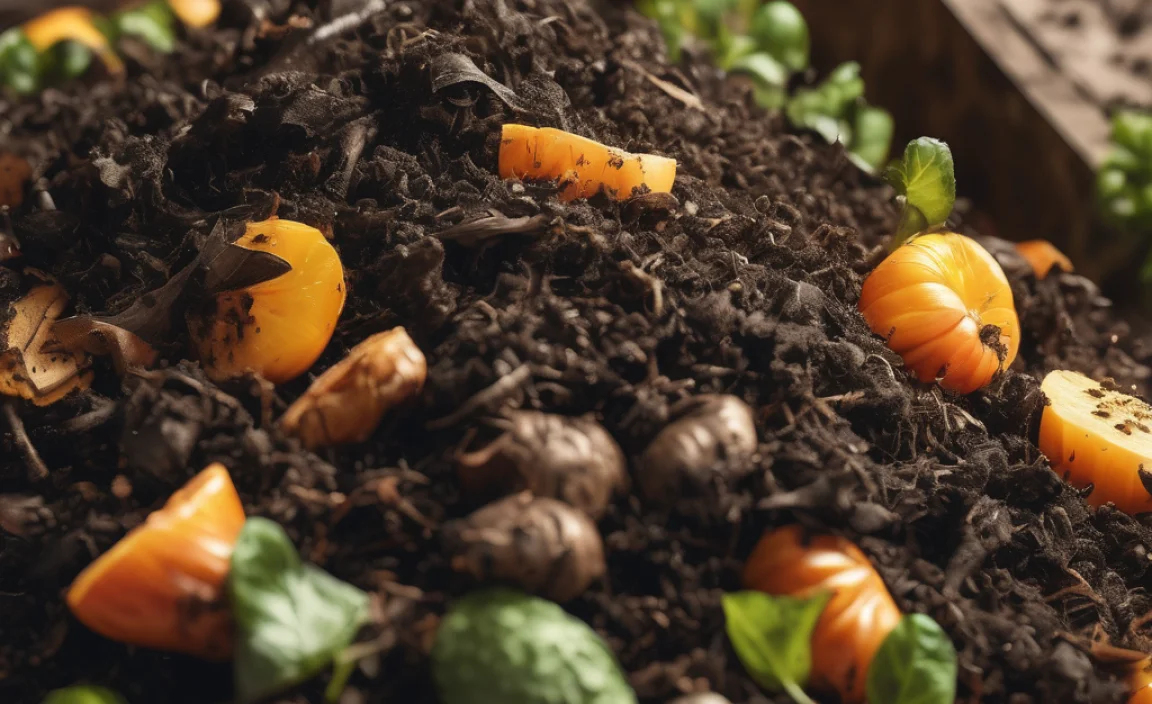
This is the most crucial part of compost pile training. Your pile needs a mix of nitrogen-rich “green” materials and carbon-rich “brown” materials. Too much of one will slow things down or cause an unpleasant smell.
“Green” Materials (Nitrogen-Rich):
These are generally moist and break down quickly. They provide nitrogen, which fuels the decomposition process. Think of them as the “fuel.”
- Fruit and vegetable scraps
- Coffee grounds and tea bags
- Grass clippings (in thin layers)
- Plant trimmings (non-woody)
- Eggshells
- Manure from herbivores (cow, horse, chicken – but avoid pet waste)
“Brown” Materials (Carbon-Rich):
These are drier and provide carbon, which is the energy source for the microorganisms. They also help with airflow. Think of them as the “structure” and “energy.”
- Dry leaves
- Shredded newspaper and plain cardboard (no glossy print)
- Straw and hay
- Wood chips and sawdust (use sparingly, as they break down slowly)
- Pine needles
- Twigs and small branches (chopped up)
The Ideal Ratio: Aiming for About 25-30 Parts Carbon to 1 Part Nitrogen
This sounds technical, but it’s easier than you think! A good rule of thumb is to aim for roughly two to three times the volume of browns to greens. If you add a big bucket of kitchen scraps (greens), add two or three buckets of dry leaves or shredded paper (browns).
Why this ratio?
- Too many greens: Can lead to a dense, wet, smelly pile (ammonia smell) because there’s not enough carbon to absorb excess moisture and gases.
- Too many browns: The pile will be too dry and decomposition will be very slow because there isn’t enough nitrogen to fuel the microbes.
What NOT to Compost:
To keep your pile healthy and pest-free, avoid these:
- Meat, fish, bones, and dairy products (attract pests and can smell)
- Oily or greasy foods
- Diseased plants or weeds that have gone to seed (unless you’re sure your pile gets hot enough to kill them)
- Pet waste (dog or cat feces can contain pathogens)
- Chemically treated wood or yard waste
- Inorganic materials like plastic, glass, or metal
- Coal ash or charcoal briquettes
Step-by-Step: Your Compost Pile Training Plan
Ready to build your pile? Follow these steps:
Step 1: Start with a Base Layer of Browns
Begin by putting a layer of coarse brown materials (like twigs or straw) at the bottom of your bin or designated spot. This helps with drainage and airflow from the start.
Step 2: Layer Your Greens and Browns
Alternate layers of green and brown materials. Add kitchen scraps, grass clippings, or other greens, then cover them with a layer of dry leaves, shredded paper, or cardboard. Continue layering, aiming for that 2:1 or 3:1 brown-to-green volume ratio. Chop or shred larger items to speed up decomposition.
Tip: Burying fresh food scraps within the pile helps deter pests and reduce odors.
Step 3: Add Water
Your compost pile should be as moist as a wrung-out sponge. If your materials are mostly dry browns, you’ll need to add water as you build the layers. If you’re adding lots of wet greens like grass clippings, you might not need much extra water initially. The best time to water is when you turn the pile.
Step 4: Aerate Your Pile (Turn It!)
Composting is an aerobic process, meaning it needs oxygen. Think of it as giving your compost microbes a breath of fresh air. You need to turn your pile regularly. How often depends on how quickly you want compost.
- Fast Composting (Hot Composting): Turn the pile every 1-2 weeks. This requires maintaining a good balance of greens, browns, and moisture, and can heat up significantly (130-160°F or 55-70°C), killing weed seeds and pathogens. This method is quickest.
- Slow Composting (Cold Composting): Turn the pile every 4-6 weeks or even less. This is more passive, takes longer (6 months to a year or more), and might not kill all weed seeds. It’s less effort.
When you turn the pile, use your pitchfork to mix the outer layers into the center and the inner layers to the outside. This ensures everything gets decomposed evenly.
For a helpful resource on composting basics, check out the EPA’s guide to home composting.
Step 5: Monitor Moisture Levels
Periodically check the moisture. Grab a handful of compost from the middle of the pile. If it feels dry and crumbly, add water. If it’s soggy and slimy, add more brown materials and turn it to help it dry out and aerate.
Step 6: Know When It’s Ready
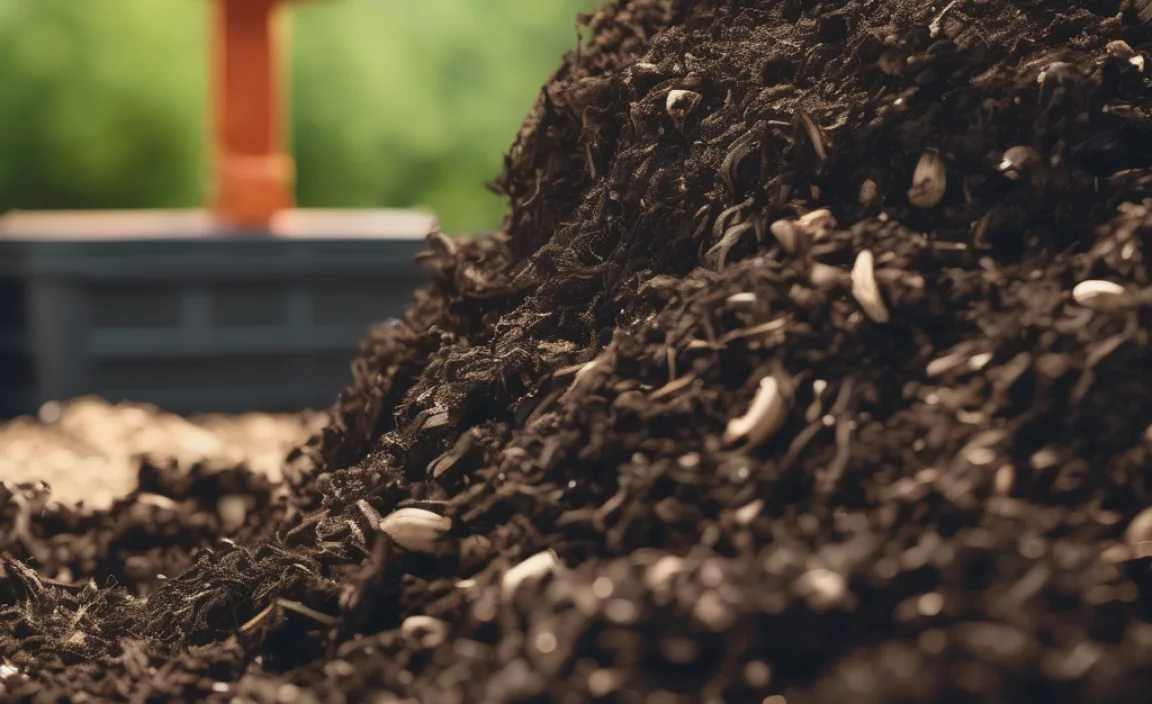
Finished compost, often called “humus,” will be dark brown or black, crumbly, and smell earthy. You shouldn’t be able to recognize the original materials. It will also be cool to the touch, as the active decomposition phase is complete.
Troubleshooting Common Compost Pile Problems
Even with the best training, you might encounter a few hiccups. Don’t worry; these are usually easy to fix!
Problem: The Pile Smells Bad (Rotten Eggs or Ammonia)
- Cause: Too many green, nitrogen-rich materials, or the pile is too wet and lacking air.
- Solution: Add more brown, carbon-rich materials (dry leaves, shredded paper/cardboard). Turn the pile thoroughly to introduce air and help it dry out. If it smells like ammonia, you definitely need more browns. If it smells like rotten eggs, it’s likely too wet and anaerobic (lacking air), so more turning and browns are key.
Problem: The Pile Isn’t Heating Up or Decomposing
- Cause: Not enough nitrogen (too many browns), too dry, or not enough volume.
- Solution: Add more green materials (kitchen scraps, grass clippings). Water the pile if it’s dry. If your pile is too small (less than 3x3x3 feet), it might not generate enough heat.
Problem: The Pile Attracts Pests (Flies, Rodents)
Cause: Exposed food scraps, or including forbidden items like meat or dairy.
- Solution: Always cover fresh kitchen scraps with a layer of brown material. Ensure you aren’t adding meat, dairy, or oily foods. If using an open pile, make sure it’s not too close to your house, and consider the type of materials you’re adding. A secure bin can also help.
Compost Pile: Greens vs. Browns Quick Reference Table
Here’s a handy table to keep the green and brown balance in mind:
| “Green” Materials (Nitrogen-Rich) | “Brown” Materials (Carbon-Rich) |
|---|---|
| Fruit & Vegetable Scraps | Dry Leaves |
| Coffee Grounds & Tea Bags | Shredded Newspaper/Cardboard |
| Grass Clippings | Straw & Hay |
| Plant Trimmings (non-woody) | Wood Chips & Sawdust (sparingly) |
| Eggshells | Pine Needles |
| Herbivore Manure | Twigs & Small Branches |
Composting Methods: Beyond the Basic Pile
While building a traditional pile is a great start, there are other “trained” methods if you have different needs:
1. Tumbler Composter
How it works: These are sealed drums that you rotate. They’re great for quick composting and keeping pests out.
Pros: Fast, contained, easy to turn, good for small spaces.
Cons: Can be expensive, requires regular turning, may not handle large volumes.
2. Worm Composting (Vermicomposting)
How it works: Uses specific types of worms (like red wigglers) in a bin to break down food scraps into a rich compost called “worm castings.”
Pros: Excellent for apartment dwellers, produces high-quality compost (castings), can be done indoors.
Cons: Requires specific conditions (temperature, no citrus/onions in excess), can be slower for large volumes of material.
For those interested in vermicomposting, Resources like AgriCULTURE’s Vermicomposting Guide offer detailed insights.
3. Trench Composting
How it works: You simply dig a trench in your garden, bury your kitchen scraps and yard waste, and cover it up. The compost breaks down directly in the soil.
Pros: Very simple, no bin needed, enriches soil directly where you plant.
Cons: Slower decomposition, may attract some pests if not buried deep enough, not suitable for continuous composting of large volumes like a bin.
FAQ: Your Compost Pile Training Questions Answered
Here are some common questions beginners have about compost pile training:
Q1: How long does it take to get compost?
A: With hot composting (regular turning and good balance), you could have usable compost in 1-3 months. Cold composting can take 6 months to over a year. Tumblers are usually faster than open piles.
Q2: Do I need a special bin?
A: No! An open pile in a good location works. Commercial bins and tumblers offer convenience and tidiness, but aren’t strictly necessary for success.
Q3: Can I compost pet waste from my dog or cat?
A: It’s generally not recommended for home compost piles. Pet waste can contain pathogens that may not be killed by home composting temperatures, posing a health risk. Stick to herbivore manure if you need to add animal waste.
Q4: My compost pile is too wet and smells bad. What did I do wrong?
A: This usually means too many greens or not enough air. Add plenty of dry brown materials (leaves, shredded paper), and turn the pile to aerate it. Chop up cardboard or newspaper into small pieces to help absorb excess moisture.
Q5: Can I compost meat scraps and bones?
A: No, it’s best to avoid composting meat, fish, bones, dairy, and oily foods. These can attract pests (like rodents and flies) and create unpleasant odors. They also break down slowly and can harbor pathogens.
Q6: Do I need to chop up everything before adding it to the pile?
A: Chopping or shredding materials, especially browns like twigs and coarse cardboard, significantly speeds up decomposition. Smaller pieces offer more surface area for microbes to work on.
Q7: What is “hot composting” vs. “cold composting”?
A: Hot composting involves a rapid decomposition process where the pile heats up to temperatures (130-160°F or 55-70°C) that kill weed seeds and pathogens. This requires actively managing moisture
Related Posts

I am passionate about home engineering. I specialize in designing, installing, and maintaining heating, ventilation, and air conditioning systems. My goal is to help people stay comfortable in their homes all year long.