Hey there, neighbor! Ever looked at your kitchen scraps and thought, “There’s gotta be a better way than just tossing this in the trash”? You’re not alone. Many of us want to do our bit for the planet and our gardens, but city living can make it seem tricky. Turns out, building an urban compost pile is totally doable and way easier than you might think. Let’s break it down, step-by-step, so you can turn that waste into garden gold.
Compost Pile Urban: Your Essential Guide to City Composting
Turning kitchen scraps and yard waste into super soil might sound like a big, messy job, especially if you’re living in a city or a smaller space. But guess what? It’s completely achievable and incredibly rewarding! A well-managed compost pile in an urban setting is not only eco-friendly but also a fantastic way to boost your garden’s health. Forget the stereotypes of giant, smelly heaps; modern urban composting is clean, efficient, and can fit into even tight spaces. This guide is designed to walk you through everything you need to know, from picking the right spot to what to toss in and what to leave out, ensuring you create nutrient-rich compost without any hassle. Get ready to transform your waste into black gold for your plants!
Why Compost in the City? The Green Benefits
Composting in an urban environment might seem like a challenge, but the benefits are huge. It’s a fantastic way to reduce the amount of waste that goes to landfills, which helps cut down on greenhouse gas emissions. Plus, you’ll be creating your own free, nutrient-rich fertilizer for your balcony plants, flower beds, or community garden plot. It’s a win-win for you and Mother Earth!
- Reduces Waste: Keep food scraps and yard trimmings out of landfills.
- Enriches Soil: Creates natural fertilizer, improving soil structure and fertility.
- Saves Money: No need to buy commercial fertilizers or soil amendments.
- Environmental Impact: Decreases methane emissions from landfills.
- Connects You to Nature: Even in the city, you’re participating in a natural cycle.
Understanding the Basics: What Makes Compost Tick
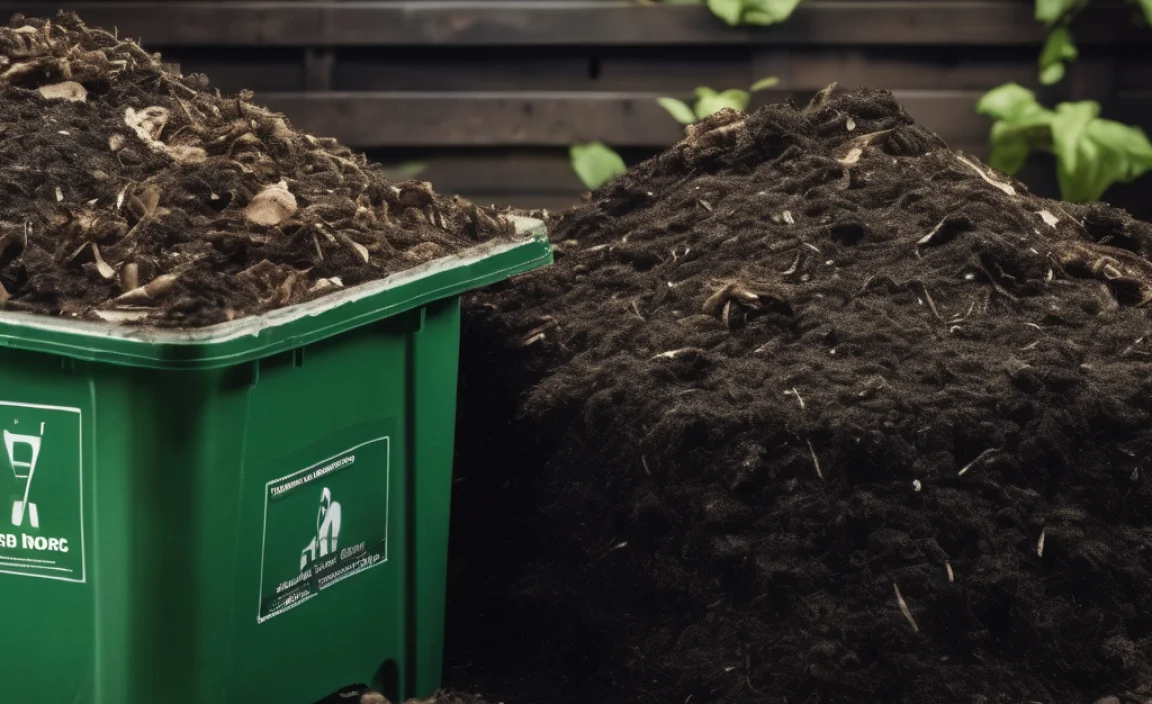
Think of compost as a giant, busy kitchen for tiny organisms. These little helpers, like bacteria and fungi, break down organic materials – leaves, grass clippings, food scraps – into a dark, crumbly, nutrient-rich substance called humus. For this process to work efficiently, you need a few key ingredients:
- Greens: These are nitrogen-rich materials, usually moist and fresh. Think fruit and veggie scraps, coffee grounds, grass clippings.
- Browns: These are carbon-rich materials, typically dry and bulky. Examples include dry leaves, shredded newspaper, cardboard, twigs.
- Water: Microbes need moisture to live and work. Your compost pile should be about as damp as a wrung-out sponge.
- Air: These organisms need oxygen to breathe and do their job. Turning your compost pile provides this air.
The magic happens when “greens” and “browns” get together with water and air. The microbes feast, breaking everything down and creating that amazing compost.
Choosing Your Urban Compost Pile Method
Living in the city doesn’t mean you’re limited in composting options. There are several methods perfect for smaller spaces or urban environments. The best choice for you will depend on your space, how much time you have, and how much you want to compost.
1. The Simple Compost Bin (The Most Common Choice)
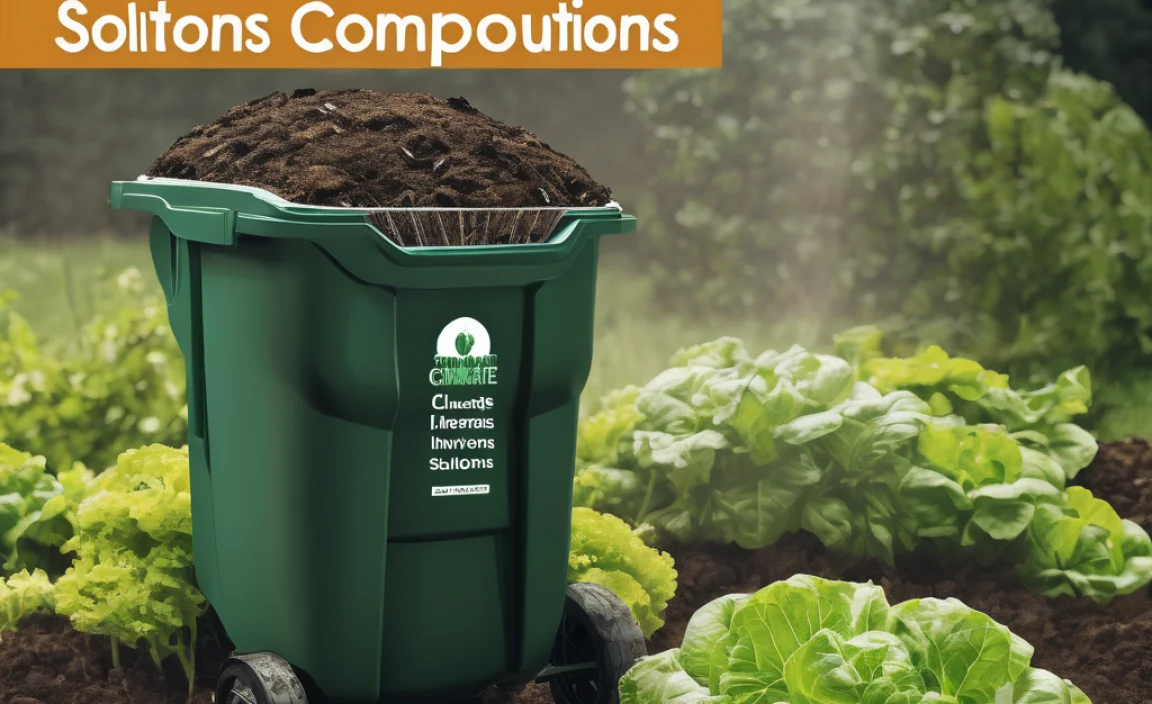
This is probably what most people picture when they think of a compost pile. You can buy ready-made bins or even build your own. They’re great for containing materials and keeping things tidy. Many urban dwellers opt for enclosed bins to manage moisture and discourage pests.
- Pros: Contains materials well, can be aesthetically pleasing, helps retain heat and moisture.
- Cons: Can be harder to turn the compost depending on the design, might require more effort for larger volumes.
- Good for: Small to medium yards, balconies, patios.
For a good overview of composting bin options, the Environmental Protection Agency (EPA) offers some excellent insights into various home composting systems.
2. Tumbler Composter
These are enclosed, barrel-like bins that you can rotate. Tumblers make turning your compost super easy and speed up the process because of the aeration and heat retention. They are also excellent for keeping critters out.
- Pros: Easy to turn, fast composting, excellent pest control, neat and contained.
- Cons: Can be more expensive, limited capacity compared to some bins, can get heavy when full.
- Good for: Those who want faster results and ease of turning; apartment dwellers with balconies or small patios.
Many garden supply stores sell popular tumbler models. Look for durable, UV-resistant plastic options.
3. Worm Composting (Vermicomposting)
This method uses special composting worms (like red wigglers) to break down kitchen scraps. It’s perfect for very small spaces, as it can be done indoors or outdoors in a compact bin. You can even buy worm bins designed for kitchens!
- Pros: Space-saving, great for kitchen scraps, produces high-quality compost and nutrient-rich liquid “worm tea.”
- Cons: Requires live creatures (worms!), needs specific feeding habits, not ideal for large volumes of yard waste.
- Good for: Apartment dwellers, small households, those who don’t produce much yard waste.
For detailed instructions on setting up a worm bin, check out resources from university extension offices, like those found via Michigan State University Extension.
Location, Location, Location: Where to Set Up Your Pile
Finding the perfect spot is crucial for successful urban composting. You want a place that’s convenient, gets some sun but not too much intense heat, and is out of the way enough not to be a nuisance.
- Sunlight: A spot that gets a few hours of sun a day is ideal. Too much direct sun can dry out your pile, while too much shade might keep it too cool and slow things down.
- Drainage: Make sure the area drains well so your pile doesn’t get waterlogged.
- Accessibility: You’ll need to add materials and turn the pile, so make sure it’s easy to get to.
- Airflow: Good air circulation is key. Avoid placing it right up against a wall on all sides.
- Water Source: Having a hose or water can nearby will make it easier to maintain the right moisture level.
- Neighbors: If you have close neighbors, consider their proximity and try to set up your pile where it’s least likely to be an issue.
For many urban dwellers, a corner of a small yard, a patio, or even a sturdy balcony (if your building allows and the weight is managed) can work. If you’re using a bin, the aesthetic is less of a concern, but a tumbler can be quite unobtrusive.
What to Compost and What to Avoid: The Golden Rules
Knowing what goes into your compost pile is just as important as everything else. While many things are compostable, some items can cause problems.
Compostables (Greens & Browns):
Greens (Nitrogen-rich):
- Fruit scraps (peels, cores, rinds)
- Vegetable scraps (stems, leaves, peels)
- Coffee grounds and paper filters
- Tea bags (remove any staples)
- Grass clippings (in thin layers to avoid matting)
- Fresh plant trimmings
Browns (Carbon-rich):
- Dry leaves
- Shredded newspaper (black and white ink only is best)
- Shredded cardboard (remove tape and labels)
- Straw or hay
- Small twigs and branches (chopped up)
- Sawdust (from untreated wood)
What to Avoid:
These items can attract pests, smell bad, or contain pathogens that are harmful.
- Meat, fish, and bones (attract pests and can smell)
- Dairy products (oils and fats will attract pests and smell)
- Greasy or oily foods
- Diseased plants
- Weeds that have gone to seed (they might come back!)
- Pet waste (dog and cat feces can contain harmful pathogens)
- Coal or charcoal ash (can contain harmful substances)
- Treated wood or sawdust
- Synthetic materials (plastic, metal, glass)
It’s generally a good idea to chop larger items into smaller pieces. This increases the surface area for microbes to work on, speeding up the composting process.
Building Your Urban Compost Pile: Step-by-Step
Ready to get started? Let’s build it! We’ll focus on a simple bin method, which is versatile for many urban settings.
Step 1: Choose Your Bin
You can buy a plastic compost bin, a wooden one, or even make one from recycled pallets. For urban spaces, a contained bin is often best to keep things tidy and manage pests. If you opt for a purchased bin, follow the manufacturer’s assembly instructions.
Step 2: Prepare the Base
If your bin has a solid bottom, place a layer of coarse material like small twigs or wood chips at the bottom. This helps with drainage and airflow. If your bin is open at the bottom and sits directly on soil, skip this step.
Step 3: Start Layering – The “Lasagna” Method
This is where the “greens” and “browns” come in. Aim for an approximate ratio of 2 parts Browns to 1 part Greens. This isn’t an exact science, but it’s a good starting point.
First Layer: Start with a generous layer of “brown” materials (about 4-6 inches) like shredded leaves, straw, or cardboard. This acts as a base and helps with aeration.
Second Layer: Add a layer of “green” materials (about 2-3 inches) like kitchen scraps or fresh grass clippings.
Third Layer: Sprinkle a thin layer of finished compost or garden soil on top of the greens. This introduces beneficial microbes that will kickstart the decomposition process.
Fourth Layer: Add another layer of “brown” materials to cover the greens. This helps prevent smells and discourages pests.
Continue layering greens and browns, gently watering each layer as you go, until your bin is about two-thirds full. Always finish with a layer of browns.
Step 4: Maintain Moisture
Your compost pile should feel like a damp, wrung-out sponge. If it’s too dry, the decomposition process will slow down. If it’s too wet, it can start to smell and become slimy. Water your pile when adding new materials, especially the dry brown layers.
Tip: If you squeeze a handful of compost and only a drop or two of water comes out, it’s perfect. If water streams out, it’s too wet and needs more browns.
Step 5: Aerate (Turn Your Pile!)
This is crucial for providing oxygen to the microbes and speeding up decomposition. Aim to turn your compost pile every 1-2 weeks. You can use a pitchfork, a compost aerator tool, or a sturdy shovel to mix the materials. Turn the outer layers into the center and vice versa.
If you’re using a tumbler, simply rotate it every few days.
Step 6: Be Patient and Observe
Composting takes time. Depending on the materials used, the temperature, and how often you turn it, compost can be ready in anywhere from 2 months to a year. You’ll know it’s ready when it looks dark, crumbly, and smells earthy. You shouldn’t be able to recognize the original materials.
Troubleshooting Common Urban Composting Challenges
Even with the best intentions, you might run into a few bumps in the road. Here’s how to fix common issues:
- Smelly Compost: This usually means your pile is too wet or doesn’t have enough air.
- Fix: Add more “brown” materials (dry leaves, shredded paper) to absorb excess moisture and provide carbon. Turn the pile thoroughly to aerate it.
- Pile Isn’t Heating Up: This could mean there isn’t enough nitrogen (“greens”) or the pile is too dry.
- Fix: Add more “green” materials like kitchen scraps or fresh grass clippings. Check moisture and add water if it’s too dry. Ensure the pile is large enough; a minimum of 3x3x3 feet is ideal for heat generation, but even smaller piles will eventually compost with persistence.
- Attracting Pests (Flies, Rodents): This is usually due to exposed food scraps or adding forbidden items.
- Fix: Ensure all food scraps are completely buried under a layer of “brown” material. Avoid adding meat, dairy, or oily foods. Using an enclosed bin or tumbler can help significantly.
- Slow Decomposition: This can happen if the materials are too large, the pile is too dry, or it’s too cold.
- Fix: Chop larger items into smaller pieces. Ensure consistent moisture. Turn the pile more frequently. In cooler months, consider a well-insulated bin or tumbler.
What Else Can You Compost? Advanced Urban Tips
Once you’ve got the hang of the basics, you might be wondering about other things. Here are a few less common but still useful compostable items:
- Paper: Most plain paper products are fine, including junk mail (without glossy inserts), paper towels, and napkins. Avoid glossy or heavily inked paper. Shredding is important.
- Hair and Fur: Both human and pet hair (from non-carnivorous pets) are excellent sources of nitrogen.
- Ash: Wood ash from burning natural, untreated wood can be added in small amounts. It’s alkaline and can help balance acidity. Avoid ash from charcoal or coal.
- Eggshells: While they break down slowly, crushed eggshells add calcium to your compost. Wash them first.
Remember to always chop or shred these items to help them break down faster.
When Is Your Compost Ready to Use?
The wait can be the hardest part, but knowing when your compost is ready is key. Your compost is finished when:
- It has a dark brown, crumbly texture.
- It smells earthy and pleasant, like a forest floor.
- You can no longer recognize the original materials you put in it.
- The temperature of the pile has cooled to ambient temperature.
To harvest, you can use a screen (like a piece of hardware cloth) to sift out any larger, unfinished pieces. Toss those back into your active compost bin to break down further. The finished compost can be used as a soil amendment, mixed into potting soil, or used as a top dressing for your plants.
Using Your Urban Compost Creations
Now for the fun part – using your homemade compost! It’s incredibly versatile and beneficial for all sorts of plants, whether you have a sprawling garden or just a few pots on a windowsill.
- Soil Amendment: Mix compost into your garden beds or potting soil at a ratio of about 1 part compost to 3-4 parts soil. This improves drainage, aeration, and water retention.
- Top Dressing: Spread a layer of compost around the base of plants, shrubs, and trees. This slowly releases nutrients and helps suppress weeds.
- Seed Starting: For your seedlings, a mix of compost and other light materials (like perlite or vermiculite) provides essential nutrients for strong early growth.
- Lawn Care: A thin layer of compost spread over your lawn in spring or fall can significantly improve soil health and grass vitality.
Your compost is a powerhouse of nutrients that will help your plants thrive organically!
| Compost Material | Type (Green/Brown) | Contribution | Notes |
|---|---|---|---|
| Fruit & Vegetable Scraps | Green | Nitrogen, moisture | Chop into smaller pieces |

I am passionate about home engineering. I specialize in designing, installing, and maintaining heating, ventilation, and air conditioning systems. My goal is to help people stay comfortable in their homes all year long.