Ever look at your kitchen scraps and garden waste and think, “There has to be a better way than just tossing this?” You’re not alone! Many of us want to be a little kinder to our planet, but figuring out where to start can feel overwhelming. Composting might sound complicated, but it’s actually one of the simplest and most rewarding ways to make a real difference. We’ll break it down so you can turn your waste into garden gold. Let’s get started on your composting journey!
Compost Rural: Your Essential Guide for a Greener Life
Hey there, I’m Troy D Harn from TopChooser, and I’m here to help you make composting easy. Think of me as that neighbor who’s always got a handy tip or a new project going. If you’re looking to cut down on waste, boost your garden’s health, and live a little greener, you’ve landed in the right spot. Rural composting isn’t just about tossing things in a pile; it’s about creating a system that works for you and your land. We’ll walk through everything, from what you need to know to how to get that rich, dark compost cooking. No complicated jargon, just practical, doable steps.
Why Compost? The Big Picture Benefits
Composting is a way to transform everyday organic materials—like food scraps and yard trimmings—into a nutrient-rich soil amendment called compost. It’s often called “black gold” by gardeners, and for good reason! But the benefits go way beyond just making your plants happy. It’s a win-win for your garden and the environment.
Here are some of the key reasons why composting is a fantastic idea:
- Reduces Landfill Waste: Food scraps and yard waste make up a significant portion of what we throw away. Composting diverts this from landfills, where it can produce harmful greenhouse gases like methane.
- Enriches Soil: Compost is packed with nutrients that plants need to thrive. Adding compost to your soil improves its structure, aeration, and water retention. This means healthier, stronger plants with less need for chemical fertilizers.
- Saves Money: Think about it – less waste going to the curb means potentially lower trash bills in some areas. Plus, you won’t need to buy as much fertilizer or soil conditioner for your garden.
- Conserves Water: Compost-rich soil acts like a sponge, holding onto moisture. This reduces the need for frequent watering, which is a big plus, especially in drier climates or during hot summers.
- Supports a Healthy Ecosystem: Healthy soil is teeming with life – beneficial bacteria, fungi, earthworms, and other microorganisms. Composting helps build this vibrant soil ecosystem.
- Environmentally Friendly: By recycling organic matter, you’re closing the loop, reducing your carbon footprint, and contributing to a more sustainable way of living.
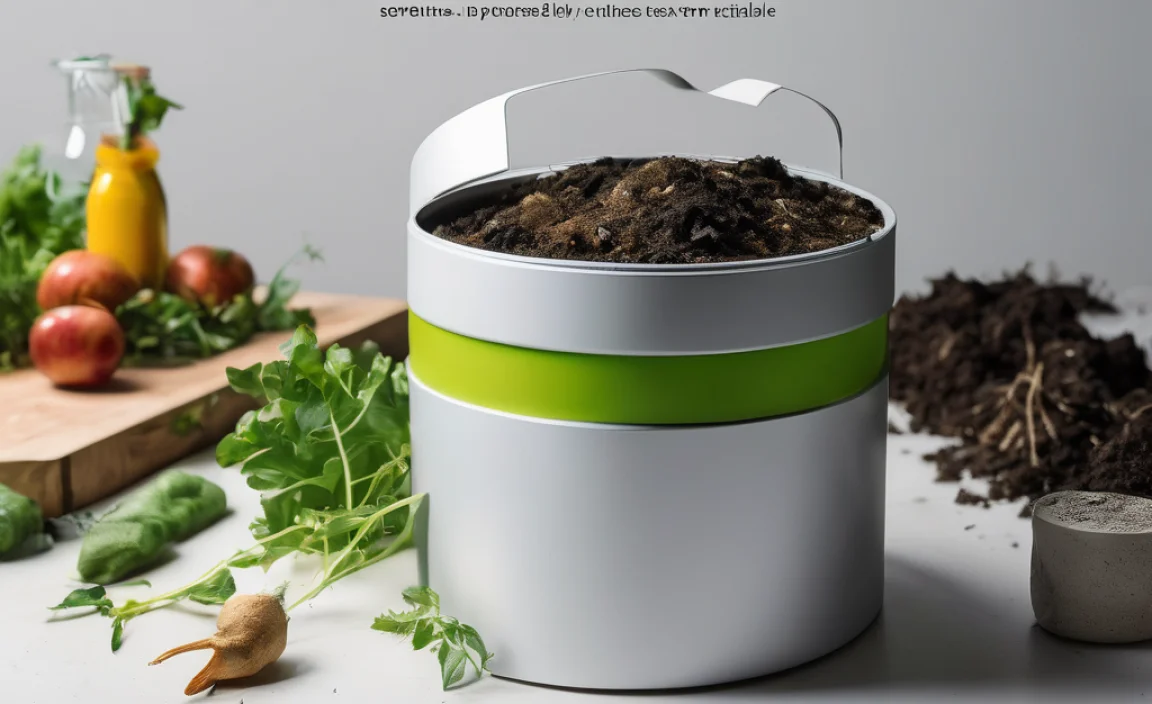
Getting Started: What You Actually Need
Let’s keep this simple. You don’t need tons of fancy equipment to start composting, especially in a rural setting where you likely have a bit more space. The core idea is to get a mix of “greens” and “browns” together in a way that allows air and moisture to do their magic.
Choosing Your Composting Method
In a rural setting, you have a few excellent options, depending on your space, how much material you generate, and how quickly you want compost.
- Compost Pile (Open Pile): This is the most basic method. You simply pile organic materials in a designated spot. It’s easy and requires no special bins, but it can look a bit messy and may take longer to break down. It’s ideal if you have plenty of space. Think of it as a natural process; the worms and microbes will find it!
- Compost Bin (Enclosed Bin): These can be purchased or built. They help contain the materials, retain heat and moisture, and can look tidier. Many are designed for easy turning or access. You can find simple wooden bin designs or sturdy plastic ones.
- Tumbler Composter: These are barrel-like containers that you can spin or tumble. This makes turning the compost much easier and speeds up the decomposition process. They are great for keeping pests out and can be more efficient, but they tend to be more expensive upfront.
For rustics and folks with space, the open pile or a simple DIY bin is often the go-to. It’s practical and can handle large volumes of material.
Essential Tools (You Probably Have Some Already!)
You don’t need a whole workshop! Here’s what makes the job easier:
- Pitchfork or Garden Fork: This is your primary tool for turning the compost. It helps aerate the pile, which is crucial for speedy decomposition and preventing odors.
- Shovel: Useful for moving materials into the pile and for scooping out finished compost.
- Garden Hose with Sprayer: To add moisture if your pile gets too dry.
- Gloves: To keep your hands clean (and your nails less dirty!).
- Kitchen Caddy/Scrap Bucket: A small container with a lid for collecting kitchen scraps before taking them out to the compost pile.
If you’re building your own bin, you’ll also need basic tools like a saw, drill, screws or nails, and measuring tape if you go with a wooden design. Plenty of free plans are available online for DIY compost bins.
What Goes In? The “Greens” and “Browns” Explained
This is the heart of composting. To get that perfect balance, you need two main types of materials: nitrogen-rich “greens” and carbon-rich “browns.” Think of it like making a cake – you need the right ingredients in the right amounts.
The “Greens” (Nitrogen-Rich Materials)
Greens are typically moist and provide nitrogen, which helps the microorganisms that break down the compost multiply. They tend to heat up the pile.
- Fruit and vegetable scraps (peels, cores, rinds)
- Coffee grounds and tea bags
- Grass clippings (in thin layers to avoid matting)
- Plant trimmings (non-diseased)
- Eggshells (crushed)
- Manure from herbivores (like cows, horses, rabbits, chickens – avoid pet waste from carnivores)
The “Browns” (Carbon-Rich Materials)
Browns are usually dry and provide carbon, which acts as the energy source for the microorganisms. They also help with aeration and prevent the pile from becoming too wet and smelly.
- Dry leaves
- Straw or hay
- Shredded newspaper or cardboard (avoid glossy paper or colored inks if possible)
- Pine needles (use in moderation as they can be acidic)
- Wood chips or sawdust (use in moderation, especially from treated wood)
- Twigs and small branches (chopped or shredded)
- Paper towels and napkins (unsoiled)
What to AVOID Putting in Your Compost Pile
Some things just don’t belong and can cause problems, attract pests, or spread disease. It’s best to keep these out:
- Meat, fish, and dairy products (attract pests, smell bad)
- Oily or greasy foods
- Diseased plants or weeds that have gone to seed (they might survive the composting process and spread)
- Pet waste from cats or dogs (can contain harmful pathogens)
- Treated wood or sawdust from treated wood
- Coal ash or charcoal briquettes
- Inorganic materials like plastic, glass, or metal
- Weeds that have gone to seed (like dandelions or bindweed) – these can regrow from your compost!
Building Your Compost Pile: The Step-by-Step Process
Ready to get your hands dirty (but not too dirty!)? Here’s how to build a successful compost pile or fill your bin.
Step 1: Choose Your Location.
Find a spot that’s convenient to access, has decent drainage, and ideally gets some sun. A little sun helps heat the pile, but too much direct sun can dry it out too fast. Partial shade is often ideal. Ensure it’s on bare earth if possible, so worms and microbes can easily access it from the soil below.
Step 2: Start with a Base Layer.
Lay down a layer of coarse brown materials, like small twigs or straw, about 4-6 inches thick. This helps with airflow from the bottom.
Step 3: Add Your Greens and Browns.
This is where the magic happens. You want to aim for a good ratio of greens to browns. A common guideline is about two to three parts browns for every one part greens by volume. Don’t worry about being perfectly precise; it’s more of a guideline.
Layer your materials like you’re making a lasagna. Add a layer of greens (like kitchen scraps or grass clippings), then a layer of browns (like dry leaves or shredded paper). Chop or shred larger items to help them break down faster. As you add kitchen scraps, try to bury them within the brown layers to deter pests and odors.
Step 4: Add Water.
Compost needs moisture to work. Your pile should be as damp as a wrung-out sponge. If the materials are dry, water each layer thoroughly as you build your pile. If you’re adding a lot of wet kitchen scraps, you might need more browns to balance the moisture.
Step 5: Turn Your Compost Regularly.
This is key for speedy compost. Use your pitchfork to mix the materials. Aim to turn the pile every 1 to 4 weeks. This introduces oxygen, which is vital for the aerobic bacteria that do the heavy lifting (and prevent stinky anaerobic decomposition). When you turn it, try to bring the material from the outside to the middle and vice-versa.
Step 6: Monitor and Adjust.
Keep an eye on your pile. Is it too dry? Add water. Too wet and maybe smelly? Add more browns and turn it. Not heating up? It might need more greens or more moisture. Composting is part science, part art, and you’ll learn to read your pile.
The Compost Decomposition Process: What’s Happening Inside?
It might look like a quiet pile of stuff, but inside, it’s a bustling metropolis of microorganisms! These tiny helpers, along with larger creatures like earthworms and beetles, are hard at work breaking down your organic materials.
- Mesophilic Stage: This is the initial stage where temperatures are around 50-110°F (10-40°C). Bacteria begin to break down the more accessible sugars and starches.
- Thermophilic Stage: As these microbes multiply, they generate heat. The pile’s temperature can rise to 130-160°F (55-70°C). This heat is great because it kills off weed seeds and pathogens. Actinomycetes and fungi take over during this stage, breaking down tougher materials like cellulose and lignin.
- Cooling and Curing Stage: As the easily decomposable materials are consumed, the temperature starts to drop. Further breakdown occurs with fungi, actinomycetes, and finally, mesophilic organisms return to finish the job. Earthworms and other macroorganisms play a significant role here, mixing and maturing the compost.
A well-managed compost pile will go through these temperature cycles. This process can take anywhere from a few months to a year, depending on the materials used, the size of the pile, and how often it’s turned and kept moist.
Troubleshooting Common Composting Problems
Even the best composters run into a snag now and then. Don’t get discouraged – these are usually easy fixes!
Problem: Foul Odors (Smells like rotten eggs or ammonia)
Cause: Too much green material, too much moisture, or not enough air (anaerobic conditions). Ammonia smells often mean too much nitrogen (greens). Rotten egg smells usually indicate a lack of oxygen.
Solution:
- Stir or turn the pile thoroughly to introduce air.
- Add more brown materials (dry leaves, shredded paper, straw) to absorb excess moisture and balance the nitrogen.
- Ensure good drainage and avoid making the pile too wet.
Problem: Pile Isn’t Heating Up
Cause: The pile is too small, not enough green (nitrogen) materials, or too dry.
Solution:
- Add more green materials (e.g., fresh grass clippings, kitchen scraps).
- Make sure the pile is large enough to build up heat – a minimum of about 3x3x3 feet is often recommended for hot composting.
- Add water if the pile is dry.
- Turn the pile to mix materials and expose them to the core heat.
Problem: Compost Seems Too Dry
Cause: Lack of moisture, too many brown materials, or it’s placed in an overly sunny or windy spot.
Solution:
- Add water using a hose or watering can. Water thoroughly as you turn the pile to distribute moisture evenly.
- If you’re adding a lot of dry browns, try to include more wet greens.
- Consider partially covering the pile to retain moisture.
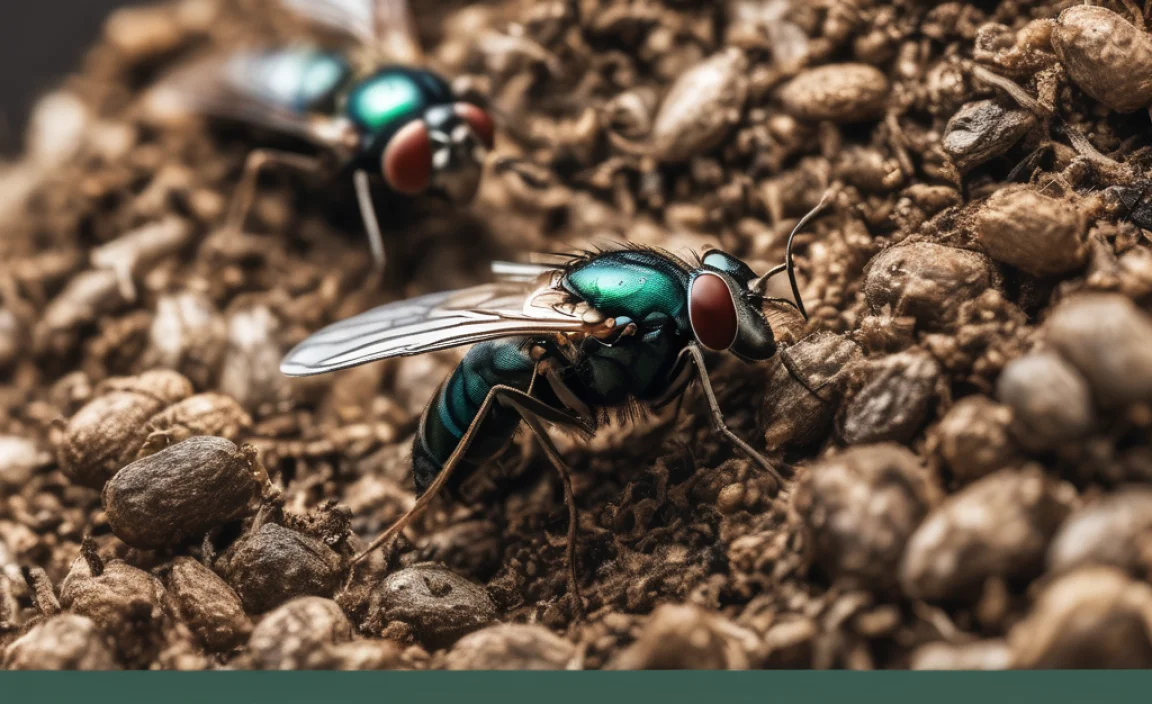
Problem: Pests (Flies, Rodents, etc.)
Cause: Exposed food scraps, incorrect materials in the pile (meat, dairy). Flies can be attracted to exposed, wet food scraps.
Solution:
- Always bury kitchen scraps deep within the pile and cover them with a layer of brown material.
- Avoid adding meat, dairy, oily foods, or pet waste.
- Ensure your compost bin has a lid if pests are a major concern.
- Turn the pile regularly, as this often discourages pests and helps break down attractants faster.
- A well-maintained compost pile that reaches high temperatures can deter many pests.
For more detailed insights on composting science and best practices, the EPA’s composting page offers valuable information.
When is Compost Ready?
You’ll know your compost is ready to use when it looks, smells, and feels right. It’s a transformation you can see and smell!
Here’s what to look for:
- Appearance: It should be dark brown, crumbly, and uniform in texture. You shouldn’t be able to easily identify the original materials (like banana peels or grass clippings).
- Smell: It should smell earthy and pleasant, like a forest floor after rain. If it smells sour or pungent, it likely needs more time to cure or needs to be turned.
- Texture: It should be loose and crumbly, not slimy or compacted.
- Temperature: A finished compost pile will have cooled down to ambient temperature.
This process typically takes anywhere from 2 months to a year, depending on how actively you manage your pile. To speed up curing, you can sift the compost to remove any larger, uncomposted pieces. These can be tossed back into your active compost pile to continue breaking down.
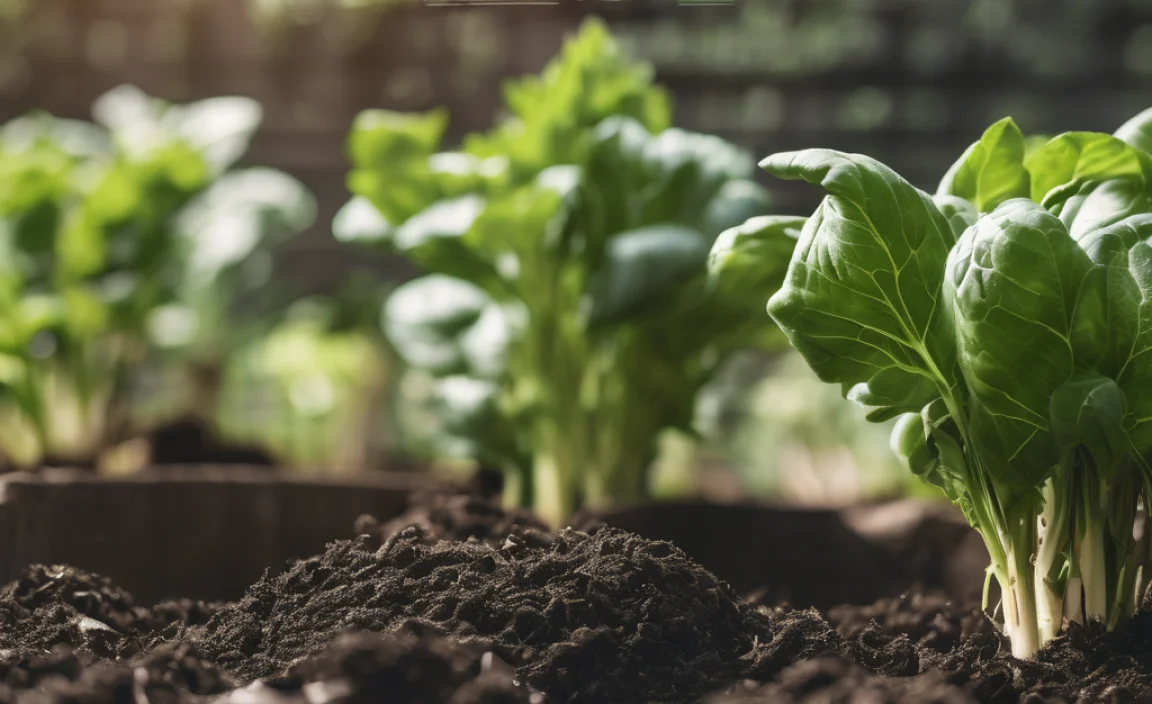
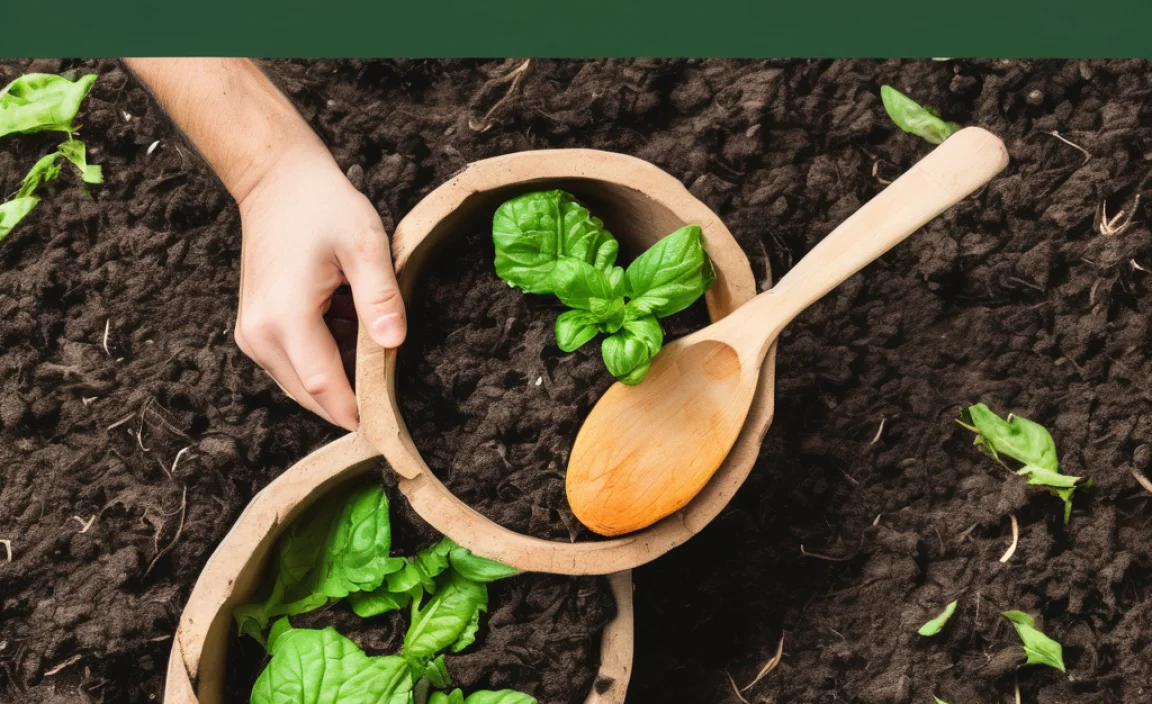
Using Your Black Gold: How to Apply Compost
Congratulations, you’ve made compost! Now for the best part: using it to beautify your garden and grow amazing food. Compost is incredibly versatile and can be used in many ways.
- Soil Amendment: This is the most common use. Mix a few inches of compost into garden beds and vegetable patches before planting. It improves soil structure, drainage, and nutrient content for the entire growing season.
- Top Dressing: Spread a 1–2 inch layer of compost around trees, shrubs, and perennial plants. This acts as a mulch, suppressing weeds, conserving moisture, and feeding the plants gradually.
- Potting Mix: Mix compost with other ingredients like perlite or vermiculite to create a nutrient-rich potting mix for containers, hanging baskets, and seedlings. A common ratio is about 1 part compost to 1 part other potting ingredients.
- Lawn Care: Rake a thin layer of compost (about 1/4 inch) over your lawn to improve soil health and encourage a greener, more resilient turf.
- Compost Tea: You can steep compost in water to create a liquid fertilizer that can be sprayed on leaves or watered into the soil. This is a great way to give plants a quick nutrient boost.
Using compost is like giving your plants a vitamin-rich meal. They’ll thank you with bountiful harvests and beautiful blooms!

I am passionate about home engineering. I specialize in designing, installing, and maintaining heating, ventilation, and air conditioning systems. My goal is to help people stay comfortable in their homes all year long.