Compost Soil Apartment: Essential Guide for City Gardeners
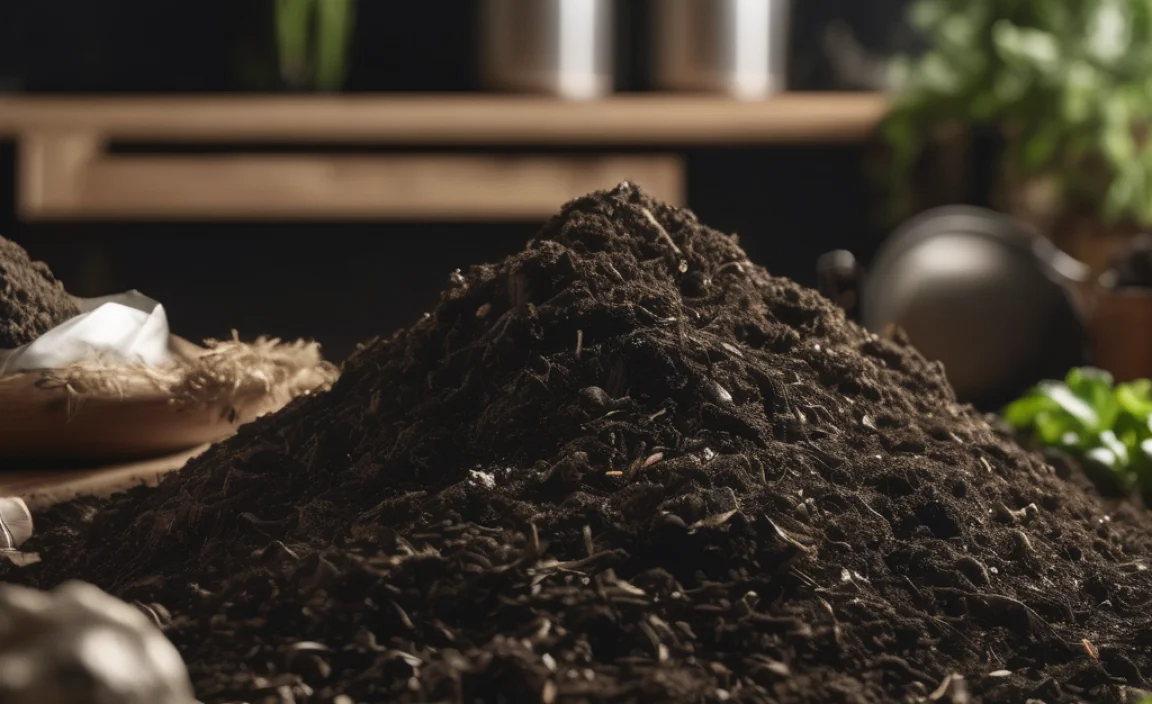
Craving that rich, dark soil for your balcony plants but live in an apartment? Don’t let a small living space stop you from composting! Building your own nutrient-packed soil is totally doable, even without a backyard.
You might think composting is only for folks with sprawling gardens. But guess what? With a few smart choices and a little bit of know-how, you can transform your kitchen scraps into garden gold right in your apartment. It’s a fantastic way to reduce waste and give your plants a super boost.
This guide is your friendly roadmap. We’ll walk through everything you need to know, from choosing the right system to what you can and can’t compost. Let’s get digging!
Why Compost in Your Apartment?
Composting might sound like a lot of work, especially in a small apartment. But the benefits are huge! It’s not just about feeding your plants; it’s about making a difference.
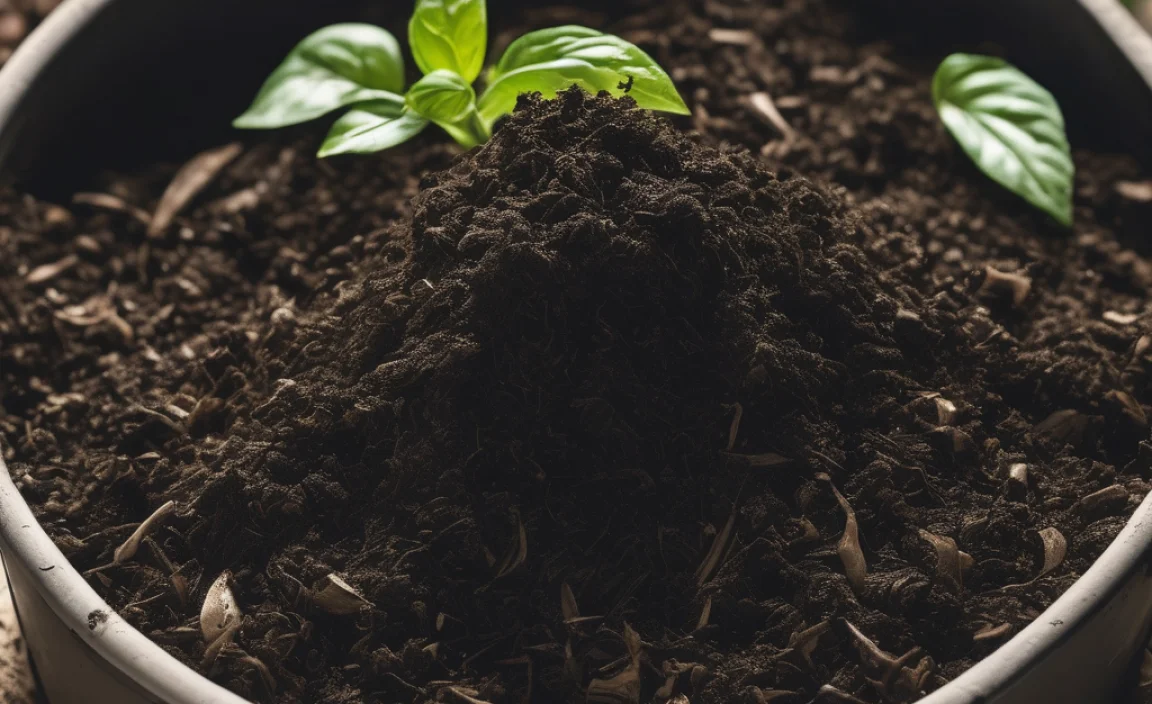
First off, you’re shrinking your trash pile. A good chunk of what we throw away is organic material that could be composted. Imagine sending less to the landfill and more to your happy little balcony garden. Plus, the compost you create is like a superfood for your plants. It improves soil structure, helps it retain moisture, and provides essential nutrients, leading to healthier, more vibrant growth. Think bigger tomatoes and brighter flowers!
And let’s talk about saving money. Buying bags of potting soil and fertilizers can add up. By making your own compost, you’re essentially gardening for free, turning what would be waste into valuable resources. It’s a win-win for your wallet and the planet.
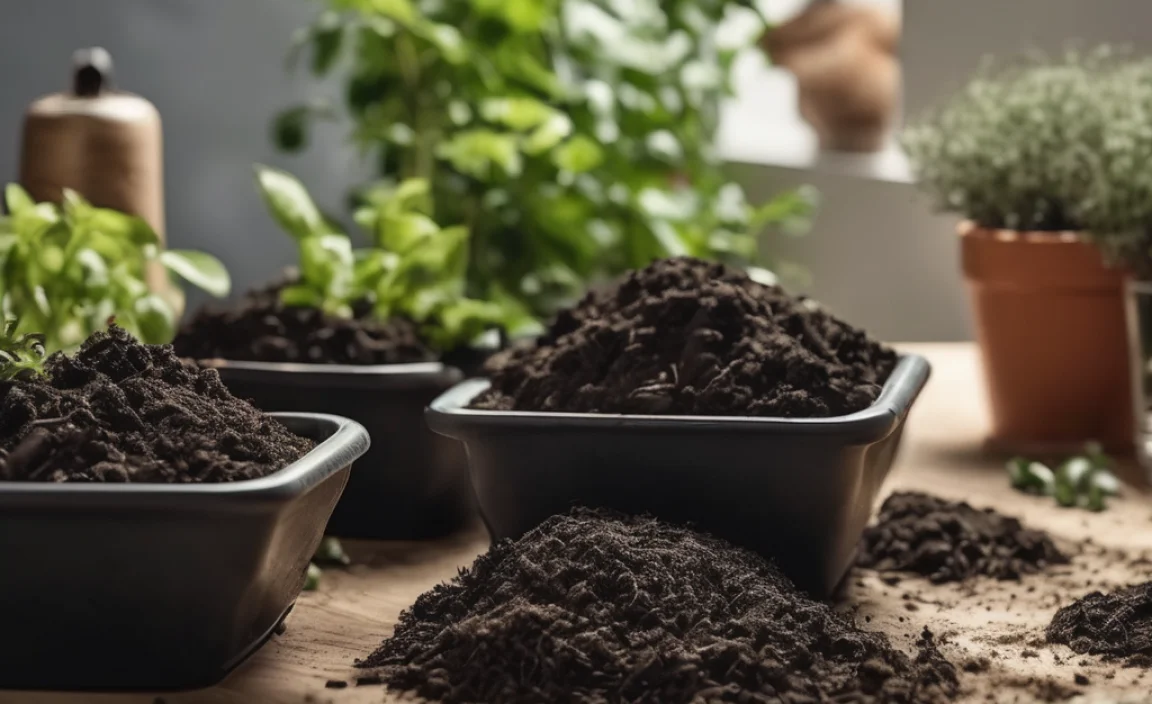
Choosing Your Apartment Composting Method
Living the apartment life means space is a premium. Luckily, there are several composting methods perfect for smaller homes. Each has its own quirks, so pick the one that best suits your lifestyle and available space.
1. Worm Composting (Vermicomposting)
This is probably the most popular choice for apartment dwellers, and for good reason! Worm bins are compact, odorless when managed correctly, and incredibly efficient at breaking down food scraps.
How it works: Special composting worms (like Red Wigglers) munch away at your kitchen waste, turning it into nutrient-rich worm castings – often called “worm poop” – which is pure gold for soil. You typically set up a multi-tiered bin, where the worms live and process the scraps. As they eat, they produce castings that fall through to a lower tray, making them easy to harvest.
Pros:
- Very little odor when managed properly.
- Compact and can fit under a sink or on a balcony.
- Produces high-quality fertilizer (worm castings).
- Relatively fast decomposition.
Cons:
- Requires specific types of worms, which need to be purchased.
- Can’t handle large amounts of certain “green” materials or meat/dairy.
- Initial setup cost for the bin and worms.
Best for: People who generate a moderate amount of kitchen scraps and don’t mind caring for live critters.
Where to start: Look for beginner-friendly worm bin kits online. Remember to get “Red Wigglers” (Eisenia fetida) or “Eisenia andrei” as they are the best composting worms. Avoid regular earthworms from your garden, as they won’t thrive in a bin.
2. Bokashi Composting
Bokashi is a bit different from traditional composting. It’s actually a fermentation process that pickles your food waste. It’s faster than vermicomposting and can handle things like meat, dairy, and oily foods that other methods can’t.
How it works: You layer your food scraps in an airtight Bokashi bin with a special activated Bokashi bran, which contains beneficial microbes. These microbes ferment the waste rather than decomposing it. After filling the bin, you let it sit and ferment for about 2 weeks. The result is a pre-composted material that needs to be buried in soil to finish breaking down. You might need a larger pot or to partner with a community garden for this final step, but the initial processing is all done indoors.
Pros:
- Can handle meat, dairy, and oily foods.
- Almost no unpleasant odors during fermentation.
- Produces a nutrient-rich “tea” that can be diluted as liquid fertilizer.
- Compact bin system.
Cons:
- Requires purchasing Bokashi bran.
- The fermented material needs to be further composted or buried (though it breaks down rapidly).
- The final product can be acidic and might need resting before planting.
Where to start: Bokashi systems usually come as a set with the bin and a bag of the bran. You can often find these online or at garden supply stores.
3. Electric Composters (Food Cyclers)
These high-tech gadgets are the fastest option. They use heat and aeration to dehydrate and grind food scraps in a matter of hours.
How it works: You simply toss your food scraps into the machine, close the lid, and press a button. Within a few hours, you’ll have a dry, nutrient-rich material that’s a fantastic soil amendment. It’s more like dehydrating and grinding than traditional composting, but the end result is remarkably similar to compost.
Pros:
- Extremely fast – processes scraps in hours.
- Very compact and convenient.
- Minimal odor.
- Can handle a wide range of food scraps.
Cons:
- High initial purchase price.
- Uses electricity.
- The output is technically dehydrated food, not true compost, though it functions similarly as a soil amendment.
Where to start: Search for “food cycler” or “electric composter” online. Brands like Lomi and Vitamix have popular models.
4. Small-Scale Outdoor Composting (if you have a balcony!)
If you have a decent-sized balcony or patio, you might be able to use a small compost bin designed for outdoor use. These are often tumblers or compact stationary bins.
How it works: Similar to traditional backyard composting, but scaled down. You add alternating layers of “greens” (food scraps, grass clippings) and “browns” (cardboard, dry leaves), and introduce air and moisture to help it break down. Tumblers make turning easier.
Pros:
- Can handle larger volumes than indoor bins.
- Closer to traditional composting methods.
- Can be effective with a good balance of materials.
Cons:
- Requires outdoor space (balcony, patio).
- Can attract pests if not managed properly.
- Can produce odors if the “browns” to “greens” ratio is off or if it gets too wet.
- Takes longer than other methods.
Where to start: Look for compact compost tumblers or small stationary bins at garden centers or online. Ensure they are suitable for apartment balconies and consider weight limits if applicable.
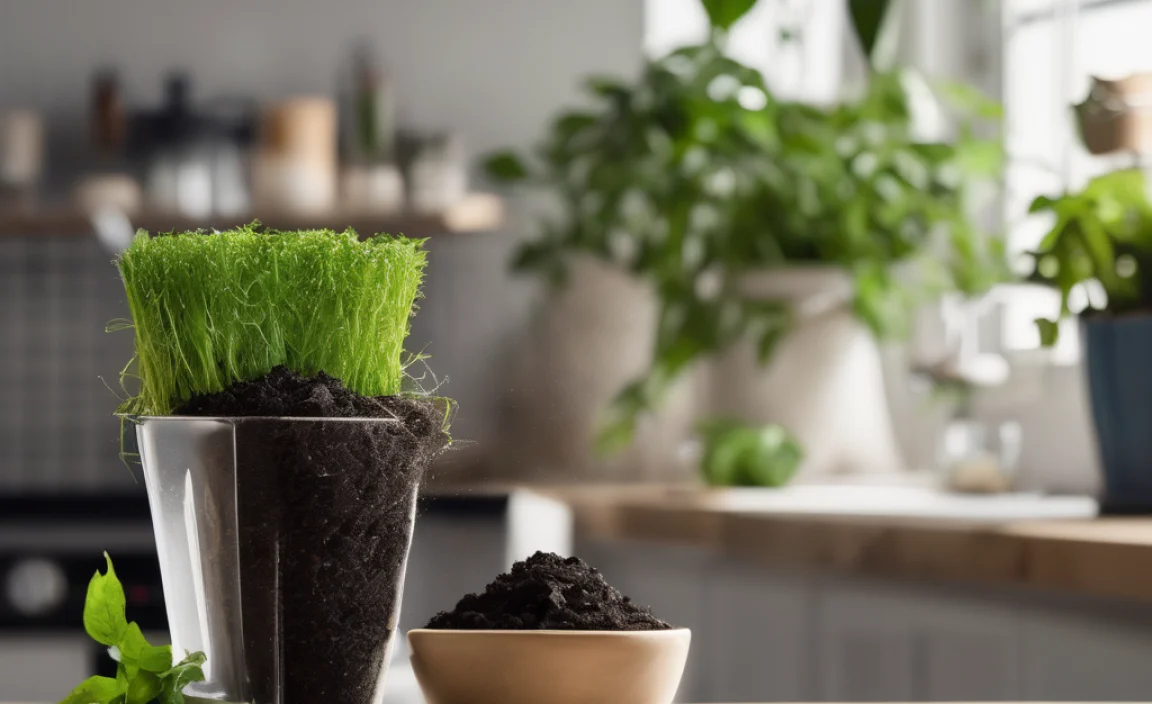
What to Compost (and What to Avoid)
Understanding what goes into your composter is key to success. It helps prevent odors, pests, and ensures you get nutrient-rich compost.
Think of composting materials in two categories: “Greens” and “Browns.” You generally want a good mix of both.
“Greens” (Nitrogen-Rich Materials)
These are typically moist materials that provide nitrogen, essential for decomposition. They also include most food scraps.
- Fruit and vegetable scraps
- Coffee grounds and filters
- Tea bags (staples removed)
- Eggshells (crushed)
- Grass clippings (in moderation)
- Fresh plant trimmings
“Browns” (Carbon-Rich Materials)
These are dry materials that provide carbon, helping to balance the nitrogen and prevent the compost from becoming a smelly, soggy mess. They also add air pockets.
- Dry leaves
- Shredded newspaper (black and white ink only)
- Shredded cardboard (uncoated, tape removed)
- Paper towel rolls (shredded)
- Sawdust (from untreated wood only)
- Straw or hay
Important Note on Apartment Composting: Worm bins and Bokashi systems have slightly different rules. Worm bins generally prefer not to have meat, dairy, or oily foods. Bokashi, on the other hand, can handle these items because it ferments them.
What to AVOID Composting in Your Apartment:
Some items can cause big problems, like attracting pests, creating terrible odors, or introducing harmful pathogens.
- Meat, fish, and bones (unless using Bokashi or an electric composter)
- Dairy products (unless using Bokashi or an electric composter)
- Oily and greasy foods (unless using Bokashi or an electric composter)
- Diseased plants
- Weeds that have gone to seed
- Pet waste (dog or cat feces) – these can contain harmful pathogens.
- Treated wood or sawdust from treated wood
- Coal or charcoal ash
- Synthetic materials (plastics, metals, glass)
- Fats, lard, or oils (unless specifically for Bokashi or electric)
- Glossy or coated paper and cardboard
When in doubt, it’s best to leave it out of your apartment composter.
Setting Up Your Apartment Composter: A Step-by-Step Guide
Let’s get practical! Here’s how to set up your chosen system.
For Worm Composting (Vermicomposting):
Step 1: Choose Your Bin. You can buy a kit or make your own. A common DIY bin can be made from an opaque plastic storage tote with a lid. Drill plenty of small holes in the lid and sides for aeration, and a few at the bottom for drainage if you plan to collect “worm tea.”
Step 2: Prepare the Bedding. This is what your worms will live in. Shred newspaper, cardboard, coconut coir, or peat moss. Moisten it so it feels like a wrung-out sponge – not dripping wet, not bone dry. Fluff it up and fill your bin about halfway.
Step 3: Add Your Worms. Gently place your purchased composting worms (Red Wigglers are best) onto the bedding. They will burrow down into it to escape the light. You typically need about 1 pound of worms per square foot of surface area for a standard bin.
Step 4: Start Feeding. Begin by burying small amounts of food scraps (chopped up small) under the bedding in one corner of the bin. Don’t overfeed! A good rule of thumb is for the worms to eat what you give them within a few days. Start with a small amount (like a cup or two) a couple of times a week.
Step 5: Maintain Moisture and Aeration. Keep the bedding moist but not soggy. If it dries out, spritz it with water. If it’s too wet, add more dry “browns” like shredded cardboard. Ensure the air holes aren’t blocked.
Step 6: Harvest Your Castings. After a few months, you’ll see dark, crumbly material (worm castings) accumulating. To harvest, you can try to migrate the worms to one side of the bin by putting fresh bedding and food only on the other side, or by using a light source. Once most worms have moved, you can scoop out the castings from the empty side.
For Bokashi Composting:
Step 1: Get Your Bokashi Bin. These are usually airtight buckets with a spigot at the bottom to drain off the liquid. They often come with a lid that pushes down tightly.
Step 2: Add Food Scraps. Put your acceptable food scraps into the bin. Chop larger items into smaller pieces for faster fermentation.
Step 3: Sprinkle with Bokashi Bran. Sprinkle a layer of Bokashi bran over the food scraps. The amount recommended by the manufacturer is usually about a tablespoon per layer of scraps. The bran contains the microbes that do the fermenting.
Step 4: Compress and Seal. Press down the material to remove air pockets. This is crucial for anaerobic fermentation. Seal the lid tightly.
Step 5: Drain the “Tea.” Regularly drain the liquid that collects at the bottom via the spigot. This “Bokashi tea” is a potent liquid fertilizer. Dilute it with water (about 1:100 ratio) before using it on plants.
Step 6: Repeat and Ferment. Continue adding scraps and bran until the bin is full. Once full, seal the lid and let it sit for at least 2 weeks to ferment. During this time, you should still drain off any liquid.
Step 7: Bury or Finish Composting. After fermentation, the material will look and smell pickled. It’s not finished compost yet. You’ll need to bury it in a larger pot of soil, a community garden plot, or in a larger compost bin for a few more weeks to fully decompose before it can be used on plants.
For Electric Composters (Food Cyclers):
Step 1: Plug It In. Ensure your unit is placed on a stable surface near an outlet.
Step 2: Add Food Scraps. Open the lid and place your acceptable food scraps inside. Common units can process a few liters of waste per cycle.
Step 3: Close and Start. Close the lid securely and press the start button. Most units have simple controls and will indicate when the cycle is complete.
Step 4: Empty and Use. Once the cycle is finished, open the composter and remove the dried, nutrient-rich material. It can be added directly to your plant pots or applied around the base of plants. Some units have removable buckets for easier emptying.
Troubleshooting Common Apartment Composting Problems
Even with the best intentions, you might run into a few snags. Here’s how to fix them:
Problem: Foul Odors
Cause: Too many “greens,” not enough “browns,” or the compost is too wet. In worm bins or Bokashi, this can also mean you’re adding materials they can’t handle.
Solution:
- For worm bins: Add more shredded cardboard or newspaper (“browns”). Check moisture levels and reduce food scraps if too wet. Ensure worms are not being overfed.
- For Bokashi: Ensure the lid is sealed tightly and drain the liquid regularly. Make sure you’re using enough Bokashi bran.
- For outdoor bins: Add more dry “brown” materials and turn the pile to aerate it.
Problem: Pests (Fruit Flies, Gnats)
Cause: Exposed food scraps, especially sugary ones.
Solution:
- For worm bins: Always bury food scraps under the bedding. Make sure the lid is secure. If you have an infestation, try freezing fruit scraps first, then add them.
- For outdoor bins: Bury food scraps so they are covered by other compost material. Ensure the bin is properly sealed or has a secure lid.
- For Bokashi/Electric: These systems are generally pest-proof due to their sealed nature or rapid processing.
Problem: Compost is Too Wet
Cause: Too many wet “green” materials, not enough “browns,” or excessive moisture in the environment.
Solution:
- For worm bins: Add more dry shredded cardboard, newspaper, or a bit of coir. Ensure drainage holes are clear.
- For outdoor bins: Add dry “browns,” turn the pile to aerate, and consider resting it from new additions for a bit.
Problem: Not Breaking Down (Slow Composting)
Cause: Lack of moisture, not enough nitrogen (“greens”), or the temperature is too low/high.
Solution:
- For worm bins: Ensure there are enough worms to process the food. Check if the bin is too crowded or if the temperature is extreme.
- For outdoor bins: Add more “green” materials or a bit of water if it’s dry. Turn the pile to mix materials and

I am passionate about home engineering. I specialize in designing, installing, and maintaining heating, ventilation, and air conditioning systems. My goal is to help people stay comfortable in their homes all year long.