Ever looked at your garden and wished it was a little more… alive? Maybe your plants seem a bit tired, or the soil feels stubbornly hard. If you’re in the Philippines and dreaming of a greener thumb, you’re in the right place! Making your own compost is like giving your garden a superpower boost. It’s easier than you might think, and I’m here to guide you every step of the way. Let’s dig in and transform your soil into something amazing!
Boost Your Garden Naturally: The Power of Compost Soil in the Philippines
Hey there, green thumb hopefuls and seasoned gardeners alike! Troy D Harn here, your friendly guide from TopChooser. Today, we’re talking about something that can seriously level up your gardening game, especially here in the beautiful Philippines: compost soil. It sounds a bit technical, but trust me, it’s one of the most natural and effective ways to make your plants happier, healthier, and more productive. Forget those fancy chemical fertilizers for a moment, because we’re going to unlock the magic of turning everyday waste into “black gold” for your soil.
Why is compost so important, you ask? Think of your soil as the foundation of your garden. Just like a house needs a strong, stable foundation, your plants need nutrient-rich soil to thrive. Over time, soil can get depleted of the good stuff. Compost is like a superfood for your soil, replenishing it with essential nutrients, improving its structure, and helping it retain moisture. This is especially true in tropical climates like ours in the Philippines, where heavy rains can sometimes wash away valuable nutrients, and intense sun can dry out the soil quickly.
The best part? You probably have most of the ingredients for amazing compost right in your own home! We’re talking about kitchen scraps, yard waste – things you might normally just throw away. By composting, you’re not only giving your garden a fantastic boost, but you’re also reducing waste going to landfills. It’s a win-win for your wallet and the planet. So, if you’re ready to transform your garden from “meh” to “wow,” stick around. I’ll walk you through exactly how to create your own nutrient-rich compost soil right here in the Philippines.
What Exactly is Compost Soil?
Let’s break down what we mean by “compost soil.” In simple terms, compost is decomposed organic matter. Think of food scraps, leaves, grass clippings, and animal manure that have been broken down by microorganisms (like bacteria and fungi) and larger organisms (like earthworms). The result is a dark, crumbly, nutrient-rich material that looks and smells like healthy, earthy soil. When we add this compost to our existing garden soil, we call it “compost soil” or using compost as a soil amendment.
It’s not just dirt; it’s the lifeblood of a healthy garden. This decomposed material acts as a natural fertilizer, providing essential nutrients that plants need to grow strong and healthy. But it does so much more than just feed your plants.
The Amazing Benefits of Using Compost
Adding compost to your soil is like giving your garden a full spa treatment. Here are some of the fantastic benefits:
- Nutrient Boost: Compost is packed with macronutrients (like nitrogen, phosphorus, and potassium) and micronutrients that feed your plants. These are released slowly, providing a steady supply of food.
- Improved Soil Structure: In clay soils, compost helps to loosen them up, improving drainage and aeration, which plant roots love. In sandy soils, it helps bind particles together, improving water and nutrient retention.
- Water Retention: Healthy, compost-amended soil acts like a sponge. It holds onto moisture longer, meaning you’ll need to water less often – a big plus, especially during dry spells.
- Healthy Soil Microorganisms: Compost is teeming with beneficial bacteria, fungi, and earthworms. These tiny helpers break down organic matter further, make nutrients available to plants, and can even help suppress plant diseases.
- Waste Reduction: By composting your kitchen scraps and yard waste, you divert a significant amount of material from landfills, helping the environment.
- pH Buffering: Compost can help balance the pH of your soil, making it more accessible for plants to absorb nutrients.
- Reduced Need for Chemicals: With the goodness of compost, you’ll likely find yourself relying much less on artificial fertilizers and pesticides.
Getting Started: What You Need for Composting in the Philippines
You don’t need a fancy setup to start composting. The most important ingredients are your organic waste and a little patience. However, having a designated spot or bin can make the process tidier and more efficient.
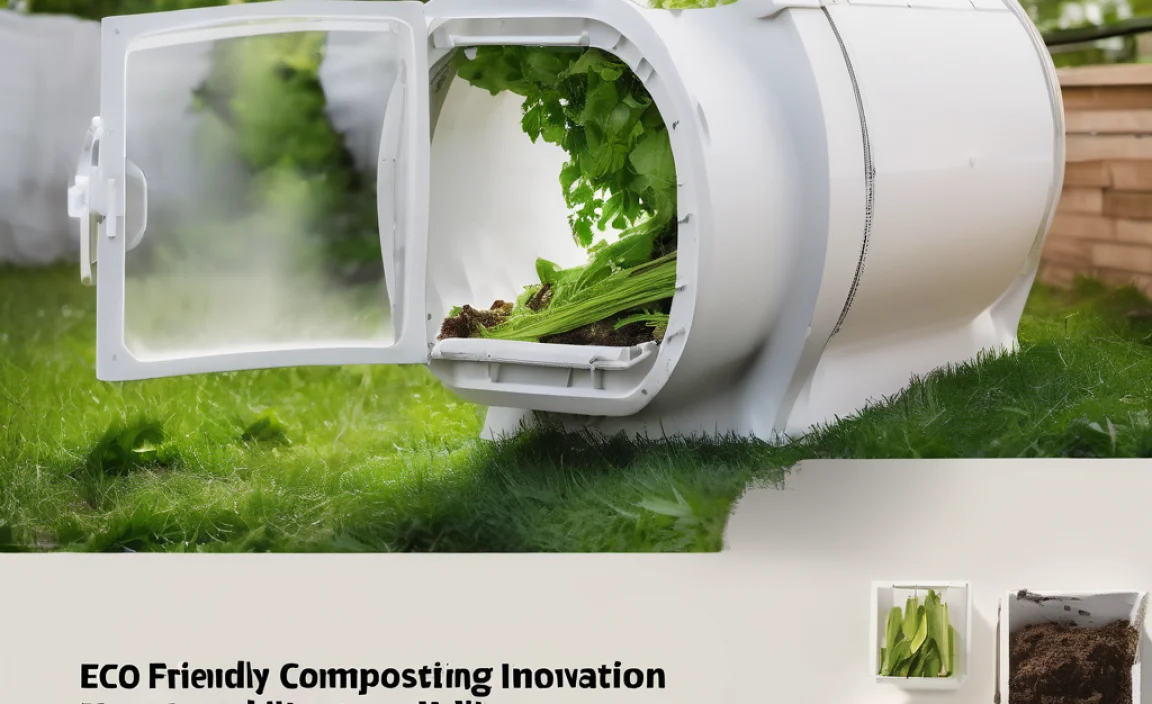
Composting Bin Options
Here are a few common ways to contain your compost:
- Open Pile: The simplest method! Just pile your organic materials in a corner of your yard. It’s easy but can sometimes look messy and might attract pests if not managed well.
- Enclosed Bins: These can be purchased or made from wood, wire mesh, or recycled plastic. They keep things contained, look neater, and can help retain heat and moisture, speeding up decomposition.
- Tumbler Bins: These are sealed drums that you can easily rotate or “tumble.” This aeration helps break down materials faster, and they are excellent at keeping pests out.
For those in the Philippines, consider the climate. Open piles can dry out quickly in intense sun. Enclosed bins or tumblers are often more efficient in managing moisture and temperature.
Essential Tools (Keep it Simple!)
You really don’t need much. Here are the basics:
- A Pitchfork or Shovel: For turning the compost pile. This is crucial for aeration.
- A Watering Can or Hose with a Gentle Spray: To keep the compost moist.
- A Kitchen Caddy or Bucket: To collect your kitchen scraps before taking them out to the main compost pile.
That’s it! No need for expensive gadgets to get started.
The “Greens” and “Browns”: What Goes In Your Compost Pile
Successful composting is all about balance. You need a good mix of nitrogen-rich materials (known as “greens”) and carbon-rich materials (known as “browns”). This “greens and browns” ratio is key to getting the right heat and decomposition. A general rule of thumb is to aim for about two to three parts browns to one part greens by volume.
“Greens” – The Nitrogen Providers
These materials are typically moist and help heat up the compost pile. Think of them as the “fuel.”
- Fruit and vegetable scraps (peels, cores, spoiled parts)
- Coffee grounds and tea bags
- Fresh grass clippings (in moderation – too much can get slimy)
- Plant trimmings (non-diseased)
- Eggshells (crushed)
“Browns” – The Carbon Providers
These materials are typically dry and provide the carbon that “feeds” the microorganisms. They also help with airflow. Think of them as the “building blocks” and “air channels.”
- Dry leaves
- Shredded newspaper or plain cardboard (avoid glossy or heavily inked paper)
- Small twigs and branches (chopped up)
- Straw or hay
- Sawdust (from untreated wood)
- Coconut coir (a readily available resource in the Philippines!)
What NOT to Compost
To avoid attracting pests, unpleasant odors, or disease-causing pathogens, steer clear of these:
- Meat, fish, and bones
- Dairy products (milk, cheese, yogurt)
- Oily or greasy foods
- Diseased plants or weeds that have gone to seed
- Pet waste (from cats and dogs – can contain harmful pathogens)
- Treated wood
- Synthetic materials
How to Make Compost: A Step-by-Step Guide
Ready to get your hands dirty (in a good way)? Here’s how to build and maintain your compost pile.
Step 1: Choose Your Location
Find a convenient spot in your yard. It should be:
- Partially shaded to help retain moisture (especially important in the Philippine sun).
- Well-drained so it doesn’t become waterlogged.
- Accessible for adding materials and turning.
- Away from public view if aesthetics are a concern.
Step 2: Build Your Base Layer
Start with a layer of coarse brown materials, like small twigs or straw. This creates a base that allows air to circulate from the bottom.
Step 3: Start Layering Greens and Browns
Add your collected kitchen scraps (greens) and yard waste (browns) in alternating layers.
- Add a layer of greens (e.g., fruit peels, coffee grounds).
- Cover this with a thicker layer of browns (e.g., dry leaves, shredded paperboard). This helps prevent odors and discourages pests.
- Continue layering, always topping off with a brown layer.
It’s a good idea to chop larger items into smaller pieces. This increases the surface area for microbes to work on, speeding up decomposition.
Step 4: Add Water
Your compost pile should be moist, like a wrung-out sponge. Not soggy, not dry. If your greens are very wet, you might need less water. If you’re adding a lot of dry browns, you’ll need to add more water. Sprinkle water on the layers as you build them and as needed during maintenance.
Step 5: Aerate (Turn Your Pile!)
This is where your pitchfork or shovel comes in! Turning the compost pile introduces oxygen, which is essential for the aerobic microorganisms that do the hard work of decomposition. It also helps mix the materials and distribute moisture and heat.
- Frequency: Aim to turn your pile at least once a week, or every couple of weeks. The more you turn it, the faster it composts.
- How to Turn: Dig into dried outer layers and mix them with the wetter inner layers. Move material from the outside to the center and vice-versa.
Step 6: Monitor and Maintain
Keep an eye on your pile’s moisture and temperature.
- Moisture: Squeeze a handful of compost. If a few drops of water come out, it’s good. If it’s dry, add water. If it’s too wet and smells sour, add more browns and turn thoroughly.
- Temperature: A well-working compost pile will heat up in the center. This heat helps kill weed seeds and pathogens. You don’t need a thermometer, but if it feels warm when you turn it, that’s a good sign.
Step 7: Harvest Your Compost
Compost is ready when it’s dark, crumbly, and smells earthy, like soil. You shouldn’t be able to recognize the original materials. This can take anywhere from 2-3 months to a year, depending on how actively you manage the pile.
To harvest, simply dig into the finished compost and sift out any larger, undecomposed pieces. You can put these back into your active compost pile to continue breaking down.
Compost Soil in the Philippines: What to Expect
The Philippines’ tropical climate offers some advantages and challenges for composting.
Advantages:
- Warm Temperatures: The consistently warm weather speeds up the decomposition process significantly compared to cooler climates. Microbes are more active when it’s warm.
- Abundant Organic Materials: From kitchen scraps to readily available coconut coir and abundant plant trimmings, there’s no shortage of materials to compost.
Challenges:
- Heavy Rains: During the rainy season, your compost pile can become waterlogged, leading to anaerobic conditions (lack of oxygen) and unpleasant smells. Ensure good drainage and consider an enclosed bin or covering your pile.
- Drying Out: In the dry season, intense sun can dry out the pile too quickly. Regular watering and a good “browns” cover are essential.
- Pests: While typically less of an issue with well-managed piles, certain pests might be attracted. Proper layering with browns and avoiding prohibited items are key.
To manage these, consider a “batch” composting method where you build a pile and let it decompose, then start a new one. Or, maintain an active pile, ensuring it’s well-aerated and has the right moisture level.
Using Your Finished Compost: The “Black Gold”
Once your compost is ready, it’s time to reap the rewards! Here’s how to best use your homemade “black gold” in your Philippine garden:
- As a Soil Amendment: Mix about 2-4 inches of compost into the top 6-8 inches of your existing garden beds. This is best done a few weeks before planting.
- As a Top Dressing: Spread a layer of compost (about 1-2 inches) around the base of established plants. This gradually enriches the soil and helps retain moisture near the roots.
- In Potting Mixes: For container gardening, mix compost with coir, perlite, or small amounts of garden soil to create a nutrient-rich potting mix. A common ratio might be 1/3 compost, 1/3 coir, and 1/3 other material.
- For Seed Starting: Use a fine-screened compost mixed with other materials for starting seeds. It provides gentle nourishment for new seedlings.
Remember, compost isn’t just fertilizer; it’s a soil conditioner that improves the entire soil ecosystem. Your plants will thank you!
Compost Soil in the Philippines: A Visual Guide
To help you visualize, here’s a quick comparison of what your soil might look like before and after adding compost.
| Feature | Soil Without Compost | Soil With Compost |
|---|---|---|
| Appearance | Can be pale, rocky, or heavy clay. May look lifeless. | Dark brown to black, crumbly, and loose. Looks rich and earthy. |
| Texture | Hard, compact, or sandy and drains too quickly. | Spongy, holds together well but breaks apart easily. Excellent aeration. |
| Moisture Retention | Poor; dries out quickly or becomes waterlogged. | Good; holds adequate moisture, reducing watering needs. |
| Nutrient Content | Low; requires frequent artificial fertilization. | High; naturally rich in essential nutrients. |
| Earthworm Activity | Little to none. | Abundant; indicates a healthy soil ecosystem. |
Seeing this difference really highlights why compost is such an essential booster for your garden!
Quick Summary: Composting Made Simple
Here’s a little cheat sheet to keep in mind:
- What it is: Decomposed organic matter that nourishes soil.
- Why do it: Improves plant growth, soil health, and reduces waste.
- Key ingredients: “Greens” (nitrogen) and “Browns” (carbon).
- What to avoid: Meat, dairy, oily foods, diseased plants, pet waste.
- Process: Layer greens and browns, keep moist, and turn regularly.
- Philippine climate: Warmth speeds decomposition; manage rain/drying.
It’s all about creating a balanced environment for the tiny decomposers to do their work!
Conclusion: Your Garden’s Best Friend
There you have it! Composting might seem like a bit of a mystery at first, but as you can see, it’s a natural, rewarding, and incredibly beneficial practice for any gardener in the Philippines. By simply diverting waste from your trash and giving it a new life, you’re not just creating fantastic food for your plants; you’re improving your soil’s long-term health, reducing your environmental impact, and saving money on store-bought fertilizers.
Remember, Troy from TopChooser is always here to help you simplify things. Whether you’re starting with a small balcony bin or a backyard pile, the principles are the same: a good mix of greens and browns, the right moisture, and plenty of air. Don’t be afraid to get your hands a little dirty – the earthy smell of finished compost is one of the most satisfying scents a gardener can experience. So go ahead, gather those scraps, layer them up, and watch your garden transform. Happy composting!
Frequently Asked Questions About Compost Soil in the Philippines
Can I compost even if I live in a small space or condo in the Philippines?
Yes! Even with limited space, you can compost. Consider a small worm farm (vermicomposting) which uses earthworms to break down scraps in a contained bin, or a small tumbler bin. These are ideal for balconies or small patios.
How long does it take for compost to be ready?
It varies greatly depending on the method, materials, temperature, and how often you turn it. A hot, actively managed pile can be ready in 2-3 months, while a passively managed pile or open pile might take 6 months to over a year.
My compost pile smells bad. What did I do wrong?
A foul smell (like rotten eggs or ammonia) usually means the pile is too wet and/or lacks oxygen (anaerobic). Too much “greens” or not enough turning can also cause this. Try adding more “browns” (like dry leaves or shredded cardboard) and turning the pile thoroughly to aerate it.
Can I put citrus peels and other acidic foods in my compost?
Yes, in moderation. While large amounts of acidic materials can temporarily lower the pH of your compost, they will eventually break down. Including a small amount of citrus peels, tomatoes, or coffee grounds is fine and adds valuable nutrients. Just balance them with plenty of “browns.”
What are “greens” and “browns” in composting?
“Greens” are nitrogen-rich, moist materials like kitchen scraps and grass clippings. “Browns” are carbon-rich, dry materials like leaves, twigs, and shredded paper. A good balance ensures efficient decomposition.
Is it safe to use compost from potentially diseased plants?
It’s best to avoid composting diseased plants or weeds that have gone to seed, as the composting process might not reach high enough temperatures to kill all pathogens or seeds, especially in cooler or less actively managed piles. Stick to healthy plant trimmings.
Where can I buy composting supplies or bins in the Philippines?
Many garden centers, hardware stores, and online marketplaces (like Lazada and Shopee) carry composting bins and accessories. You can also find local suppliers for items like coco coir for your compost mix.

I am passionate about home engineering. I specialize in designing, installing, and maintaining heating, ventilation, and air conditioning systems. My goal is to help people stay comfortable in their homes all year long.