Compost Starter Urban: Genius Solutions Within Reach!
Dreaming of rich, dark compost but feeling stuck in the city? You’re not alone! Many urban dwellers think composting is just for sprawling backyards. But guess what? It’s totally doable, even in a small apartment or cozy patio. You can turn your kitchen scraps and yard waste into garden gold. Let’s dive into some genius urban composting solutions that are simpler than you think. We’ll guide you step-by-step, so you can start composting today and see amazing results.
Why Go Urban Compost? It’s a Win-Win-Win!

Composting might sound like a lot of work, but the benefits for you and the planet are huge. Think about all those food scraps you toss. Instead of them ending up in a landfill, they can become super food for your plants! Plus, you’ll cut down on waste and create the best natural fertilizer there is.
Benefits You Can’t Ignore:
- Reduces Waste: Less trash heading to landfills means a happier planet.
- Boosts Soil Health: Compost is like a multivitamin for your garden, making plants stronger and healthier.
- Saves Money: High-quality fertilizer can be pricey. Make your own for free!
- Environmentally Friendly: Less reliance on chemical fertilizers and reduced methane emissions from landfills.
- Satisfying Hobby: There’s something incredibly rewarding about creating something so useful from waste.
The “Green” and “Brown” Combo: Composting Basics for City Dwellers
Composting is all about balancing two main ingredients: “greens” and “browns.” Get this balance right, and your compost will break down quickly and smell great (or, more accurately, won’t smell bad at all!).
What are Greens? (Nitrogen-Rich Materials)
- Fruit and vegetable scraps (peels, cores, wilted lettuce)
- Coffee grounds and tea bags
- Grass clippings (use in moderation)
- Plant trimmings
- Eggshells (crushed)
What are Browns? (Carbon-Rich Materials)
- Dry leaves
- Shredded newspaper and cardboard (avoid glossy paper)
- Straw or hay
- Wood chips or sawdust (use sparingly)
- Paper towel rolls and toilet paper tubes
A good rule of thumb is to aim for a ratio of about 2 parts browns to 1 part greens. This helps keep things from getting too wet and stinky.
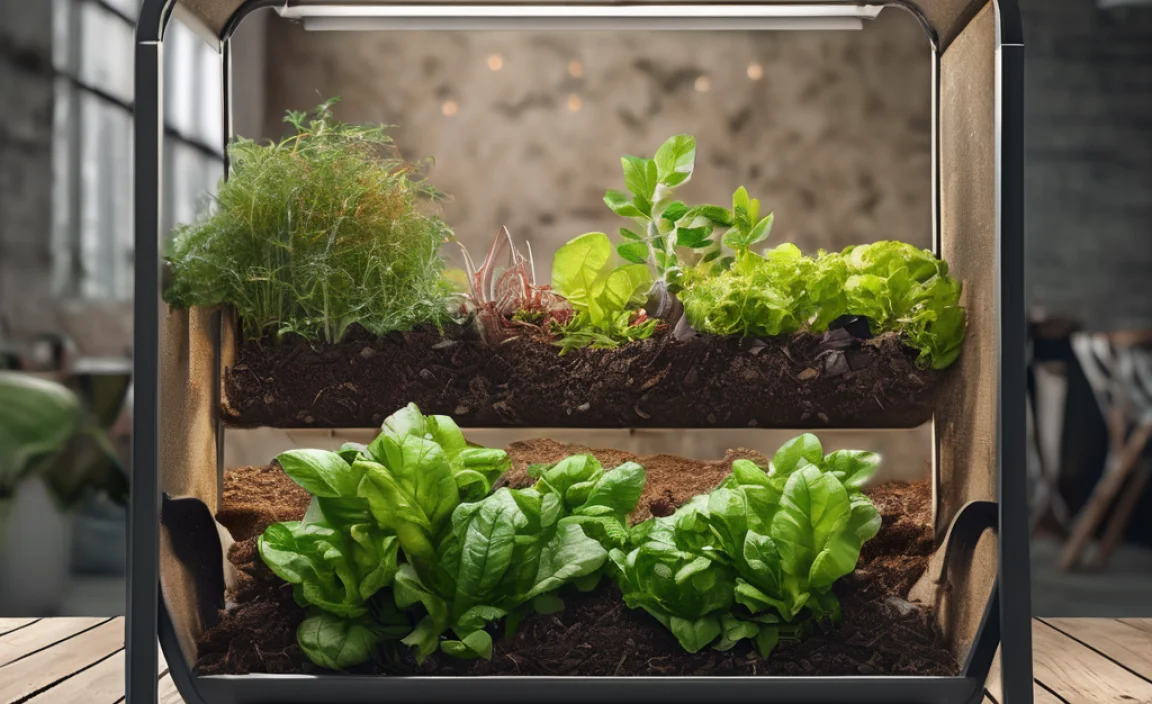
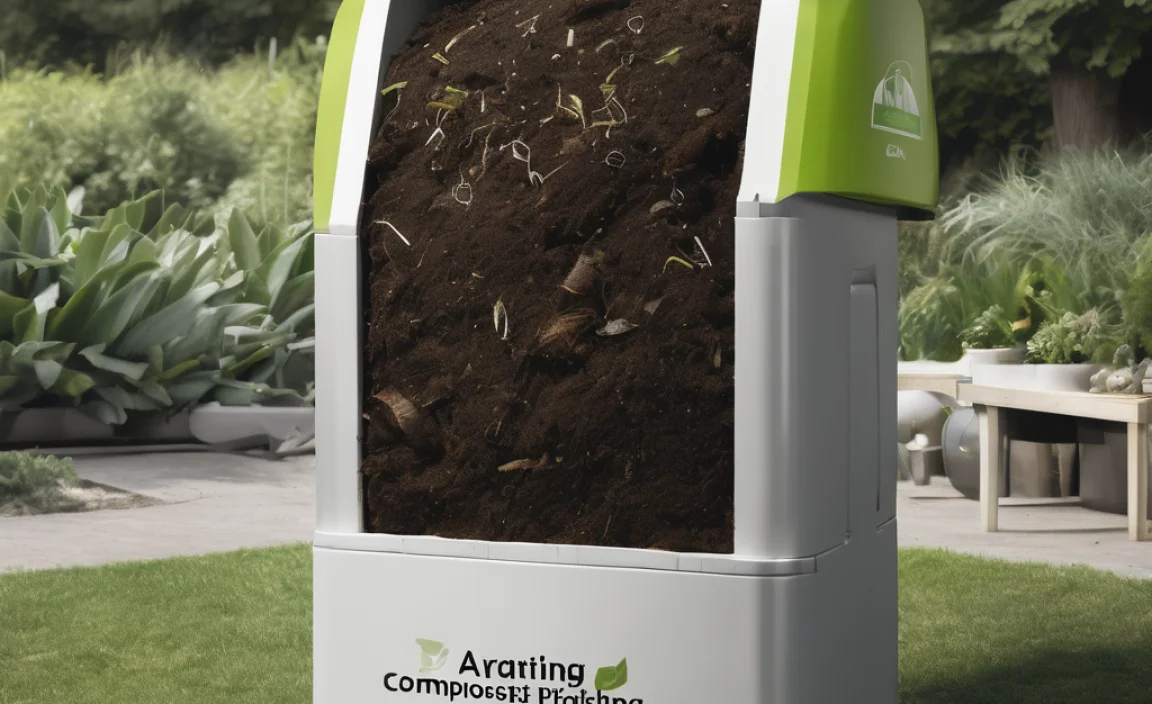
Genius Urban Composting Solutions: Finding Your Perfect Fit
The key to urban composting is choosing a method that fits your space, your lifestyle, and how much “compostable” material you generate. Let’s explore some popular and effective options.
1. The Compact Countertop Kitchen Caddy
This is where your composting journey likely begins – collecting your kitchen scraps! A kitchen caddy is a small, often stylish, bin you keep on your counter. It’s perfect for holding fruit peels, coffee grounds, and veggie scraps until you can take them to your main composting system.
2. The Speedy Worm Bin (Vermicomposting)
This is a favorite for apartment dwellers! Worm bins use special composting worms (Red Wigglers are common) to break down food scraps rapidly. They require minimal space and are surprisingly odor-free when managed correctly. You can buy a pre-made bin or even DIY one with plastic storage tubs.
Getting Started with Worm Composting:
-
- Choose a Bin: A 10-20 gallon opaque plastic tote with a lid works well. Drill air holes in the lid and sides.
- Add Bedding: Shredded newspaper, cardboard, or coconut coir makes a cozy home for your worms.
- Introduce the Worms: Purchase Red Wiggler worms online or from a local supplier. About 1 pound of worms is a good start.
- Feed Slowly: Start by burying small amounts of chopped-up food scraps (no meat, dairy, or oily foods) under the bedding. Gradually increase the amount as the worms multiply.
- Harvest the “Worm Castings”: After a few months, you’ll have nutrient-rich worm poop (castings) that are amazing for plants.
3. The Neat and Tidy Bokashi Bin
Bokashi is a unique fermentation process rather than traditional decomposition. You add food scraps (including meat and dairy!) to a sealed bin with an inoculated bran mixture. This pickles the waste rather than rotting it. The resulting pre-compost then needs to be buried in soil or added to a traditional compost pile to finish breaking down. It’s great for small spaces because it ferments quickly and doesn’t smell bad during the process.
Bokashi Essentials:
-
-
- The Bin: An airtight bucket with a spigot at the bottom to drain “Bokashi tea” (a nutrient-rich liquid that can be diluted as fertilizer).
- The Bran: Special Bokashi bran inoculated with Effective Microorganisms (EM). You can buy this online.
- The Process: Add food scraps, sprinkle with bran, press down to remove air, and seal the lid. Repeat until the bin is full, then let it ferment for two weeks.
-
4. The Compact Tumbler: For Patios and Balconies
Compost tumblers are enclosed barrels that rotate. This makes turning (aerating) your compost super easy – just give it a spin! They contain the materials, reduce odors, and speed up the composting process by keeping everything mixed and warm. They come in various sizes, making them suitable for small patios or balconies.
Tumbler Tips:
-
-
- Start with a good mix of greens and browns.
- Chop larger items into smaller pieces for faster breakdown.
- Keep the moisture level like a damp sponge.
- Turn the tumbler every few days.
-
5. The “Small Space, Big Pile” – Community or Shared Composting
Don’t have space at home? Look for local options! Many communities have drop-off sites at farmers’ markets or community gardens. Some cities even offer curbside compost pickup programs. Others organize neighborhood composting initiatives where you can share a larger system with neighbors. Check with your local municipality or environmental groups for possibilities.
For more information on composting in urban environments, the U.S. Environmental Protection Agency (EPA) provides excellent resources.
Essential Tools for the Urban Composter

You don’t need a lot of fancy gear to compost in the city. Here are a few items that make the process smoother:
Must-Haves:
-
-
- Kitchen Caddy: To collect food scraps indoors.
- Compost Bin/System: (Worm bin, tumbler, Bokashi bin, or whatever suits your space).
- A Small Trowel or Hand Fork: For mixing and turning, especially in tumblers or larger bins.
- Glo ves: To keep your hands clean.
-
Nice-to-Haves:
-
-
- Shredder: For cardboard and newspaper if you generate a lot.
- Pitchfork: For larger compost piles (less common in urban settings but useful if you have space).
- Compost Thermometer: To monitor the temperature inside your pile (more for larger systems).
-
What NOT to Compost (Especially Indoors!)
While composting is forgiving, there are a few things you should definitely keep out of your urban compost bin, particularly if you’re doing it indoors or in a small space, to avoid pests and odors.
| Avoid These Items | Reasons Why |
|---|---|
| Meat, Fish, and Bones | Can attract pests (flies, rodents) and create foul odors. |
| Dairy Products (Milk, Cheese, Yogurt) | Similar to meat, can attract pests and smell bad. |
| Oily or Greasy Foods | Can slow down decomposition and create odors. |
| Diseased Plants | Can spread plant diseases if the compost isn’t hot enough. |
| Pet Waste (Dog, Cat feces) | May contain harmful pathogens. Not recommended for home compost unless you have a very robust hot composting system and know what you’re doing. |
| Chemically Treated Yard Waste | Pesticides and herbicides can harm beneficial microbes and contaminate your finished compost. |
| Glossy or Coated Paper/Cardboard | The coatings may not break down and can contain plastics or toxins. |
Troubleshooting Common Urban Composting Puzzles
Even with the best intentions, you might run into a few snags. Don’t worry, these are typically easy fixes!
Problem: My compost smells bad (like rotten eggs or ammonia)!
Cause: Too many greens (nitrogen) or not enough air (anaerobic conditions). Ammonia smell means too much nitrogen. Rotten egg smell usually means it’s too wet and not getting enough air.
Solution: Add more browns (like shredded cardboard or dry leaves). Turn or aerate your compost more frequently. If using a worm bin, you might be feeding them too much or the bedding is too wet.
Problem: There are fruit flies or other annoying bugs!
Cause: Exposed food scraps, particularly sweet ones. Usually a sign of a system that’s too wet or not breaking down fast enough.
Solution: Bury food scraps deeper in the compost mix or bedding. Ensure you have a good balance of browns. For worm bins, make sure the worms are eating the food you give them before adding more.
Problem: My compost is too dry and not breaking down.
Cause: Lack of moisture. Composting microbes need water to live and work.
Solution: Add water! Mix it in thoroughly. For worm bins, mist the bedding. If using a tumbler, add a bit of water when you add new materials.
Related Posts
- Affordable Compost Starter: Boost Your Garden Fast!
- Best Makita Air Compressor: Effortless Power
Compost Fertilizer Ratio: Essential Guide- Cold Vs Hot Composting Odor: Essential Guide
- Kitchen Compost Online: Proven Tips
Rotating Bin Composting: Fixing Problems Effortlessly
A Little Blood in Urine After Bladder Surgery Male: Secret?- Buy Compost Fertilizer Online: Boost Your Garden!

I am passionate about home engineering. I specialize in designing, installing, and maintaining heating, ventilation, and air conditioning systems. My goal is to help people stay comfortable in their homes all year long.