Are you tired of seeing your kitchen scraps and yard waste go to the trash bin? Do you dream of rich, dark soil for your garden but feel a bit lost on how to start? You’re not alone! Getting your compost pile cooking can seem a little tricky at first. But don’t worry! I’m Troy D Harn, and here at TopChooser, we break down tough projects into easy steps. We’ll guide you through everything you need to know about compost starters in the USA to turn your waste into garden gold. Let’s turn that trash into treasure!
What Exactly is Compost Starter and Why Do You Need It?
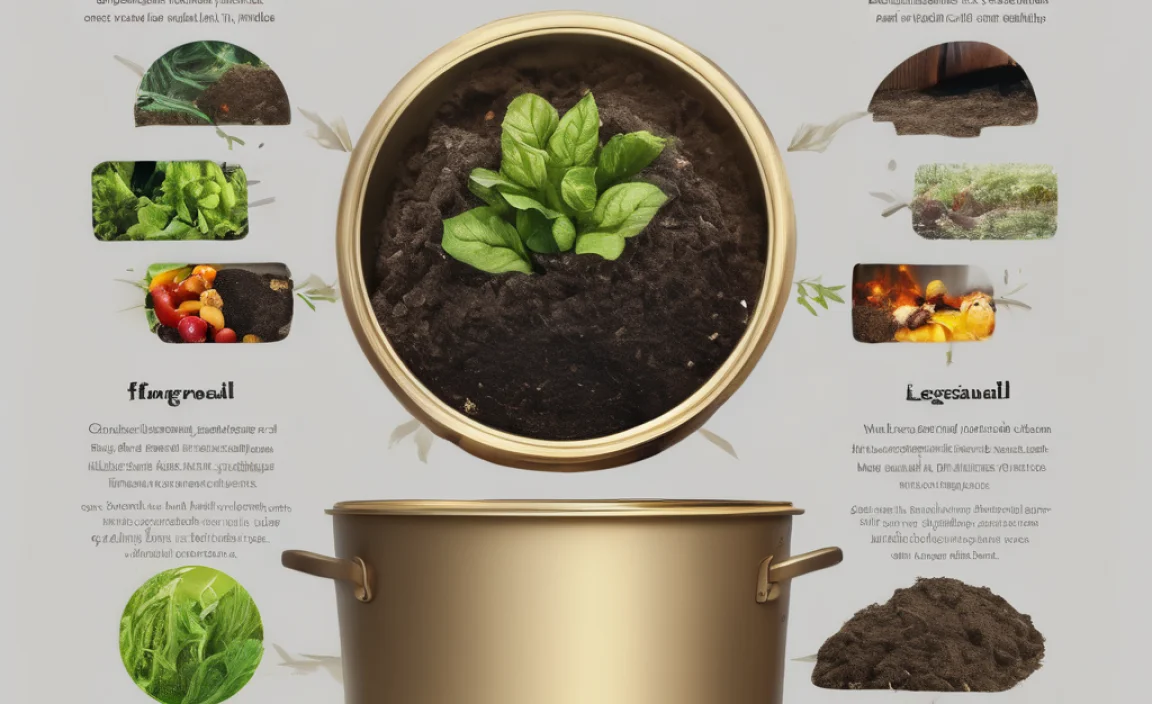
Think of a compost starter as a little boost for your compost pile. It’s not a magic potion, but it’s a helpful ingredient that can speed things up. Normally, beneficial microbes and microorganisms naturally find their way to your compost pile and start breaking things down. But sometimes, especially when you’re just starting, it takes a while for these tiny helpers to show up in large enough numbers. That’s where a compost starter comes in. It introduces a batch of these microbes, giving your compost a head start.
Compost starters can come in various forms, like powders, liquids, or even pre-made compost from a trusted source. They contain active cultures of the bacteria and fungi needed to decompose organic matter. Essentially, they help kickstart the decomposition process, meaning you can get usable compost much quicker than if you just let nature take its course entirely on its own.
This is particularly useful for beginners who might get discouraged if their compost pile doesn’t seem to be doing anything for weeks. A starter can help you see results faster, which is super encouraging! Plus, in the USA, where we have diverse climates, a starter can ensure your pile gets going efficiently regardless of initial outdoor temperatures or the specific mix of materials you’ve added.
The Science Behind Composting (The Easy Version!)
Composting is basically a managed process of decomposition. It relies on a team of tiny organisms – bacteria, fungi, and even larger critters like worms and insects – to break down organic materials. These microbes need a few things to thrive and do their job effectively:
- Food: This comes from your compostable materials, which are divided into “greens” (nitrogen-rich) and “browns” (carbon-rich).
- Water: The pile needs to be moist, like a wrung-out sponge.
- Air: Microbes need oxygen to breathe. This is why turning your compost pile is important.
- Temperature: During active decomposition, the pile heats up, which helps kill weed seeds and pathogens. Compost starters can help jumpstart this temperature rise.
When all these elements are in balance, the microbes go to work, breaking down the complex organic matter into simpler compounds. This process transforms your waste into nutrient-rich compost that’s fantastic for your garden. A compost starter supercharges the initial microbial activity, helping to achieve this balance and speed up the breakdown time.
Types of Compost Starters Available in the USA
When you’re looking for a compost starter in the USA, you’ll find a few main types. Each has its own pros and cons, and what works best often depends on your preferences and how you manage your compost pile.
Commercial Compost Starters
These are the most common options you’ll find in garden centers or online. They are specifically formulated to introduce beneficial microbes to your compost pile.
- Powdered Starters: Often contain dried bacteria and enzymes. You typically sprinkle them on layers of your compost.
- Liquid Starters: These are concentrated solutions of active microbes. You usually dilute them with water and then spray them onto your compost materials.
- Pelleted Starters: Similar to powdered, but formed into small pellets which can make them easier to handle and distribute.
Pros: Easy to use, readily available, specifically designed for composting, can be very effective at speeding up the process.
Cons: Can be an extra cost, some people prefer to go “natural” without store-bought products.
Natural Compost Starters
If you prefer to avoid commercial products, you can use natural materials that are already teeming with the right microbes.
- Finished Compost: A shovel full of mature compost acts as an excellent starter. It’s already full of active microbes and beneficial fungi. Simply mix it into your new pile.
- Manure (Well-Rotted): Aged manure from herbivores (like cows, horses, or chickens) is rich in microbes and nitrogen, which can really kickstart a compost pile. Make sure it’s well-rotted to avoid “burning” your compost or introducing weed seeds.
- Soil from a Healthy Garden: A small amount of healthy garden soil can introduce a diverse range of microbes to your compost.
- Weeds That Have Gone to Seed (Carefully!): While generally avoided in finished compost, weeds that have started to flower or seed, when added to the middle of a hot compost pile, can introduce a good amount of organic matter and microbial activity. The heat of the early compost pile will ideally break down the seeds. Use this method with caution.
Pros: Often free or very low cost, natural and readily available, introduces diverse microbial communities.
Cons: May take a little more effort to source, potential to introduce unwanted elements like weed seeds if not sourced carefully (especially with manure or soil). Using finished compost is generally the safest natural option.
How to Choose the Right Compost Starter for You
Deciding on a compost starter isn’t complicated. It’s more about matching the product to your needs and your composting style. Here are a few things to consider when you’re shopping for a compost starter in the USA:
Your Budget
Commercial starters will cost money, ranging from a few dollars for a small packet to $20-30 for a larger container. Natural starters like finished compost or soil are usually free if you already have access to them. If you’re on a tight budget, leaning into natural starters is a smart move.
Your Time and Effort
Are you looking for the quickest, most straightforward option? A commercial starter (especially liquid or pelleted) is often the easiest to apply. If you don’t mind sourcing materials, a shovel of finished compost or some well-rotted manure is also straightforward.
Your Composting Goals
Do you want compost as quickly as possible? A good commercial starter might give you the fastest results. Are you a patient composter who just wants a little nudge? Any of the options will likely work well.
The Type of Bin/Pile You Have
For a simple pile in the backyard, a shovel of finished compost or some manure is perfect. For a tumbling composter or a more contained system, a commercial powder or liquid might be easier to distribute evenly throughout the batch.
Environmental Concerns
Some folks prefer to keep their gardening as natural and low-impact as possible. In this case, using finished compost from a friend or local farm, or even just healthy garden soil to inoculate your pile, aligns perfectly with that philosophy.
Here’s a quick table to help you weigh your options:
| Starter Type | Ease of Use | Cost | Speed of Results | Availability |
|---|---|---|---|---|
| Commercial Powder/Pellets | High | Moderate | High | Garden centers, online |
| Commercial Liquid | High | Moderate | High | Garden centers, online |
| Finished Compost | Medium | Low/Free | Medium | Neighbors, local farms, your own past batches |
| Well-Rotted Manure | Medium | Low/Free | Medium-High | Farms, feed stores (ensure “well-rotted”) |
| Healthy Garden Soil | Medium | Free | Medium | Your own garden |
Ultimately, even without a starter, your compost pile will eventually break down. A starter just helps speed up the process and ensures a healthy microbial population from the get-go, making the whole gardening journey a bit more rewarding and less of a waiting game.
How to Use Compost Starter: A Step-by-Step Guide
Using a compost starter is pretty straightforward. The goal is to get those beneficial microbes mixed in with your compostable materials. Here’s how to do it, whether you’re using a commercial product or a natural option.
Step 1: Gather Your Compostable Materials
Start by layering your “greens” (like fruit and vegetable scraps, grass clippings, coffee grounds) and “browns” (like dry leaves, shredded cardboard, small twigs, straw). A good ratio is generally 2-3 parts browns to 1 part greens.
Step 2: Prepare Your Starter
- For Commercial Powder/Pellets: You usually just open the packet or container. Some might suggest mixing it with a bit of water before sprinkling, so always check the product instructions.
- For Commercial Liquid: Most liquids need to be diluted. Follow the instructions on the bottle. Typically, you’ll mix a specific amount of starter with several gallons of water in a watering can or spray bottle.
- For Natural Starters (Finished Compost, Soil, Manure): You don’t need to “prepare” these. They are ready to be added directly.
Step 3: Add the Starter to Your Pile
This is the crucial step where you introduce the microbes. The best way to do this is to add the starter as you build your pile, layering it throughout.
- Option A (Building from Scratch): Start with a layer of browns at the bottom of your bin or pile. Then add a layer of greens. Sprinkle your starter (powder, pellets, or a scoop of finished compost/manure/soil) over the green layer before adding the next layer of browns. Continue layering greens, browns, and starter until your bin is full or you’ve used up your materials. If using a liquid starter, spray it over the layers as you build.
- Option B (Adding to an Existing Pile): If you already have a pile that seems sluggish, you can add the starter on top. Sprinkle a commercial powder/pellets over the surface, or pour a diluted liquid starter. For natural starters, spread a scoop of finished compost or manure over the top. After adding the starter, it’s a good idea to gently mix the top few inches of the pile to help distribute the microbes.
Step 4: Ensure Proper Moisture and Aeration
Once the starter is in, it’s time to make sure the compost environment is right for those microbes.
- Moisture: The pile should be as moist as a wrung-out sponge. If it’s too dry, the microbes can’t work. If it’s too wet, it can become anaerobic and smelly. Water your pile if it’s dry, or add more brown materials if it’s too wet.
- Aeration: Turn your compost pile regularly – at least once every week or two. This introduces oxygen, which is vital for aerobic decomposition and helps prevent foul odors. Using a pitchfork or a compost aerator tool makes this easy. For more on turning, check out EPA’s guide on composting, which offers general good practices.
Step 5: Monitor and Wait
Keep an eye on your pile. With a starter, you should notice it heating up within a few days to a week. You’ll also see the materials start to break down more quickly. Depending on the materials you used, the size of your pile, and your climate, it can take anywhere from a few weeks to a few months to get finished compost.
The finished compost will be dark, crumbly, and earthy-smelling. You won’t be able to recognize the original materials. Sift it to remove any large, unfinished pieces, and it’s ready to use in your garden or lawn!
Tips for Maximum Composting Success
Using a compost starter is a great first step, but a few other practices will ensure your compost pile hums along efficiently. These tips are simple and make a big difference.
- Balance Greens and Browns: This is key! Too much green makes the pile wet and smelly. Too much brown makes it slow and stubborn. Aim for that 2-3 parts brown to 1 part green ratio.
- Chop Materials Small: The smaller the pieces, the more surface area for microbes to work on. Chop up kitchen scraps and shred leaves or cardboard.
- Maintain Moisture: As mentioned, aim for the “wrung-out sponge” feel. If you live in a dry climate, you might need to water more often. In wet climates, ensure good drainage and add more browns if it feels waterlogged.
- Turn Regularly: This isn’t just about air; it also helps mix the materials and redistribute moisture and heat. A compost thermometer can be helpful to see if your pile is getting hot enough (130-160°F or 54-71°C), which helps kill pathogens and weed seeds. A good blog on composting temperatures can be found on many university extension sites; for example, Missouri Extension offers detailed info on composting.
- Avoid Problematic Items: Steer clear of meat, dairy, oily foods, diseased plants, pet waste (from cats and dogs), and treated wood. These can attract pests, create odors, or spread disease.
- Cover Your Pile (Sometimes): If you have a very “hot” pile, leaving it open to the air is good. If it’s cooler, or if you’re in a very wet area, a tarp can help retain moisture and heat.
Troubleshooting Common Composting Issues
Even with a starter, you might run into a few snags. Don’t get discouraged! Most composting issues are easy to fix with a little adjustment.
Issue: My compost pile smells bad (like ammonia or rotten eggs).
Cause: Usually, this means too much “green” material (nitrogen-rich) or the pile is too wet, leading to anaerobic conditions. Ammonia smells come from too much nitrogen. Rotten egg smells (hydrogen sulfide) come from a lack of oxygen and decomposing wet materials.
Solution:
- Add more “brown” materials (dryer, carbon-rich items like shredded leaves, cardboard, or straw) to balance the nitrogen.
- Turn the pile thoroughly to introduce air.
- If it’s very wet, mix in dry browns to absorb excess moisture.
Issue: My compost pile isn’t heating up or breaking down.
Cause: This often means the pile is too dry, lacks nitrogen (“greens”), or needs more air. It could also mean the pile is too small to generate enough heat.
Solution:
- Check the moisture level. If it’s dry, water it thoroughly while turning.
- Add more “green” materials (kitchen scraps, grass clippings).
- Turn the pile to aerate it.
- If your pile is very small, consider adding more material or combining it with another compost source. A pile needs to be at least 3x3x3 feet to effectively maintain heat.
Issue: My compost pile is full of pests (flies, rodents).
Cause: You might be adding things you shouldn’t (meat, dairy, greasy foods) or the pile is too wet and exposed.
Solution:
- Stop adding meat, dairy, and oily products.
- Bury kitchen scraps deep within the pile, covering them with browns.
- Ensure the pile is moist but not soggy.
- Cover exposed food scraps with a layer of browns or finished compost.
- Turn the pile regularly.
- Consider a compost bin with a lid and/or rodent-proof mesh if pests are a persistent problem. For more on safe composting, check out this EPA resource.
Issue: There are still large, recognizable pieces after a long time.
Cause: This could be due to lack of moisture, insufficient turning, or pieces being too large.
Solution:
- Chop materials smaller before adding them.
- Ensure consistent moisture.
- Turn the pile more frequently.
- If using a starter, ensure it was properly incorporated.
Conclusion: Your Journey to Garden Gold Starts Now
So there you have it! Composting is a rewarding way to reduce waste, create amazing fertilizer for your plants, and contribute to a healthier environment. Using a compost starter in the USA can definitely give your efforts a boost, helping you achieve fantastic results faster. Whether you opt for a convenient commercial product or embrace natural solutions like finished compost or manure, the key is to get those microbial allies working for you.
Remember, composting is a living process. It requires a bit of balance, moisture, and air, and a little encouragement from a starter can go a long way. Don’t be afraid to experiment, observe your pile, and make small adjustments as needed. Your efforts will pay off with that rich, crumbly compost that gardeners rave about. Happy composting, and enjoy the incredible benefits it brings to your home and garden!
Frequently Asked Questions About Compost Starters
Q1: Do I really need a compost starter? My pile works without one.
A1: No, you don’t need one! Nature will eventually get your compost going. A starter primarily speeds up the process by jumpstarting the microbial population, which can be very helpful for beginners or those who want compost faster.
Q2: How long does it take to get compost after using a starter?
A2: It varies greatly! With a good starter and proper management (moisture, aeration, greens/browns balance), you might see finished compost in as little as 1-3 months. Without a starter, it can take 6 months to a year or more.
Q3: Can I use any old compost as a starter?
A3: Yes, finished compost is one of the best natural starters! It’s already full of the beneficial microbes and fungi you need to kickstart a new pile. Just make sure the compost you’re using is truly finished and disease-free.
Q4: Are commercial compost starters safe for organic gardening?
A4: Generally, yes. Most commercial starters are made from natural bacterial and enzymatic cultures. Always check the product label to ensure it’s suitable for organic gardening if that’s a concern for you.
Q5: I added a liquid starter, and now my pile smells strongly of a chemical odor. Is that normal?
A5: That’s not typical. A strong chemical odor might indicate an issue with the product itself or that it’s reacting negatively with your pile. If the smell is unpleasant or concerning, it’s best to stop using that starter and try a different method, perhaps a natural starter next time.
Q6: Can I make my own compost starter?
A6: Yes! The easiest DIY starter is simply to grab a shovel full of finished compost from a healthy pile or a local source. You can also mix a bit of garden soil with a small amount of nitrogen-rich material like grass clippings or vegetable scraps, let it sit in a bucket for a day before adding it to your main pile to allow fermentation.
Q7: How much starter should I use?
A7: Always follow the dosage instructions on the product’s packaging for commercial starters. For natural starters, a shovel full of finished compost or a few handfuls of manure/soil is usually sufficient for a typical 3x3x3 foot compost bin.

I am passionate about home engineering. I specialize in designing, installing, and maintaining heating, ventilation, and air conditioning systems. My goal is to help people stay comfortable in their homes all year long.