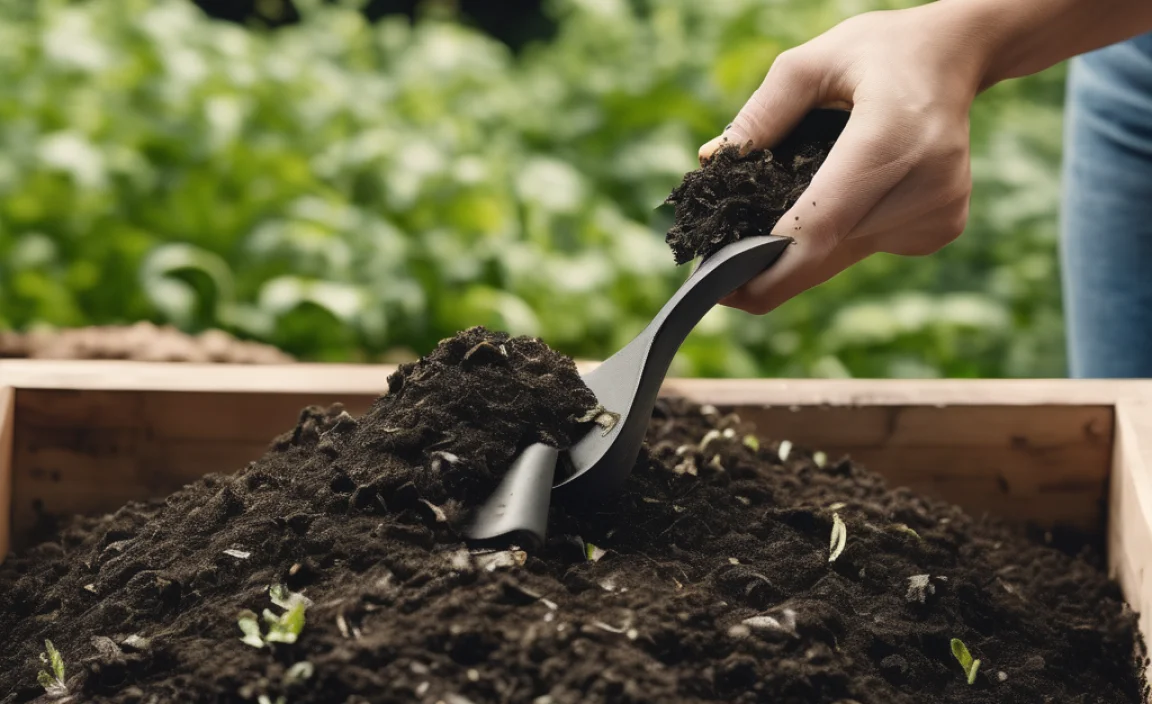
If you’ve ever looked at your kitchen scraps or yard waste and wondered if there’s a better way than the trash can, you’re not alone. Composting can seem a bit mysterious, a process only master gardeners know. But I’m here to tell you it’s totally doable for anyone! In fact, it’s simpler than you might think. Get ready to turn that “waste” into black gold for your garden.
We’ll break down exactly how to get started. This guide makes composting easy, so you can feel good about reducing waste and boosting your plants’ health. Let’s dive in!
What is Composting, Anyway?
Think of composting as nature’s awesome recycling program. It’s the process of breaking down organic materials – like leftover food and dead leaves – into a rich, soil-like substance called compost. This finished compost is packed with nutrients that your garden will absolutely love.
Why bother? Well, for starters, it diverts a huge amount of waste from landfills. Food scraps and yard trimmings make up a big chunk of what we throw away. Composting gives these things a new life. Plus, adding compost to your garden improves soil structure, helps retain moisture, and provides essential food for your plants. It’s a win-win for you and the planet.
Is Composting for You?
Absolutely! Whether you have a sprawling backyard or a tiny apartment balcony, there’s a composting method that can work for you. Here are a few reasons why composting is a great idea:
- Reduces Landfill Waste: Less trash means a healthier environment.
- Boosts Garden Health: Compost is like a superfood for your plants, leading to stronger growth and more blooms.
- Saves Money: You’ll buy less fertilizer and soil amendments.
- Improves Soil: It helps soil drain better, retain water, and de-compacts heavy clay.
- It’s Rewarding: There’s a real satisfaction in creating something valuable from what you might otherwise throw away.
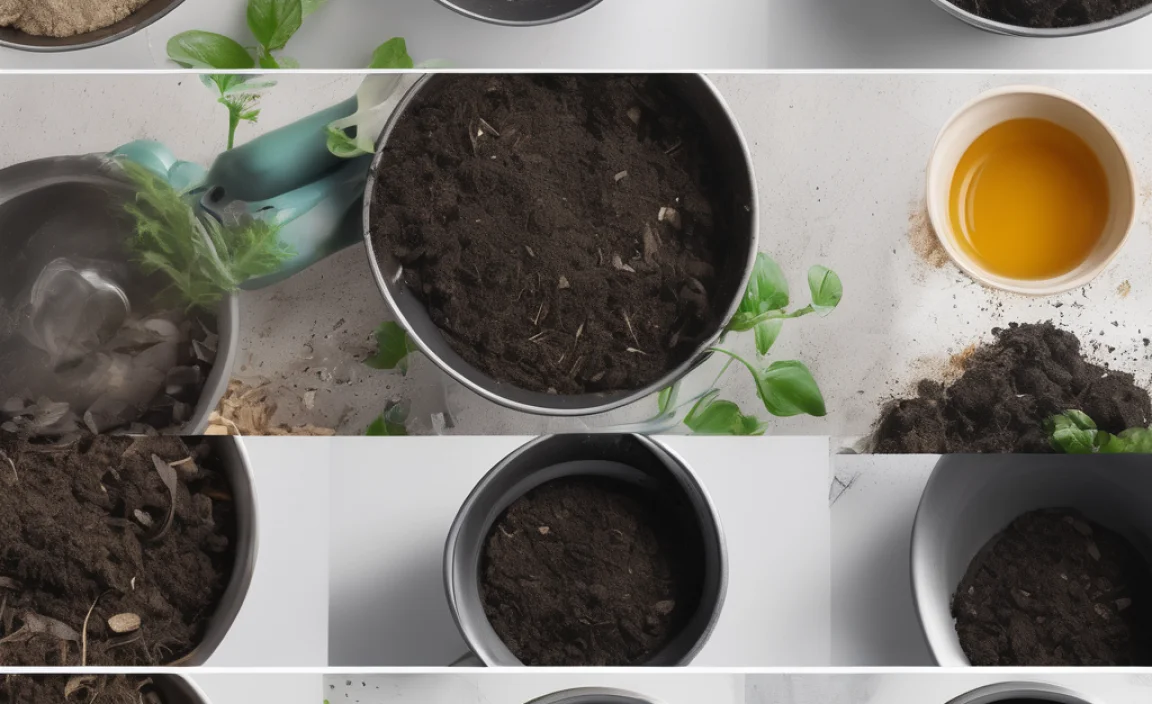
Getting Started: What You’ll Need
The good news is you don’t need fancy equipment to start composting. Here’s a look at the basics:
Choosing a Composter
This is the main piece of equipment. You have a few main options:
- Open Pile: The simplest method. Just pile your compostable materials in a corner of your yard. Best if you have a lot of space and yard waste.
- Enclosed Bin: These can be made from wood, plastic, or metal. They keep things tidy, can deter pests, and help retain heat, speeding up decomposition. Many are available commercially, or you can build your own.
- Tumbler: A barrel or drum that’s mounted on an axis, allowing you to easily turn or “tumble” the compost. This makes mixing faster and helps aeration, leading to quicker compost.
Essential Tools
You won’t need a whole workshop, just a few handy items:
- Pitchfork or Garden Fork: For turning and aerating your compost pile.
- Shovel: For moving and turning materials, especially in larger piles.
- Watering Can or Hose: To keep your compost pile nicely moist.
- Kitchen Caddy (Optional): A small lidded bin for collecting food scraps in your kitchen before taking them to the compost bin.
The Compost Recipe: Greens & Browns
Composting works best when you have a good mix of “greens” and “browns.” Think of it like a balanced diet for your compost pile.
What are “Greens”?
“Greens” are nitrogen-rich materials. They provide moisture and help the microorganisms multiply. These tend to be moist and break down quickly:
- Fruit and vegetable scraps
- Coffee grounds and tea bags
- Grass clippings (in thin layers)
- Plant trimmings (fresh, non-woody)
- Eggshells
What are “Browns”?
“Browns” are carbon-rich materials. They provide bulk and allow air to circulate through the pile. These are usually dry:
- Dry leaves
- Straw or hay
- Shredded newspaper or brown cardboard (avoid glossy paper)
- Wood chips or sawdust (in moderation)
- Twigs and small branches
The Ideal Ratio
A good starting point is to aim for about two to three parts browns to one part greens by volume. Don’t stress too much about getting this perfect initially. If your pile seems too wet and smelly, add more browns. If it’s dry and not breaking down, add more greens or a bit of water.
Here’s a quick comparison of what to add and what to avoid:
| What to Compost (Greens & Browns) | What to Avoid (Usually) |
|---|---|
| Fruit and Vegetable Scraps | Meat, Fish, and Bones |
| Coffee Grounds & Tea Bags | Dairy Products (Milk, Cheese, Yogurt) |
| Grass Clippings | Oily Foods or Greasy Scraps |
| Eggshells | Diseased Plants |
| Dry Leaves & Straw | Weeds with Seeds (unless you’re sure your pile gets hot enough to kill them) |
| Shredded Newspaper/Cardboard | Pet Waste (Dog and Cat Feces) |
| Untreated Sawdust/Wood Chips | Chemically Treated Yard Waste |
Step-by-Step: Building Your Compost Pile
Ready to get your hands dirty? Here’s how to build a compost pile from scratch, whether you’re using an open pile or a bin.
Step 1: Choose Your Location
Find a spot that’s convenient but not right next to your house. Ideally, it should be:
- Mostly Shaded: This helps keep the pile from drying out too quickly in the sun.
- Well-Drained: You don’t want your compost sitting in a puddle.
- Accessible: Make sure you can easily get to it with a wheelbarrow or shovel for adding materials and harvesting the finished compost.
- Consider Neighbors: While a healthy compost pile shouldn’t smell bad, it’s polite to place it where it won’t be an eyesore or concern for neighbors.
Step 2: Start with a Base Layer (Browns)
Begin by putting down a layer of coarse brown material. This could be twigs, straw, or wood chips. This layer helps with drainage and airflow right from the start.
Aim for a layer about 4-6 inches thick.
Step 3: Add Your First Materials (Greens & Browns)
Now, start layering your greens and browns. Think of it like making a lasagna.
Add a layer of green materials (like kitchen scraps or grass clippings) on top of the browns. Then, cover those greens with a layer of brown materials (like dry leaves or shredded paper).
It’s a good idea to bury your kitchen scraps slightly within the browns to help deter pests and manage odors.
Step 4: Maintain Moisture
Your compost pile needs to be moist, like a wrung-out sponge. Not soaking wet, and not bone dry.
If you’re adding a lot of dry materials, you’ll need to add water. If you’re adding a lot of wet kitchen scraps and grass clippings, you might not need much extra water, but monitor it.
A good rule of thumb: if you can easily form a clump that doesn’t crumble apart, it’s likely moist enough. If it falls apart, it needs more water. If water drips out when you squeeze it, it’s too wet (add more browns!).
Step 5: Aerate (Turn) Your Pile
This is where your pitchfork or shovel comes in handy! Turning your compost pile oxygenates it. This is crucial for the ‘aerobic’ bacteria that break down the material efficiently and without bad smells. You want to mix the outer layers into the center and the center layers to the outside.
How often?
- Fast Composting: If you want compost quickly (e.g., 1-3 months), you’ll need to turn it every 1-2 weeks.
- Slow Composting: If you’re less in a hurry (e.g., 6-12 months), turning once a month or even less is fine. Tumblers make this step much easier as you just spin them.
For new composters, aim for turning every 2-3 weeks. It’s a good balance between effort and results.
Step 6: Be Patient and Observe
Composting is a natural process, so it takes time. You’ll notice the materials at the bottom of the pile starting to break down and look darker and more crumbly. The temperature in the pile might also rise, which is a sign that the decomposition process is in full swing.
Keep adding materials as you generate them, always trying to maintain that balance of greens and browns, and keeping the moisture level right. You’ll learn to “read” your pile and understand what it needs.
Composting Methods for Every Space
Not everyone has the luxury of a big backyard. Here are some options that fit different needs:
Backyard Composting (The Classic Way)
This is what most people picture: an open pile or a bin in the garden. It’s great for handling larger volumes of yard waste alongside kitchen scraps. It’s generally the easiest and most forgiving method if you have the space.
For more information on backyard composting, the EPA provides excellent resources on home composting practices.
Worm Composting (Vermicomposting)
This method uses special composting worms (like red wigglers) to break down food scraps. It’s ideal for apartment dwellers or those with limited outdoor space. Worm bins can be kept indoors or on a balcony.
What you can compost in a worm bin is usually limited to fruit and vegetable scraps, coffee grounds, and tea bags. You avoid meat, dairy, and oily foods.
The result is incredibly rich worm castings, which are a fantastic fertilizer.
Bokashi Composting
Bokashi is a bit different. It’s an anaerobic fermentation process that uses a special inoculated bran to pickle your food waste. You can compost meat, dairy, and even oily foods with this method. It’s done in a sealed bucket and doesn’t produce the typical compost odor. The end product is a fermented material that then needs to be buried in soil or added to a traditional compost pile to finish decomposing.
This is a great option for those who want to compost a wider range of kitchen scraps and who have very limited space, as the bin is compact and can be kept indoors.
Trench Composting
This is a simple, no-fuss method for those with a garden. You dig a trench about a foot deep, add your organic waste, and cover it with soil. Over time, it decomposes directly in the ground, enriching the soil where it’s buried. You can then dig another trench elsewhere for your next batch of waste.
It’s discreet and requires no turning or active management, but it does take longer for the materials to break down compared to an active pile.
Troubleshooting Common Composting Problems
Even with the best intentions, your compost pile might hit a snag. Here are some common issues and how to fix them:
Problem: My compost smells bad (like rotten eggs or ammonia).
Cause: Too much nitrogen (greens) or the pile is too wet and compacted, leading to anaerobic conditions.
Solution:
- Add more brown materials (leaves, shredded paper, sawdust) to absorb excess moisture and balance the carbon-to-nitrogen ratio.
- Turn the pile thoroughly to introduce air and break up any anaerobic pockets.
- If the smell is strong ammonia, it means too much nitrogen; add more browns right away.
Problem: My compost is not breaking down and seems dry.
Cause: Lack of moisture, insufficient greens (nitrogen), or the pile is too small. Large piles retain heat and moisture better.
Solution:
- Add water gradually, mixing it in as you turn the pile, until it feels like a damp sponge.
- Add nitrogen-rich “greens” like kitchen scraps, grass clippings, or coffee grounds.
- If using small amounts, try to add them in layers rather than just a few items here and there.
- Ensure the pile is large enough to generate some internal heat.
Problem: I have fruit flies or other pests in my compost.
Cause: Exposed food scraps are an attractant for pests.
Solution:
- Always bury fresh kitchen scraps deep within the pile and cover them with a layer of brown materials.
- Avoid adding meat, dairy, or oily foods, which are more prone to attracting pests.
- If using an enclosed bin, ensure the lid is secure.
- Consider a compost tumbler, which is generally less attractive to pests.
Problem: My compost pile is too cold.
Cause: The pile might be too small, too dry, or lack sufficient nitrogen (greens).
Solution:
- Add nitrogen-rich materials (greens).
- Ensure the pile has adequate moisture.
- If you have a lot of yard waste (browns), try to add a good amount of kitchen scraps (greens) to kickstart the process.
- A larger pile will generate and retain heat better.
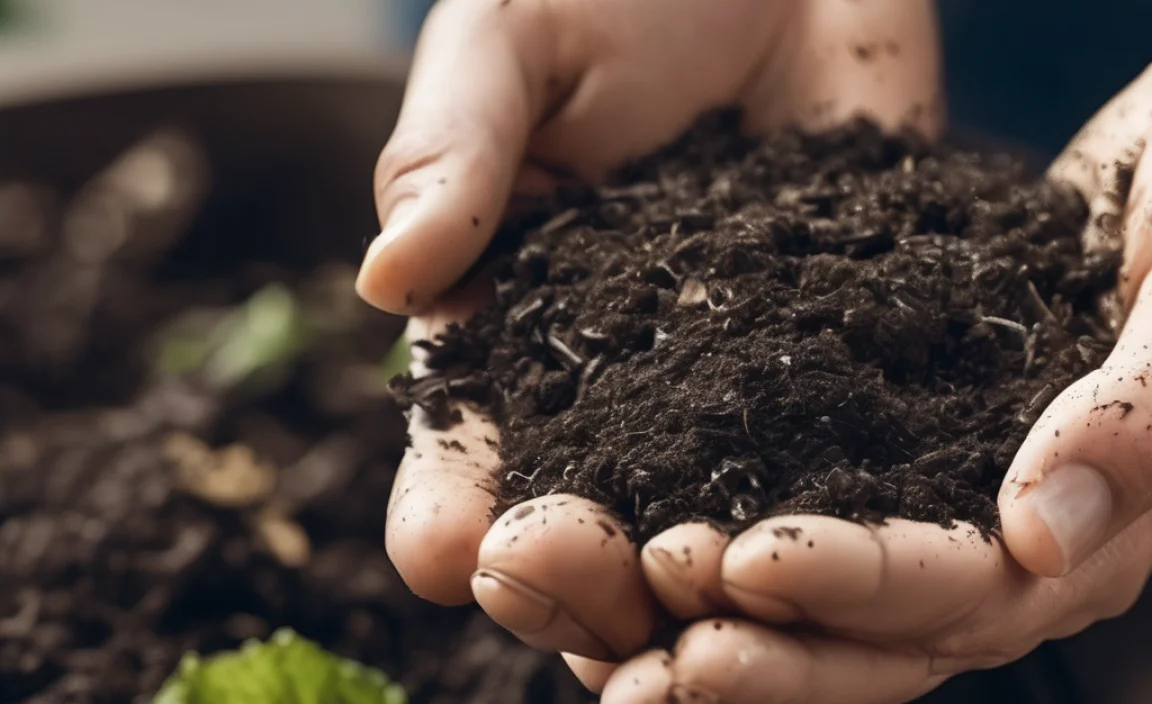
When is Compost Ready?
You’ll know your compost is ready when it looks and smells like rich, dark earth. It should be crumbly, with no recognizable original materials (like banana peels or leaves).
The temperature will cool down to ambient air temperature. It should be dark brown and have a pleasant, earthy aroma – no sharp or unpleasant smells.
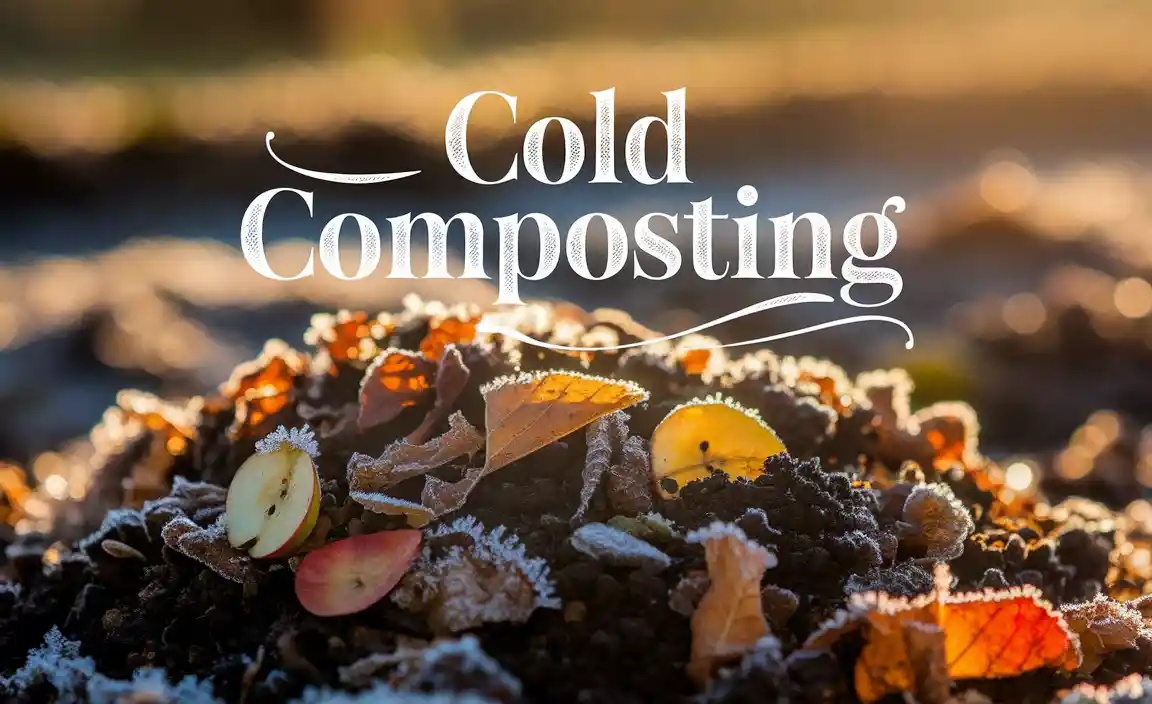
The time it takes can vary greatly. A well-managed, actively turned hot pile can be ready in 1-3 months. A passively managed, loosely piled compost will take 6-12 months, or even longer.
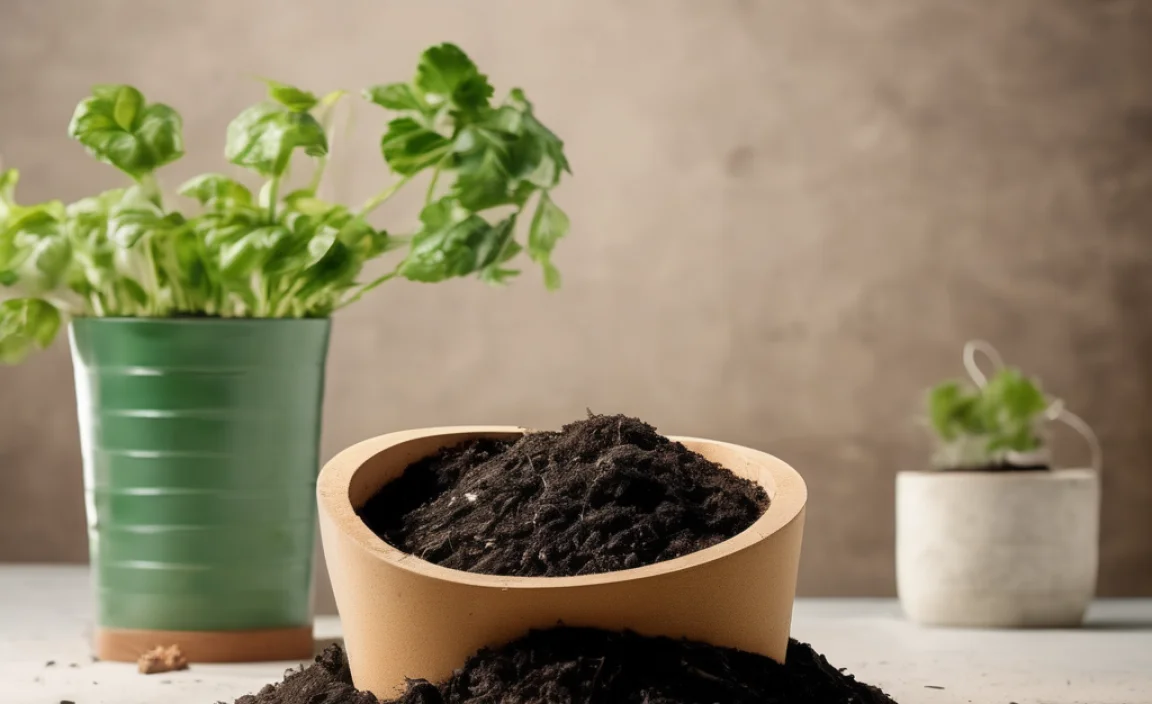
Using Your Finished Compost
Congratulations! You’ve created “black gold.” Here’s how to use your compost:
- Soil Amendment: Mix compost into your garden beds before planting. It improves soil structure, drainage, and water retention. A few inches worked into the top layer is usually sufficient.
- Top Dressing/Mulch: Spread a layer of compost around existing plants, trees, and shrubs. This helps suppress weeds, retain moisture, and provide slow-release nutrients.
- Potting Mix: Mix finished compost with potting soil for containers. It adds vital nutrients and improves aeration. A 1:1 or 1:2 ratio of compost to potting soil is a good start.
- Lawn Care: Top-dress your lawn with a thin layer of compost in the spring or fall. Rake it in gently. This can help improve soil health and grass resilience.
Using compost is a fantastic way to give your plants a natural, healthy boost. Their growth and vitality will often be noticeably improved!
Frequently Asked Questions About Composting
What is the main goal of composting?
The main goal is to turn organic waste into a nutrient-rich soil amendment, reducing landfill waste and improving soil health for gardens and plants.
How long does it take to make compost?
It varies greatly. A hot, actively managed pile can be ready in 1-3 months, while a cool, passively managed pile can take 6-12 months or longer. Tumblers often speed up the process.
Can I compost pet waste?
It’s generally not recommended to compost pet waste from dogs and cats in a home compost system because it can contain harmful pathogens that may not be killed at home composting temperatures. If you have a specialized composting system designed for pet waste, or if your pile consistently reaches high temperatures capable of killing pathogens, it might be possible, but it’s often best avoided for typical home composting.
Related Posts

I am passionate about home engineering. I specialize in designing, installing, and maintaining heating, ventilation, and air conditioning systems. My goal is to help people stay comfortable in their homes all year long.