Got a balcony garden bursting with life? Want to give your plants a super-boost without the fuss? Making compost tea for your balcony plants might sound fancy, but it’s actually a simple, home-friendly way to feed your greenery. Sometimes, we worry about our little urban oases not getting enough goodness. This guide will show you exactly how to brew a batch of potent, plant-powering compost tea, even in the smallest space. Get ready for happier, healthier plants right on your balcony!
Compost Tea for Balcony Beauties: Your TopChooser Guide
Hey there, fellow balcony gardeners! Troy D Harn here, your go-to guy for making home and garden projects totally doable. If you’ve ever looked at your potted plants and wished they had a little extra sparkle, you’re in the right place. We’re diving into the wonderful world of compost tea, specifically for us balcony dwellers. It’s like a superfood smoothie for your plants, and it’s surprisingly easy to make right in your urban jungle.
Why compost tea? Think of it as a liquid gold for your plants. It’s packed with beneficial microbes, enzymes, and nutrients that your soil might be missing. These tiny helpers can fight off diseases, improve nutrient uptake, and generally make your plants stronger and more vibrant. Plus, it’s a fantastic way to use up your homemade compost or even store-bought compost, turning waste into a garden superpower. We’ll break it all down, step-by-step, no complicated science or expensive gear required. Let’s get brewing!
What Exactly is Compost Tea?
Simply put, compost tea is a liquid made by steeping compost in water. It’s not just dirty water, though! The magic happens when you encourage the beneficial microorganisms living in the compost to multiply and thrive in the water. These tiny living things are what give your plants a big boost. They can help protect roots from disease, help plants absorb nutrients better, and even boost their natural defenses against pests.
Think of it like making a really good cup of herbal tea. You steep the herbs in hot water to draw out all the good stuff. Compost tea does something similar, but instead of herbs, we’re steeping compost to extract all the beneficial biology and soluble nutrients.
Why Compost Tea is a Balcony Gardener’s Best Friend
Living the balcony garden life means we’re working with containers and sometimes limited space. This often means our grow medium can get depleted of nutrients more quickly than garden soil. Compost tea is a game-changer for a few key reasons:
- Nutrient Boost: It’s a readily available source of nutrients that your plants can absorb quickly through their roots and even leaves.
- Microbial Powerhouse: Healthy soil is alive with microorganisms. Compost tea inoculates your potting mix with these beneficial bacteria and fungi, which help break down organic matter, suppress pathogens, and improve soil structure.
- Disease Prevention: The good microbes in compost tea can outcompete harmful pathogens, giving your plants a natural defense shield.
- Improved Plant Health: Stronger roots, more vigorous growth, and better pest resistance are all common benefits seen with regular compost tea applications.
- Space-Savers: You don’t need a huge yard for traditional composting. A small worm bin or a few bags of good compost are enough to get started.
- Environmentally Friendly: It’s a fantastic way to recycle organic materials and reduce the need for synthetic fertilizers.
Getting Started: What You’ll Need
The beauty of making compost tea on a balcony is its simplicity. You don’t need a whole lot of fancy equipment. Here’s a rundown of the essentials:
Essential Equipment & Ingredients
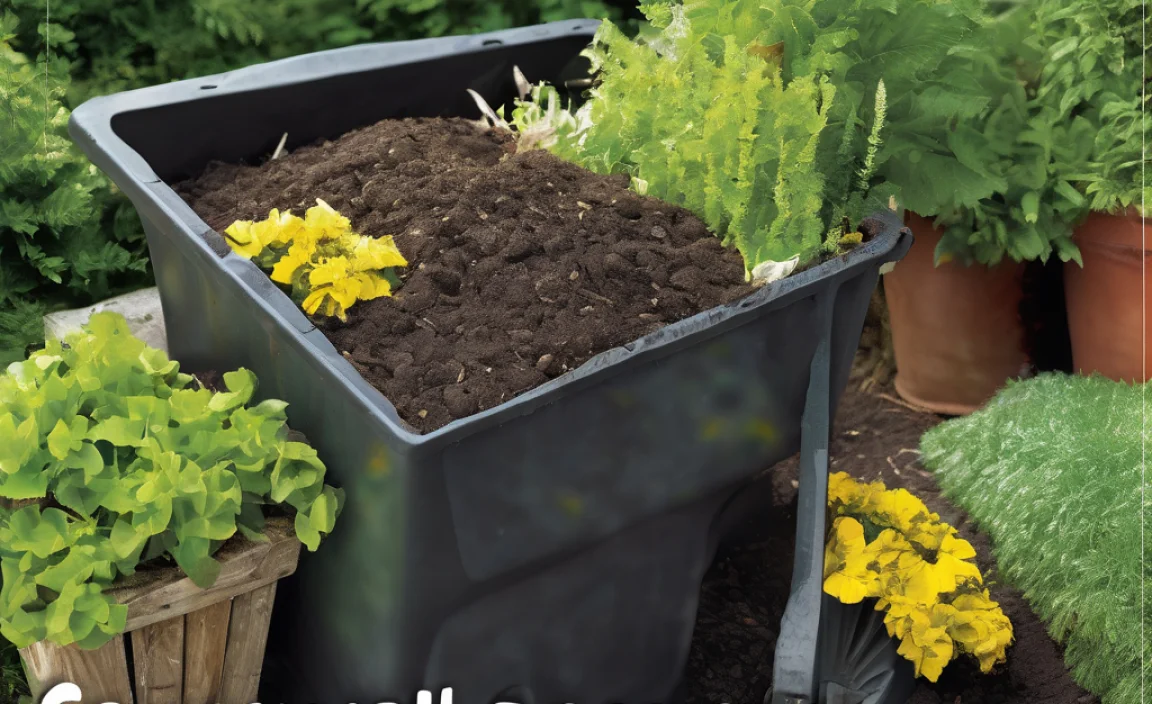
- Compost: This is the heart of your tea. High-quality, finished compost is best. You can use compost from a worm bin (vermicompost) or mature compost from a larger bin. More on compost quality later!
- Water: You’ll need unchlorinated water. Chlorine can kill the beneficial microbes we’re trying to cultivate.
- A Container: A bucket or a large jug works perfectly. A 5-gallon bucket is a common size.
- Aeration System (Optional but Recommended): An aquarium pump with an airstone is the easiest way to make “aerated” compost tea (ACT), which is more potent. If you skip this, you’ll be making “non-aerated” compost tea.
- Straining Material: An old pillowcase, a paint strainer bag, or a piece of burlap will do the trick to keep the solid compost bits out of your watering can.
- Optional Additives (for ACT): A little bit of unsulfured molasses or a bit of organic kelp meal can provide food for the microbes, helping them multiply faster.
Choosing Your Compost: The Foundation of Great Tea
The quality of your compost tea directly depends on the quality of your compost. For balcony gardening, a few options work well:
- Vermicompost (Worm Castings): This is fantastic! Worm castings are already teeming with beneficial microbes and rich in nutrients. They’re usually finely textured, making for a smooth tea.
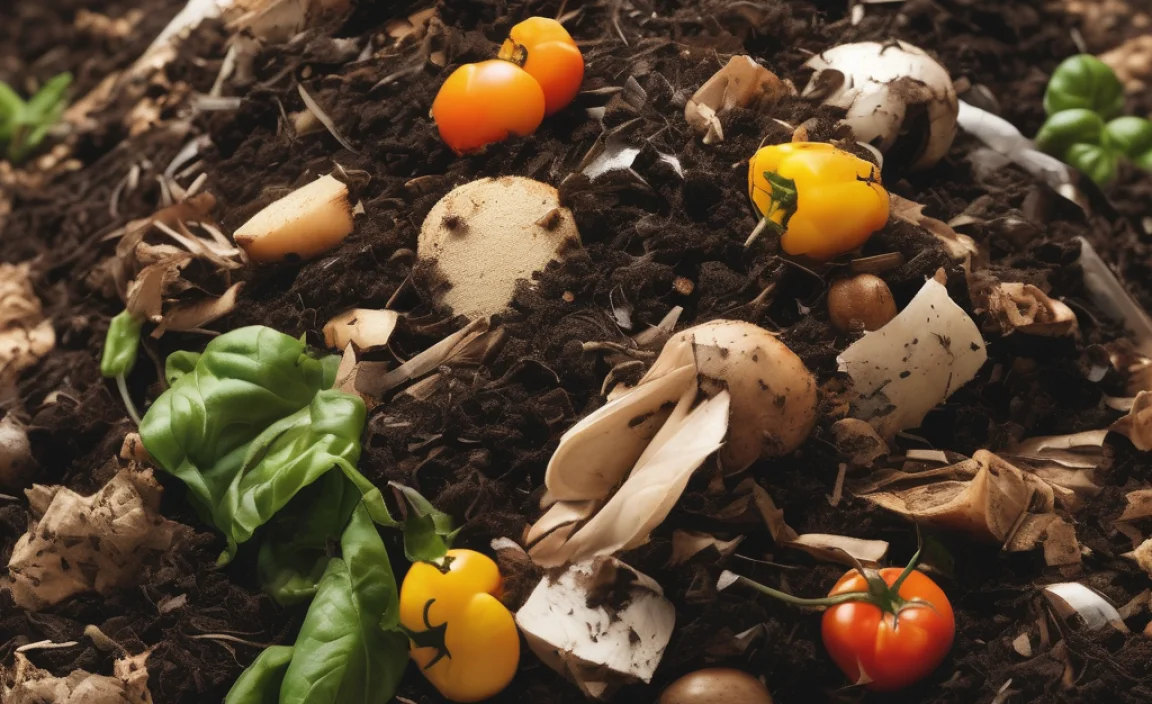
- Finished Bin Compost: If you have a regular compost bin or pile, ensure the compost is fully mature. It should be dark, crumbly, and smell earthy – like a forest floor – not sour or rotten. Avoid using compost that still looks like recognizable food scraps or plant material.
- Store-Bought Compost: If you don’t make your own, opt for high-quality bagged compost or worm castings. Look for organic options.
Key takeaway: Your compost should be well-rotted, smell good, and be free of weed seeds and pathogens. Learn more about what makes good compost from resources like the EPA’s composting guide.
Brewing Your First Batch: A Simple, Step-by-Step Guide
Let’s get brewing! We’ll cover two methods: a simple non-aerated version and the more popular aerated compost tea (ACT).
Method 1: Simple (Non-Aerated) Compost Tea
This is the easiest way to start. It’s less potent than ACT but still offers good benefits.
- Gather Your Gear: You’ll need your compost, a bucket, water, and your straining material.
- Prepare the Water: Fill your bucket with water. If you’re using tap water, let it sit out for 24 hours to allow the chlorine to evaporate. Or, use filtered or rainwater.
- Add Compost: For a 5-gallon bucket, use about 2-4 cups of your finished compost or worm castings. Place the compost into your straining bag or pillowcase and tie it shut.
- Steep the Compost: Submerge the bag of compost into the bucket of water. You can tie the bag to the handle of the bucket so it hangs in the water without touching the bottom.
- Mix and Steep: Stir the water vigorously for a few minutes to get the compost steeping. Let it sit and steep for 24-48 hours, stirring it a few times a day. Keep it in a shaded spot, not direct sun.
- Strain and Use: After steeping, remove the compost bag. Give the tea a good stir. Strain the liquid one more time through a fine mesh strainer or cheesecloth if you see too many particles. Use it within 24 hours.
Method 2: Aerated Compost Tea (ACT) – The Gold Standard
Aeration is key here. It gives beneficial aerobic microbes (the good guys that need oxygen) a chance to multiply rapidly. This creates a much more powerful brew.
- Set Up Your Brewer: Place your aquarium pump, airline tubing, and airstone into your bucket. Make sure the airstone is at the bottom of the bucket but not directly under where the compost bag will hang.
- Prepare the Water: Fill your 5-gallon bucket with unchlorinated water.
- Add Compost and Additives: Place 2-4 cups of high-quality compost or worm castings into a mesh bag or pillowcase. Tie it off. If using, add 1-2 tablespoons of unsulfured molasses to the water (this feeds the microbes). Submerge the compost bag in the water, making sure it’s not resting on the bottom.
- Start Aerating: Turn on the aquarium pump. You should see vigorous bubbling and the water getting frothy. This is oxygen being pumped in, encouraging the microbes.
- Brew Time: Let it brew for 24-36 hours. The tea should become frothy and smell sweet and earthy. If it smells sour or like ammonia, something went wrong – discard it and try again. Stirring and aeration are crucial!
- Strain and Use: Turn off the pump. Remove the compost bag. Strain the tea to remove any large particles. Use your freshly brewed ACT within 4-6 hours for maximum microbial activity.
Compost Tea Application: Feeding Your Balcony Plants
Now that you’ve brewed your liquid gold, how do you apply it? There are two primary ways:
1. Watering the Soil (Drench):
This is the most common method. You simply use the compost tea as a watering solution for your plants.
- Dilution: For both non-aerated and aerated compost tea, a common dilution ratio is 1 part tea to 4-10 parts water. For stronger applications or very robust plants, you might use it undiluted. For seedlings or sensitive plants, dilute more.
- Application: Water your plants at the base, letting the tea soak into the soil. This directly feeds the soil microbes and plant roots.
- Frequency: Apply every 1-4 weeks, depending on your plants’ needs and the strength of your tea.
2. Foliar Spray (Leaf Application):
Spraying the tea directly onto the leaves can help plants absorb nutrients and beneficial microbes through their leaf surfaces. This is especially good for ACT.
- Dilution: Dilute ACT at a ratio of 1:10 (tea to water) or even weaker for the first few applications.
- Application: Use a clean spray bottle. Lightly mist the leaves, making sure to get the undersides as well. Do this in the early morning or late evening to avoid leaf scorch from the sun.
- Frequency: This can be done weekly or bi-weekly.
Safety Note: Always use compost that is fully finished and free from pathogens. If you’re unsure about your compost source, it’s best to stick to the soil drench method initially.
Troubleshooting Common Compost Tea Issues
Even with the best intentions, sometimes things don’t go as planned. Here are a few common issues and how to fix them:
| Problem | Possible Cause | Solution |
|---|---|---|
| Tea smells foul/rotten/like ammonia | Not enough oxygen (for ACT), too much high-nitrogen material (like fresh grass clippings) in the compost, or compost wasn’t mature enough. | Increase aeration for ACT. Use well-matured compost. For non-aerated, try brewing for shorter periods or with less compost. Discard foul-smelling batches. |
| Very few bubbles/froth (ACT) | Weak aquarium pump, clogged airstone, or not enough food for microbes. | Ensure pump is running properly and airstone is clean and functional. Try adding slightly more molasses (no more than 1-2 tbsp). |
| Tea has lots of solid particles | Compost wasn’t fine enough, or straining material wasn’t efficient. | Use a finer mesh strainer or a dedicated compost tea brewing bag. Squeeze out excess liquid from the compost bag before straining the final tea. |
| Plants aren’t responding | Tea may not be strong enough, incorrect dilution, or other environmental factors are limiting plant growth (light, water, temperature). | Ensure you’re using high-quality compost and brewing effectively. Adjust dilution and frequency. Check that your plants have adequate light, water, and are at a suitable temperature. |
The Benefits of Aerated vs. Non-Aerated Compost Tea
You might be wondering why the fuss about aeration. Here’s a quick comparison:
| Feature | Non-Aerated Compost Tea | Aerated Compost Tea (ACT) |
|---|---|---|
| Brewing Method | Steeping compost in water without aeration. | Steeping compost in bubbled, oxygen-rich water. |
| Microbial Count | Lower; primarily anaerobic microbes and existing microbes from compost. | Much higher; promotes rapid growth of aerobic bacteria, fungi, and protozoa. |
| Potency & Efficacy | Beneficial, but less potent. Good for gentle feeding and soil conditioning. | More potent; offers stronger disease suppression and nutrient availability. |
| Brewing Time | 24-48 hours. | 24-36 hours. |
| Complexity | Very simple. | Requires an aquarium pump and airstone. |
| Usefulness for Foliar Spray | Less ideal due to lower microbial diversity and potential for anaerobic byproducts. | Highly recommended for foliar sprays due to diverse, beneficial aerobic microbes. |
For balcony gardeners, especially those looking for maximum plant health benefits and disease resistance, investing a little extra in an aeration system for ACT is generally worth it. You get a far more potent and beneficial product for your plants.
More Tips for Balcony Garden Success
Beyond compost tea, here are a few extra tips to keep your balcony garden thriving:
- Use Good Potting Mix: Start with a high-quality, well-draining potting mix. You can amend it with your finished compost.
- Proper Watering: Balcony containers dry out faster. Check your soil moisture regularly.
- Sunlight: Ensure your plants are getting the right amount of sunlight for their needs. Many vegetables and herbs thrive in full sun.
- Pest Patrol: Regularly inspect your plants for any signs of pests and address them early. Compost tea can help boost plant immunity. You can learn more about common garden pests from sources like the University of California IPM Program.
FAQs About Balcony Compost Tea
Got lingering questions? We’ve got answers!
- What kind of plants can I use compost tea on?
- Compost tea is great for almost all plants! This includes vegetables, herbs, flowers, fruits, and even houseplants. Start with a milder dilution for seedlings or more sensitive plants.
- How often should I use compost tea?
- As a general rule, once every 1 to 4 weeks is a good starting point. You can adjust based on your plants’ needs and how they respond. More is not always better, so observe your plants!
- Can I make compost tea without a pump?
- Yes! You can make a simple, non-aerated compost tea by just steeping compost in water and stirring it. While ACT is more potent, the non-aerated version still provides benefits.
- How long does compost tea last?
- Compost tea is best used fresh, especially aerated compost tea (within 4-6 hours of brewing). Non-aerated tea can typically be used within 24 hours. Microbes start to die off once the oxygen is depleted or if left too long.
- What if my compost smells bad?
- If your compost smells truly rotten, like sulfur or ammonia, it’s probably not mature or has gone anaerobic (lack of oxygen during composting). For compost tea, always use well-finished, pleasant-smelling compost. If your tea itself smells bad, discard it and start over with good compost and proper aeration (for ACT).
- Can I add anything else to my compost tea?
- For ACT, unsulfured molasses or kelp meal can be added in small amounts to feed the microbes. Avoid adding synthetic fertilizers or chemicals, as this will harm the beneficial microbial life.

I am passionate about home engineering. I specialize in designing, installing, and maintaining heating, ventilation, and air conditioning systems. My goal is to help people stay comfortable in their homes all year long.