Want to give your plants a supercharged boost? Tired of seeing them look a bit sad or not grow as big as you’d like? You’ve probably heard about compost tea, but maybe it sounds a bit complicated or messy, right? Don’t worry! I’m here to break it down. Making compost tea is actually pretty simple and can make your garden incredibly happy. We’ll walk through exactly how to do it, step-by-step.
Compost Tea Solutions: Genius Essential Growing for Your Garden
Hey there, fellow garden enthusiasts and DIY fans! Troy D. Harn here, your go-to guy for making home and garden projects simple and stress-free. Today, we’re diving into something that can seriously elevate your plant game: compost tea. If you’ve been struggling with sluggish growth or want to give your favorite blooms and veggies an extra edge, compost tea might just be your secret weapon. It sounds a little scientific, but trust me, it’s totally achievable for anyone, whether you’re a seasoned gardener or just starting out. We’re going to explore what compost tea is, why it’s so fantastic, and most importantly, how you can easily make it yourself.
What Exactly is Compost Tea?
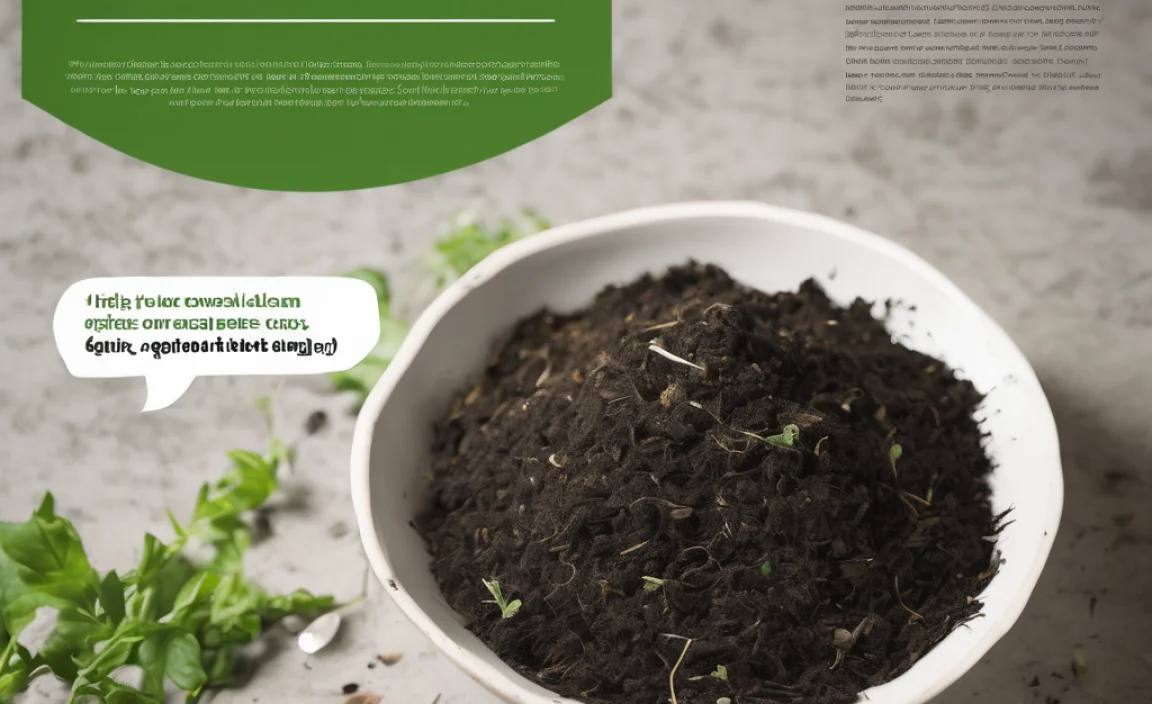
Think of compost tea as a liquid extract of the goodness found in your compost. Instead of just adding solid compost to your soil, we’re brewing a nutrient-rich liquid packed with beneficial microbes – the good guys that help plants thrive. These microscopic organisms are the workhorses of healthy soil, and when you brew them, you create a potent, easy-to-absorb fertilizer that plants absolutely love.
It’s like making a super-powered liquid soup for your plants. This liquid is teeming with beneficial bacteria, fungi, protozoa, and nematodes that live in healthy compost. When you steep compost in water with a little aeration, these microorganisms multiply and become readily available for your plants to take up through their roots and leaves.
Why Use Compost Tea? The Big Benefits
So, why go through the trouble of brewing this special tea? The benefits are pretty impressive, and they can make a real difference in your garden’s health and productivity.
- Plant Nutrition Boost: Compost tea is like a multivitamin for your plants. It provides readily available nutrients, helping them grow stronger, healthier, and more resilient.
- Beneficial Microbe Powerhouse: This is the real game-changer. Compost tea inoculates your soil and plant surfaces with beneficial microorganisms. These microbes can outcompete harmful pathogens, suppress diseases, and improve nutrient uptake by plants.
- Improved Soil Health: Regularly applying compost tea can significantly enhance the microbial activity in your soil. This leads to better soil structure, increased water retention, and more efficient nutrient cycling – all the things that make a garden truly flourish.
- Disease Suppression: The beneficial microbes in compost tea can create a protective barrier on plant leaves and roots, actively defending against common fungal and bacterial diseases. It’s a natural way to protect your plants without resorting to harsh chemicals.
- Faster Growth and Better Yields: Healthier plants with access to readily available nutrients and protection against disease will naturally grow better. This means more vibrant flowers, tastier vegetables, and a more abundant harvest.
- Environmentally Friendly: Making compost tea is a fantastic way to recycle kitchen scraps and yard waste into a valuable garden amendment. It’s a sustainable practice that reduces waste and supports a healthy ecosystem in your backyard.
- Cost-Effective: Once you have your basic brewing setup, making compost tea is incredibly cheap. You’re essentially using materials you likely already have or can get for free!
Understanding the Two Main Types of Compost Tea
When people talk about compost tea, they usually mean one of two things: actively aerated compost tea or passive compost tea. They both use compost, but the brewing process and the resulting microbial activity are different.
1. Actively Aerated Compost Tea (AACT)
This is the powerhouse version. AACT involves brewing compost in water with constant aeration (bubbling air through it) and often a food source for the microbes. This encourages rapid multiplication of beneficial microorganisms.
- How it works: An air pump continuously adds oxygen to the brew. This is crucial because many beneficial microbes are aerobic, meaning they need oxygen to survive and thrive. The bubbling also keeps the compost particles suspended, allowing microbes to access nutrients more easily.
- Ingredients: High-quality compost, dechlorinated water, an air pump, and sometimes a microbial food source like unsulfured molasses or fish hydrolysate.
- Best for: Applications where you really want to boost beneficial microbial populations, for disease suppression, and for significant plant health improvements.
2. Passive Compost Tea (Non-Aerated)
This is the simpler, more “hands-off” method. Passive compost tea is essentially a compost “squished” or steeped in water, allowing water-soluble nutrients to leach out.
- How it works: You steep a bag of compost in a bucket of water for a few days, stirring occasionally. Oxygen levels are lower, so the microbial population doesn’t multiply as dramatically as with AACT. It’s more focused on extracting nutrients dissolved in the water.
- Ingredients: High-quality compost, dechlorinated water.
- Best for: A quick nutrient boost when you don’t have the time or equipment for AACT, or for very small gardens.
For this guide, we’ll primarily focus on making Actively Aerated Compost Tea (AACT), as it offers the most significant benefits for plant health and disease prevention. But don’t worry, it’s still very beginner-friendly!
What You’ll Need: Your Compost Tea Brewing Toolkit
Gathering your supplies is the first step to brewing some liquid gold for your garden. You don’t need anything super fancy, and many items you might already have or can find affordably.
Essential Equipment
- A Bucket: A 5-gallon bucket is a great size for beginners. Make sure it’s clean and hasn’t been used for harsh chemicals. Food-grade buckets are ideal, but any clean plastic bucket will do.
- Air Pump: You’ll need a small aquarium air pump. The size depends on your bucket – a pump rated for 10-20 gallons is usually sufficient for a 5-gallon bucket.
- Airline Tubing: Connects the air pump to the air stone.
- Air Stone: This is what creates the fine bubbles to aerate your tea. A cylindrical or disc-shaped aquarium air stone works well.
- Brew Bag or Pantyhose: To hold your compost. A mesh brew bag is best, but an old pair of pantyhose or a thin cloth bag can also work in a pinch.
- Dechlorinated Water: Tap water contains chlorine, which can kill beneficial microbes. You need to get rid of it.
Optional (but Recommended) Ingredients
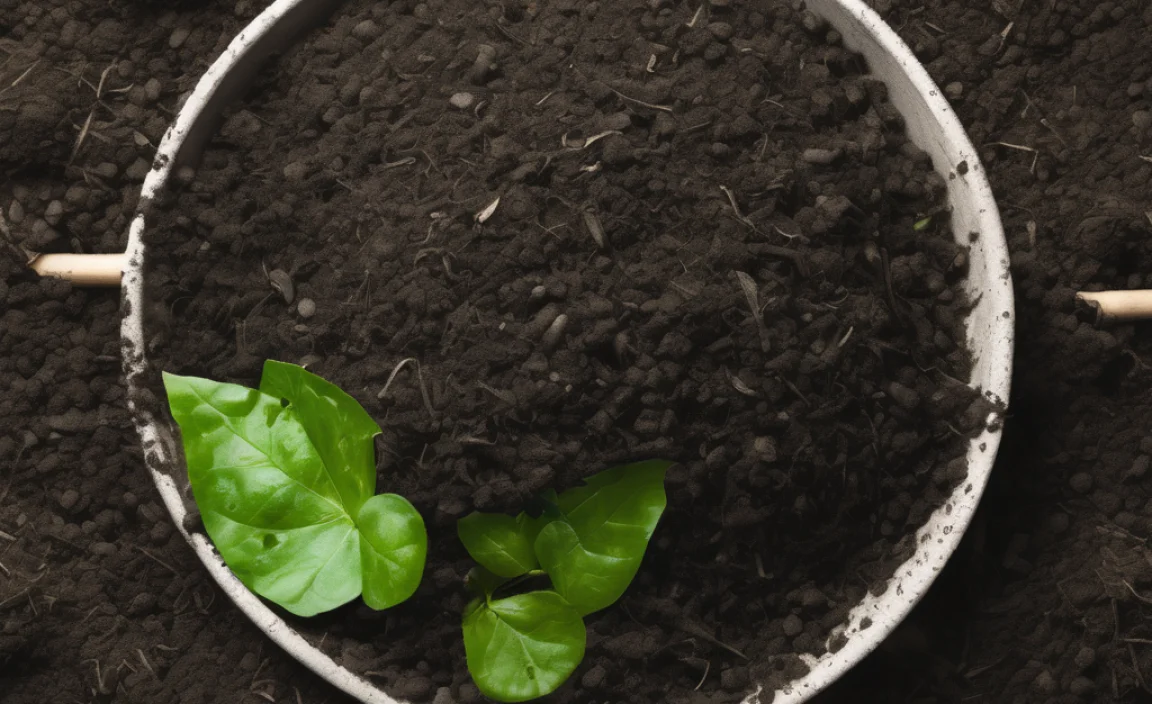
- High-Quality Compost: This is the core ingredient! Use well-finished compost that smells earthy and is crumbly, not slimy or foul-smelling. Worm castings are also excellent.
- Microbial Food Source: To feed and multiply the microbes.
- Unsulfured Molasses: A common and effective food source for bacteria. Use only unsulfured molasses, as sulfur can harm microbes.
- Fish Hydrolysate or Seaweed Extract: These provide nutrients for both microbes and plants, and can boost fungal populations.
Pro Tip: Where can you get supplies? Aquarium stores are your best bet for air pumps, tubing, and air stones. You can find brew bags online or at garden supply stores. For compost, use your own well-aged compost or purchase high-quality organic compost from a garden center. Always aim for organic options when making compost tea to ensure you’re not introducing harmful chemicals.
Step-by-Step Guide: Brewing Actively Aerated Compost Tea
Ready to brew? Follow these simple steps, and you’ll have potent compost tea in no time!
Step 1: Prepare Your Water
Chlorine in tap water is a microbe killer. You have a few easy options to dechlorinate it:
- Let it Sit: Fill your bucket with tap water and let it sit out for 24 hours. The chlorine will evaporate naturally.
- Bubble it: Run your air pump with the air stone in the water for about an hour. This speeds up the chlorine evaporation.
- Use Rainwater: If you have access to collected rainwater, it’s naturally chlorine-free and perfect for brewing compost tea.
You’ll typically need enough water to fill your bucket to about 3–4 gallons, leaving room for the compost and to prevent overflow when bubbling.
Step 2: Add Your Compost
Fill your brew bag (or pantyhose/cloth bag) with about 1–2 cups of high-quality finished compost or worm castings. Don’t pack it too tightly; you want the water to flow through easily.
Tie the bag securely and place it into your bucket of dechlorinated water. You can let it hang in the water or just let it sink.
Step 3: Introduce Aeration and Food Source
Now, set up your air pump. Connect the airline tubing to the pump and the air stone. Place the air stone in the bottom of your bucket, near the compost bag. Turn on the air pump.
You should see steady bubbling from the air stone. If you’re using a microbial food source like unsulfured molasses, add 1–2 tablespoons for a 5-gallon batch. Stir it in gently.
Important Note on Molasses:
Molasses is high in sugars, which feed bacteria exceptionally well. However, too much can lead to an imbalance, promoting unwelcome microbes. A little goes a long way, and always use unsulfured molasses. If using fish hydrolysate or seaweed extract, follow the product’s recommended dosage.
Step 4: Brew Time!
Let your tea brew for 24 to 36 hours. The key is continuous, vigorous bubbling. The water should be teeming with tiny bubbles, indicating good oxygen levels. Stir the compost bag occasionally by hand or gently swirl the bucket.
The ideal brewing temperature is between 60–80°F (15–27°C). If it’s too cold, microbial activity will slow down; if it’s too hot, you risk growing undesirable organisms.
Step 5: Check for Readiness
Your compost tea is ready when it has a rich, earthy aroma, similar to good soil. If it smells sour, foul, or like sewage, something went wrong (likely not enough aeration or the wrong type of compost was used), and you should not use it on your plants.
The liquid should be opaque and might have a slightly foamy head. You’ll usually see a creamy or tan color.
Step 6: Strain and Use Immediately!
Once brewed, remove the compost bag. You can compost the contents of the bag again. The liquid compost tea is now ready to be used.
Crucially, compost tea is a living product. Use it within 4–6 hours of turning off the air pump. The beneficial microbes start to die off quickly once the oxygen supply stops. Don’t store brewed tea for later. If you can’t use it all immediately, you’ll have to discard it and brew a fresh batch.
How to Apply Your Compost Tea
Now for the fun part: feeding your plants! Compost tea can be applied in a few ways, both as a soil drench and a foliar spray.
1. Soil Drench
This is the most common method. It directly feeds the soil and the root zone with nutrients and beneficial microbes.
- Dilution: For most established plants and garden beds, you can use compost tea undiluted. If you’re unsure or using it on very young seedlings, you can dilute it 1:1 with dechlorinated water.
- Application: Pour the tea directly onto the soil around the base of your plants. Aim for about 0.5 to 1 gallon of tea per 10–20 square feet of garden area, or about 1 cup per small plant.
- Frequency: Apply every 1–2 weeks during the growing season for best results.
2. Foliar Spray
Applying compost tea to the leaves can provide a quick nutrient boost and introduce beneficial microbes to the plant’s surface, helping to ward off diseases.
- Dilution: Dilute the compost tea 1:5 or even 1:10 with dechlorinated water. This is important to avoid clogging your sprayer and to ensure better adherence to the leaves.
- Application: Use a clean pump sprayer to coat the leaves, both the top and undersides. Apply in the early morning or late evening when the sun is not intense to prevent leaf scorch.
- Frequency: Can be applied every 1–2 weeks, especially when plants are young or if you notice signs of stress or disease.
Important Note on Sprayers: Ensure your sprayer is clean and hasn’t been used with chemical pesticides or herbicides. Even a small residue can kill the living microbes in your tea. It’s best to have a dedicated sprayer for organic amendments.
Passive Compost Tea: The Simpler Brew
If you’re short on time or equipment, passive tea is a great alternative. It won’t give you the same microbial explosion as AACT, but it’s still a useful nutrient supplement.
How to Make Passive Compost Tea
- Fill a Bucket: Take a clean bucket and fill it about one-third full with high-quality compost.
- Add Water: Fill the bucket with dechlorinated water, leaving some headspace.
- Steep: Let the mixture steep for 3–4 days. Stir it vigorously once or twice a day to help release nutrients and introduce some oxygen.
- Strain: Strain the liquid through a fine-mesh sieve or cheesecloth to remove the solid compost particles that could clog your sprayer.
- Use: You can use this diluted (1:1 with water) as a soil drench or foliar spray. It has a longer window for use than AACT, but it’s still best used within a day or two.
Troubleshooting Common Compost Tea Issues
Even with the best intentions, sometimes things don’t go perfectly. Here are a few common hiccups and how to fix them: