Ever look at your plants and wish they had that extra spark? Maybe they seem a bit… tired. That vibrant green, that strong growth – it can feel just out of reach. But what if I told you there’s a natural, easy way to give your garden a super boost? It’s called compost tea, and it’s like a vitamin drink for your plants and soil. Don’t worry if you’ve never heard of it or think it sounds complicated. I’m Troy D Harn, and I’m here to show you, step by step, how simple it is to make your own.
We’ll cover everything you need to know, from what compost tea actually is to how to brew it up right in your own backyard. By the end, you’ll be ready to transform your garden with this amazing, budget-friendly liquid gold. Let’s get brewing!
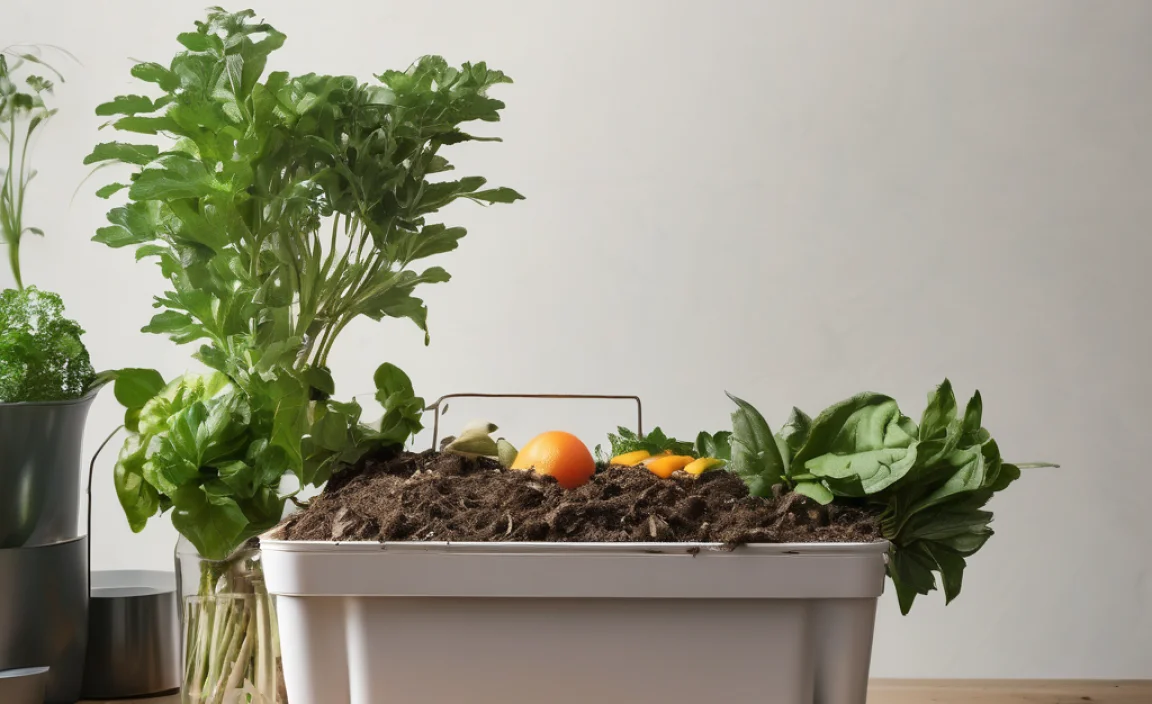
What Exactly is Compost Tea? (Think of it as a Garden Smoothie!)
Imagine taking all the good stuff from your compost pile – the beneficial microbes, the nutrients, the life-giving essence – and turning it into a drinkable potion for your plants. That’s essentially what compost tea is! It’s a liquid extract of compost, created by steeping compost in water and often a bit of food for the microbes. When you water or spray your plants with compost tea, you’re not just feeding the plants; you’re also feeding the soil with billions of helpful microorganisms like bacteria, fungi, protozoa, and nematodes.
These tiny helpers do a world of good. They improve soil structure, help plants take up nutrients more efficiently, and even help protect your plants from certain diseases. It’s a natural, organic way to create a thriving, healthy ecosystem in your garden. Think of it as giving your plants and soil a mega-dose of beneficial life, all thanks to a simple brewing process.
Why Bother Making Compost Tea? The Awesome Benefits
So, why go through the trouble of brewing compost tea? The benefits are pretty amazing, and they all point towards a healthier, happier garden. It’s like giving your plants a VIP treatment that pays off in big ways.
- Boosts Plant Health: The beneficial microbes in compost tea add life to your soil. This helps plants grow stronger and more vigorous, from the roots up. They’re better equipped to handle stress, too!
- Improves Nutrient Uptake: Those microbes are like tiny helpers that break down organic matter in the soil, making nutrients more available for your plants to absorb. This means your plants get more out of the good soil they’re in.
- Disease Suppression: A healthy population of beneficial microbes can actually outcompete and even suppress the growth of harmful pathogens in the soil and on plant surfaces. It’s nature’s way of defending your garden.
- Better Soil Structure: Compost tea helps improve the physical condition of your soil. It can increase aeration, improve water retention, and make it easier for roots to grow.
- Natural and Organic: If you’re gardening organically, compost tea is a perfect fit. It uses natural processes and materials, avoiding synthetic chemicals.
- Cost-Effective: Once you have your materials, brewing compost tea is incredibly cheap, especially compared to buying commercial fertilizers and soil amendments.
Choosing Your Brewing Method: Simple vs. Aerated
There are two main ways to make compost tea: “passive” or “simple” brewing, and “aerated” brewing. Both work, but aerated tea is generally considered more potent because the constant bubbling of air encourages the multiplication of aerobic (oxygen-loving) microbes. Let’s break them down.
1. Simple (Passive) Compost Tea
This is the most basic method. You’re essentially just soaking compost in water for a period of time. It’s super easy and requires minimal equipment, but it won’t produce as robust a microbial population as the aerated method.
2. Aerated Compost Tea (ACT)
This method involves continuously bubbling air through the compost and water mixture. This provides oxygen for the beneficial microbes, allowing them to multiply rapidly, creating a much richer, more potent brew. This is the method most experienced gardeners favor.
Compost Tea Step by Step: What You’ll Need
Alright, let’s get down to business! Whether you choose the simple or aerated method, you’ll need a few essential items. Don’t sweat it; most of these are probably things you already have around the house or can easily pick up.
Essential Ingredients
- High-Quality Compost: This is the heart of your tea! Use finished, mature compost that smells earthy and pleasant, not sour or ammonia-like. Worm castings are fantastic for this.
- Non-Chlorinated Water: Chlorine can kill the beneficial microbes you’re trying to cultivate. Tap water is usually chlorinated. You can let it sit out for 24 hours for the chlorine to dissipate naturally, or use rainwater or well water.
- Microbe Food (for Aerated Tea): To really get the microbes going, you’ll need a little something to feed them. Good options include:
- Unsulfured molasses (a teaspoon or two)
- Fish hydrolysate or liquid kelp (follow product instructions)
- A small amount of oat flour or soy flour
Essential Equipment
Here’s what you’ll need for brewing.
| Item | Description | Notes |
|---|---|---|
| Brewing Container | A 5-gallon bucket is standard. | Plastic is fine. Make sure it’s clean! |
| Old Pantyhose or Mesh Bag | For holding your compost. | Helps keep solids contained. |
| Air Pump and Airstone (for Aerated Tea) | Aquarium pump and stone works well. | Choose a pump rated for your bucket size. |
| Tubing (for Aerated Tea) | Flexible plastic tubing. | To connect the pump to the airstone. |
| Water | Non-chlorinated. | Rainwater or let tap water sit out. |
| Measuring Cup & Spoon | For measuring ingredients. | Standard kitchen tools. |
Simple Compost Tea: The Easiest Way to Get Started
If you’re new to this or just prefer the low-fuss approach, the simple method is your best bet. It’s a great introduction to the concept of extracting beneficials from your compost.
Step-by-Step: Simple Compost Tea Brewing
- Prepare Your Compost: Take about 1-2 cups of your finished compost (or worm castings) and place it into the old pantyhose or mesh bag. Tie it off securely.
- Fill Your Bucket: Fill your 5-gallon bucket about halfway to three-quarters full with non-chlorinated water.
- Add Compost Bag: Submerge the compost-filled bag into the water. You can tie the open end of the bag to the handle of the bucket so it doesn’t sink to the bottom.
- Soak and Steep: Let the bag steep in the water for 24 to 48 hours. You can give the bag a good squeeze every now and then to help release more goodness into the water. Avoid getting too much sediment into the main body of the water.
- Strain (Optional but Recommended): After steeping, remove the compost bag. If there are any small bits of compost floating around, you can strain the liquid through a fine-mesh sieve or cheesecloth to prevent clogging your watering can or sprayer.
- Use Immediately: Simple compost tea is best used right away. The microbial life will start to decline once it’s no longer in its compost environment, especially without aeration.
Aerated Compost Tea (ACT): Brewing a Microbial Powerhouse
This method takes a little more setup, but it’s where you really get the most bang for your buck in terms of microbial activity. It’s like giving your compost microbes a spa treatment with a gym session!
Step-by-Step: Aerated Compost Tea Brewing
- Set Up Your Brewer: Place the airstone at the bottom of your clean 5-gallon bucket. Connect it to your aquarium pump using the tubing. Make sure the pump is placed higher than the water level to prevent back-siphoning if power fails.
- Add Water: Fill the bucket about 75% full with non-chlorinated water. Let the water sit for at least 24 hours if using tap water, or simply use rainwater or well water directly.
- Turn on the Air Pump: Start bubbling the water. You want a vigorous bubbling action that creates foam and churns the water. This oxygenates the water, which is crucial for aerobic microbes.
- Add Compost: Place 1-2 cups of high-quality compost (or worm castings) into the pantyhose or mesh bag and tie it off. Submerge the bag into the bubbling water. You can tie it to the bucket handle.
- Add Food Source: Add your chosen microbe food. For 5 gallons, a teaspoon or two of unsulfured molasses is a good start. If using fish hydrolysate or kelp, follow the product’s recommended dosage for a compost tea application.
- Brew Time: Let the mixture brew for 24 to 48 hours. The longer it brews (up to about 48 hours), the more microbial activity you’ll cultivate. You should see a nice head of foam develop on top, which is a good sign of microbial life. Keep the air pump running the entire time.
- Check for Readiness: A good brew will smell sweet and earthy, like a forest floor after rain. If it smells rotten, sour, or like ammonia, something went wrong, and you should discard it and start over. This usually happens if there wasn’t enough oxygen or if the compost wasn’t mature enough.
- Strain (Optional but Recommended): Remove the compost bag. Strain the tea through a fine-mesh sieve or cheesecloth to remove larger particles. This is especially important if you’re using a sprayer.
- Dilute and Use: Aerated compost tea is typically diluted before use. A good starting point is a 1:10 ratio (1 part tea to 10 parts water). However, you can use it undiluted if you’ve brewed it carefully and it smells good. Use it within 4-6 hours of turning off the air pump for maximum microbial benefit.
Using Your Compost Tea: How and When
You’ve brewed your tea, congratulations! Now what? Applying it correctly is key to unleashing its full potential for your garden. It’s not just about having it; it’s about giving it to your plants and soil at the right time and in the right way.
Application Methods
You have two main ways to get that liquid goodness to your plants and soil:
- Soil Drench: This is where you pour the diluted compost tea directly onto the soil around the base of your plants. This is fantastic for feeding the soil food web and improving soil health directly. It’s like giving your plants a full meal through their roots.

I am passionate about home engineering. I specialize in designing, installing, and maintaining heating, ventilation, and air conditioning systems. My goal is to help people stay comfortable in their homes all year long.