Thinking about a compost toilet for your home or off-grid project? It might sound a bit daunting, but it’s actually a super smart and eco-friendly solution. Many folks struggle with finding sustainable ways to manage waste, especially in areas without traditional plumbing. But don’t worry, building your own compost toilet is totally doable! This guide will walk you through everything, step-by-step, making it easy to understand and build.
We’ll cover why a DIY compost toilet is a game-changer, what you’ll need, and how to put it all together safely and effectively. Get ready to create a system that’s good for your wallet and the planet!
Compost Toilet DIY: Genius & Essential
Hey there, DIY enthusiasts and eco-warriors! Troy D Harn here from TopChooser, your go-to for making home improvement, gardening, and yes, even composting, simple and stress-free. Today, we’re diving into a topic that might raise a few eyebrows but is genuinely GENIUS and ESSENTIAL for so many situations: the DIY compost toilet.
Whether you’re living off-grid, want to reduce your environmental footprint, or are just looking for a reliable backup system, a compost toilet can be an absolute lifesaver. And the best part? You don’t need to be a master carpenter or plumber to build one. We’re going to break it down into easy-to-follow steps, demystifying the whole process. Ready to get your hands dirty (in the best way possible)? Let’s do this!
Why Go DIY with a Compost Toilet? The Big Wins
Before we grab our tools, let’s chat about why a compost toilet is such a smart move. It’s more than just skipping the septic system fees; it’s about sustainability, self-sufficiency, and sometimes, pure necessity.
- Eco-Friendly Champion: This is the big one. Compost toilets divert waste from landfills and water systems. They turn humanure into valuable compost, which can be used to enrich soil, closing a natural loop. It’s a fantastic way to reduce your impact on the environment.
- Water Conservation Hero: Traditional flush toilets use gallons of water with every flush. Compost toilets, by design, use little to no water. This is a huge plus for areas with water scarcity or for anyone looking to significantly cut their water bill.
- Off-Grid & Remote Living Dream: For cabins, RVs, tiny homes, or any dwelling without access to municipal sewer or septic systems, a compost toilet is often the most practical, affordable, and legal sanitation solution.
- Cost Savings: While there’s an initial investment in materials, a DIY compost toilet can be significantly cheaper than installing and maintaining a septic system. Plus, you save on water costs ongoing.
- Nutrient Recycling: Properly managed, the compost produced can be a nutrient-rich soil amendment. Imagine fertilizing your garden with “waste”!
- Simplicity & Reliability: Once built and understood, compost toilets are relatively simple to operate and maintain. They don’t rely on electrical pumps or complex plumbing, making them dependable.
Understanding How Compost Toilets Work: The Basics
At its heart, a compost toilet is a system that separates liquids and solids and uses natural composting processes to break down waste. It’s not as complicated as it sounds, and understanding the core principles will make building and using one a breeze.
- Separation is Key: Most effective compost toilet designs separate urine from feces. This is crucial because urine is mostly sterile and easy to manage, while feces contain pathogens that need composting. Separating them speeds up decomposition and reduces odor.
- The Role of Cover Material: After each use, a dry, carbon-rich material is added to the solids. Think wood shavings, sawdust, coconut coir, or peat moss. This material absorbs moisture, covers the waste (reducing smell and flies), and provides the carbon needed for composting.
- Composting Happens: Microorganisms, like bacteria and fungi, get to work breaking down the solid waste. With the right balance of moisture, air, and carbon-to-nitrogen ratio (provided by the waste and cover material), this process transforms the waste into safe, nutrient-rich compost over time.
- Urine Management: Urine can be drained off separately and diluted with water (about 10:1 ratio) for use as a nitrogen-rich fertilizer for non-edible plants, or it can be directed to a greywater system if local regulations allow.
Types of DIY Compost Toilet Designs
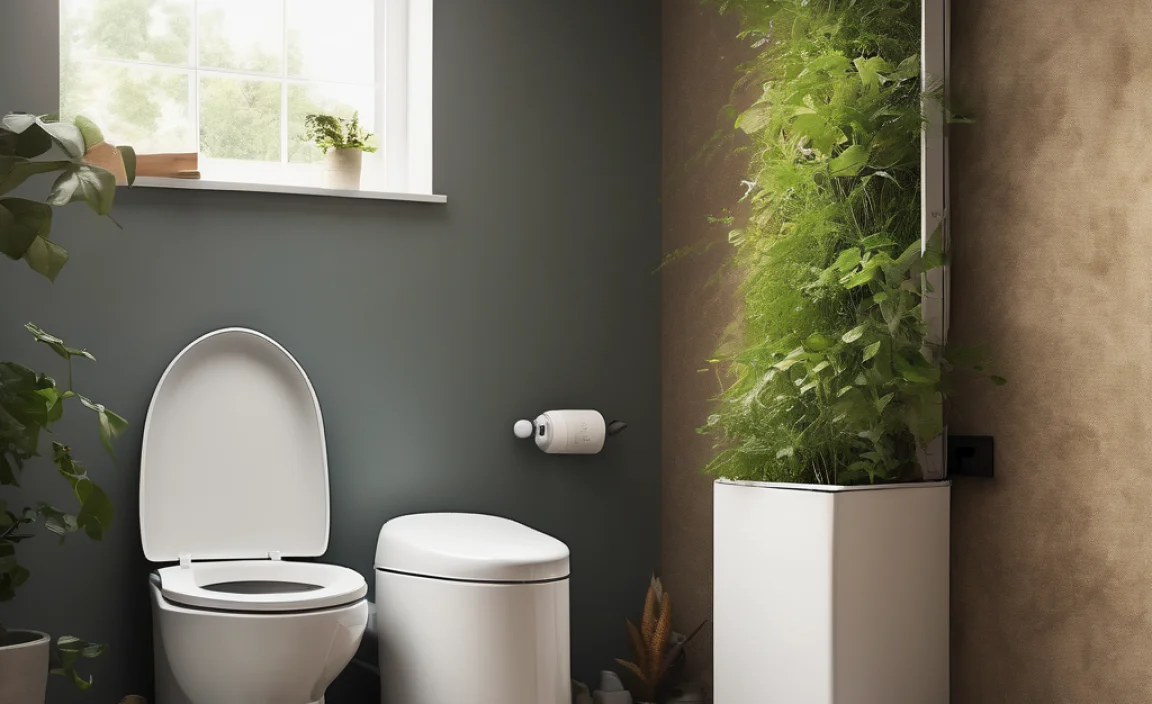
There are a few popular ways to build a DIY compost toilet, each with its own pros and cons. We’ll focus on a common and beginner-friendly design that uses a bucket system for solids and a separate method for liquids.
1. The Simple Bucket System (Compensating Toilet)
This is probably the most straightforward DIY compost toilet. It involves a sturdy bucket for collecting solids and a place for urine to go. It’s affordable, easy to build, and highly effective.
2. The Separating Toilet
These designs incorporate a special insert or a cleverly shaped toilet seat that physically separates urine from feces as they are deposited. The solids fall into a collection bin (often a bucket), and the urine is channeled away to a separate container or drain. This is generally considered the most effective and odor-reducing design.
3. The Evaporation Toilet
While less common for DIYers seeking to create compost, these systems aim to evaporate the liquid from waste, leaving the solids to dry out. They often require more ventilation and may not produce usable compost.
For this guide, we’ll focus on a DIY Separating Compost Toilet design. It offers the best balance of effectiveness, odor control, and compost production, making it a truly genius and essential solution for many.
Gathering Your Materials and Tools: What You’ll Need
Don’t let a long list scare you! Most of these items are readily available at hardware stores or online. We’re aiming for a sturdy, functional, and safe build.
Essential Materials for a Separating Compost Toilet:
- The Toilet Box/Structure: This is the main body of your toilet. You can build this from plywood (¾-inch exterior grade is good), scrap lumber, or even repurpose a sturdy cabinet or small storage bin. The size depends on your space and design.
- A Toilet Seat and Lid: A standard toilet seat works perfectly! Choose one that’s comfortable.
- A Urine Diverter/Separator: This is the crucial part. You can buy commercial ones online, or get creative with PVC pipe and fittings, or even a sturdy plastic bowl cut and shaped correctly. The goal is to guide urine down one path and solids into another.
- Solids Collection Bin: A common choice is a sturdy 5-gallon bucket. Make sure it fits snugly under your diverter. You might want a lid for the bucket itself for transport or if keeping it for a while.
- Urine Collection Container: This could be another bucket, a jug, or it can be plumbed to a larger holding tank or greywater system.
- Piping/Hosing (for Urine): Flexible PVC tubing or standard plumbing pipe to connect your urine diverter to its collection container.
- Ventilation: A small, battery-operated fan or a vent pipe connected to a vent stack. This is vital for odor control and to aid the composting process by providing airflow. Check out resources from the EPA for general composting guidelines.
- Dry Cover Material: Sawdust, wood shavings (untreated), coco coir, or peat moss. Store this in a bin next to the toilet.
- Fasteners: Screws (exterior grade), wood glue, hinges for the lid.
- Optional: Sealant: Waterproof sealant or paint to protect the wood, especially if it might get wet.
Tools You’ll Likely Need:
- Tape Measure
- Pencil
- Saw (circular saw, jigsaw, or handsaw)
- Drill with various bits (including hole saw bits if needed for PVC)
- Screwdriver (or drill driver bits)
- Sandpaper
- Safety Glasses (always!)
- Work Gloves
- Optional: Jigsaw for cutting seat opening, Level
Step-by-Step: Building Your Genius DIY Compost Toilet
Let’s get building! We’re focusing on a design where the toilet seat is mounted on a box, with a urine diverter positioned beneath it, directing solids into a bucket below. This is a very common and effective DIY approach.
Step 1: Design and Cut Your Box
Decide on the size of your toilet box. It needs to be tall enough to accommodate your solids bucket and urine diverter, but comfortable to sit on (standard toilet seat height is around 15-17 inches from the floor). Aim for a sturdy structure.
- Cut your plywood or lumber to create the sides, top, and bottom of your box.
- Assemble the box using wood glue and screws for strength. Ensure it’s square and solid.
- Cut a hole in the top panel of your box where the toilet seat will be mounted. This should be slightly smaller than the toilet seat itself.
| Box Component | Typical Size/Consideration |
|---|---|
| Overall Height | 15-17 inches (seat height) |
| Width/Depth | 18-24 inches (comfort and stability) |
| Seat Opening | Approx. 9×11 inches (to fit seat base) |
| Solids Bin Space Clearance | Sufficient for a 5-gallon bucket (approx. 12-14 inches high internally) |
Step 2: Install the Urine Diverter and Toilet Seat
This is where the magic happens! The urine diverter will sit under where the toilet seat is mounted. It needs to be positioned so urine flows forward into a spout, and solids go straight down.
- Mount the Diverter: Position your urine diverter so the front spout is accessible for a hose, and the rear (or central) opening directs solids into the bucket space. Many commercial diverters come with instructions. If making your own from PVC, you’ll need to carefully cut and shape pieces to guide the flow.
- Attach the Toilet Seat: Mount your toilet seat securely over the opening you cut in the top panel. Ensure it’s stable and comfortable. The front of the seat should ideally extend slightly over the urine diverter spout to help guide initial flow.
- Connect Urine Hose: Attach your flexible tubing or PVC pipe to the spout of the urine diverter. Route this hose down to where your urine collection container will be. Seal connections with waterproof sealant if necessary.
Pro Tip: If building your own diverter, look at commercial designs online for inspiration. A common DIY approach uses a wide toilet bowl shaped section made from plastic or even carefully shaped wood sealed well, with a spout at the front.
Step 3: Prepare for Solids Collection
Place your 5-gallon bucket inside the box, directly under the opening of your urine diverter. Ensure it fits snugly and can be easily removed.
- Optional: You can line the bucket with a compostable bag for easier cleanup, though this isn’t strictly necessary and can slow down initial decomposition if the bag isn’t truly compostable.
- Lid for Bucket: Have a lid ready for the bucket once it’s full and ready to be emptied for composting.
Resource: For a deeper dive into the science of humanure composting, often considered the gold standard for safe and effective composting of human waste, the book “The Humanure Handbook” by Joseph Jenkins is an invaluable resource, though it’s quite detailed.
Step 4: Add Ventilation
Good ventilation is CRUCIAL for managing odors and promoting a healthy composting environment. You have a couple of options:
- Passive Venting: You can install a PVC pipe that extends from the solids bin (or the space around it) up and out of your structure, ideally above head height. This relies on natural air currents.
- Active Venting (Recommended): Install a small, low-power computer fan (a 12V fan is common) to actively draw air out of the solids bin and vent it outside. This fan can be powered by a small solar panel and battery system or a small AC adapter if grid power is available. This is generally the most effective method for odor control.
Ensure your vent pipe or fan is properly sealed to prevent air leaks and keep moisture out (except for the air being vented).
Step 5: Finishing Touches and Sealing
Protect your DIY compost toilet!
- If your box is made of wood, consider painting or sealing it with a waterproof finish, especially around the seat opening and any areas that might get splashed.
- Ensure all connections for urine are secure.
- Make sure the lid for the toilet seat is attached securely with hinges.
Using Your DIY Compost Toilet: The Routine
Congratulations, your compost toilet is built! Now, let’s talk about how to use it like a pro, keeping things clean, odorless, and effective.
- Add Cover Material: This is key! After EVERY use (yes, for both #1 and #2), add a generous scoop of your dry cover material (sawdust, shavings) into the solids bin. This absorbs moisture, coats the waste, and starts the carbon-balancing process. Aim for enough to cover everything you can see.
- Urinating: When urinating, try to direct the flow into the front spout of your diverter. This is the primary function of the separating design.
- Defecating: When defecating, aim for the solids opening. Don’t worry if a little gets on the diverter; the cover material will help manage it.
- Lid Up for Business: Keep the lid up while using the toilet.
- Lid Down After: Close the toilet seat lid after each use. This helps contain any residual odors.
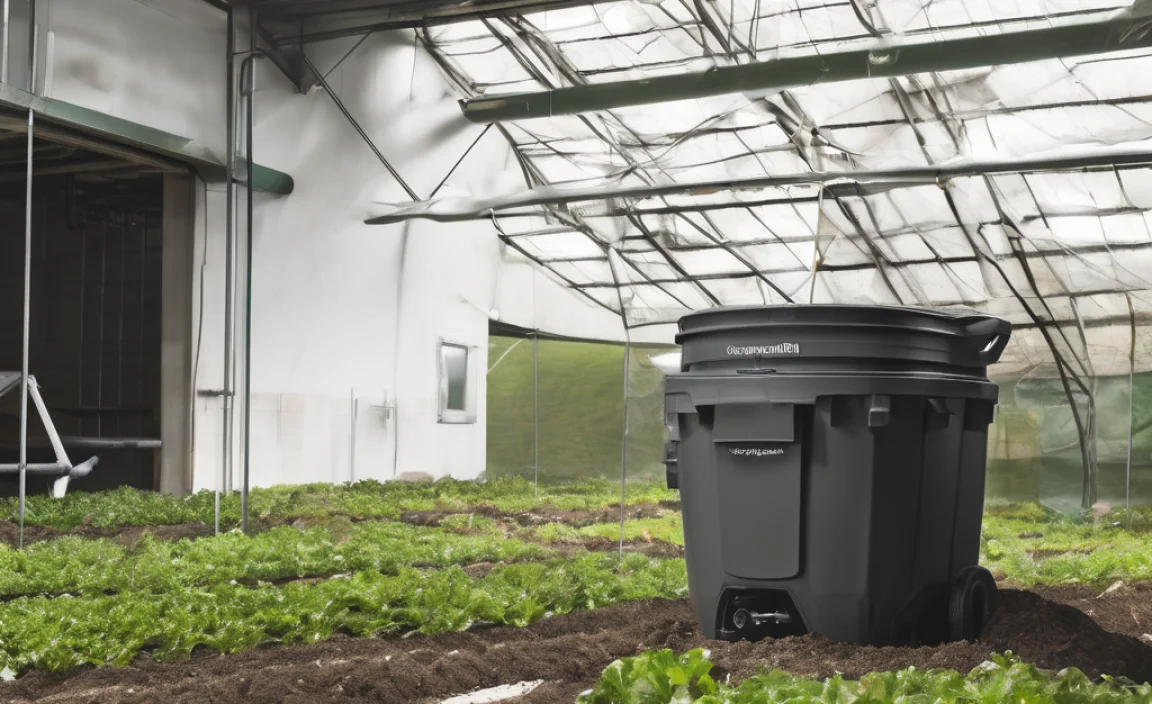
- Emptying the Solids Bin: This is the part that requires planning. The frequency depends on usage. For a typical household, you might need to empty the solids bucket every 1-3 weeks. When it’s about ¾ full (don’t overfill!), remove the bucket, put a lid on it, and take it to your designated composting area.
- Emptying the Urine Container: The urine container will fill faster than the solids bin. Empty it regularly, or ensure it’s plumbed to a suitable disposal or storage system.
Composting the Solids: The Final Frontier
This is where the genius truly shines. The solid material from your 5-gallon bucket is NOT ready to use as fertilizer yet. It needs to be composted properly to kill any pathogens and break down into safe, usable compost.
Best Practices for Composting Humanure:
- Dedicated Composting Area: Have a designated composting bin or pile specifically for your toilet compost. This should NOT be mixed with your kitchen scraps or garden waste if you’re unsure about composting temperatures.
- The Airtight/Batch Method: A popular and safe method is the “batch” system. Empty your solids bucket into a dedicated compost bin. Add more carbon-rich cover material. Seal the bin (or cover the pile) tightly to prevent flies and moisture loss/gain.
- Time is Your Friend: Allow the compost to mature for at least 6-12 months, or longer. The longer it composts, the safer and more stable it becomes. High-temperature composting (reaching 131°F / 55°C for several days) kills pathogens, but achieving this consistently in a DIY setting can be challenging. A longer, cooler compost period is often more practical.
- Check Local Regulations: It’s important to be aware of your local regulations regarding the composting and use of humanure. Some areas have specific guidelines or restrictions. For instance, the CDC provides information on safe water and waste management practices.
Once fully composted, it looks and smells like rich soil, and can be used to fertilize ornamental plants, trees, and shrubs. Wait to use it on edible gardens until you are absolutely confident in the composting process and local regulations permit it.
Troubleshooting Common Issues
Even with the best plans, you might run into a few hiccups. Here’s how to deal with them:

I am passionate about home engineering. I specialize in designing, installing, and maintaining heating, ventilation, and air conditioning systems. My goal is to help people stay comfortable in their homes all year long.