Thinking about a compost toilet might seem a bit… messy, right? It’s a common concern, but what if I told you it can be a clean, green, and surprisingly simple solution? So many of us want more eco-friendly options for our homes, and a compost toilet is a fantastic way to go, especially if you’re off-grid or just love sustainable living. But where do you even start? It’s easy to feel a little lost with all the different designs and what-ifs. Don’t worry, I’m here to break it all down for you, step-by-step. We’ll look at what these things are, why they’re awesome, and how you can get going. Ready to dive in?
Compost Toilet PDF: Your Essential Guide to Simple Sanitation
Hey everyone, Troy D Harn here from TopChooser! I love helping you tackle home projects, garden tips, and yes, even composting, in a way that feels super doable. Today, we’re talking about compost toilets. You might have heard the term, maybe even searched for a “compost toilet PDF,” and wondered if it’s something you can actually handle. The answer is a resounding YES!
A compost toilet is basically a type of toilet that treats human waste through composting. Instead of flushing water down the drain, it uses a dry system. This is a game-changer for reducing water usage, cutting down on sewage or septic system costs, and turning waste into a valuable resource for your garden! It sounds a bit out there, but trust me, it’s more practical and cleaner than you might imagine. Let’s demystify it together.
Why Consider a Compost Toilet? The Big Wins
Before we get into the “how-to,” let’s chat about why this is such a smart move for many folks. Think of these as the real-world benefits:
- Super Water Saver: This is huge! Traditional toilets use gallons of water with every flush. A compost toilet uses little to no water, which is fantastic for water conservation, especially in dry areas or if you’re on well water.
- Bye-Bye Septic/Sewer Bills: No need for a traditional septic system or connection to a sewer line. This can save you a ton of money on installation and ongoing maintenance.
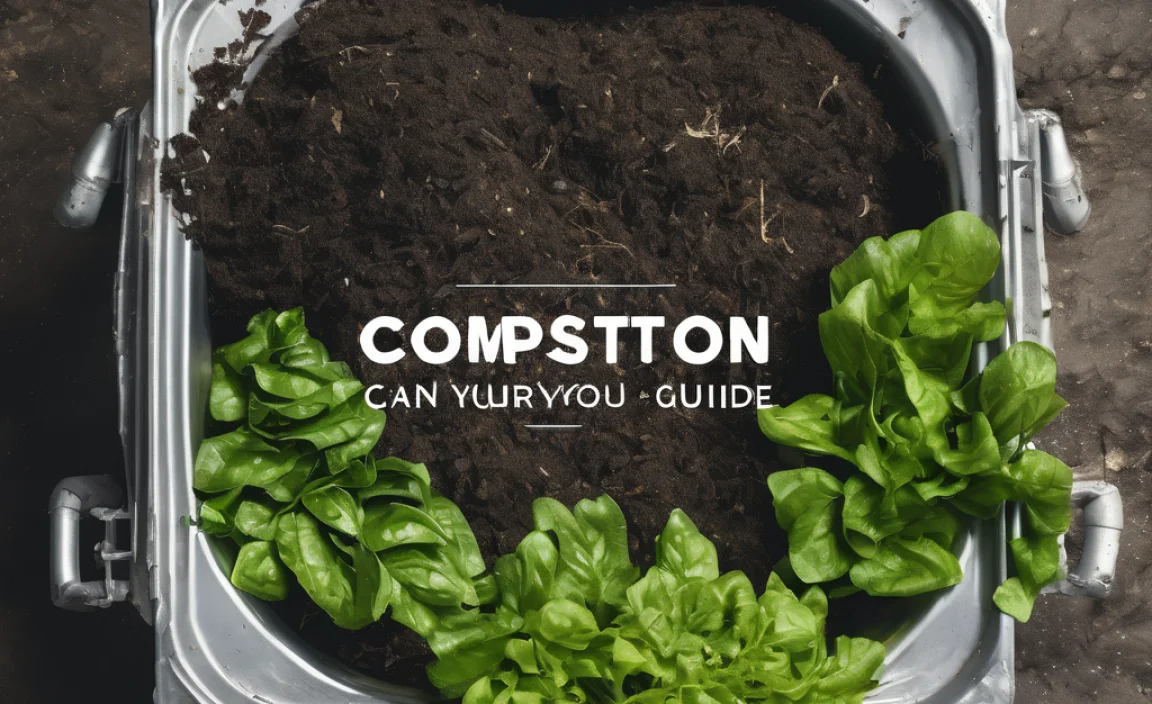
- Earth-Friendly Fertilizer: Properly managed, the compost produced can be a nutrient-rich soil amendment for non-edible plants. It’s a beautiful way to close the loop in your home’s ecosystem.
- Off-Grid Living Dream: If you’re building a cabin, living tiny, or just want more independence, a compost toilet is essential for basic sanitation without relying on traditional utilities.
- Simpler for Some Settings: Great for RVs, boats, workshops, or any location where plumbing is difficult or impossible.
Understanding the Basics: How Does it Actually Work?
The core idea behind a compost toilet is simple: separate liquids and solids, then add a carbon-rich material (like sawdust or coconut coir) to aid in decomposition and control odor. There are a few main types, but they all follow this basic principle.
Types of Compost Toilets
When you look for a “compost toilet PDF,” you’ll likely see designs that fall into a few categories:
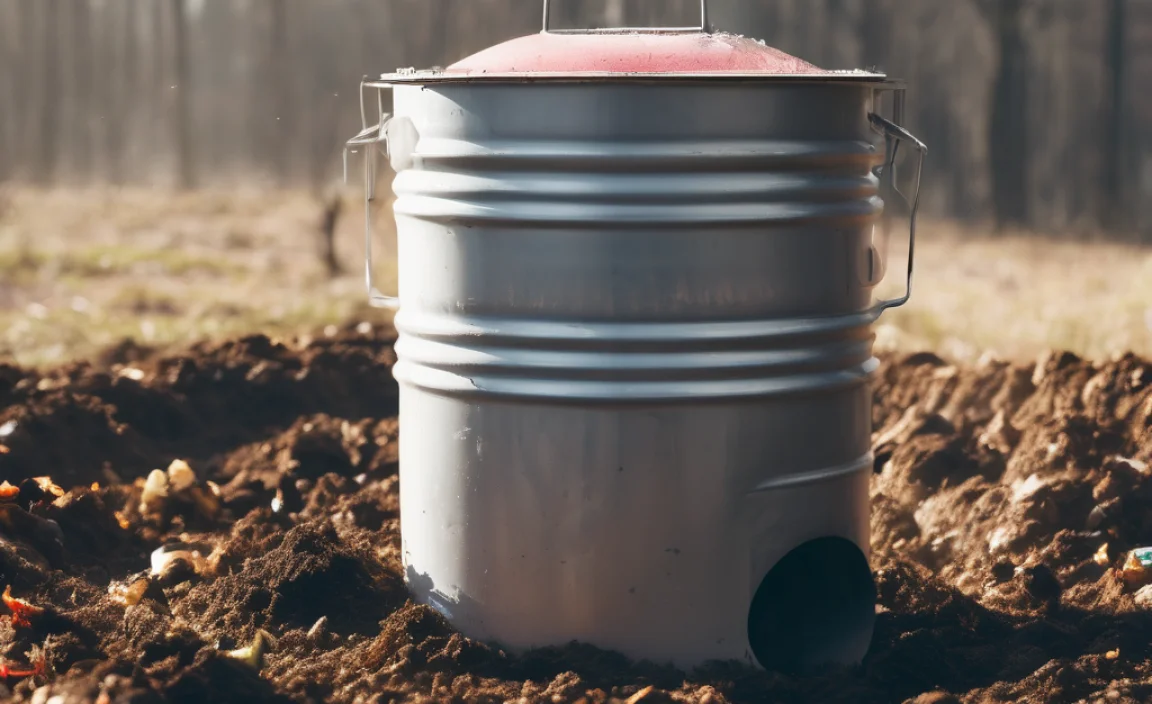
- Self-Contained Units: These are compact, all-in-one systems. The collection bin is usually right under the seat. They are popular for RVs and tiny homes.
- Separating Toilets: These are designed to separate urine from solid waste. This is key because urine is mostly sterile and can be managed separately (often diluted and used as fertilizer or simply drained), while solids can then be effectively composted. This separation also significantly reduces odor.
- Batch Systems: These require you to manually remove the contents and place them into a separate composting chamber when the first bin fills up.
For beginners, a separating compost toilet is often the easiest and most successful to manage. The separation dramatically cuts down on smells and makes the composting process more efficient. Many DIY plans you can find in a “compost toilet PDF” focus on this separating design.
What You Need: The Essential Toolkit and Materials
If you’re ready to build or set up your own, you’ll need a few things. Don’t let this list overwhelm you; many items are common household tools, and the rest are specific to the toilet but are usually a one-time purchase.
For Building a DIY Compost Toilet (Commonly Found in PDFs):
Building one yourself can be very rewarding and cost-effective!
- A sturdy base/housing: This could be a wooden box, a repurposed cabinet, or even a commercially available toilet seat base.
- A separating insert: This is the crucial part that guides urine forward and solids backward. You can buy these or make one if you’re handy. Look for designs made from durable plastic or stainless steel.
- A urine collection container: A simple bucket or jug.
- A solids collection container: Another bucket, often with a sturdy lid.
- A vent pipe: Essential for airflow and odor control. A simple PVC pipe works well.
- A small fan (optional): Some designs incorporate a small, low-voltage fan to help with ventilation.
- Fasteners: Screws, bolts, hinges for doors/lids.
- Tools: Drill, various drill bits, screwdriver, saw (if building a wooden box), measuring tape, sandpaper, sealant (like silicone caulk).
For Operating and Maintaining Your Compost Toilet:
- Cover material: This is critical! Think sawdust, coconut coir (my favorite!), peat moss, or finely shredded leaves. You’ll add this after each use.
- Buckets with lids: For storing your cover material near the toilet.
- A separate composting bin or pile: For the solid waste. This needs to be managed properly to ensure safe decomposition.
- Gardening gloves: For handling compost, when needed.
- Shovel: For managing your compost pile.
Looking for specific plans? A good “compost toilet PDF” will detail precise measurements and assembly steps. Resources like EPA guidelines on composting toilets can offer valuable scientific backing and environmental considerations.
Step-by-Step: Setting Up and Using Your Compost Toilet
Let’s walk through the process. We’ll assume you’ve got a basic separating model, as these are the most common and user-friendly for beginners.
Step 1: Assemble Your Toilet (If Building DIY)
Carefully follow the instructions in your chosen “compost toilet PDF.” This usually involves building the outer structure, attaching the separating insert, and ensuring the urine diverter works correctly to guide liquids into their separate container and solids into the rear container.
Key Tip: Make sure all connections are snug and that the urine diverter is positioned perfectly to catch all liquids without them pooling or backing up. A loose seal is an invitation for odor!
Step 2: Place Your Collection Containers
Slide your urine collection jug and solids bucket into their designated spots under the separating insert. Ensure they are easy to access for emptying.
Step 3: Install Ventilation
If your design includes a vent pipe, ensure it’s securely fitted and extends outdoors. The goal is passive airflow that pulls air through the toilet and out, taking potential odors with it. Some systems also use a small, 12V fan powered by solar or battery, which is highly effective. For information on ventilation principles, you might find resources on safe water and sanitation systems from the CDC helpful, as they often cover ventilation practices in related contexts.
Step 4: Prepare Your Cover Material
Have a good supply of your chosen cover material (sawdust, coir, etc.) ready to go in a lidded bucket. You’ll need about a cup or so for each use.
Step 5: Using the Toilet (The “How-To” Part!)
This is where it differs from a flush toilet:
- Lift the lid and use the toilet as normal, aiming to keep solids within the main bowl area, guided by the separating insert.
- After each use: Sprinkle a generous amount of cover material over the solids. This absorbs moisture, controls odor, and kicks off the decomposition process.
- For urination only, some users might also sprinkle a little, though it’s less critical than for solids.
Crucial Point: The cover material is your best friend for odor control. Don’t skip it! It’s like giving your waste a cozy, absorbent blanket.
Step 6: Emptying the Urine Container
The urine jug will fill up first. Simply remove it, dilute the urine with water (about 10:1 or 20:1 ratio of water to urine is often recommended), and use it as a nitrogen-rich fertilizer for non-edible plants, or dispose of it in a drain if you have one available.
Step 7: Emptying the Solids Container
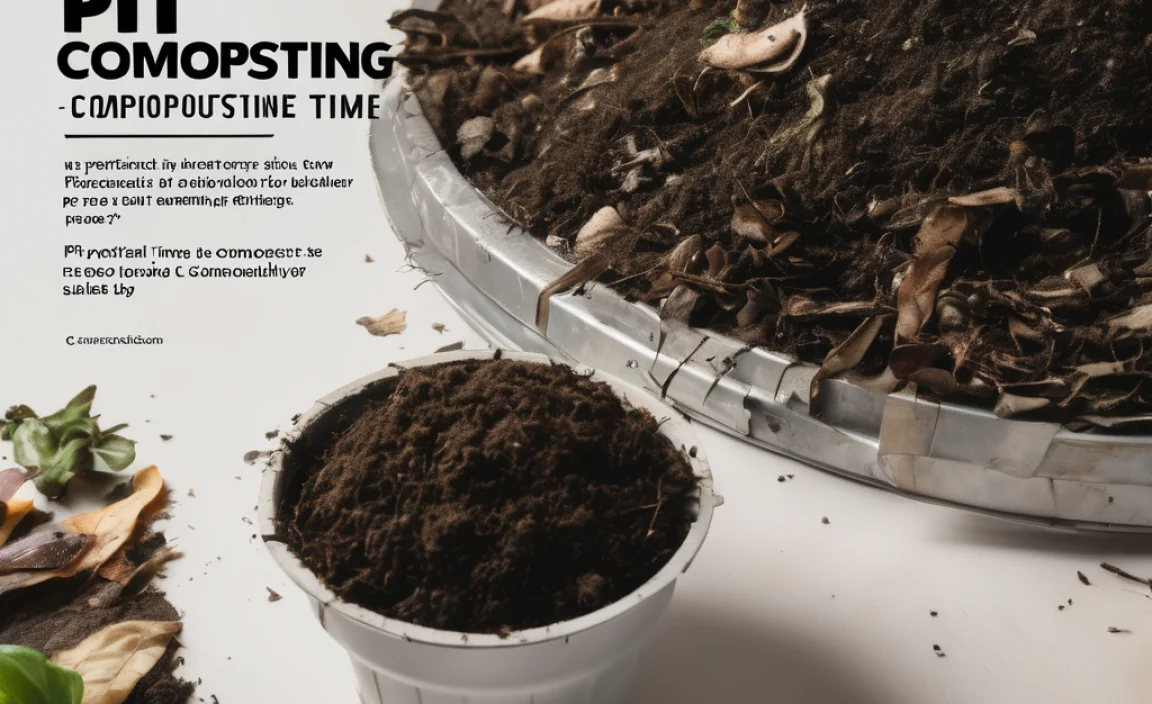
When the solids bucket is nearly full, it’s time to compost. Put on your gloves, seal the bucket with its lid, and take it to your dedicated compost bin or pile. Then, place a fresh, clean bucket into the toilet.
Step 8: Composting the Solids
This is the most important “natural” part. You need a proper composting system to break down the waste safely. This typically involves a “hot” composting method, which reaches high temperatures to kill pathogens.
Quick Guide to Composting Solids:
- Add the contents of your solids bucket to a dedicated compost bin.
- Mix it thoroughly with plenty of carbon-rich “brown” materials (like dry leaves, straw, or wood chips) and some nitrogen-rich “green” materials (like kitchen scraps, but avoid meat/dairy).
- Keep the compost pile moist, like a wrung-out sponge.
- Turn the pile regularly to ensure good aeration.
- A properly managed hot compost pile should reach temperatures of 131°F (55°C) for several days, which is crucial for pathogen kill. (The Humanure Handbook is an excellent resource if you want to dive deep into this.)
- Wait for the compost to fully mature. This can take anywhere from 6 months to 2 years, depending on your method and climate. It should look and smell like rich, dark soil.
Safety First: Never use composted human waste on food crops that will be eaten raw. Only use it on ornamental plants, trees, or shrubs, and ensure it’s fully finished composting.
Maintenance: Keeping Your Compost Toilet Running Smoothly
Like any system, your compost toilet needs a little TLC to work its best.
- Regular Emptying: Don’t let the solids bucket get overfilled. It makes it harder to empty and increases the chance of odors.
- Cleaning: Clean the toilet bowl and separating insert regularly with mild, eco-friendly cleaners. Avoid harsh chemicals that can harm beneficial microbes.
- Monitor Ventilation: Ensure the vent pipe is clear of obstructions (nesting birds, leaves, etc.) and that any fan is operational.
- Cover Material Supply: Always keep a good stock of dry cover material handy.
- Compost Management: Pay attention to your main compost pile to ensure it’s processing the solids effectively.
Pros and Cons of Compost Toilets
As with any choice, there are trade-offs. Here’s a quick look:
| Pros | Cons |
|---|---|
| Significant water savings | Requires active management (emptying, composting) |
| Reduced reliance on septic/sewer systems | Initial setup cost or DIY effort |
| Environmentally friendly (water, waste) | Learning curve for use and maintenance |
| Creates valuable compost for gardens | Potential for odor if not managed correctly |
| Ideal for off-grid or remote locations | May require building permits or local regulations compliance |
| Lower utility bills (water, sewer) | Not a “flush and forget” system like a conventional toilet |
Troubleshooting Common Issues
Even with the best plans, you might bump into a hiccup. Here are a few common ones:
- Odor: This is the number one concern, but usually solvable!
- Cause: Not enough cover material, urine backing up into the solids, poor ventilation.
- Fix: Always add plenty of cover material after each use. Ensure urine is flowing freely to its container. Check that the vent pipe is clear and functioning. Consider a small fan if passive ventilation isn’t enough.
- Urine Pooling:
- Cause: The separating insert isn’t positioned correctly, or the urine hose/container is blocked.
- Fix: Adjust the insert. Check and clear any blockages in the urine line.
- Slow Composting:
- Cause: Too much moisture, not enough aeration, or the pile isn’t getting hot enough.
- Fix: Add more dry, carbon-rich cover material. Turn the pile more frequently. Ensure the pile has adequate moisture.
Don’t get discouraged if you encounter issues! Most problems are fixable with attention to detail and proper management. A good “compost toilet PDF” often includes troubleshooting tips, and online communities dedicated to composting toilets are fantastic resources.
Conclusion: Making the Switch to Sustainable Sanitation
Venturing into the world of compost toilets might seem a bit daunting at first, especially when you’re scrolling through options or trying to find that perfect “compost toilet PDF.” But as we’ve seen, it’s far more manageable and beneficial than many people realize. By understanding the basic mechanics, choosing the right type for your needs, and committing to a simple but consistent routine of use and maintenance, you can successfully integrate this eco-friendly sanitation solution into your life.
Whether you’re aiming for greater water conservation, reducing your environmental footprint, or living more independently off-grid, a compost toilet is a powerful tool. It’s a step towards a more sustainable lifestyle that returns nutrients to the earth rather than burdening our water systems. So, don’t be shy – gather your chosen “compost toilet PDF,” get your materials, and take that first step. You’ve got this, and the planet will thank you!
Frequently Asked Questions (FAQs)
Let’s tackle some common questions beginners have:
How often do I need to empty the solids bucket?
This depends on how many people are using the toilet. For one person, it might be every 1-3 weeks. For a family, it could be weekly. The best indicator is when the bucket is about 2/3 to 3/4 full.
Is it really clean and hygienic?
Yes, when managed correctly! The key is the separation of liquids and solids, the diligent use of cover material, and proper composting of the solids. The composting process, especially hot composting, effectively breaks down pathogens.
Can I use a compost toilet in my house?
Absolutely! Many people use them indoors, especially in off-grid homes, tiny houses, or as a secondary toilet. Proper ventilation is absolutely key for indoor use to prevent any odors from lingering.
What kind of cover material is best?
Sawdust (from untreated wood), coconut coir, peat moss, and finely shredded leaves are all excellent choices. Coconut coir is popular because it’s absorbent and readily available. Avoid anything treated with chemicals or that might contain weed seeds.
What are the legal requirements for compost toilets?
This varies greatly by location. Some areas have specific regulations regarding composting toilets and waste management. It’s always a good idea to check with your local building department or health authority before installing one, especially if it’s your primary sanitation system.
Will it smell bad?
A well-maintained compost toilet should not smell bad. If you add enough cover material after each use and have good ventilation, the smell should be minimal and earthy, not offensive. Odor is usually a sign that something needs adjustment, like adding more cover material or checking the vent.

I am passionate about home engineering. I specialize in designing, installing, and maintaining heating, ventilation, and air conditioning systems. My goal is to help people stay comfortable in their homes all year long.