Hey there! Thinking about a compost toilet for your urban home? It might sound a bit tricky, especially if you’re new to it. But what if I told you it’s totally doable and can be a game-changer for your home and the planet?
Many folks worry about smell, complicated setups, or if it’s even legal. Don’t sweat it! I’m here to break down the genius essentials for setting up your own urban compost toilet. We’ll cover everything you need to know, step-by-step, so you feel super confident. Ready to dive in?
Compost Toilet Urban: Your Genius Essential Setup Guide

So, you’re living the urban dream, but maybe your plumbing is a little… uninspired. Or perhaps you’re looking to ditch the water-guzzling toilet for something more eco-friendly. Whatever your reason, a compost toilet in an urban setting is more achievable than you might think. It’s a fantastic way to reduce water use, manage waste sustainably, and even create valuable compost!
But let’s be real, the idea can seem daunting. Will it smell? Is it complicated to install? Where does the “compost” part even come in? As Troy D Harn from TopChooser, I’m here to be your friendly guide. I’ll walk you through the genius essentials, making the setup process clear, simple, and totally stress-free. Think of me as your neighbor showing you how to get this awesome project done right.
Why Choose an Urban Compost Toilet?
Before we get into the nitty-gritty, let’s quickly touch on why this is such a smart move, especially in urban environments:
- Eco-Friendly Water Savings: Traditional toilets use gallons of water per flush. A compost toilet uses very little or no water, saving precious resources.
- Waste Reduction: You’re significantly reducing the amount of waste going to sewage systems or landfills.
- Nutrient Recycling: The end product is a nutrient-rich compost that can be used to fertilize gardens (with proper treatment and understanding of usage).
- Off-Grid Potential: Great for RVs, tiny homes, or areas with limited traditional plumbing.
- Reduced Environmental Impact: Less strain on municipal water treatment plants and a smaller carbon footprint.
Understanding the Basics of a Compost Toilet
At its heart, a compost toilet is a system that separates liquids and solids, then uses natural processes (aerobic decomposition) to break down the waste. It requires a bulking material, often called “carbon material,” to absorb moisture and odor, aiding the composting process. Unlike a “pit latrine,” a well-managed compost toilet minimizes odor and produces a safe, useful end-product.
Essential Components of Your Urban Compost Toilet Setup
Setting up an urban compost toilet involves a few key pieces. Don’t get overwhelmed; we’ll break them down. Most systems are designed for easy integration.
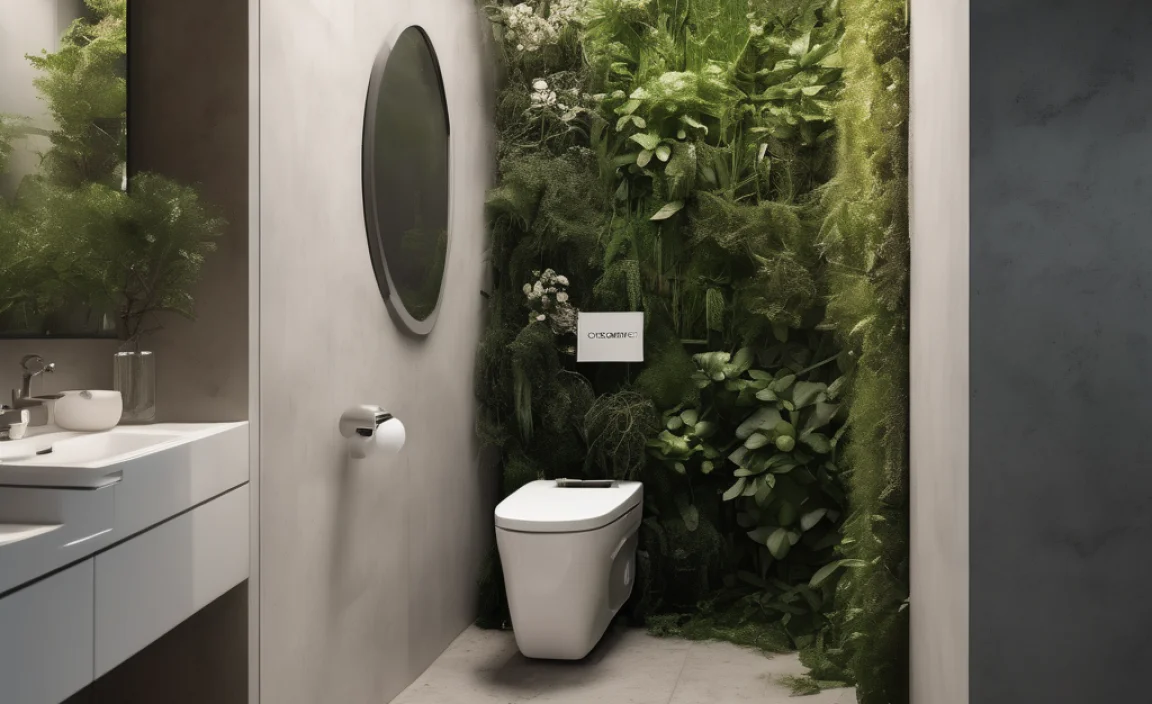
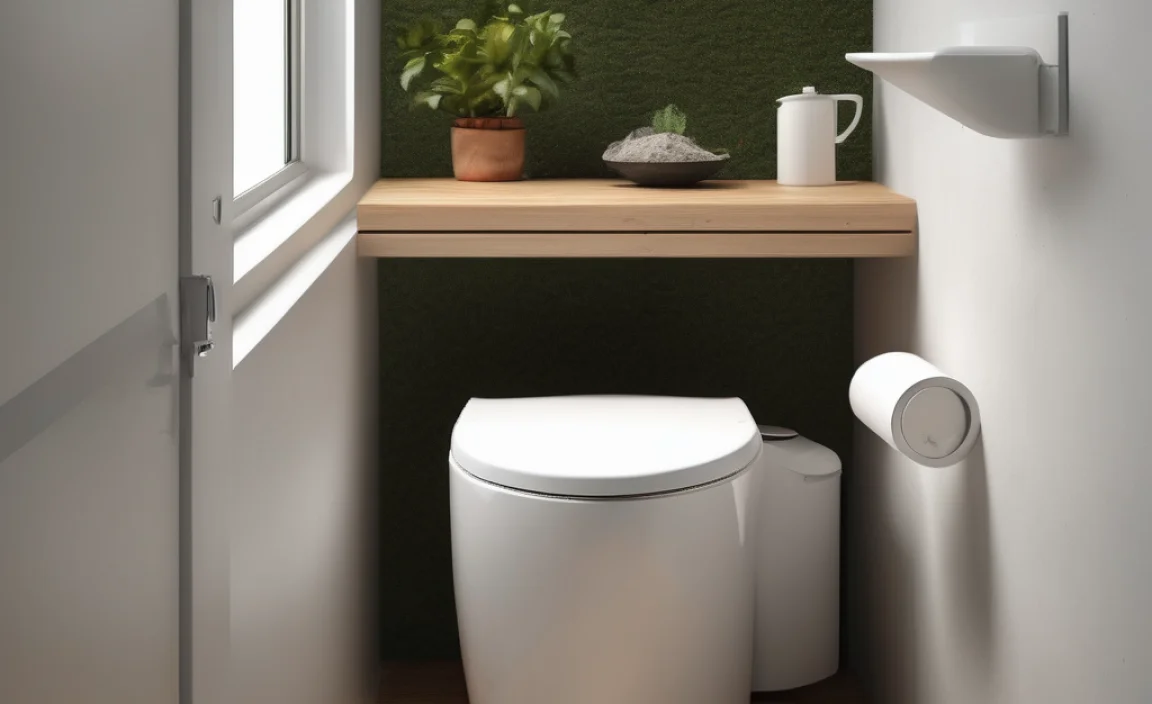
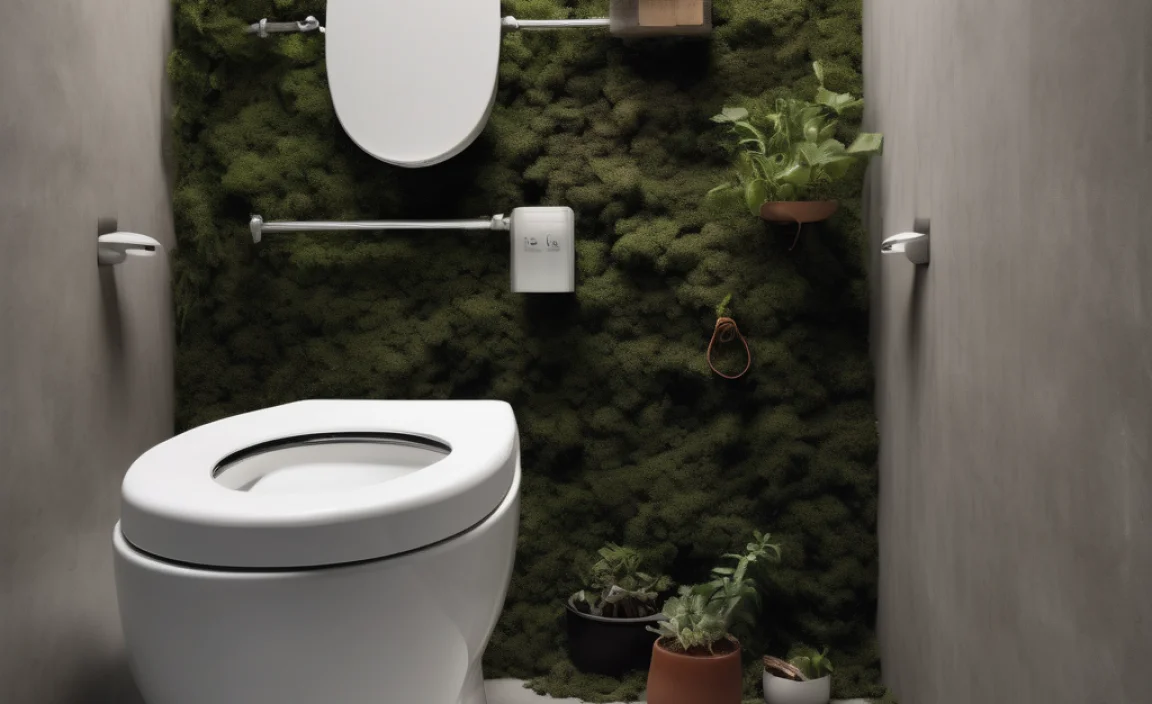
1. The Toilet Unit Itself
This is the main fixture. There are several types, but for urban settings, we’re mostly looking at:
- Self-Contained Units: These are typically smaller, portable units where the composting happens within the toilet itself. They often have separate compartments for solids and liquids. Think of them like a fancy portable toilet that composts.
- Separett-Style or Urine-Diverting Dry Toilets (UDDTs): These are more permanent fixtures. They have a special bowl that separates urine from feces. The feces go into a compost bin, while the urine is diverted to a separate collection or disposal system. This separation is key to a dry, low-odor system.
Key Features to Look For:
- Urine Diverting Mechanism: Essential for a dry system. It prevents urine from mixing with solids, which is a major cause of odor and slows down decomposition.
- Venting System: A small fan or vent pipe is crucial to draw air through the solids chamber, promoting aeration and whisking away moisture and any potential odors.
- Heavy-Duty Construction: It needs to be robust and easy to clean. Materials like sturdy plastic or sometimes stainless steel are common.
- Capacity: Consider how many people will be using it and how often.
2. The Composting Chamber(s) or Bin(s)
This is where the magic happens! Depending on your toilet unit, this could be:
- An Integrated Chamber: Some self-contained units have a built-in composting bin underneath. You’ll need to empty this periodically.
- A Separate Composting Bin/Container: For UDDTs, you’ll typically have a separate bin that collects the solid waste. This bin is managed to allow composting to occur. These are often sealed to prevent pests and odor. Some systems might use a double bin system so one can be “cooking” while the other is in use.
The size and type of your composting bin will depend on your usage and local regulations. It needs to be sealable and allow for aeration.
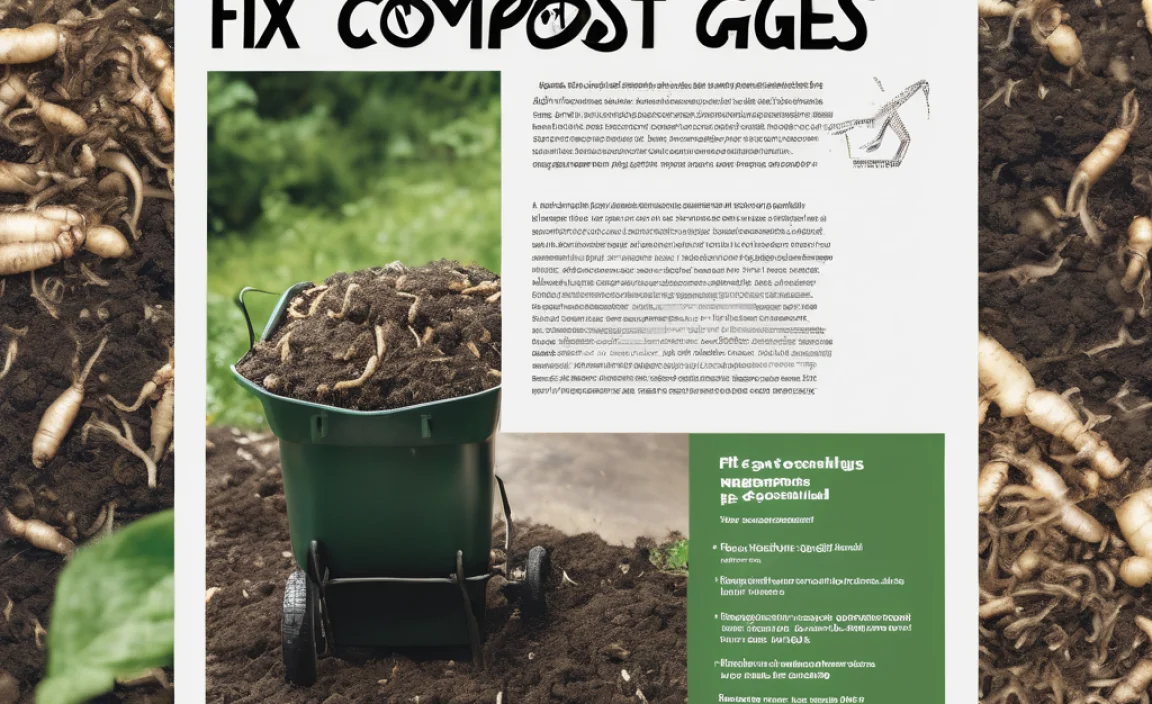
3. Carbon Material (The “Bulking Agent”)
This is your superhero for odor control and moisture absorption. Think of it as the healthy diet for your compost toilet!
- Sawdust: Often the best choice. Use untreated, fine sawdust from softwoods (like pine or fir).
- Coconut Coir: A great sustainable option, readily available.
- Peat Moss: Effective but can be less sustainable and sometimes acidic.
- Shredded Paper/Cardboard: Works in a pinch, but can clump up.
What to AVOID: Don’t use materials that are too dense or will compact easily (like soil or sand), or anything that decomposes too quickly and might promote anaerobic conditions. You’ll keep a small container of your chosen carbon material next to the toilet for adding after each use.
4. Urine Diversion & Disposal System
If you opt for a urine-diverting toilet (highly recommended for urban use), you need a plan for the urine. Urine itself is sterile when it leaves the body, but it can become a breeding ground for bacteria and create ammonia smell if left to stagnate or mix with solids.
- Direct to Sewer/Septic: In some places, you might be able to pipe the diverted urine directly to your existing sewer line or septic system. ALWAYS check local plumbing codes.
- “Greywater” System: Urine can sometimes be treated as greywater, but again, regulations vary widely and it’s best to check.
- Dilution and Garden Use: Diluted urine (1:10 ratio of urine to water) can be a potent fertilizer for some plants. However, urban regulations regarding using human waste products on food gardens are often very strict, especially during the “fresh” stage. It’s often best to let it go to the sewer or simply into a dedicated soak-away pit (if allowed and safe).
- Dedicated Tank: For mobile homes or off-grid setups, you might have a small holding tank for urine.
Safety Note: Never mix untreated urine directly with garden soil if you are growing edibles, especially without proper composting or knowledge of regulations, as it can contain pathogens. Focus on safe disposal first.
5. Ventilation System
Good ventilation is NON-NEGOTIABLE for a smell-free compost toilet, especially indoors. This is usually a small, low-voltage fan and a vent pipe that runs up and out of your home.
- How it Works: The fan creates a slight negative pressure inside the toilet’s solids chamber, drawing air through it andventing it outside. This movement of air also helps dry out the solids and prevents odors from escaping into your bathroom.
- Installation: Most compost toilet manufacturers provide detailed instructions for vent pipe routing. It needs to be a continuous upward run to the exterior, ideally with a cap to prevent rain or pests from entering.
- Power: These fans are very low power, often running on 12V DC, making them suitable for solar or battery power if needed, or easily wired into standard household electricity.
DIY vs. Pre-Made: Choosing Your Compost Toilet

For urban dwellers, especially beginners, starting with a well-designed, commercially available compost toilet unit is generally the easiest and most reliable route. Building one from scratch can be complex and requires a good understanding of composting principles and construction.
Pre-Made Units: Pros and Cons
| Pros | Cons |
|---|---|
| Designed for performance and odor control. | Higher initial cost compared to DIY. |
| Easier to install and maintain. | May require specific emptying procedures. |
| Manufacturer support and warranty. | Limited customization options. |
| Often more aesthetically pleasing for indoor use. | Can be bulky depending on the model. |
DIY Compost Toilet: Considerations
If you’re handy and adventurous, building your own can be rewarding. However, be aware:
- Requires Significant Research: You need to understand material choices, sealing, ventilation, and composting biology.
- Risk of Odor and Inefficiency: Poor design can lead to smell issues and ineffective composting.
- Varying Regulations: Ensuring your DIY setup meets any local building or health codes can be challenging.
For most beginners, a reputable commercial unit like those offered by Separett, Thetford (check for their dry toilet options), or Sun-Mar (research specific models for urban suitability) is the way to go.
Step-by-Step: Setting Up Your Urban Compost Toilet
Let’s get practical. Here’s a general guide to setting up a typical urine-diverting compost toilet unit in an urban home. Always refer to your specific manufacturer’s manual!
Step 1: Choose Your Location
Find a suitable spot. This could be a dedicated bathroom, a utility room, or even a well-ventilated closet. Ensure there’s adequate space for the unit and easy access for emptying.
Step 2: Prepare the Area
If installing a permanent fixture (like a UDDT), you might need to drill holes for the vent pipe and, if applicable, the urine drain. Ensure the floor is level and can support the weight of the unit and its contents.
Step 3: Install the Toilet Unit
- Position the toilet base securely.
- Follow the manufacturer’s instructions for connecting any plumbing for urine diversion (if applicable).
- Ensure the solids chute or opening is correctly aligned with where your composting bin will be placed or integrated.
Step 4: Set Up the Ventilation
- Drill a hole through your exterior wall or roof for the vent pipe.
- Run the vent pipe from the toilet unit up to the exterior. Use appropriate fittings and seal all joints to prevent leaks.
- Install a vent cap on the outside to protect against weather.
- Connect the fan as per the manufacturer’s wiring diagram. Ensure it’s safely powered.
Step 5: Prepare Your Composting Chamber
- If using an integrated unit, ensure any removable composting bin is clean and ready.
- If using a separate bin, place it correctly under the solids chute. Some systems require a compost starter material or even a bag layer in the bin initially.
Step 6: Add Initial Carbon Material
Before first use, add a generous layer of your chosen carbon material (sawdust, coir, etc.) to the solids chamber. This kickstarts the process and absorbs any initial moisture.
Step 7: Test the System
- Turn on the fan and check that it’s running.
- If you have a urine drain, pour a small amount of water into the bowl and check that it diverts correctly and flows as expected.
- Ensure all seals are tight.
Congratulations! Your compost toilet is ready for use.
Using Your Urban Compost Toilet: The Daily Routine
Using a compost toilet is simple, but it requires a slightly different approach than a flush toilet.
- After Every Use (Solids): Add a scoop or two of carbon material to cover the waste completely. This is crucial for odor control and to start the composting process.
- After Every Use (Urine): If you have a UDDT, ensure your “business” has landed in the correct chute/bowl.
- Liquid Waste: The urine diversion system handles this. Monitor your urine collection if you have a dedicated tank.
- Regular Emptying: Check your composting chamber and carbon material levels regularly. When the chamber or bin is full (or according to manufacturer guidelines), it’s time to manage the contents.
Managing the Compost and What Happens Next
This is where many people get a little squeamish, but it’s a vital part of the process. The goal is to safely turn human waste into usable compost.
The Composting Process
The carbon material you add helps create an aerobic (oxygen-rich) environment, which is essential for beneficial microbes to break down the waste. A good system will:
- Minimize Odor: Aerobic decomposition produces minimal smell. Anaerobic decomposition (without oxygen) creates that dreaded “rotten egg” smell.
- Reduce Pathogens: Over time, the composting process kills off harmful pathogens.
- Dry the Waste: The carbon material absorbs moisture, helping to reduce volume and create friable compost.
Emptying Your Compost Chamber
This is where you transfer the contents of your toilet’s solids chamber to a larger composting setup or a designated area. The exact method depends heavily on your toilet model and local regulations.
- “Cooking” Time: Many systems require the solids to sit and further compost for a specific period (months) after being removed from the toilet. This is often referred to as the “secondary composting” phase.
- Belgian Composting: A method often recommended involves a separate, well-ventilated bin where waste is added over time, mixed with carbon material, and allowed to compost for an extended period (1-2 years).
- Safety First: Always wear gloves when handling compost materials.
Important Note & External Link: The U.S. Environmental Protection Agency (EPA) recommends composting solid human waste for at least 1-2 years in a secondary composting phase to ensure pathogen destruction before using it on food crops. For detailed guidance on safe composting practices, consult resources like the EPA’s composting information and specific composting toilet guidelines.
Can You Use the Compost in an Urban Garden?
This is a complex question with varying local regulations. In many urban areas, using compost derived directly from human waste, even after composting, for food gardens is heavily regulated or prohibited due to health concerns. Always research and adhere to your local health department and building codes. Often, this compost is best used for ornamental gardens, trees, or designated “humanure” composting sites, following strict guidelines.
Troubleshooting Common Issues
Even with a genius setup, you might run into a hiccup. Here are a few common ones:
| Problem | Possible Cause | Solution |
|---|---|---|
| Odor | Not enough carbon material added; insufficient ventilation; urine mixed with solids. | Add more carbon material after EACH use; check fan and vent pipe for blockages; ensure urine diversion is working correctly. |
| Too Much Moisture | Urine not diverting properly; not enough carbon material absorbing liquid. | Clean urine divert mechanism; add extra dry carbon material; ensure ventilation is adequate. |
| Solids Not Breaking Down | Lack of aeration; too wet; too dry; wrong type of carbon material. | Ensure fan is running; adjust carbon material for moisture balance; consider if the bin is too full and needs emptying into a secondary system. |
| Pests (Flies, etc.) | Improperly sealed compost chamber or vent. | Ensure all seals are tight; check vent pipe for damage; keep carbon material lid closed securely. |
.lwrp.link-whisper-related-posts{
margin-top: 40px;
margin-bottom: 30px;
}
.lwrp .lwrp-title{
}.lwrp .lwrp-description{
}
.lwrp .lwrp-list-container{
}
.lwrp .lwrp-list-multi-container{
display: flex;
}
.lwrp .lwrp-list-double{
width: 48%;
}
.lwrp .lwrp-list-triple{
width: 32%;
}
.lwrp .lwrp-list-row-container{
display: flex;
justify-content: space-between;
}
.lwrp .lwrp-list-row-container .lwrp-list-item{
width: calc(25% – 20px);
}
.lwrp .lwrp-list-item:not(.lwrp-no-posts-message-item){
max-width: 150px;
}
.lwrp .lwrp-list-item img{
max-width: 100%;
height: auto;
object-fit: cover;
aspect-ratio: 1 / 1;
}
.lwrp .lwrp-list-item.lwrp-empty-list-item{
background: initial !important;
}
.lwrp .lwrp-list-item .lwrp-list-link .lwrp-list-link-title-text,
.lwrp .lwrp-list-item .lwrp-list-no-posts-message{
}@media screen and (max-width: 480px) {
.lwrp.link-whisper-related-posts{
}
.lwrp .lwrp-title{
}.lwrp .lwrp-description{
}
.lwrp .lwrp-list-multi-container{
flex-direction: column;
}
.lwrp .lwrp-list-multi-container ul.lwrp-list{
margin-top: 0px;
margin-bottom: 0px;
padding-top: 0px;
padding-bottom: 0px;
}
.lwrp .lwrp-list-double,
.lwrp .lwrp-list-triple{
width: 100%;
}
.lwrp .lwrp-list-row-container{
justify-content: initial;
flex-direction: column;
}
.lwrp .lwrp-list-row-container .lwrp-list-item{
width: 100%;
}
.lwrp .lwrp-list-item:not(.lwrp-no-posts-message-item){
max-width: initial;
}
.lwrp .lwrp-list-item .lwrp-list-link .lwrp-list-link-title-text,
.lwrp .lwrp-list-item .lwrp-list-no-posts-message{
};
}
Related Posts


I am passionate about home engineering. I specialize in designing, installing, and maintaining heating, ventilation, and air conditioning systems. My goal is to help people stay comfortable in their homes all year long.