Compost Toilet in USA: Your Simple, Step-by-Step Guide
Thinking about a compost toilet in the USA? You’re not alone! Many folks are looking for eco-friendly alternatives to traditional flushing toilets, especially off-grid or in areas where water is scarce. It might seem a bit daunting at first, but I’m here to break it down. We’ll walk through everything you need to know, from what a compost toilet actually is to how to set one up and maintain it. By the end, you’ll feel confident about whether it’s the right choice for you and how to make it work.
What Exactly IS a Compost Toilet?
Let’s clear the air right from the start. A compost toilet isn’t some medieval contraption! In simple terms, it’s a toilet that treats human waste through composting. Instead of using water to flush waste away to a septic system or sewer, it uses a dry system. The magic happens with a bulking material, like sawdust or coco coir, which helps absorb moisture and adds carbon. This mix, along with aeration, allows aerobic bacteria to break down the waste into a safe, nutrient-rich compost. It’s an Earth-friendly way to manage waste.
Why Consider a Compost Toilet in the USA?
There are plenty of great reasons to explore compost toilets. They’re fantastic for the environment and your wallet.
- Water Conservation: This is a big one! Traditional toilets use gallons of water per flush. Compost toilets use little to no water, which is a huge win for our planet and can significantly lower your water bill.
- Reduced Environmental Impact: By composting waste, you’re avoiding the pollution of waterways and reducing the strain on municipal sewer systems or costly septic maintenance.
- Off-Grid Living: Perfect for cabins, RVs, tiny homes, or any place without access to traditional plumbing.
- Nutrient Recycling: The end product is a valuable soil amendment for gardens and landscapes, closing the loop on nutrients.
- Cost Savings: While there’s an initial investment, you save on water usage and potentially on septic system installation or maintenance.
Types of Compost Toilets Available in the USA
When you start looking, you’ll find a few main types of compost toilets designed for home use in the USA. Each has its own way of handling the composting process.
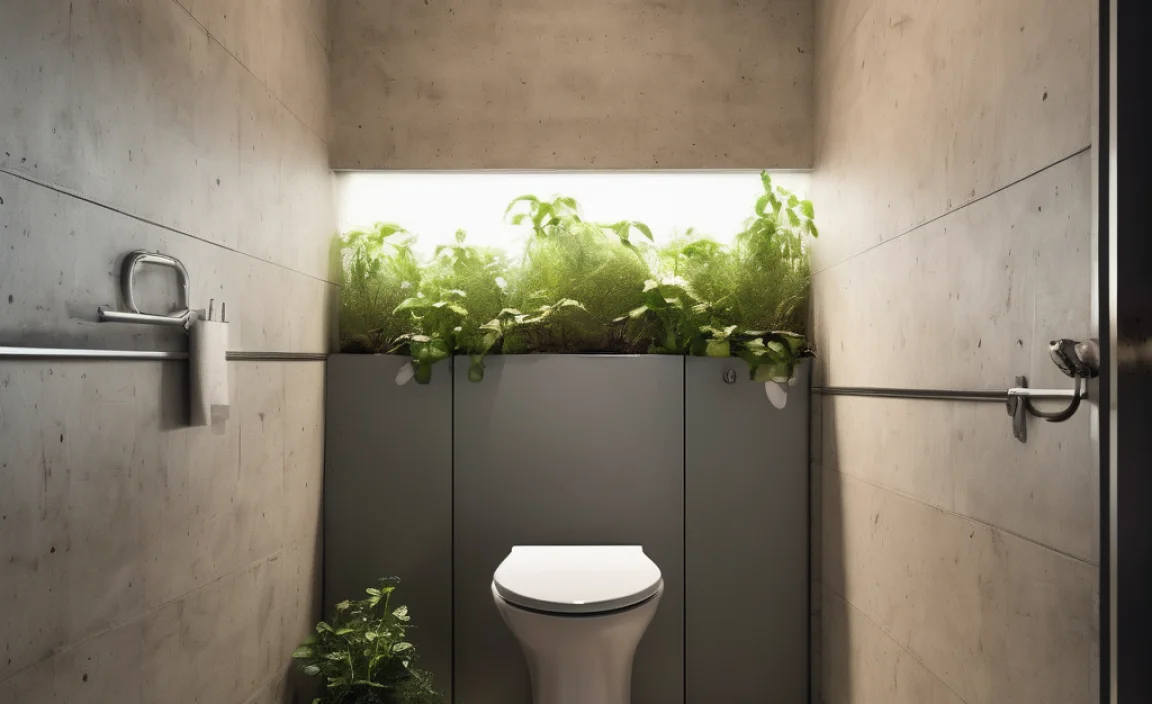
Self-Contained Units
These are the most common type for smaller applications, like RVs, boats, or tiny homes. Everything – the toilet, the composting chamber, and the initial storage – is all in one unit. They often use a fan to help with ventilation and odor control. You’ll need to empty the solid waste chamber periodically and add your bulking material after each use.
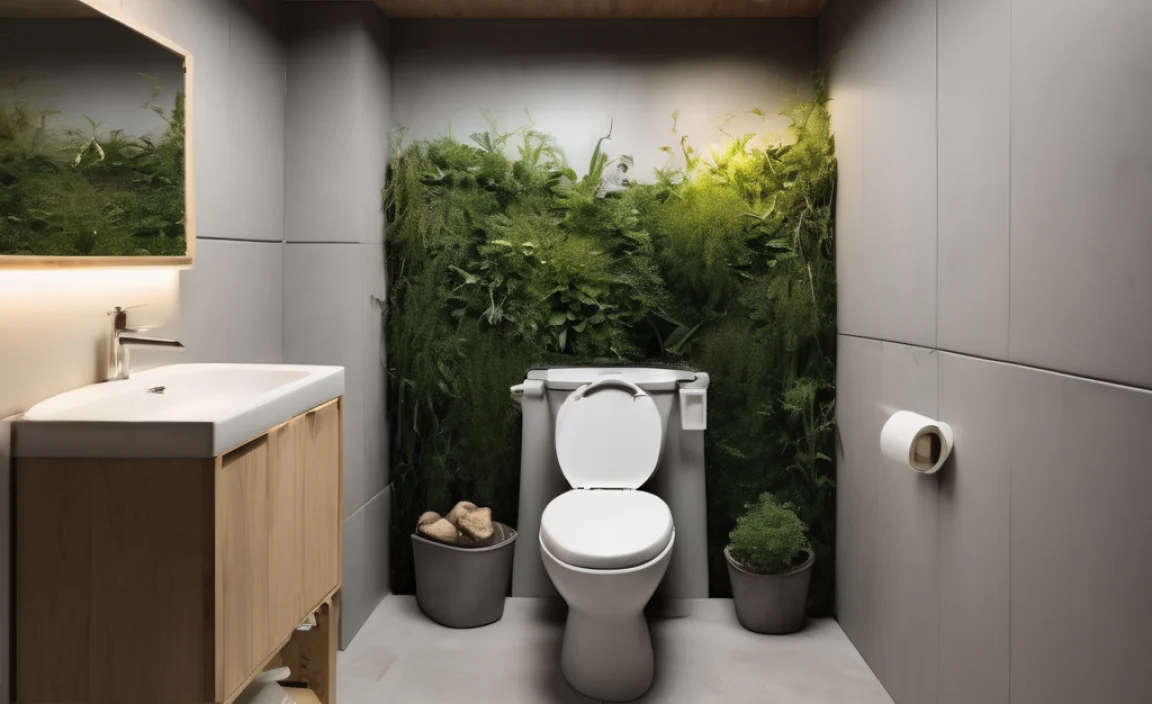
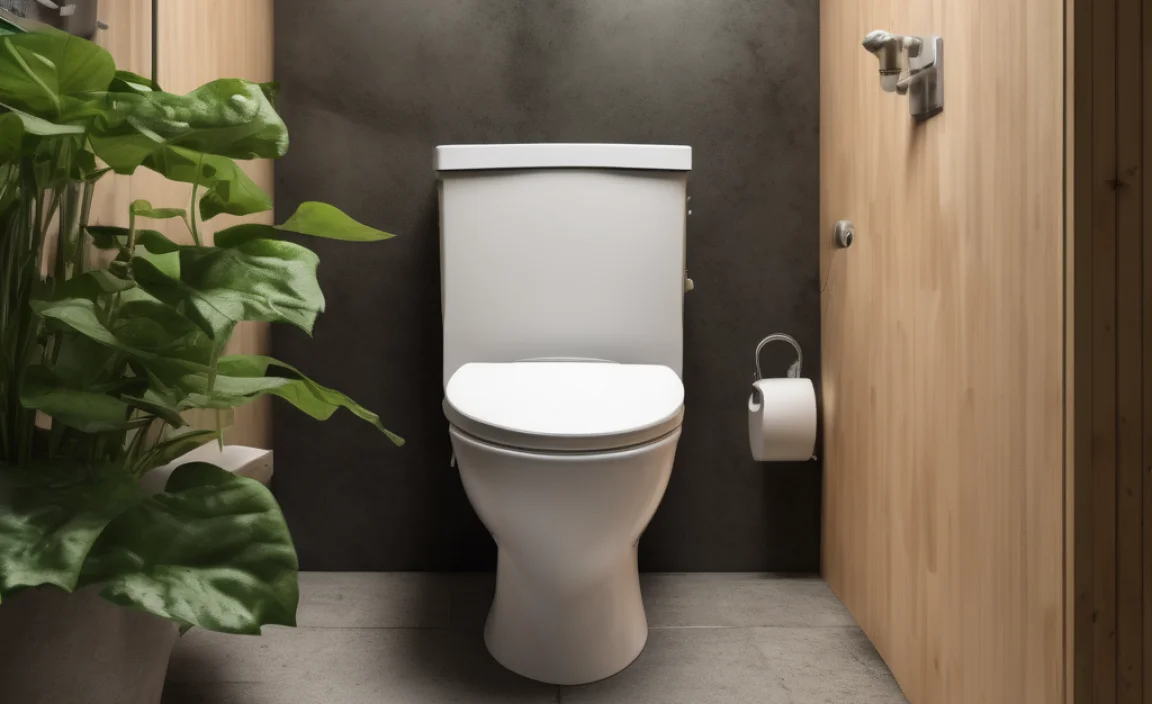
Flushing (Waterless) “Composting” Toilets
These toilets look and feel a lot like a regular toilet. They use a small amount of water or a flushing liquid (like peat or coco coir) to help move solids into a separate composting chamber, which is usually located under the floor. They often have two chambers: one for initial solids and another for further composting. These are great if you want a more familiar toilet experience.
Central Composting Systems
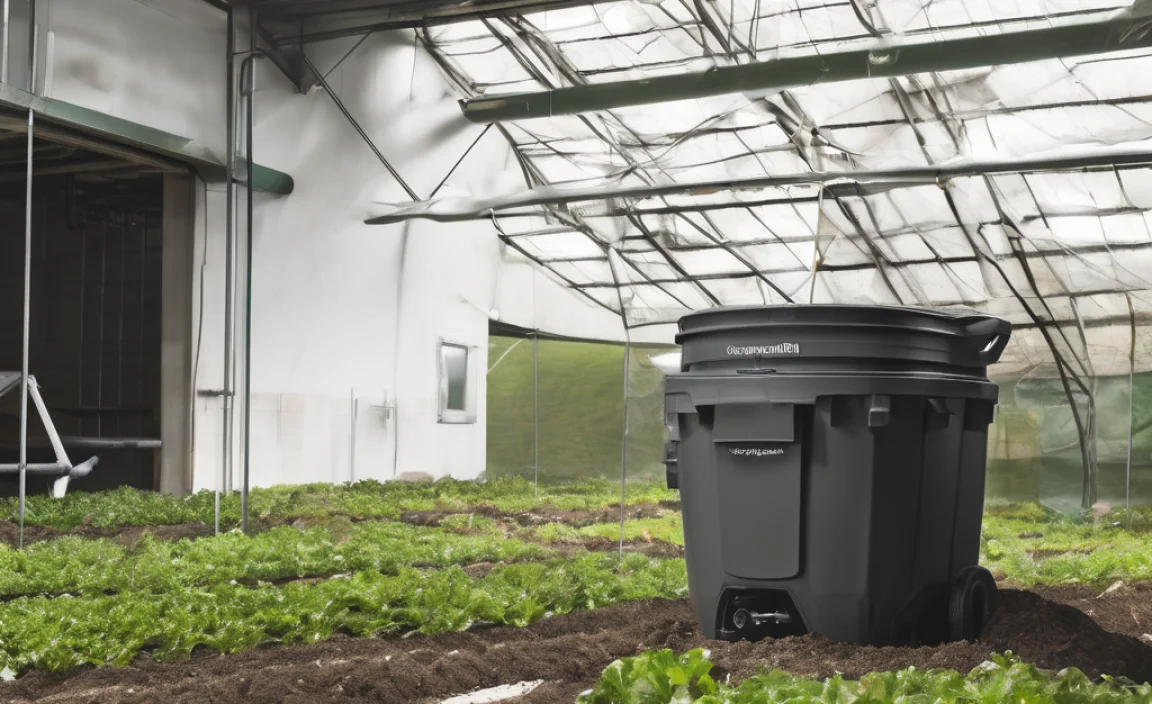
These are more involved and are typically used in homes that can accommodate a larger, separate composting system connected via a pipe. The waste goes from the toilet down into a larger composting vault or bin, often in the basement or outside, where it breaks down over a longer period. These often require more active management but can handle larger volumes.
Key Components of a Compost Toilet System
No matter which type you choose, compost toilets share some fundamental parts that make them work.
- The Toilet Fixture: This is the part you sit on. It might look like a regular toilet bowl, or it could be simpler, depending on the model.
- Solids Chamber: This is where the magic begins. It’s designed to hold the solid waste and bulking material.
- Bulking Material: Think sawdust, peat moss, coco coir, or wood shavings. This is crucial! It absorbs liquid, adds carbon, and helps prevent odors by encouraging aerobic decomposition.
- Ventilation System: A fan or vent pipe is usually included. This pulls air through the chamber, providing oxygen for the aerobic bacteria and exhausting any odors outside. A good vent system is your best friend for odor-free operation.
- Greywater System (for some models): Some toilets separate liquid (urine) from solids. The urine can be diverted and treated separately, often as a liquid fertilizer after dilution, or passed through a greywater system if it’s mixed with a bit of flushing liquid.
Choosing the Right Compost Toilet for Your USA Home
So, how do you pick the best one for your needs? Consider these points.
Your Lifestyle and Usage
- How many people will use it? More users mean a larger capacity or more frequent emptying.
- Is it for full-time use or occasional use? A weekend cabin has different needs than a primary residence.
- Where will it be located? Off-grid cabin? City home? RV or boat?
Capacity and Maintenance
Some units require frequent emptying (daily or weekly), while others can go for months. Think about how much maintenance you’re willing to do. Generally, self-contained units need more frequent attention than central systems.
Budget
Prices can range from a few hundred dollars for a basic DIY setup to several thousand for a high-end manufactured unit. Don’t forget to factor in the cost of bulking material and any accessories like fans or extra chambers.
Regulations and Permits
This is super important! In the USA, regulations for composting toilets vary significantly by state, county, and even city. Some areas are very progressive and encourage them, while others might have strict rules or require permits. Always check with your local health department or building code office before you buy or install anything. The EPA provides information on wastewater systems that can sometimes offer guidance on alternative systems. It’s always best to confirm local requirements directly.
DIY vs. Manufactured Compost Toilets
You’ve got two main paths: build your own or buy a ready-made one. Both have pros and cons.
DIY Compost Toilets
Pros:
- Cost-Effective: Often much cheaper to build yourself.
- Customizable: You can build it to fit your exact space and needs.
- Learning Experience: Great for DIY enthusiasts who enjoy a project.
Cons:
- Time and Effort: Requires research, planning, and building time.
- Potential for Errors: If not built correctly, you might face issues with odors or effectiveness.
- May Not Meet Local Codes: DIY systems can sometimes be harder to get approved by local authorities.
If you’re handy, you can find many plans online for simple bucket systems or more elaborate box-style composters. The key is ensuring good ventilation and using enough bulking material.
Manufactured Compost Toilets
Pros:
- Convenience: Ready to go out of the box, usually with clear instructions.
- Reliability: Designed by experts to function effectively and often come with warranties.
- Aesthetics: Many models are designed to look like traditional toilets.
- Easier Permitting: Manufactured units may have an easier time getting approved by local building departments.
Cons:
- Higher Cost: Generally more expensive than DIY options.
- Less Customizable: You’re limited to the features of the model you choose.
Popular brands in the USA include Nature’s Head, Sun-Mar, and Separett, each offering different features and price points.
| Feature | DIY Compost Toilet | Manufactured Compost Toilet |
|---|---|---|
| Initial Cost | Lower | Higher |
| Design Flexibility | High | Low to Moderate |
| Installation Time | Moderate to High | Low |
| Reliability (if built well) | Moderate to High | High |
| Odor Control (depends on design) | Variable | Generally Good to Excellent |
| Ease of Permitting | Can be challenging | Generally Easier |
How to Set Up and Use a Compost Toilet (General Steps)
While specific steps vary by model, here’s a general rundown to get you started. Always refer to your manufacturer’s instructions!
- Choose a Location: Make sure it’s accessible and, if required, has ventilation to the outside. Consider where the compost will eventually go.
- Assemble the Unit: Follow the manufacturer’s guide to put it together. This might involve connecting chambers, installing the vent pipe, or setting up a fan.
- Prepare the Solids Chamber: Add a generous layer of your chosen bulking material. This is essential to create an aerobic environment and absorb moisture right from the start.
- Connect Ventilation: Ensure the vent pipe is properly installed and runs to the outside. If your unit has a fan, connect it to a power source. Good ventilation is key to preventing odors.
- Add Bulking Material After Each Use: This is the MOST important part of daily use. After every bowel movement, add a scoop or two of bulking material. This covers the waste, absorbs moisture, and balances the carbon-to-nitrogen ratio, promoting aerobic decomposition and reducing smells. Think of it like adding “pizza boxes” to shrink your food scraps!
- Manage Urine (if separated): If your toilet separates urine, decide how you’ll manage it. It can often be diluted and used as fertilizer for non-edible plants, or routed to a greywater system, provided local regulations allow.
- Empty the Solids Chamber: When the solids chamber is full (how often depends on the unit and usage), it’s time to empty it.
- Compost the Waste: This is where the “compost” part happens. The contents of the solids chamber need to go through a secondary composting phase. This typically involves transferring the material to a dedicated compost bin or pile where it can finish breaking down for several months to a year. During this phase, temperatures should rise significantly to kill pathogens. You can learn more about safe composting practices from resources like the EPA’s composting guide.
- Repeat: Add fresh bulking material and you’re ready to go again!
Maintaining Your Compost Toilet for Success
A little regular attention goes a long way in keeping your compost toilet working smoothly and odor-free.
Daily Checks
- Add Bulking Material: Seriously, don’t forget this step! It’s the golden rule.
- Check Vent Fan: Make sure it’s running and air is flowing.
- Inspect for Issues: A quick glance can catch small problems before they become big ones.
Weekly/Monthly Tasks
- Top Up Bulking Material Supply: Keep your bin full.
- Clean the Toilet Fixture: Use biodegradable, eco-friendly cleaners. Avoid harsh chemicals that can harm the composting process if they get into the chamber.
- Check Liquid Drain (if applicable): Ensure it’s not clogged if your system separates liquids.
Emptying and Secondary Composting
This is the most significant maintenance step. The timing depends on your toilet’s capacity. Once emptied:
- Transfer to Composter: Move the solids and bulking material to your secondary composting system.
- Add to a Hot Compost Pile: The best way to ensure pathogens are killed is to add it to a well-managed, hot compost pile (around 140-160°F or 60-70°C). This process kills pathogens and weed seeds. A pile that reaches these temperatures for at least three days (longer is better) is typically considered safe.
- Age the Compost: After the initial hot composting phase, the material needs to cure for several more months, often up to a year, before it’s fully stabilized and safe to use on gardens.
- Empty and Clean the Toilet Chamber: Give the toilet’s solids chamber a good clean before adding fresh bulking material.
You can learn more about safe composting of humanure from organizations like the Humanure Handbook, which offers extensive, practical advice.
Hoo-hoo, Smells Like Success! Dealing with Odors
The biggest fear people have about compost toilets is odor. The good news? If managed correctly, they should not smell bad! Here’s how to keep things fresh:
- Ventilation is King: A properly functioning vent fan or pipe is your best defense. Ensure it’s not blocked and is always running.
- Use Enough Bulking Material: This is your second line of defense. Always add enough to cover solids and absorb moisture. If you don’t add enough carbon (bulking material), the process can become anaerobic and smelly.
- Keep it Dry: Excessive moisture can lead to anaerobic conditions. The bulking material helps with this.
- Regular Emptying: Don’t let the solids chamber get too full, as this can overwhelm the bulking material.
- Proper Secondary Composting: Ensure the waste is properly composted in a separate system to kill pathogens and stabilize the material.
A faint earthy smell when opening the solids chamber might occur, but a strong, unpleasant odor usually means something is out of balance. Usually, adding more bulking material or checking the vent fixes it.
The End Result: Compost for Your Garden
Once your compost toilet waste has gone through the complete secondary composting process and has aged for several months, you’ll have a dark, crumbly, earthy-smelling material. This is often called “humanure” in its finished form. It’s rich in nutrients and can be used to improve your soil. However, it’s crucial to be absolutely sure the composting process has killed any pathogens. Because of this, many people recommend only using the finished compost on ornamental gardens or fruit trees, rather than on vegetables that are eaten raw. Always follow local health guidelines regarding the use of finished compost derived from human waste.
Frequently Asked Questions About Compost Toilets in the USA
What are the risks of using humanure compost?
The main risk is the potential transmission of pathogens (like bacteria and viruses) if the composting process is not thorough enough. This is why secondary, hot composting and aging are critical to kill harmful microorganisms.
Can I use a compost toilet in my city home?
It depends entirely on local regulations. Some cities allow them, especially if they are permitted and meet all code requirements. Others may prohibit them. Always check with your local building and health departments first.
How often do I need to empty a compost toilet?
For smaller, self-contained units used by 1-2 people, you might empty the solids chamber every 7-14 days. Larger units or those with more users will require more frequent emptying. It depends on the size of the solids chamber and the usage.
What kind of bulking material is best?
Commonly used and effective materials include: fine sawdust (from untreated wood), coco coir, peat moss, or finely shredded leaves. Avoid treated lumber sawdust or very dusty materials. The goal is absorbent and carbon-rich.
Will my compost toilet attract bugs?
When managed properly with good seals, sufficient bulking material, and effective ventilation, compost toilets should not attract bugs. If you see flies, it often indicates an issue with odor control or the seals.
Where can I buy compost toilets in the USA?
Many online retailers specialize in composting toilets. You can also find them at specialized RV or off-grid living supply stores. Popular manufacturers like Nature’s Head, Sun-Mar, and Separett have websites where you can find dealers or purchase directly.
Is it difficult to maintain a compost toilet?
Daily maintenance is very simple – just adding bulking material. The more involved tasks are emptying the solids chamber and managing secondary composting, which are typically done less frequently, perhaps weekly or monthly depending on your

I am passionate about home engineering. I specialize in designing, installing, and maintaining heating, ventilation, and air conditioning systems. My goal is to help people stay comfortable in their homes all year long.