Ever feel like your kitchen scraps are just piling up, creating a bit of an eyesore or an unpleasant smell? You’re not alone! Many of us want to do our part for the planet and create nutrient-rich food for our gardens. But sometimes, figuring out where to start with composting can feel a bit… well, complicated.
Don’t worry, I’m Troy D Harn from TopChooser, and I’m here to make composting simple and even fun. We’ll walk through using a compost tumbler, especially with the Asian climate and space constraints in mind. Get ready to turn that waste into garden gold!
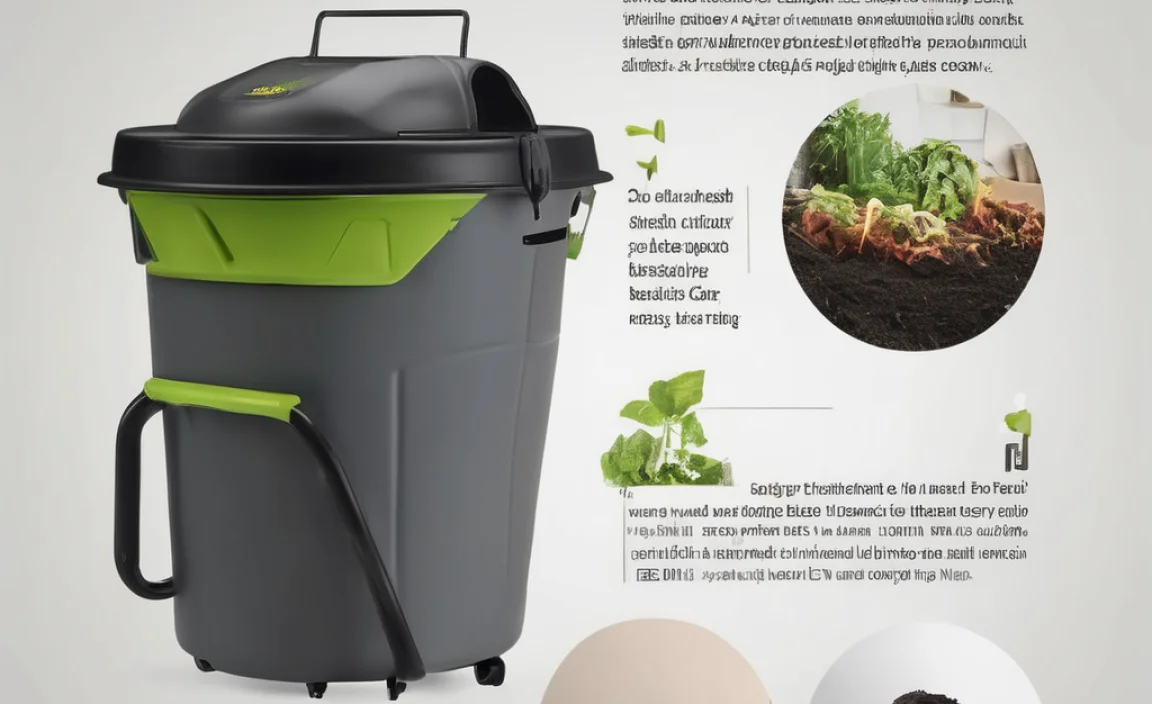
Why a Tumbler is a Superstar for Asian Homes
When we talk about composting, a compost tumbler really shines, especially in the diverse and often compact living situations found across Asia. Unlike traditional compost piles that can take up a lot of space and sometimes attract unwanted critters, tumblers are neat, contained, and surprisingly efficient.
They’re designed to speed up the composting process, meaning you get that lovely compost ready for your plants much faster. Plus, their sealed nature helps manage moisture and temperature, which is super helpful with the varying weather patterns you might find from the tropics to the subtropics.
Think of it as a compost “factory on a spin.” You load it up, give it a turn every few days, and nature does the rest, with a little help from you. It’s a great way to reduce landfill waste, create fantastic fertilizer for your balcony plants or small garden plots, and feel good about your environmental impact, all without a lot of fuss.
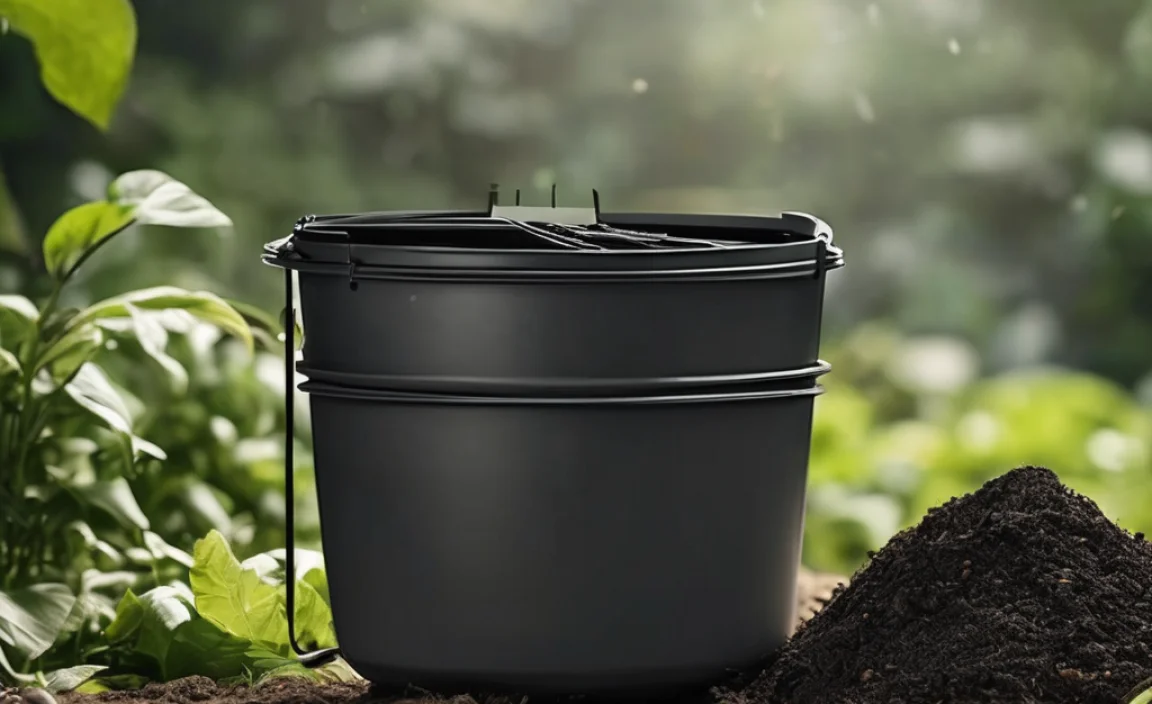
Choosing the Right Compost Tumbler for Your Asian Space
Picking the perfect compost tumbler can feel like choosing a new gadget – exciting but maybe a bit overwhelming! The good news is, there are fantastic options out there that fit right into life in Asia, whether you live in a bustling city apartment with a small balcony or a landed house with a bit more yard space. We want something that’s easy to use, durable, and most importantly, effective in your climate.
Here’s what to keep in mind:
- Size Matters: Just like finding the right-sized pot for your favorite plant, the tumbler’s capacity is key. If you’re a small household or have limited space, a smaller, single-chamber tumbler might be perfect. For bigger families or those with more kitchen scraps and yard waste, a larger, dual-chamber system will let you compost more and have a continuous supply of finished compost.
- Material Durability: Look for tumblers made from UV-stabilized, food-grade plastic. This is important because it means the tumbler won’t break down easily under the hot Asian sun and won’t leach harmful chemicals into your compost. Metal tumblers are also an option, but they can sometimes rust in humid climates if not well-maintained.
- Ease of Turning: This is a big one! A good tumbler should be easy to rotate. Many have handles or are designed to be pushed, making the turning process a breeze. You don’t want to be wrestling with it!
- Ventilation and Drainage: Proper airflow is crucial for healthy composting, preventing smelly anaerobic conditions. Check for good aeration holes. Likewise, some drainage is needed to let excess moisture escape, especially in humid regions, preventing a soggy mess.
- Pest-Proofing: A sealed tumbler is generally good at keeping out pests like rodents and insects, which is a plus for any home.
Popular Tumbler Types for Asia
You’ll see a few main styles available. Understanding these can help you make the best choice:
- Single Chamber Tumblers: These are great for beginners and smaller spaces. You fill it up, let it compost, and then empty it. Once empty, you start a new batch. They are usually more compact and affordable.
- Dual Chamber Tumblers: These have two separate sides. While one side is actively composting, you can start filling the other. This means you can have a continuous flow of compost ready to use. They are larger and can be a bit pricier but offer more output.
- Stationary Bins with Tumbler Features: Some designs are stationary bins but incorporate a tumbling mechanism or are made for easy turning with a tool. These can be very effective if space is a bit tighter but you want the benefits of regular turning.
When buying, always check the product dimensions to ensure it fits your balcony, patio, or garden area. Resources like the U.S. Environmental Protection Agency (EPA) offer great general composting advice that translates well, even if their product recommendations aren’t Asia-specific.
What Goes In? Your Composting Ingredient List
Great! You’ve got your tumbler picked out. Now, what do you actually put into it? Composting is all about a balance of “greens” and “browns.” Think of it like making a balanced meal for your compost microbes – they need a mix of nitrogen-rich foods (greens) and carbon-rich bulk (browns).
Greens (Nitrogen-Rich)
These are the wet, fresh materials that provide nitrogen, helping the compost heat up and break down quickly. Most kitchen scraps fall into this category.
- Fruit and vegetable scraps (peels, cores, wilted greens)
- Coffee grounds and tea bags
- Grass clippings (in moderation – too much can get slimy)
- Fresh plant trimmings
- Eggshells (crushed)
Browns (Carbon-Rich)
These are the dry, woody materials that provide carbon. They give the compost structure, allow air to flow, and help prevent it from becoming a stinky, soggy mess.
- Dry leaves
- Shredded newspaper or cardboard (avoid glossy paper and colored inks)
- Straw or hay
- Small twigs and wood chips (chop them up small!)
- Sawdust (from untreated wood only)
What to AVOID putting in your compost tumbler:
Some things just aren’t compost buddies. Keeping these out will ensure a healthy, pest-free compost process.
- Meat, fish, and dairy products (attract pests and can smell bad)
- Oily or greasy foods
- Diseased plants or weeds that have gone to seed
- Pet waste (dog or cat feces)
- Chemically treated yard waste
- Coal or charcoal ash
A good starting ratio is about 2-3 parts browns to 1 part greens by volume. Don’t worry too much about getting it perfect at first. You’ll get a feel for the right balance as you go.
Step-by-Step: How to Use Your Compost Tumbler
Using a compost tumbler is straightforward and fun! Here’s how to turn your everyday waste into fantastic compost, step by step.
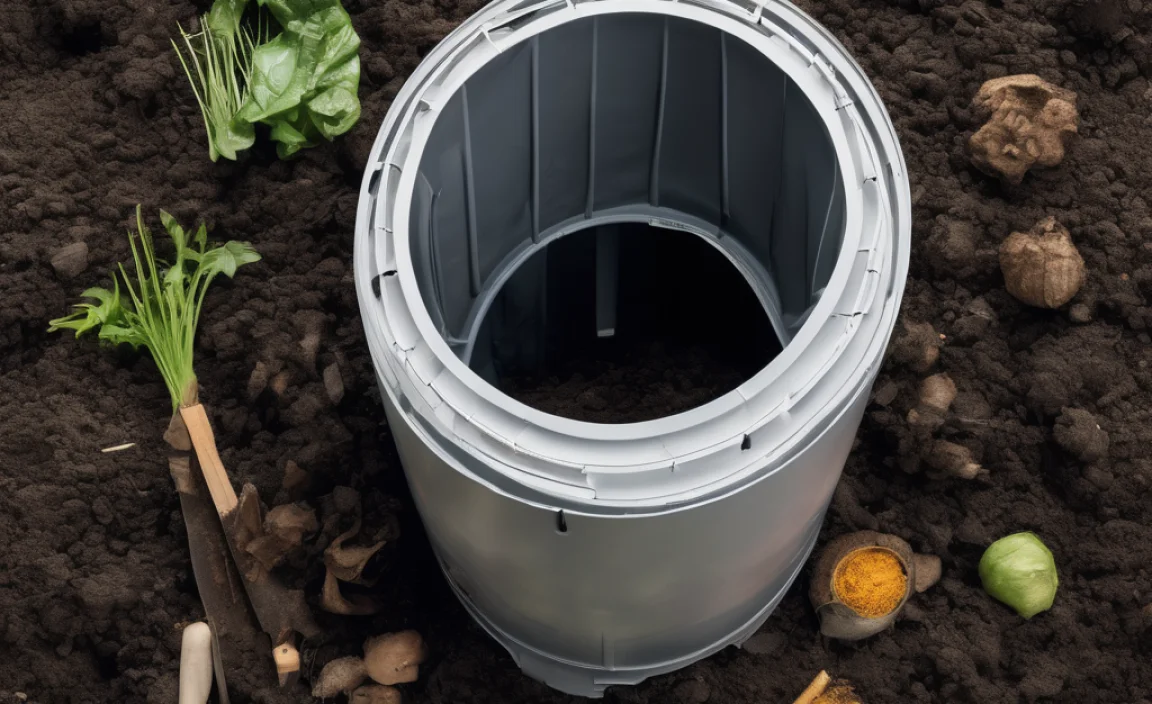
Step 1: Assemble and Set Up Your Tumbler
Most tumblers come with assembly instructions. Follow them carefully. Place your tumbler in a convenient spot. For best results, choose a location that gets some sun (to help heat things up) but isn’t in direct, scorching sun all day, which could dry it out too quickly. Ensure there’s enough space around it to turn it easily.
Step 2: Start Adding Your Ingredients
Begin by adding a layer of “browns” to the bottom of the tumbler. This helps with aeration and drainage from the start. Then, start adding your “greens” and more “browns” as you collect them from your kitchen and garden. Remember the ratio: try to add more browns than greens. If you’re adding a lot of kitchen scraps (greens), make sure you have plenty of shredded paper, leaves, or other browns handy to mix in.
Pro Tip: Chop or shred larger items into smaller pieces. Smaller pieces break down much faster!
Step 3: Get Tumbling!
After you’ve added your ingredients, it’s time to tumble! Secure the lid and give the tumbler a good spin. If it has a handle, turn it several times. If it’s a barrel you push, give it a good nudge and let it rotate. Aim to turn it 3-5 times a week. This mixes the ingredients, aerates the compost pile, and speeds up decomposition. Listen for a satisfying “whoosh” – that’s the sound of happy microbes at work!
Step 4: Monitor Moisture Levels
The ideal moisture level for compost is like a damp sponge – wet enough to be moist, but not so wet that water drips out when you squeeze it.
- Too Dry? If your compost seems dry and the materials aren’t breaking down, add a little water. You can do this by tilting the tumbler and pouring some in, then tumbling to mix.
- Too Wet? If it looks soggy or smells foul (like rotten eggs), it’s too wet and likely not getting enough air. Add more “browns” like shredded paper or dry leaves to absorb the excess moisture and improve airflow. Turn it more frequently.
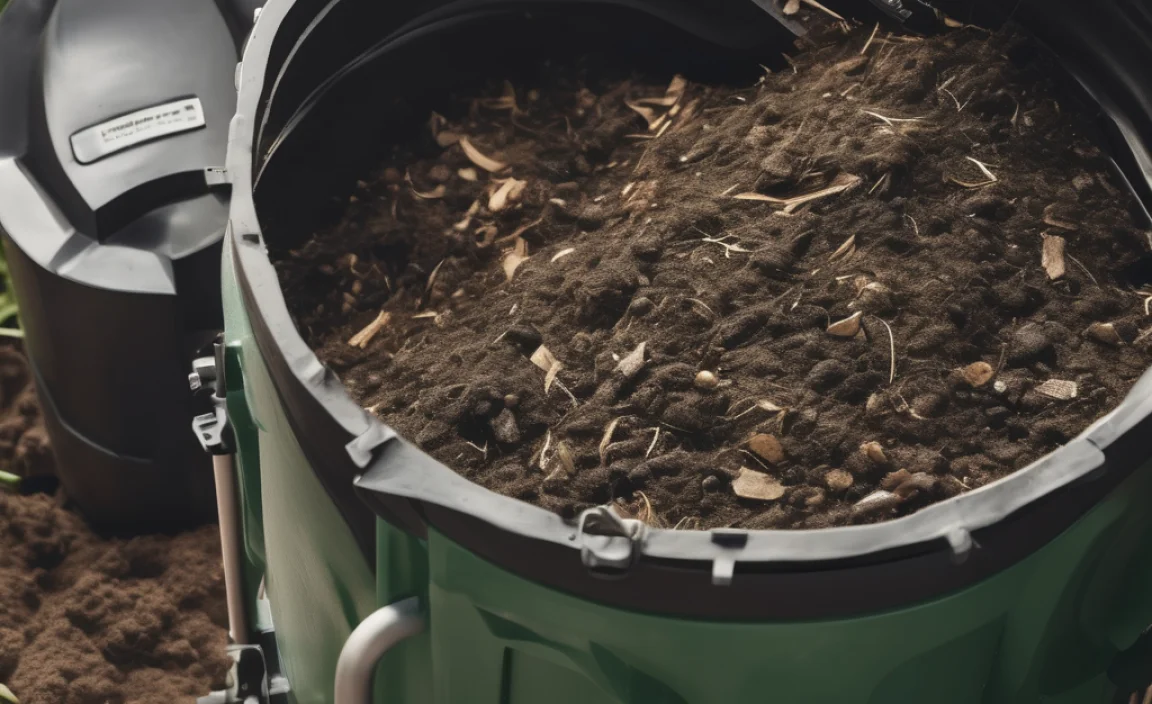
Step 5: Be Patient and Check for Readiness
Composting takes time! In a tumbler, you can often see results in as little as 4-8 weeks, but this depends on the materials, temperature, moisture, and how often you turn it. Your compost is ready when it’s dark, crumbly, and smells earthy (like fresh soil). You shouldn’t be able to recognize the original ingredients anymore.
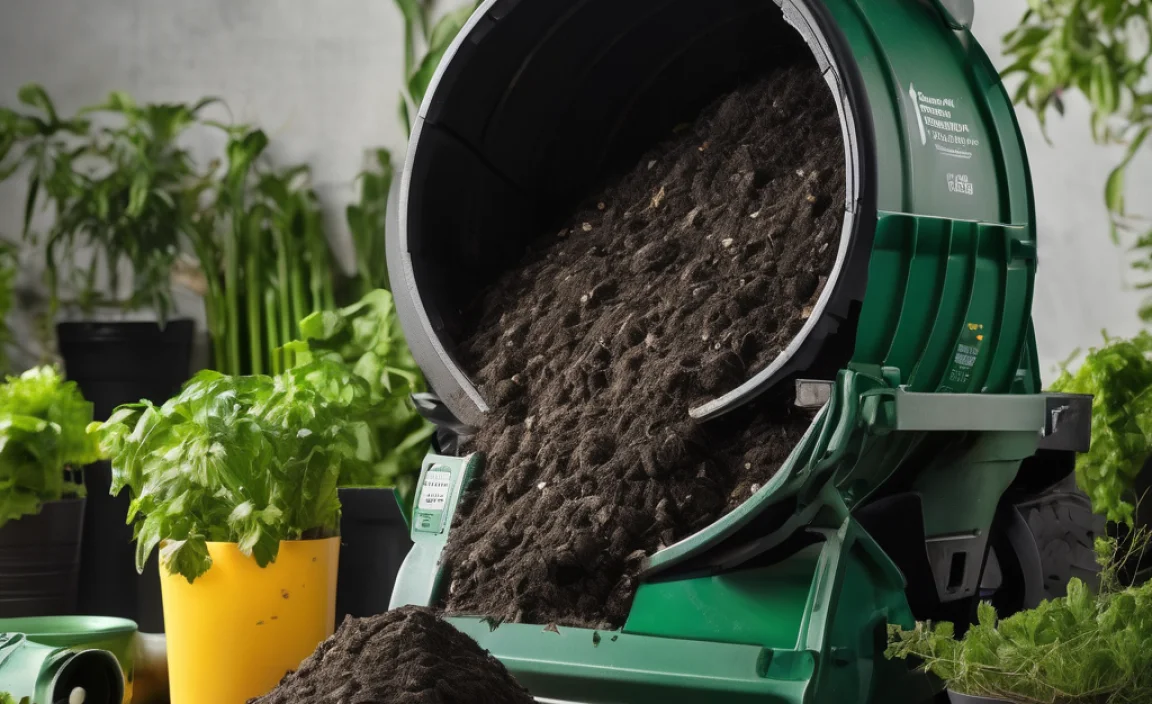
Step 6: Harvest Your Compost
Once your compost is ready, it’s time to harvest! Depending on your tumbler, this might involve emptying the entire contents or using a small door to extract finished compost from one side (if you have a dual-chamber model). You can use a sieve to remove any larger, uncomposted bits – these can go back into the tumbler for the next batch.
Maintaining Your Compost Tumbler
A little maintenance goes a long way in keeping your compost tumbler working efficiently for years. Think of it like caring for your favorite kitchen appliance – regular, simple upkeep makes it last longer and perform better.
Regular Cleaning
After emptying your tumbler, give the inside a quick rinse with water. This prevents old material from building up and becoming difficult to remove. For stubborn bits, a sturdy brush or scraper can be helpful. Make sure your tumbler is completely dry before adding new materials if possible, especially if you’re storing it between batches.
Checking for Wear and Tear
Periodically inspect the tumbler for any cracks in the plastic, loose screws, or issues with the turning mechanism. Most tumblers are built tough, but accidents can happen. If you notice any minor damage, see if you can repair it promptly to prevent it from worsening. For example, minor cracks in plastic can sometimes be sealed with appropriate outdoor-rated adhesive or tape.
Lid and Seal Integrity
Ensure the lid closes and seals properly. A good seal is important for keeping moisture in (though some airflow is needed), deterring pests, and keeping rain out if you don’t want a soggy compost pile. If the seal looks worn or damaged, look for replacement parts from the manufacturer.
Positioning
As mentioned earlier, positioning is key. Avoid placing it in areas where it might be constantly exposed to extreme weather. If it’s very hot, consider moving it to a spot with partial shade for part of the day during the hottest months. In very rainy seasons, ensure good drainage around the base of the tumbler.
Smooth Turning Mechanism
If your tumbler becomes stiff or difficult to turn, check for any obstructions around the rotating parts. Sometimes, debris can get lodged. A bit of lubrication on rotating parts (using a compost-safe or food-grade lubricant if possible) might help, but often, simply clearing out any debris is enough.
By following these simple maintenance tips, your compost tumbler will remain a reliable partner in your journey to reduce waste and enrich your garden soil.
Troubleshooting Common Compost Tumbler Issues
Even with the best intentions, you might run into a few hiccups. That’s totally normal, and most problems with compost tumblers are easily fixed. Don’t get discouraged! Let’s tackle some common ones.
Issue: Bad Smells (Rotten Egg or Ammonia Smell)
What it means: Your compost is likely too wet and/or doesn’t have enough airflow. It’s gone anaerobic, meaning it’s composting without oxygen, which creates funky smells.
The fix:
- Add Browns: Mix in plenty of dry, carbon-rich materials like shredded newspaper, cardboard, dry leaves, or straw. This absorbs moisture and adds air pockets.
- Turn More Frequently: Give the tumbler a good spin more often to introduce oxygen.
- Check for Pests: If the smell is due to meat or dairy that accidentally got in, remove it if possible and add extra browns.
Issue: Compost Isn’t Heating Up or Breaking Down
What it means: Your compost probably lacks nitrogen or moisture, or there isn’t enough “activator” material.
The fix:
- Add Greens: Add more nitrogen-rich materials like fresh kitchen scraps (fruit/veg peels, coffee grounds).
- Add Water: If it’s dry, lightly moisten the contents.
- Add an Activator: A shovel-full of finished compost from a neighbor or a compost starter can introduce beneficial microbes to kickstart the process.
- Ensure Proper Ratio: Remember, a balanced mix is key. Too many browns will slow things down.
Issue: Too Much Moisture / Soggy Compost
What it means: Excessive rain or too many wet “green” ingredients.
The fix:
- Add Dry Browns: This is your go-to for sogginess. Shredded paper, cardboard, dry leaves, sawdust work wonders.
- Turn More Often: This helps the contents dry out through aeration.
- Drainage: Ensure the tumbler’s drainage holes aren’t blocked. If it’s sitting in standing water, move it to a slightly elevated or better-drained spot.
Issue: Pests (Flies, Rodents)
What it means: Usually, this means something was added that shouldn’t have been (meat, dairy, oils), or the tumbler lid isn’t sealing properly.
The fix:
- Avoid Problematic Items: Strictly adhere to the “what to avoid” list.
- Bury Kitchen Scraps: When adding new kitchen scraps, try to bury them under a layer of browns to make them less accessible.
- Check Lid Seal: Ensure the lid is secure. If it’s damaged, consider repair or replacement.
- Keep Area Clean: Don’t leave finished compost sitting around for too long, as it can attract pests.
Issue: Tumbler is Hard to Turn
What it means: It might be too full, unbalanced (heavy on one side), or the turning mechanism might need attention.
The fix:
- Don’t Overfill: Leave some space for ingredients to move around.
- Distribute Weight: If it seems heavy on one side, try to mix the contents to distribute weight more evenly.
- Check Mechanism: Look for any debris jamming the rotation. Clean it thoroughly.
Remember, patience is a virtue in composting. If things seem slow, just keep adding your inputs, turning regularly, and monitoring moisture. You’ll find your rhythm!
Benefits of Composting with a Tumbler in Asia
Composting with a tumbler isn’t just a chore; it’s a fantastic practice with a heap of benefits, especially for those living in Asia. It touches on sustainability, savings, and even a bit of gardening joy!
Environmental Advantages
- Waste Reduction: For urban dwellers and those in apartments, a tumbler is a fantastic way to divert significant amounts of kitchen waste from landfills. This reduces the burden on waste management systems and cuts down on methane gas production from decomposing organic matter in landfills, which is a potent greenhouse gas.
- Circular Economy: You’re actively participating in a circular economy by turning waste back into a valuable resource. It’s a small but impactful way to contribute to a more sustainable lifestyle.
- Reduces Need for Chemical Fertilizers: Creating your own compost means you rely less on synthetic fertilizers for your plants. This is better for the environment, as the production and use of chemical fertilizers can have negative impacts on soil health and water systems.
Home & Garden Benefits
- Rich, Natural Fertilizer: Compost is often called “black gold” for a reason! It’s packed with nutrients that will make your plants thrive. It improves soil structure, increasing water retention and aeration, which is a huge plus in varied Asian climates where soil can sometimes be compacted or struggle with drainage.
.lwrp.link-whisper-related-posts{
margin-top: 40px;
margin-bottom: 30px;
}
.lwrp .lwrp-title{
}.lwrp .lwrp-description{
}
.lwrp .lwrp-list-container{
}
.lwrp .lwrp-list-multi-container{
display: flex;
}
.lwrp .lwrp-list-double{
width: 48%;
}
.lwrp .lwrp-list-triple{
width: 32%;
}
.lwrp .lwrp-list-row-container{
display: flex;
justify-content: space-between;
}
.lwrp .lwrp-list-row-container .lwrp-list-item{
width: calc(25% – 20px);
}
.lwrp .lwrp-list-item:not(.lwrp-no-posts-message-item){
max-width: 150px;
}
.lwrp .lwrp-list-item img{
max-width: 100%;
height: auto;
object-fit: cover;
aspect-ratio: 1 / 1;
}
.lwrp .lwrp-list-item.lwrp-empty-list-item{
background: initial !important;
}
.lwrp .lwrp-list-item .lwrp-list-link .lwrp-list-link-title-text,
.lwrp .lwrp-list-item .lwrp-list-no-posts-message{
}@media screen and (max-width: 480px) {
.lwrp.link-whisper-related-posts{
}
.lwrp .lwrp-title{
}.lwrp .lwrp-description{
}
.lwrp .lwrp-list-multi-container{
flex-direction: column;
}
.lwrp .lwrp-list-multi-container ul.lwrp-list{
margin-top: 0px;
margin-bottom: 0px;
padding-top: 0px;
padding-bottom: 0px;
}
.lwrp .lwrp-list-double,
.lwrp .lwrp-list-triple{
width: 100%;
}
.lwrp .lwrp-list-row-container{
justify-content: initial;
flex-direction: column;
}
.lwrp .lwrp-list-row-container .lwrp-list-item{
width: 100%;
}
.lwrp .lwrp-list-item:not(.lwrp-no-posts-message-item){
max-width: initial;
}
.lwrp .lwrp-list-item .lwrp-list-link .lwrp-list-link-title-text,
.lwrp .lwrp-list-item .lwrp-list-no-posts-message{
};
}
Related Posts


I am passionate about home engineering. I specialize in designing, installing, and maintaining heating, ventilation, and air conditioning systems. My goal is to help people stay comfortable in their homes all year long.