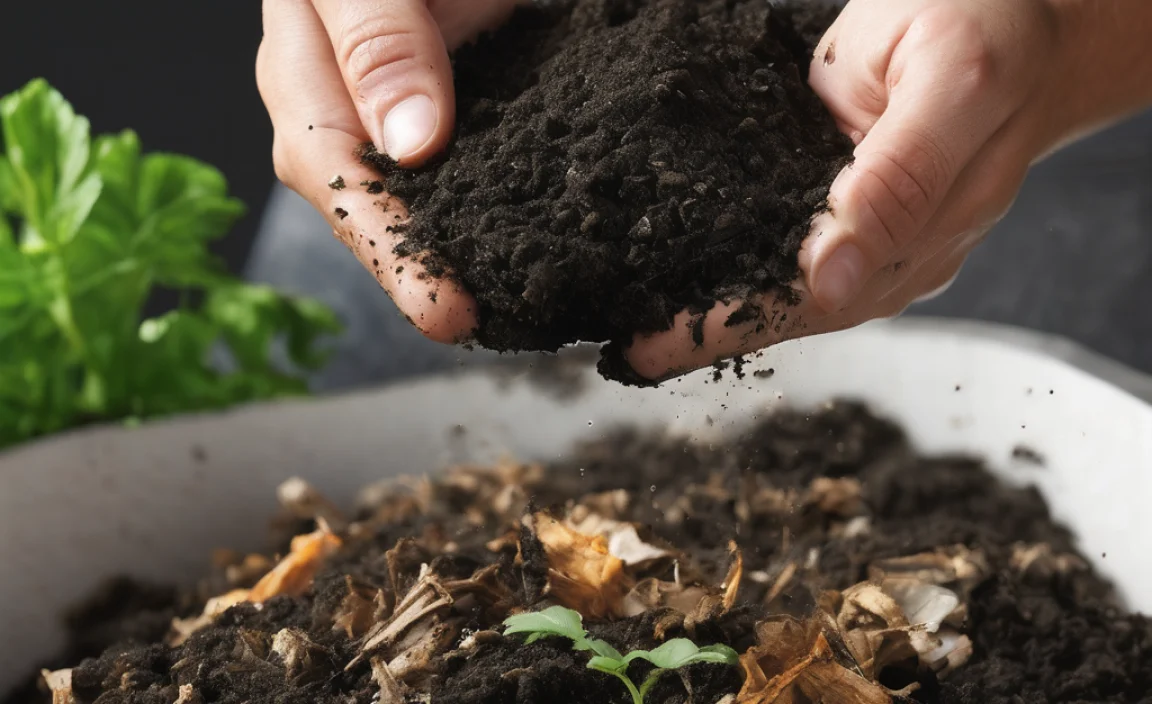
So, you’ve got a shiny new compost tumbler, ready to turn kitchen scraps into black gold for your garden. Awesome! But maybe things aren’t as speedy or sweet-smelling as you hoped. Don’t sweat it! Compost tumblers can be a little finicky at first. Many folks run into the same little hiccups. We’ll walk through these common compost tumbler mistakes and show you exactly how to fix them. Get ready for better compost, faster!
Compost Tumbler Mistakes: Essential Fixes for Beginner Gardeners
Welcome to the world of composting with a tumbler! It’s a fantastic way to recycle and enrich your soil. But sometimes, our tumblers don’t perform as expected. You might be seeing slow decomposition, stinky smells, or a messy pile. These are usually signs that something in your compost recipe or process needs a little tweaking. Think of it like baking – one wrong ingredient or step, and the whole cake can be off. The good news is, most compost tumbler issues are super common and have simple, straightforward solutions. Let’s break down those potential pitfalls and get your tumbler working like a champ!
Why Do Compost Tumblers Sometimes Go Wrong?
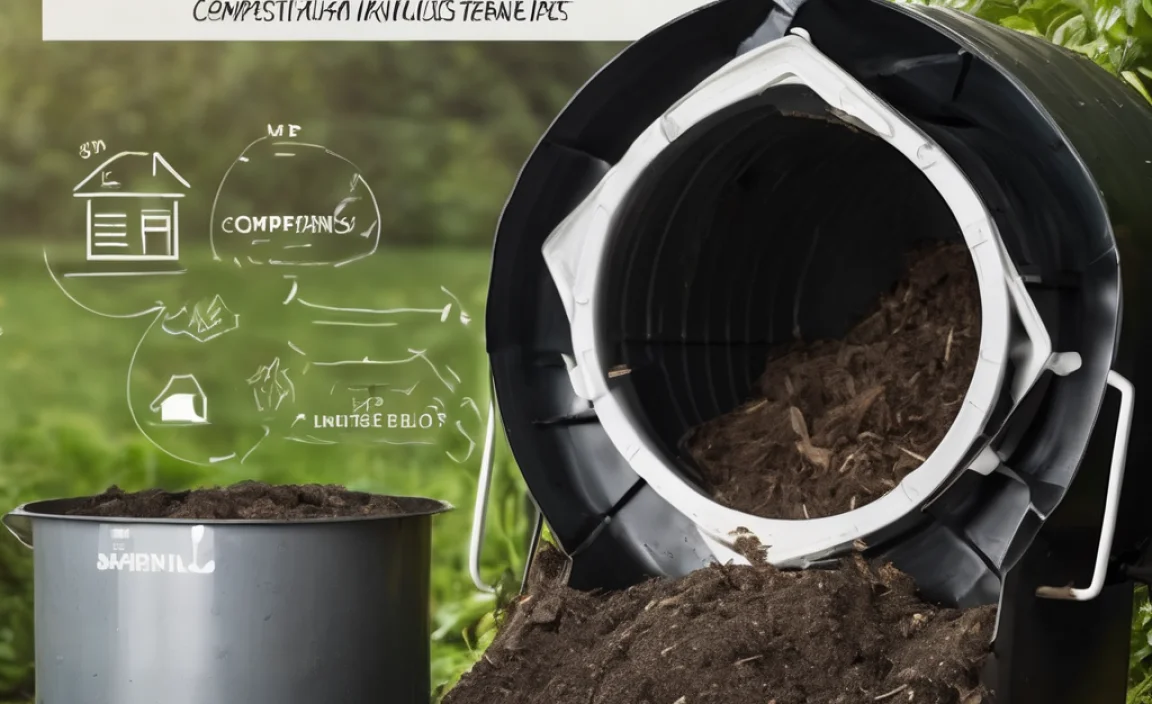
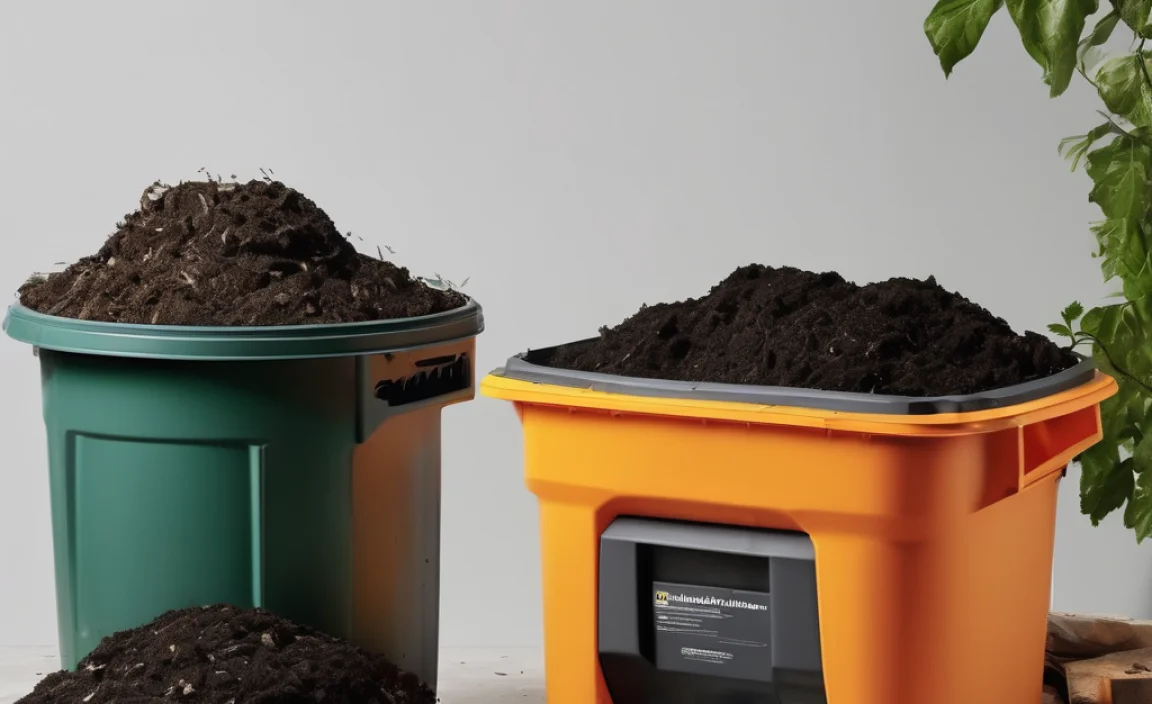
Compost tumblers are designed to speed up the natural composting process by aerating and mixing your organic materials. They offer a convenient, contained way to compost, especially for those with limited space or who want to keep critters out. However, the balance of ingredients, moisture, and air is crucial. When this balance is off, decomposition slows down, and undesirable results like bad odors or a slimy mess can occur. Understanding the key elements of good compost is the first step to avoiding and fixing these problems.
Common Compost Tumbler Mistakes and Their Easy Fixes
Let’s dive into the most frequent issues gardeners encounter with their compost tumblers and the practical ways to sort them out so you can get back to making that fantastic compost.
Mistake 1: The “Stinky Pile” Problem
This is probably the most common woe. A foul, ammonia-like, or rotten egg smell usually means one of two things: either your compost is too wet, or it doesn’t have enough air. Think of it like a swamp – things get anaerobic (lack of oxygen) and smelly when they’re waterlogged and suffocating.
The Fixes:
- Add More “Browns”: Compost needs a good mix of nitrogen-rich “greens” (like kitchen scraps, grass clippings) and carbon-rich “browns” (like dry leaves, shredded cardboard, straw). If it smells bad, you likely have too many greens for the amount of browns. Toss in more shredded newspaper, dry leaves, or sawdust to absorb excess moisture and balance the carbon-to-nitrogen ratio. A good rule of thumb is about 2-3 parts browns to 1 part greens.
- Improve Aeration: For tumblers, this means turning them more often. Aim to give your tumbler a good spin at least 2-3 times a week. If the material inside seems really compacted, you might need to use a compost aerator tool or even a sturdy stick to break up clumps and ensure air can circulate.
- Check Moisture Levels: Your compost should feel like a damp, wrung-out sponge. If it’s dripping wet, add more browns. If it seems bone dry (unlikely if it’s already smelly, but possible if it’s just not breaking down), add a bit of water. Aim for damp, not soggy.
External Link Tip: The EPA provides excellent resources on the science behind composting, including the ideal carbon-to-nitrogen ratio, which is key to avoiding smells.
Mistake 2: The “Slowpoke” Pile
Your tumbler is full, you’re turning it, but nothing seems to be happening. The materials are just sitting there, looking more or less the same. This usually boils down to issues with moisture, aeration, or an imbalance of compost ingredients.
The Fixes:
- Check Moisture: Too dry? Compost critters (worms, bacteria) can’t thrive. Add a little water in stages, turning the tumbler each time, until it feels like a damp sponge. Too wet? You’ll get that smell problem, but it can also hinder decomposition. Add more browns to soak up the excess liquid.
- Turn More Often: If you’re not turning regularly, you’re not providing enough oxygen. Increase your turning frequency to at least 2-3 times a week. For tumblers, this is where their design really shines – just give it a good roll!
- Chop Materials Smaller: Larger items break down much slower. If you’re tossing in whole fruit rinds, large vegetable stalks, or big chunks of cardboard, they’ll take ages. Chop or shred your “greens” and “browns” into smaller pieces (1-2 inches) before adding them to the tumbler. This increases the surface area for microbes to work on.
- Add an “Activator”: Sometimes, a pile needs a little kickstart. You can add activators like finished compost, a shovel full of garden soil, or even mature manure. These introduce beneficial microbes that speed up the decomposition process.
Mistake 3: The “Slimy and Gooey” Mess
This often happens when there’s too much nitrogen-rich material (“greens”) and not enough carbon (“browns”), coupled with too much moisture. This creates a thick, slimy layer that prevents air circulation and slows everything down.
The Fixes:
- Add Lots of Browns: This is your go-to solution. Shredded cardboard, dry leaves, straw, and sawdust are your friends here. Mix them in thoroughly to absorb the excess moisture and balance the C:N ratio. You might need a good amount to combat the sliminess.
- Turn it Out and Aerate: If it’s really bad, you might need to empty the tumbler. Spread the slimy material out on a tarp, break up any clumps, and mix in a generous amount of browns. Let it air out a bit before putting it back in the tumbler.
- Ensure Good Drainage: While less of an issue with closed tumblers, make sure your tumbler isn’t sitting in a puddle. Proper drainage prevents water from accumulating.
Mistake 4: Not Enough Material (The “Empty Tumbler” Syndrome)
Many tumblers work best when they are at least half to two-thirds full. If your tumbler is mostly empty, the contents don’t mix or heat up effectively. This leads to slow composting.
The Fixes:
- Fill it Up: If your tumbler is new and empty, start adding materials. Collect kitchen scraps and yard waste over a week or two until you have a good volume.
- Use a Smaller Tumbler: If you consistently don’t produce enough compostable material to fill your current tumbler, consider a smaller model for future purchases.
- “Top Off” with Browns: While you wait to gather more greens, fill up excess space with dry leaves or shredded cardboard. This keeps the material contained, helps with moisture absorption, and ensures better mixing when you do add new scraps.
Mistake 5: Incorrect Turning Technique
Tumblers make turning easy, but there’s still a right and wrong way. Simply giving it one or two quick spins might not be enough to truly mix and aerate the contents. You want to ensure the material on one side moves to the other, and the material at the top and bottom gets mixed in.
The Fixes:
- Spin Generously: Give your tumbler at least 5-10 full rotations each time you turn it. Imagine you’re mixing a big cake batter – you want everything combined.
- Turn Regularly: Stick to a schedule of turning 2-3 times per week, or more if you’re trying to speed things up. Consistency is key.
- Observe the Mix: After turning, if you can see large clumps or distinct layers of different materials, you may need to turn more or consider opening it up to mix with a tool if the tumbler design allows.
Mistake 6: Adding the Wrong Stuff
Not everything belongs in a compost tumbler. Adding items that don’t break down well, attract pests, or introduce pathogens can cause problems.
The Fixes:
- Stick to Comportable Items: Focus on kitchen scraps (vegetable peels, fruit bits, coffee grounds, tea bags – no meat, dairy, or oily foods) and yard waste (grass clippings, leaves, small twigs, shredded paper/cardboard).
- Avoid Problematic Materials:
- Meat, fish, bones, dairy products: Attract pests and can create foul odors.
- Oils, grease, fatty foods: Slow decomposition, can cause odors, and attract pests.
- Diseased plants: Can spread diseases in your garden.
- Weeds that have gone to seed: You’ll end up planting them in your garden.
- Pet waste (dog/cat feces): May contain harmful pathogens.
- Chemically treated yard waste: Pesticides and herbicides can harm beneficial microbes and contaminate your compost.
- Know Your Tumbler’s Limits: Some tumblers are better suited for finer materials. Large, woody items might need to be shredded or composted elsewhere.
Reputable Tool Resource: For advice on tools that can help manage your compost pile, including aerators, check out resources from well-regarded garden supply retailers or cooperative extension sites. For example, many university extension programs offer fantastic local advice.
The Ideal Compost Tumbler Mix: A Quick Guide
Getting the balance right is crucial. Here’s a simple breakdown to help you visualize the ideal input:
| Category | Examples | Role | Common Mistakes |
|---|---|---|---|
| Greens (Nitrogen-Rich) | Fruit and vegetable scraps, coffee grounds, tea bags, fresh grass clippings, plant trimmings | Provide nitrogen, moisture, and heat for decomposition. | Too many = Stinky, slimy pile. |
| Browns (Carbon-Rich) | Dry leaves, shredded newspaper/cardboard, straw, sawdust, twigs | Provide carbon, absorb moisture, create air pockets, balance the greens. | Too many = Slow decomposition. |
| Water | Rainwater, tap water | Essential for microbial activity. Aim for damp, not soggy. | Too much = Stinky, slimy. Too little = Slow, dry. |
| Air | Oxygen from turning and porous materials | Essential for aerobic microbes to work efficiently without smell. | Lack of air = Anaerobic decomposition, stinky. |
Troubleshooting Table: Quick Fixes at a Glance
Here’s a handy reference for when you encounter a problem.
| Problem | Likely Cause | Primary Fix | Secondary Fixes |
|---|---|---|---|
| Bad Smell (Ammonia/Rotten Eggs) | Too wet, not enough air (anaerobic) | Add browns (leaves, cardboard); Turn more often | Check materials added (remove meat/dairy); Ensure tumbler drains |
| Slow Decomposition | Too dry, not enough greens, not enough turning | Add water; Add more greens; Turn more frequently | Chop materials smaller; Add compost activator (soil/finished compost) |
| Slimy/Gooey Texture | Too much moisture, too many greens, poor aeration | Add lots of browns; Turn thoroughly (consider airing out if severe) | Ensure tumbler isn’t sitting in water |
| Pile Too Dry & Not Heating Up | Insufficient moisture, too many browns | Add water gradually while turning | Add more greens; ensure tumbler is sealed to retain moisture |
| Pests (Flies, Rodents) | Improper materials added (meat, dairy, oils), exposed food scraps | Remove offending materials; Ensure lid is secure; Bury fresh scraps in browns | Turn pile to heat it up and kill larvae |
Conclusion: Happy Composting Ahead!
There you have it – a complete guide to tackling those common compost tumbler hiccups! Remember, composting is a natural process, and sometimes it needs a little nudge in the right direction. By paying attention to the balance of greens and browns, moisture levels, and ensuring good aeration, you’ll be well on your way to producing fantastic, nutrient-rich compost for your garden. Don’t get discouraged if your first few batches aren’t perfect. Every gardener experiences a learning curve. Keep experimenting, keep turning, and most importantly, keep enjoying the rewarding journey of turning waste into garden gold.
Frequently Asked Questions About Compost Tumblers
Let’s clear up some common beginner questions.
How often should I turn my compost tumbler?
For best results and faster composting, aim to turn your tumbler 2-3 times per week. If you’re in a hurry, turning it daily can speed things up even more. If you’re less concerned about speed, once a week is the minimum to ensure good aeration.
What should my compost tumbler smell like?
A healthy compost tumbler should smell earthy, like dirt after a rain. If it smells foul or like ammonia, it’s a sign of imbalance, usually too much moisture or not enough air.
How long does it take to make compost in a tumbler?
With good management (balanced ingredients, regular turning, and correct moisture), you can have finished compost in as little as 4-8 weeks. On average, it might take 2-4 months. Factors like the size of your materials, ambient temperature, and how often you turn it all play a role.
Can I put citrus peels in my compost tumbler?
Yes, you can! Citrus peels are a great addition. While their acidity might slightly slow down decomposition initially, they are generally fine in moderation and add good nutrients. Just make sure you have enough “browns” to balance them out.
My compost is too wet. What should I do?
This is a common issue. The best fix is to add more “brown” carbon-rich materials like shredded cardboard, dry leaves, straw, or sawdust. Mix them in thoroughly. You may also need to turn your tumbler more frequently to help it dry out and aerate.
My compost seems too dry and isn’t breaking down. What’s wrong?
Your compost microbes need moisture to do their work. If the pile is too dry, decomposition will halt. Gradually add water while turning the tumbler. Aim for a consistency that feels like a damp, wrung-out sponge. You might also need to add more nitrogen-rich “green” materials to help get the process going again.
Is it okay to put eggshells in my compost tumbler?
Definitely! Eggshells are a great source of calcium, which is beneficial for your soil. It helps to crush or rinse them first, as whole eggshells can take a while to break down. Blending them into a powder will speed up how quickly their nutrients become available.
.lwrp.link-whisper-related-posts{
margin-top: 40px;
margin-bottom: 30px;
}
.lwrp .lwrp-title{
}.lwrp .lwrp-description{
}
.lwrp .lwrp-list-container{
}
.lwrp .lwrp-list-multi-container{
display: flex;
}
.lwrp .lwrp-list-double{
width: 48%;
}
.lwrp .lwrp-list-triple{
width: 32%;
}
.lwrp .lwrp-list-row-container{
display: flex;
justify-content: space-between;
}
.lwrp .lwrp-list-row-container .lwrp-list-item{
width: calc(25% – 20px);
}
.lwrp .lwrp-list-item:not(.lwrp-no-posts-message-item){
max-width: 150px;
}
.lwrp .lwrp-list-item img{
max-width: 100%;
height: auto;
object-fit: cover;
aspect-ratio: 1 / 1;
}
.lwrp .lwrp-list-item.lwrp-empty-list-item{
background: initial !important;
}
.lwrp .lwrp-list-item .lwrp-list-link .lwrp-list-link-title-text,
.lwrp .lwrp-list-item .lwrp-list-no-posts-message{
}@media screen and (max-width: 480px) {
.lwrp.link-whisper-related-posts{
}
.lwrp .lwrp-title{
}.lwrp .lwrp-description{
}
.lwrp .lwrp-list-multi-container{
flex-direction: column;
}
.lwrp .lwrp-list-multi-container ul.lwrp-list{
margin-top: 0px;
margin-bottom: 0px;
padding-top: 0px;
padding-bottom: 0px;
}
.lwrp .lwrp-list-double,
.lwrp .lwrp-list-triple{
width: 100%;
}
.lwrp .lwrp-list-row-container{
justify-content: initial;
flex-direction: column;
}
.lwrp .lwrp-list-row-container .lwrp-list-item{
width: 100%;
}
.lwrp .lwrp-list-item:not(.lwrp-no-posts-message-item){
max-width: initial;
}
.lwrp .lwrp-list-item .lwrp-list-link .lwrp-list-link-title-text,
.lwrp .lwrp-list-item .lwrp-list-no-posts-message{
};
}
Related Posts
- Best Quiet 8 Gallon Air Compressor: Essential Guide
- Top Home Composting Suppliers for Eco-Friendly Living
- Anaerobic Composting Step By Step: Essential Guide
- Bokashi Composting Suppliers: Essential Guide
- Boost Your Farm: Best Compost Bin for Rural Areas
Compost Bin in Philippines: Essential Guide
What Does 100 mg/dL Protein in Urine Mean? Powerful Info- Static Pile Composting Course: Essential Guide

I am passionate about home engineering. I specialize in designing, installing, and maintaining heating, ventilation, and air conditioning systems. My goal is to help people stay comfortable in their homes all year long.