Compost Tumbler PDF: Your Easy Guide to Faster Composting
Feeling overwhelmed by kitchen scraps and yard waste? Want to turn that pile into valuable garden food, but don’t have all day to turn compost? A compost tumbler might be just the ticket! Many folks get tripped up trying to find the best way to speed up composting. It can seem complicated, but it’s actually quite simple. We’re going to break down everything you need to know about compost tumbler PDFs, making it easy to get started. You’ll be making rich compost in no time!
What Exactly is a Compost Tumbler?
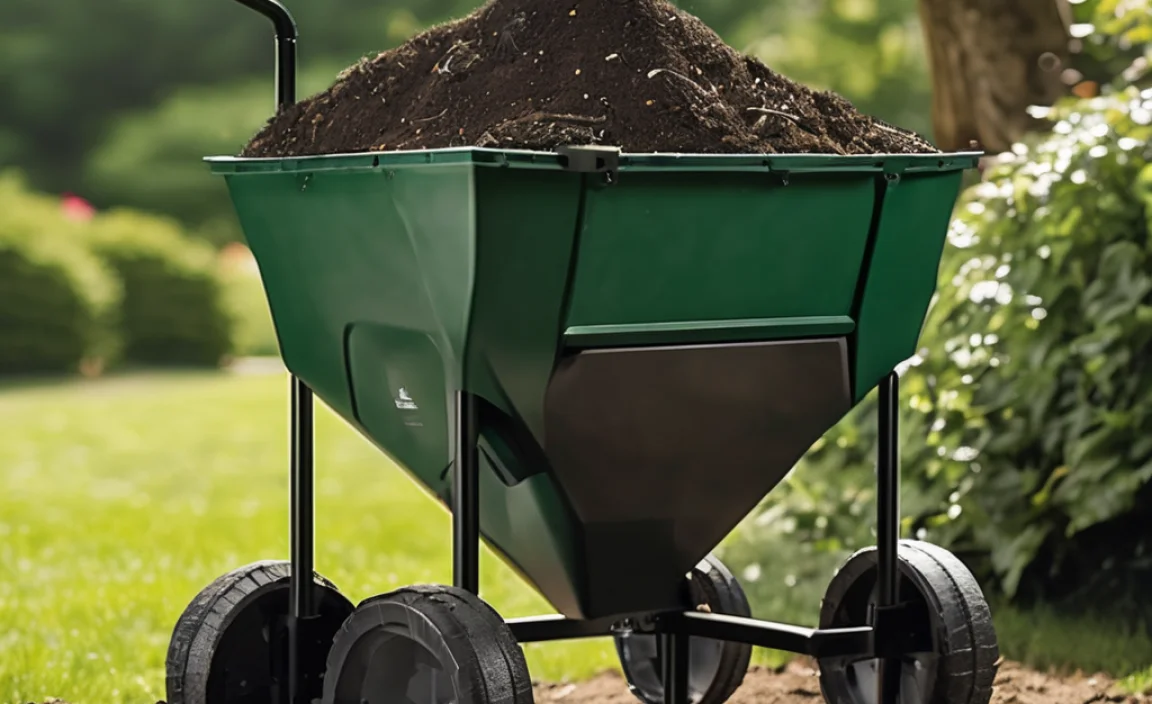
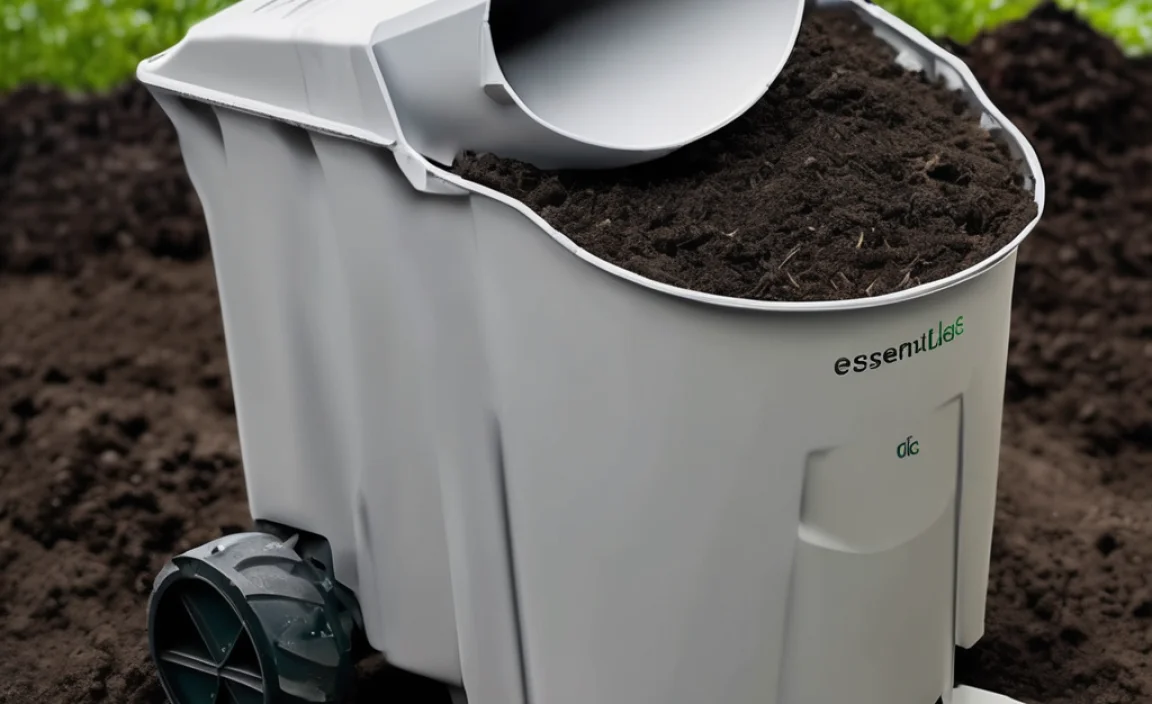
Think of a compost tumbler as a sealed bin that you can easily rotate. This rotation is the key! Instead of manually turning a compost pile, you just give the tumbler a spin every few days. This mixes the contents, introduces oxygen, and helps all the good microbes do their work faster. It’s a neat and tidy way to compost, keeping critters out and your yard looking tidy. Plus, it’s way quicker than traditional methods.
Why a Compost Tumbler PDF?
You might be wondering why we’re talking about a “PDF.” Well, many great compost tumbler designs and plans are available online as downloadable PDF files. These PDFs are like digital blueprints. They can guide you through building your own tumbler or help you understand how to best use a purchased one. Think of it as a handy instruction manual right at your fingertips!
These downloadable guides are fantastic because they often include:
- Step-by-step assembly instructions (if building your own)
- Lists of materials and tools needed
- Diagrams and visuals to make things clear
- Tips on what to compost and what to avoid
- Advice on troubleshooting common composting issues
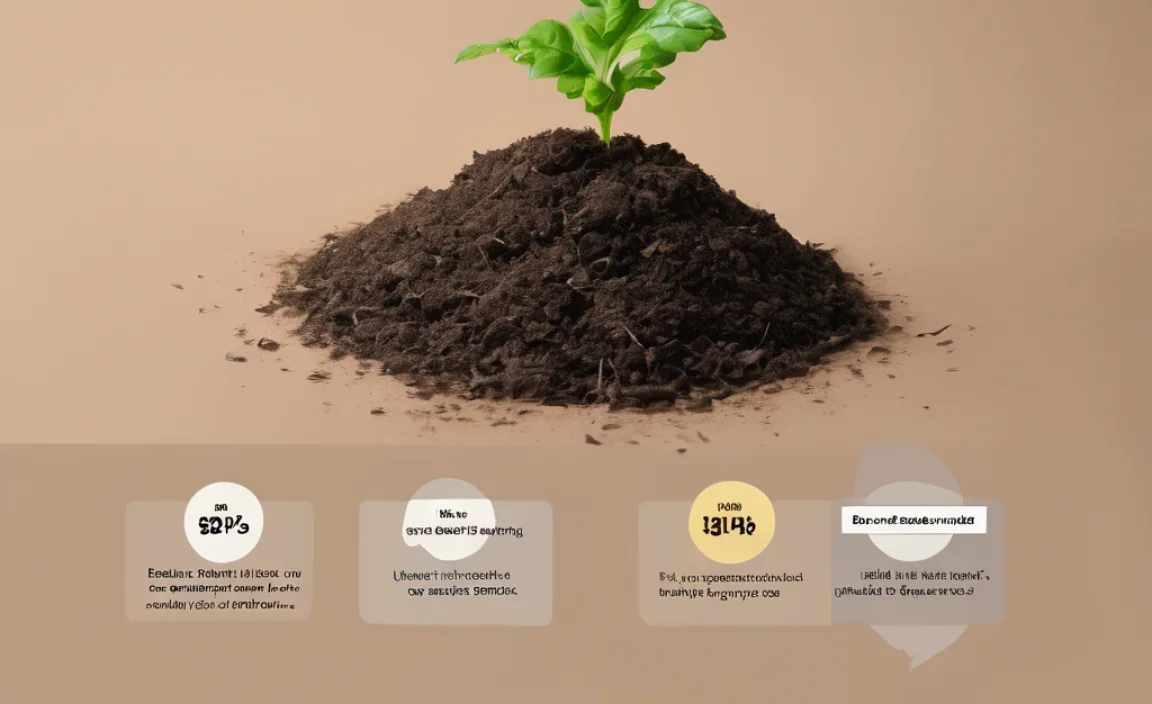
Benefits of Using a Compost Tumbler
Compost tumblers offer a bunch of advantages over traditional open-air compost piles. They really make the process more accessible and less messy for home gardeners.
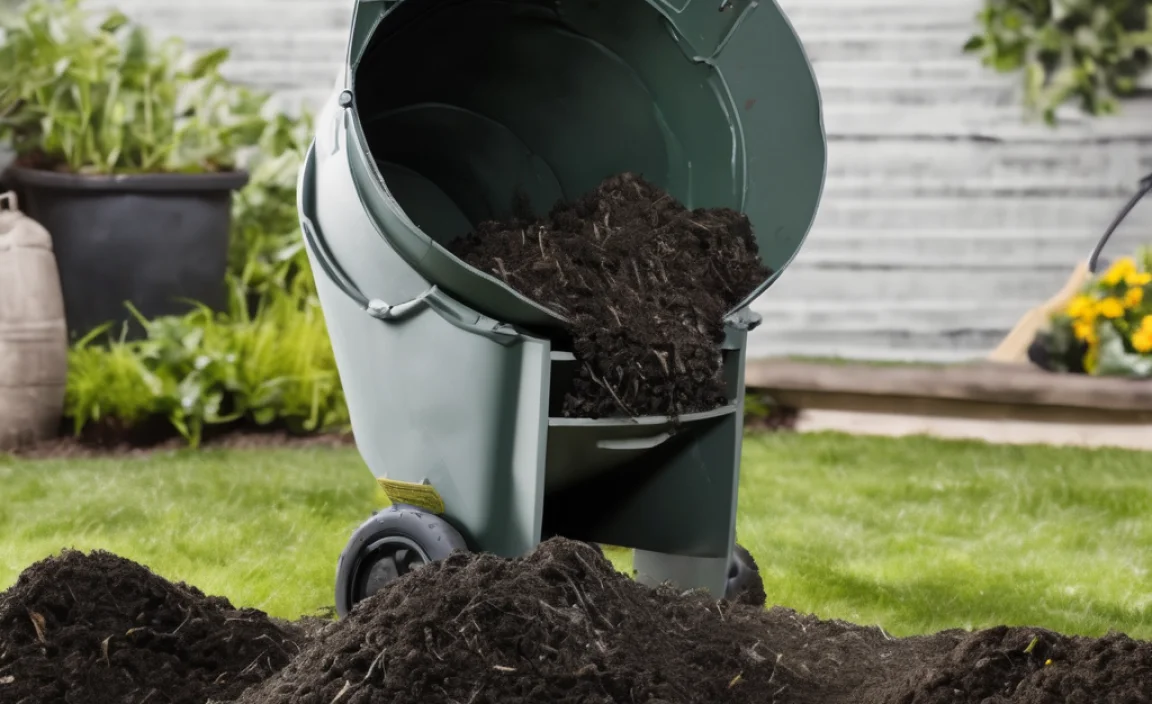
Speed Up the Composting Process
This is a big one! By regularly mixing and aerating the compost, tumblers can produce finished compost in as little as 4-8 weeks. Traditional piles can take several months, sometimes even up to a year. The constant turning action in a tumbler provides the oxygen that decomposers (like bacteria and fungi) need to break down organic matter quickly.
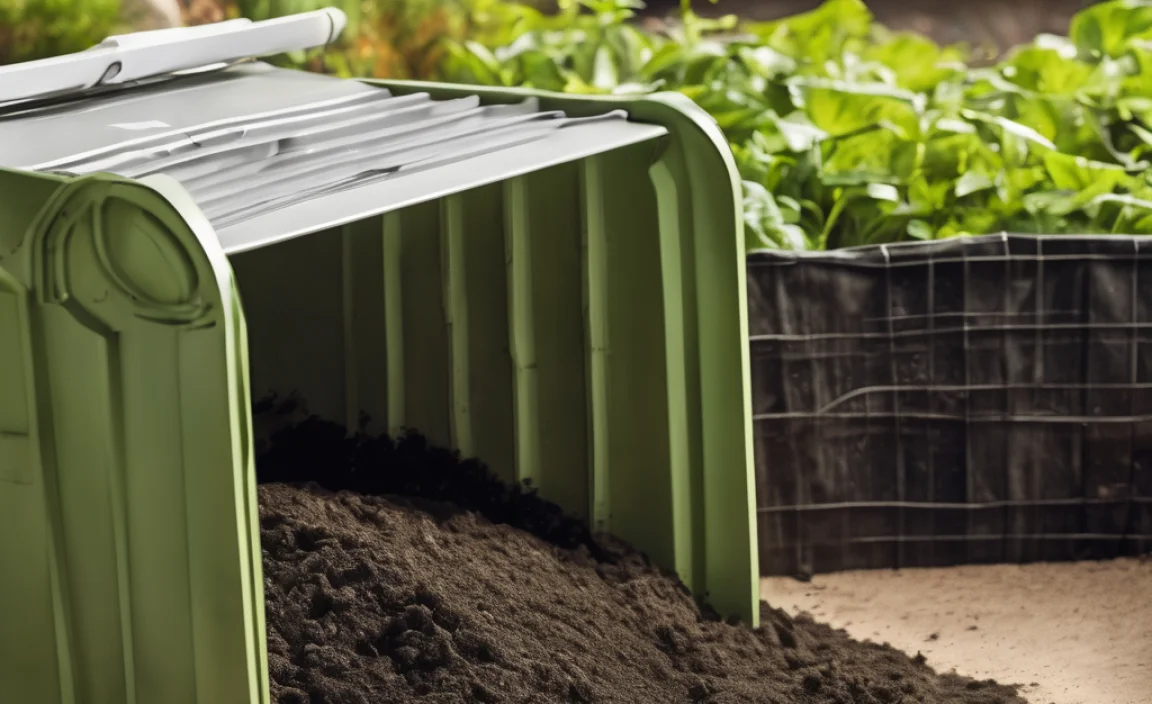
Keeps Pests Away
One of the most frustrating things about composting can be attracting unwanted visitors like rodents, raccoons, and flies. Because tumblers are enclosed and usually elevated off the ground, they offer a much better barrier against pests. This is especially important if you live in an urban or suburban area where pest problems are more common.
Neat and Tidy Appearance
Compared to a sprawling compost pile, a compost tumbler looks much tidier. It contains everything neatly within the bin, making it a more attractive option for smaller yards or for those who prefer a more organized aesthetic. No more messy piles that can look unappealing.
Easy to Manage
Manually turning a large compost pile can be hard work. With a tumbler, you simply give it a few turns. Most tumblers are designed to be easily rotated, often with a handle or by simply pushing the barrel. This makes composting accessible to people of all ages and physical abilities.
Weather Resistance
Enclosed tumblers protect your compost from excessive rain, which can make a pile too wet and slow down decomposition, or from drying out too much in hot, dry weather. This helps maintain the ideal moisture balance for efficient composting.
Types of Compost Tumblers and Where to Find PDFs
Compost tumblers come in various designs, and so do the PDFs that can help you with them. Understanding these can help you decide if you want to buy one or build one.
Single-Chamber Tumblers
These are the simplest design. They have one large drum that you fill with materials. Once it’s full, you start tumbling it until the compost is ready. The downside is you can’t add new material while the current batch is composting, which can slow down your overall compost production if you have a lot of waste.
Dual-Chamber Tumblers
These are very popular for a reason. They have two separate compartments. You fill one side until it’s full, then you start adding material to the second side. While the second side is filling, the first side is actively composting and maturing. This allows for a continuous cycle of adding fresh scraps and harvesting finished compost. Many DIY plans available as PDFs are for dual-chamber models because they offer the best of both worlds.
Multi-Chamber Tumblers
Some tumblers have three or more chambers, allowing for even more sophisticated composting stages – from adding fresh materials to actively composting to curing finished compost. These are less common for DIY projects but can be found in commercial models.
Finding “Compost Tumbler PDF” Plans
When you search online for “compost tumbler PDF,” you’ll find a mix of free and paid resources. Free PDFs are often from gardening blogs, university extension offices, or DIY websites. They’re great for basic designs and understanding the principles. For example, many university cooperative extension services offer excellent free guides on composting, and sometimes these include plans or ideas for DIY tumblers. You can often find these by searching “[Your State] University Extension Composting” or “DIY Compost Tumbler Plans PDF”.
Paid plans or kits might offer more detailed instructions, professional drawings, or specific designs for commercial tumblers. If you’re looking to build a sturdy, efficient tumbler from scratch, investing in a well-documented PDF can save you time and prevent mistakes.
Building Your Own Compost Tumbler: What You’ll Need
Deciding to build your own compost tumbler is an empowering choice! It can save you money and let you customize it to your needs. Most DIY plans are designed to be built with common tools and readily available materials. Here’s a general idea of what you might need, but always refer to your specific PDF plan for exact lists.
Common Materials
- Container: Often a food-grade plastic barrel (like a 55-gallon drum) is used. Ensure it’s clean and safe for food contact.
- Frame: Wood (like 2x4s or 4x4s) or metal pipes are common for supporting and allowing the barrel to spin.
- Axle/Rod: A sturdy metal rod or pipe that runs through the center of the barrel to act as an axle for rotation.
- Hardware: Screws, bolts, nuts, washers, and possibly hinges for a door or lid.
- Optional: Cranks or handles for easier turning, casters for mobility (if the frame is elevated).
Basic Tools You Might Need
- Drill with various drill bits
- Screwdriver or impact driver
- Saw (hand saw, circular saw, or miter saw, depending on the frame material)
- Measuring tape
- Level
- Wrench or socket set
- Safety glasses and gloves
Step-by-Step (General Idea – Refer to Your PDF!)
While every PDF plan is slightly different, here’s a general walkthrough of what building a simple barrel tumbler usually involves:
- Prepare the Barrel: Clean the barrel thoroughly. Cut an opening for adding and removing compost. You might also need to drill small ventilation holes near the top and bottom.
- Install the Axle: Drill a hole precisely in the center of the top and bottom of the barrel. Insert your metal rod or pipe to serve as the axle.
- Build the Stand: Construct a sturdy frame (usually from wood) that will hold the barrel off the ground and cradle the axle. This frame needs to be stable and the right height for easy turning.
- Mount the Barrel: Place the barrel onto the frame, ensuring the axle fits securely into the frame’s supports. Attach any hardware to keep it from sliding off.
- Add a Turning Mechanism (Optional): If your plan includes it, add a crank or handle that attaches to the axle or the barrel itself to make rotation easier.
- Secure the Door: If you cut out a large opening, you’ll need a way to secure it. This might be a simple flap held with bungee cords or a more elaborate hinged door with latches.
Remember, safety first! Always wear protective gear and follow the instructions in your specific PDF plan. For more detailed, step-by-step instructions with diagrams, you can often find excellent resources from places like Oregon State University Extension or YouTube tutorials which sometimes link to full PDF plans.
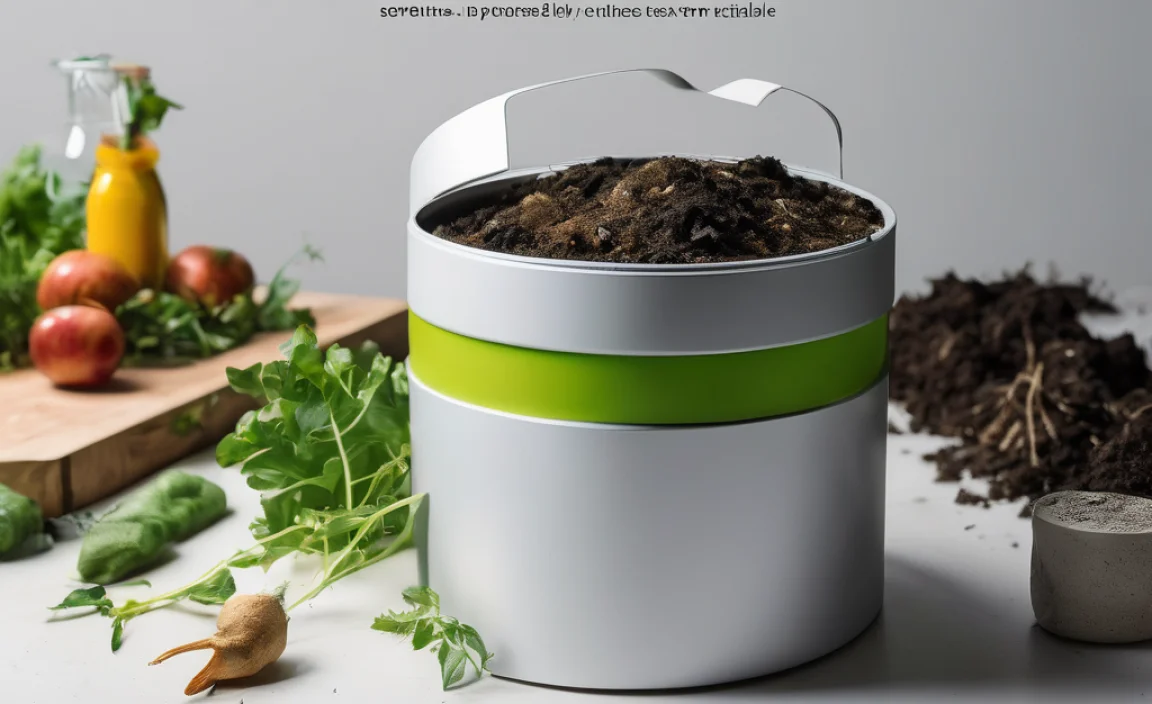
Using Your Compost Tumbler Effectively
Getting a tumbler is just the first step. To get the best results, you need to use it properly. Think of compost as a recipe – you need the right ingredients and the right conditions.
The “Greens” and “Browns” Ratio
Successful composting relies on a good mix of nitrogen-rich “greens” and carbon-rich “browns.” Aim for roughly a 1:2 or 1:3 ratio of greens to browns by volume. Too much green can make it slimy and smelly, while too much brown will make it compost very slowly.
Greens (Nitrogen-Rich)
- Fruit and vegetable scraps
- Coffee grounds and tea bags
- Grass clippings (in moderation, avoid thick layers)
- Plant trimmings (non-diseased)
- Manure from herbivores (cow, horse, chicken, rabbit – ensure it’s well-aged or from healthy animals)
Browns (Carbon-Rich)
- Dry leaves
- Shredded newspaper and plain cardboard (avoid glossy print)
- Straw and hay
- Wood chips and sawdust (use sparingly, especially from treated wood)
- Paper towel and toilet paper rolls
- Pine needles
What NOT to Compost
To keep your compost healthy and avoid attracting pests or bad odors, steer clear of:
- Meat, fish, and bones
- Dairy products and greasy foods
- Diseased plants or weeds that have gone to seed
- Human or pet waste (from cats and dogs)
- Treated wood products
- Coal ash or charcoal briquettes
Moisture and Aeration
Your compost needs to be moist, but not soaking wet. It should feel like a wrung-out sponge. If it’s too dry, add a little water. If it’s too wet, add more browns. Tumblers are great for aeration because turning them mixes everything. Aim to turn your tumbler every 2-3 days, especially when you’re actively adding new material. This helps the microorganisms thrive.
Location, Location, Location
Place your tumbler in a convenient spot. Some sun can help heat it up, speeding decomposition, but too much intense sun might dry it out too quickly. A location that’s partially shaded and easy to access from your kitchen and garden is ideal. Make sure there’s enough space around it to turn it freely.
Troubleshooting Common Compost Tumbler Issues
Even with the best intentions, sometimes things happen. Here are common issues and how to fix them, often covered in detail in good compost tumbler PDFs.
Related Posts

I am passionate about home engineering. I specialize in designing, installing, and maintaining heating, ventilation, and air conditioning systems. My goal is to help people stay comfortable in their homes all year long.