Hey there, fellow home enthusiasts! Troy D Harn here from TopChooser, ready to demystify another home project for you. Sometimes, getting started with something new, like composting in a tumbler, can feel a bit overwhelming. You might be wondering, “How long does it really take?” or “Am I doing this right?” Don’t sweat it!
It’s actually simpler than you think. We’re going to break down everything you need to know about compost tumbler time, making it easy and even fun. Stick around, and we’ll have you churning out fantastic compost in no time!
Compost Tumbler Time: Your Essential Guide to Faster, Easier Composting
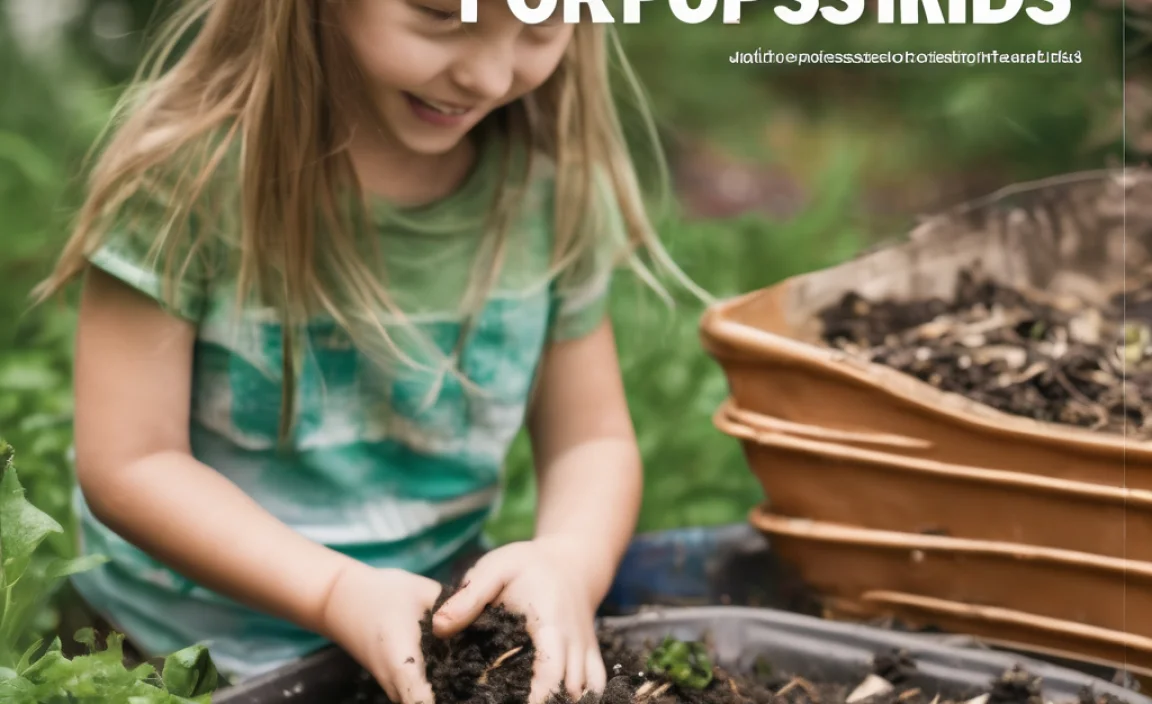
So, you’ve got a compost tumbler, and you’re ready to turn kitchen scraps and yard waste into gardener’s gold. That’s fantastic! Composting is one of the best ways to reduce waste and enrich your garden soil naturally. But the big question on everyone’s mind is:
How Long Does Composting in a Tumbler Actually Take?
The honest answer? It varies! But that’s where this guide comes in. We’ll help you understand all the factors that influence your compost tumbler’s timeline and how you can speed things up. Think of your compost tumbler as a mini composting factory. Like any factory, its output speed depends on how well it’s run and the quality of the materials it’s working with.
On average, compost tumblers can produce finished compost much faster than traditional piles, often in as little as 4 to 8 weeks. This is mainly because they are designed to promote aeration and heat, two key ingredients for quick decomposition.
Why is Compost Tumbler Time Different from a Pile?
Traditional compost piles can take anywhere from 6 months to two years to break down completely. So why the big difference with tumblers?
- Aeration: Tumblers are designed to be turned. This introduces oxygen, which is vital for the aerobic bacteria that break down organic matter. Without enough oxygen (anaerobic conditions), composting slows down and can produce unpleasant odors.
- Heat Retention: Many tumblers are made from dark plastic, which absorbs sunlight and heats up. Higher temperatures speed up the decomposition process significantly.
- Moisture Control: While tumblers can sometimes dry out faster, they also make it easier to manage moisture levels by trapping heat and preventing excessive rainfall from waterlogging the contents.
- Protection: Tumblers keep animals out and can protect your compost from extreme weather, which can also hinder decomposition.
Key Factors Affecting Your Compost Tumbler’s Speed
Think of these as the dials you can adjust to influence how quickly your compost is ready. Getting these right will dramatically impact your “compost tumbler time.”
- The “Greens” and “Browns” Ratio: This is arguably the MOST important factor. You need a good balance of nitrogen-rich “greens” and carbon-rich “browns.”
- Greens (Nitrogen-Rich): These are typically moist materials. Think fruit and vegetable scraps, coffee grounds, tea bags, grass clippings, and fresh plant trimmings. They provide the nitrogen that “feeds” the microbes.
- Browns (Carbon-Rich): These are dry, woody materials. Think dried leaves, straw, shredded cardboard, shredded newspaper, twigs, and wood chips. They provide the carbon and help create air pockets.
The Ideal Ratio: Aim for roughly 2 parts Browns to 1 part Greens by volume. Too many greens can lead to a soggy, stinky mess. Too many browns will make your compost break down very slowly. It’s like a chef needing the right ingredients in the right amounts for a perfect dish!
- Moisture Level: Your compost needs to be damp, like a wrung-out sponge. Too dry, and the decomposition process grinds to a halt. Too wet, and it can become anaerobic (stinky).
- Too Dry? Add more kitchen scraps (greens) or a little water.
- Too Wet? Add more dry materials like shredded cardboard, dry leaves, or sawdust.
How to Test: Grab a handful of your compost. Does a little water drip out when you squeeze it? If yes, it’s probably about right. If it’s soaking wet, add browns. If it crumbles apart and feels dry, add greens or a splash of water.
- Aeration (Turning): This is where the “tumbler” part really shines. Regularly turning your compost introduces oxygen, mixes the materials, and helps distribute moisture and heat.
- How Often? Aim to turn your tumbler every 2 to 3 days. The more frequently you turn it, the faster your compost will break down. Many tumblers have simple crank handles or doors to make this easy.
Why it Works: Oxygen is food for the beneficial microbes and fungi doing the heavy lifting. Without it, they can’t do their job efficiently, and you risk creating stinky, slow-composting conditions.
- Temperature: Compost microbes work best in warm environments. The ideal temperature range for active composting is between 130°F and 160°F (54°C to 71°C).
- Warmer is Faster: Higher temperatures significantly speed up decomposition.
- Insulation Helps: Tumblers made of thicker plastic or those designed with insulation can help retain heat.
- Location Matters: Placing your tumbler in a sunny spot will boost its internal temperature, especially during cooler months.
Signs of Heat: If your tumbler is working actively, you might even see steam rising from it when you open it, especially on a cool morning.
- Particle Size: The smaller the pieces of organic material, the larger the surface area available for microbes to work on.
- Chop It Up: Chop up large vegetable scraps, shred cardboard, and break up twigs before adding them to the tumbler. This drastically speeds up the breakdown process.
- What to Avoid: Very large items like whole corn cobs or thick branches will take a very long time to decompose.
Good Example: Think about how quickly a single leaf decomposes versus a whole log. The same principle applies to your compost bin!
- Type of Material: Not all organic materials are created equal when it comes to composting speed.
- Fast Decomposers: Grass clippings, fruit/veggie scraps, coffee grounds break down relatively quickly.
- Slow Decomposers: Woody materials, sawdust, and tough plant stalks take longer.
- What NOT to Compost: Avoid meat, dairy products, oily foods, diseased plants, and pet waste (from cats/dogs) as these can attract pests, create odors, or harbor harmful pathogens. For more on what to avoid, check out the EPA’s composting guidelines.
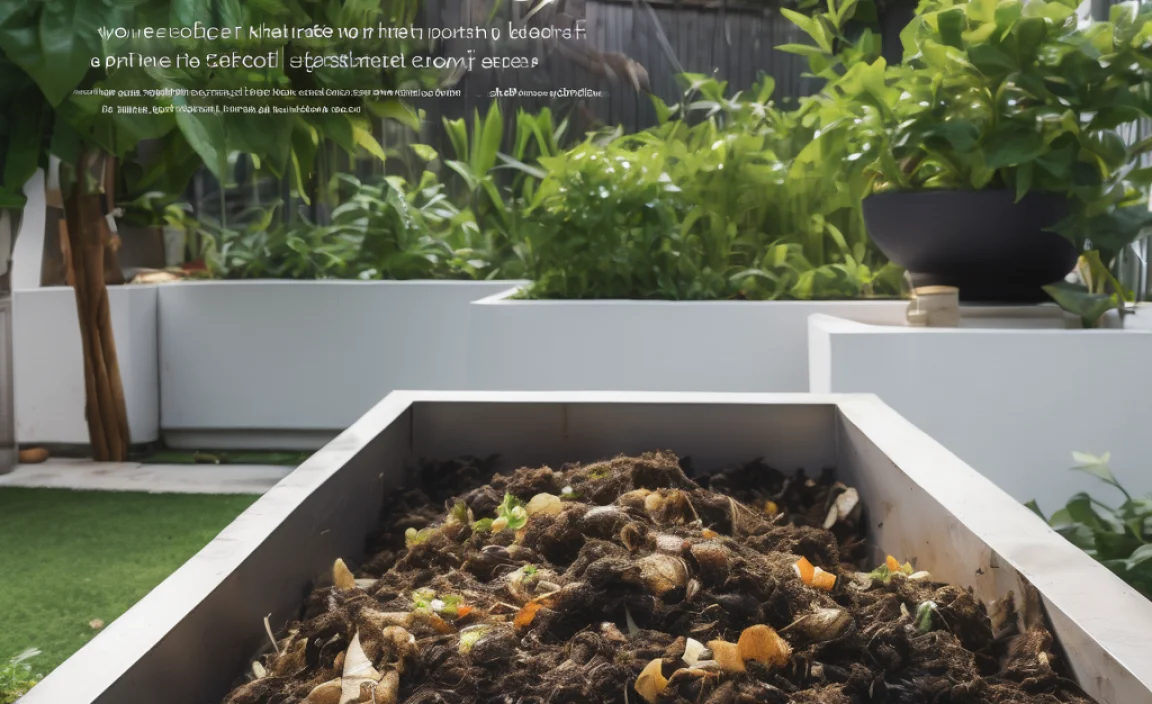
Understanding Your Compost Tumbler’s Lifecycle
Composting in a tumbler isn’t just about dumping and waiting. It’s a process with distinct stages, much like baking a cake. Knowing these stages helps you understand what’s happening inside and when your compost might be ready.
Stage 1: Active Decomposition (Weeks 1-4)
This is when the magic really starts. Microbes get to work, and if you’ve got the right mix of greens and browns, moisture, and air, you’ll start to see a significant reduction in volume. The mixture will heat up, sometimes considerably.
- What to Expect: Volume reduction, potential for heat generation (check with a compost thermometer if you have one!), and a consistent “earthy” smell.
- Your Role: Frequent turning (every 2-3 days), maintaining the right moisture level.
Stage 2: Curing (Weeks 4-8+)
Once the easily decomposable material has broken down, the temperature will start to drop. This is the curing phase. The remaining material continues to break down, and beneficial fungi and bacteria further refine the compost, making it rich and stable.
- What to Expect: The material becomes darker, crumbly, and recognizable food scraps or yard waste are no longer visible. The smell should be pleasant, like fresh soil.
- Your Role: You can turn less often here, perhaps once a week, or even let it sit.
Finished Compost: What to Look For
Your compost is ready when it:
- Looks dark brown and crumbly.
- Smells earthy and pleasant, like a forest floor after rain.
- No longer resembles the original food scraps or yard waste.
- The temperature has cooled down.
Tips and Tricks for Faster Composting
Want to shave weeks off your compost production time? Here are some pro tips:
- Chop, Chop, Chop: Seriously, the finer the materials, the faster they break down. Invest in a small hand chipper for twigs or just use scissors for kitchen scraps and paper.
- “Activate” with Compost Starter (Optional): You can buy compost activators, or “jump-start” your pile with a shovel full of finished compost or healthy garden soil. This introduces a good population of microbes to get things going.
- Mix Well: When adding new materials, try to mix them into the existing compost in the tumbler rather than just letting them sit on top.
- Keep it Full (but not Overstuffed): Tumblers work best when they are at least half full, so the contents can heat up effectively. However, don’t pack them so tight that you can’t turn them or allow air circulation.
- Use a Compost Thermometer: This simple tool can tell you if your compost is heating up properly, indicating active decomposition. You can find them at most garden centers or online. (Learn more about compost thermometers.)
- Screening: Once compost is “ready,” you can screen it through a mesh sieve to remove any larger, undiscovered bits that need more time. This gives you a finer, more uniform product for delicate plants.
Troubleshooting Common Compost Tumbler Issues
Even with the best intentions, sometimes things go a little awry. Here’s how to fix common compost tumbler problems:
Problem: It Smells Bad (Ammonia/Rotten Eggs)
Cause: Too much “green” material or too wet, leading to anaerobic conditions.
Solution: Add more “brown” materials (shredded cardboard, dry leaves, straw). Turn the tumbler thoroughly to aerate. Reduce moisture by adding more browns.
Problem: It’s Not Heating Up
Cause: Not enough “greens” (nitrogen), too dry, or too much volume to heat effectively.
Solution: Add more nitrogen-rich “greens” (grass clippings, kitchen scraps). Add water until it feels like a damp sponge. Ensure the tumbler is at least half full.
Problem: The Compost is Dry and Dusty
Cause: Not enough moisture, too many “browns,” or the tumbler is not sealed well and is drying out too quickly.
Solution: Add water slowly while turning the tumbler. Add more “greens” (moist kitchen scraps). If it’s very dry, you might need to add a bit more water than usual to rehydrate everything.
Problem: Decomposition is Very Slow
Cause: Imbalanced greens/browns, insufficient moisture, lack of aeration, or small particle size.
Solution: Review and adjust your greens-to-browns ratio. Check moisture more frequently. Turn more often. Chop materials into smaller pieces before adding.
Compost Tumbler vs. Other Composting Methods
It’s helpful to know where your tumbler fits in the larger composting world. Here’s a quick look:
| Method | Pros | Cons | Typical Time to Compost |
|---|---|---|---|
| Compost Tumbler | Fast decomposition, contained, pest-resistant, easy to turn, good for small spaces. | Can be more expensive, requires regular turning, smaller capacity can limit output, can dry out quickly. | 4 weeks – 4 months |
| Open Compost Pile | Largest capacity, can accept larger materials, generally cheapest to start. | Slow decomposition, can attract pests, can be unsightly, difficult to manage moisture and aeration, takes up more space. | 6 months – 2 years |
| Worm Composting (Vermicomposting) | Excellent for kitchen scraps, produces very nutrient-rich castings, can be done indoors or on balconies. | Requires specific types of worms (red wigglers), sensitive to temperature extremes, cannot process large volumes or woody materials. | 2 – 6 months for castings production |
| Bokashi Composting | Can compost meat, dairy, and oils; anaerobic fermentation makes it quick to process; can be done indoors. | Requires purchase of bran inoculant, produces a fermented product that needs further breakdown (usually buried or added to a compost pile), can have a strong smell if not managed. | 2 weeks for fermentation + 2-4 weeks for breakdown |
As you can see, compost tumblers hit a sweet spot for many home composters, balancing speed, convenience, and containment.
Maintaining Your Compost Tumbler
Your tumbler itself is pretty low-maintenance, but a little care goes a long way:
- Cleaning: Between batches, or if you notice build-up, give the inside a good scrub with soap and water.
- Checking for Damage: Periodically inspect the tumbler for cracks or leaks, especially around the doors or seams.
- Lubrication: If your tumbler has moving parts like a crank or hinges, a little lubricant might be needed to keep them working smoothly.
When is “Compost Tumbler Time” Over?
Compost tumbler time is complete when your “batch” has gone through the decomposition and curing phases. This means the material is dark, crumbly, and smells like earth. You’ll no longer be able to identify your original additions. It’s a satisfying moment! This usually takes anywhere from 4 weeks for a “hot” batch managed perfectly, to 3-4 months for a more “cold” or passive batch.
You can then empty the finished compost and start a new batch, or mix the finished compost into your garden beds.
Your compost tumbler is a fantastic tool for sustainable living, and with this guide, you’re well on your way to mastering “compost tumbler time.”
Frequently Asked Questions About Compost Tumbler Time
Q1: How often should I turn my compost tumbler?
A: For the fastest results, aim to turn your compost tumbler every 2 to 3 days. This provides essential oxygen for the microbes doing the work. If you’re less concerned about speed, once a week can still yield good results.
Q2: Can I put coffee grounds in my compost tumbler?
A: Yes! Coffee grounds are considered “greens” and are excellent for composting. They add nitrogen and are a good source of organic matter. Just remember to balance them with “browns” like dried leaves or shredded paper.
Q3: My compost tumbler smells like ammonia. What did I do wrong?
A: An ammonia smell usually means you have too much nitrogen (too many “greens”) and not enough carbon (“browns”). Your compost is likely too wet or not getting enough air. To fix this, add more shredded cardboard, dry leaves, or straw, and turn the tumbler thoroughly.
Q4: How long does it typically take for compost to be ready in a tumbler?
A: With good management (balanced greens/browns, regular turning, proper moisture), you can have finished compost in as little as 4 to 8 weeks. If managed less actively, it might take 3 to 4 months.
Q5: Can I put meat or dairy scraps in my compost tumbler?
A: Generally, it’s best to avoid meat, dairy, oils, and fats in most home compost tumblers. These can attract pests, create foul odors, and may not break down efficiently, potentially spreading pathogens. Stick to fruits, vegetables, coffee grounds, tea bags, yard waste, and shredded paper/cardboard.

I am passionate about home engineering. I specialize in designing, installing, and maintaining heating, ventilation, and air conditioning systems. My goal is to help people stay comfortable in their homes all year long.