Hey there, neighbor! Want to turn your kitchen scraps and yard waste into garden gold without the fuss? Compost tumblers are fantastic, but sometimes getting them just right can feel like a puzzle. Don’t worry, I’ve got your back. We’ll walk through everything you need to know to make your compost tumbler work like a charm, turning waste into amazing fertilizer for your plants. Let’s get started with some super simple, genius tips!
Compost Tumbler Tips: Your Genius, Essential Guide to Easy Composting
As Troy D Harn, the voice behind TopChooser, I’m all about making home projects, gardening, and DIY stuff feel totally doable. Compost tumblers are a brilliant way to speed up composting and keep things tidy. But if you’re newer to the game, you might wonder about the best way to fill it, how often to turn it, or what can and can’t go in. That’s where these tips come in! I’ve gathered the smartest, most essential advice to make your composting journey a breeze. We’ll cover everything from picking the right spot to spotting finished compost. Ready to create some black gold?
Why Use a Compost Tumbler? The Scoop for Beginners
So, why exactly is a compost tumbler such a popular choice, especially for folks just dipping their toes into composting? Think about traditional compost piles. They can be a little… well, messy. They can take up a lot of space, attract critters if you’re not careful, and can take ages to break down. Compost tumblers solve a lot of these headaches.
- Speed: Tumblers are designed to aerate your compost easily, which is key for breaking down materials faster.
- Neatness: They’re enclosed, meaning less mess and a much tidier look in your yard.
- Pest Control: The enclosed design also acts as a barrier against common garden pests like rodents.
- Easy Turning: Instead of wrestling with a pitchfork, you just give the tumbler a spin!
- Better Heat Management: Tumblers help retain heat, which is crucial for efficient decomposition.
Basically, if you want compost without the traditional complications, a tumbler is a fantastic starting point. It’s a clever solution for busy homeowners and apartment dwellers alike who want to reduce waste and boost their garden’s health.
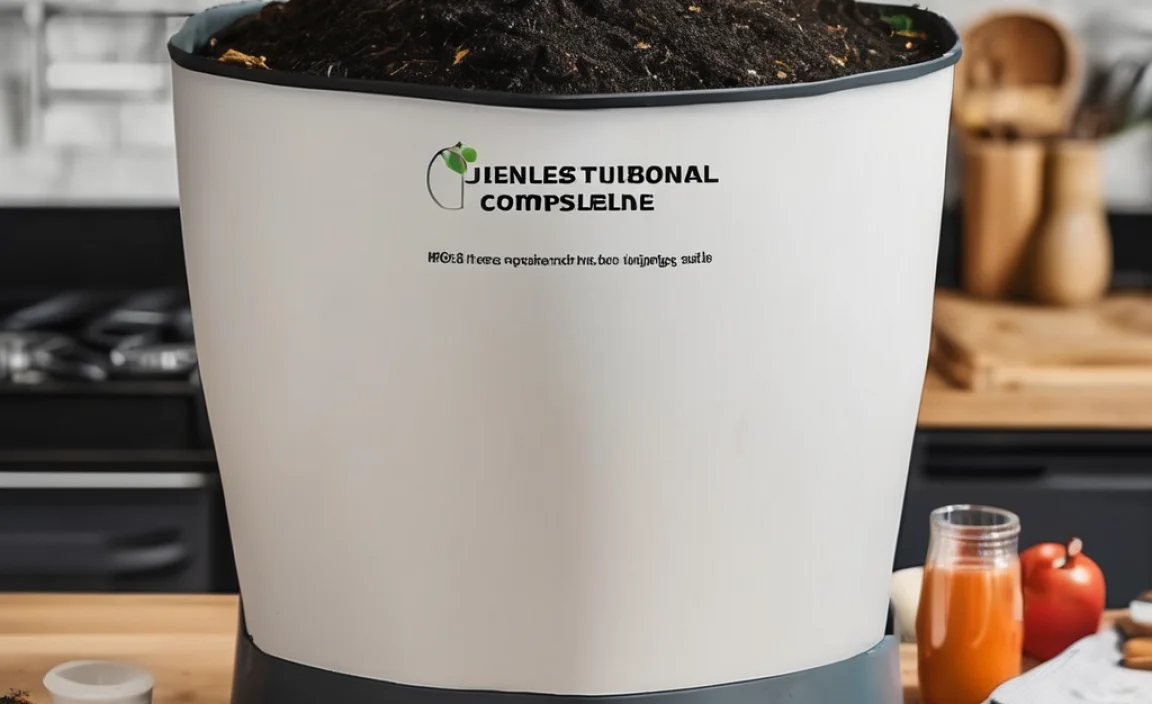
Choosing Your Compost Tumbler: What to Look For
Not all compost tumblers are created equal! When you’re picking one out, think about a few things:
Types of Compost Tumblers
You’ll mostly see two main styles:
- Single-Chamber Tumblers: These are great for beginners. You fill it up, let it compost, empty it out, and start again. Simple and effective.
- Dual-Chamber Tumblers: These have two sections. While one batch is actively composting, you can start a new batch in the other. This gives you a continuous supply of compost.
Key Features to Consider
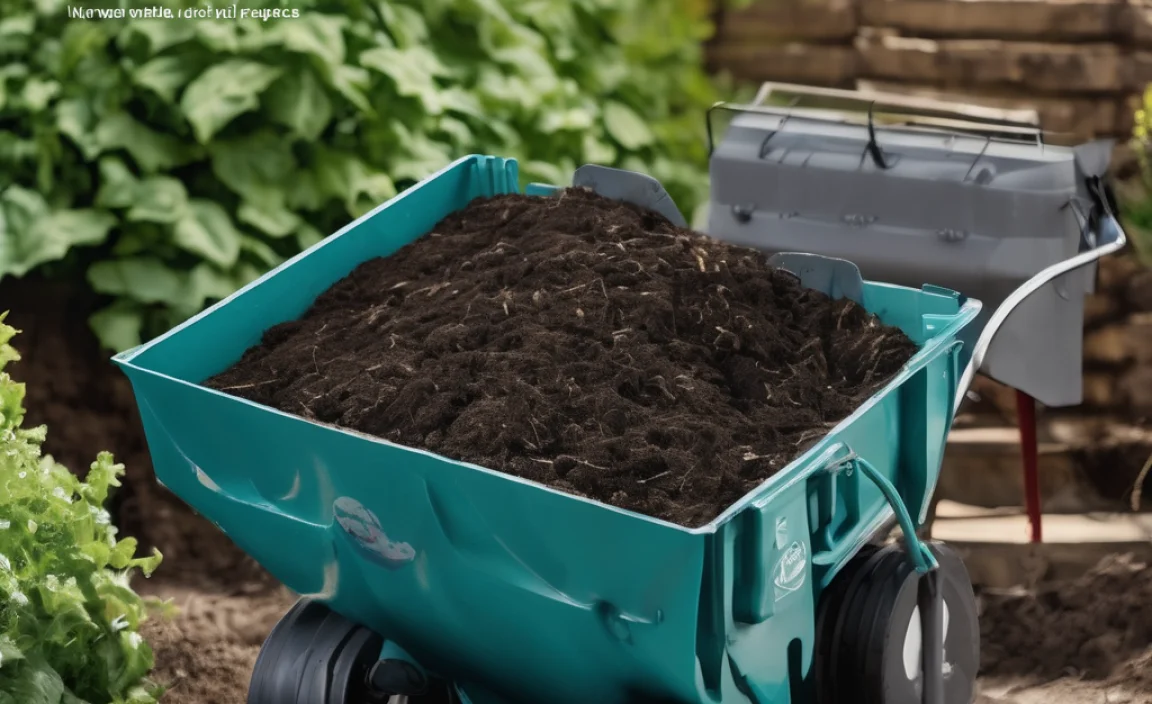
- Size/Capacity: How much kitchen and yard waste do you produce? Look for a capacity that suits your needs. For a typical family, 20-30 gallons is often a good starting point.
- Material: Most are made of durable, UV-stabilized plastic. This holds up well against the elements.
- Ease of Assembly: Check reviews or look for models that are known for straightforward assembly. You don’t want to spend your whole weekend wrestling with nuts and bolts.
- Aeration: Good tumblers have vents or openings to let air in. This is super important for fast, low-odor composting.
- Ease of Turning: Does it spin smoothly? Is the handle easy to grip? You’ll be doing this regularly, so it should be comfortable.
- Durability: Since it’ll live outdoors, strong construction is a must. Cheaper plastic can become brittle over time.
A good starting point for reliable composting bins, including tumblers, can often be found through resources like the Environmental Protection Agency (EPA), which offers great general advice on composting practices.
The Magic Ratio: Balancing Greens and Browns (The Compost Recipe!)
This is honestly the most crucial part of making your compost work. Think of it like baking a cake – you need the right ingredients in the right proportions. For compost, these ingredients are called “greens” and “browns.”
What Are “Greens”?
Greens are nitrogen-rich materials. They’re usually moist and help heat up the compost pile. Think of them as the “spark” for your compost.
- Fruit and vegetable scraps
- Coffee grounds and tea bags
- Grass clippings (in thin layers)
- Plant trimmings (without seeds or disease)
- Manure from herbivores (like chickens, rabbits, cows – NOT dogs or cats)
What Are “Browns”?
Browns are carbon-rich materials. They’re usually dry and provide structure and air pockets for the compost.
- Dry leaves
- Shredded newspaper or cardboard (uncoated)
- Straw or hay
- Twigs and small branches (chopped up)
- Sawdust (from untreated wood)
- Paper towels and toilet paper tubes
The Ideal Balance
The magic number is often cited as:
About 2 parts Browns to 1 part Greens (by volume).
Why this ratio? Greens give the microbes the nitrogen they need to multiply and work. Browns provide the carbon for energy and keep the pile from getting too dense and stinky. If your compost is too wet and slimy, you likely have too many greens. If it’s dry and not breaking down, you probably need more greens.
Don’t get too hung up on perfect measurements. It’s more about achieving a good mix. A good rule of thumb is to aim for roughly equal amounts of greens and browns, but lean a little heavier on the browns if you’re unsure.
What You CAN Compost in Your Tumbler
Here’s a handy list of things that are generally A-OK to toss into your compost tumbler. Remember to chop larger items into smaller pieces to speed up decomposition!
- Kitchen Scraps: All your fruit and veggie peels, cores, and leftovers.
- Coffee Grounds & Filters: Yes, please!
- Tea Bags: Remove any staple or plastic tag first.
- Eggshells: Rinse them and crush them up.
- Yard Waste: Grass clippings (in thin layers!), dead leaves, small twigs, spent flowers and plants.
- Shredded Paper: Plain newspaper, junk mail (check for plastic windows), and plain cardboard.
- Sawdust: From untreated wood only.
- Hair and Fur: From humans or pets.
- Natural Fibers: Like cotton and wool scraps (if not treated with chemicals).
What to LEAVE OUT of Your Compost Tumbler
Some things can cause odors, attract pests, or introduce diseases to your compost. It’s best to avoid these:
- Meat, Fish, Bones, and Dairy Products: These attract pests and can become very smelly.
- Oily or Greasy Foods: Same reasons as above.
- Diseased Plants: You don’t want to spread plant diseases to your garden soil.
- Weeds with Seeds: Unless your compost gets very hot (which is hard to guarantee in a home tumbler), seeds might survive and sprout in your garden.
- Pet Waste (from dogs and cats): Can contain pathogens that are harmful to humans.
- Coal or Charcoal Ash: Can contain sulfur and heavy metals.
- Treated Wood Products: Chemicals in treated wood are not good for your garden.
- Glossy Paper/Magazines: The inks and coatings aren’t ideal.
- “Compostable” Plastics: Many require industrial composting facilities to break down properly.
Setting Up Your Tumbler for Success
Where you place your tumbler matters! You want it to be functional and efficient.
Location, Location, Location
- Sunlight: A spot that gets at least 4-6 hours of sun is ideal. The sun helps heat up the compost, which speeds up decomposition. A partially shaded spot can work, but it might take longer. Avoid deep shade.
- Convenience: Place it somewhere easily accessible from your kitchen and garden. You’ll be adding scraps and turning it regularly, so make it easy on yourself.
- Drainage: Ensure the area has decent drainage. You don’t want your tumbler sitting in a puddle, as this can lead to anaerobic (low-oxygen) conditions and a stinky mess.
- Level Ground: Place it on a flat, stable surface. This makes turning easier and safer.
- Airflow: Avoid cramming it against a fence or wall. Some air circulation around the tumbler is beneficial.
Getting Started: The First Fill
When you first start, you might not have enough material for a full batch. That’s okay! Just start layering greens and browns.
- Start with Browns: Lay down a base layer of shredded cardboard or twigs. This helps with drainage and airflow from the bottom.
- Add Greens: Toss in your kitchen scraps.
- Add More Browns: Cover the greens with a layer of dry leaves or shredded paper.
- Moisture Check: Your compost should be about as damp as a wrung-out sponge. If it’s too dry, add a little water. If it’s too wet, add more browns.
- Repeat: Continue layering greens and browns as you gather them.
The Art of Tumbling: How and When to Turn
This is where the “tumbler” part comes in! Turning is essential for aerating the compost, which gives the helpful microbes oxygen and speeds up the breakdown process. It also helps mix ingredients and distribute moisture.
How Often?
Aim to turn your compost tumbler:
- Every 2-3 Days (Ideal): This is the sweet spot for fast composting.
- Every 4-7 Days (Still Good): If you can’t manage every few days, a weekly turn will still get you results, just a bit slower.
- Less Frequently (Slower): If you forget for a week or two, don’t panic! It will still compost, but it will take much longer.
How to Turn
Most tumblers have a handle or crank. Simply rotate the bin:
- Unlock/Open: Make sure the lid is secure or any locking mechanisms are engaged.
- Spin: Give the handle a good turn. Most tumblers are designed for a few full rotations. Some people like to turn it a few times one way, then a few times the other way to thoroughly mix everything.
- Listen and Feel: You’ll get a feel for how your tumbler spins. Make sure everything inside is moving around.
What to Look For When Turning
- Heat: If your compost is actively breaking down, it will feel warm (or even hot) inside when you turn it. This is a great sign!
- Moisture: Check the dampness. If it’s dusty dry, add some water. If it’s soggy, add more browns.
- Smell: A healthy compost pile smells earthy or like damp soil. A strong ammonia or rotten egg smell usually means it’s too wet or has too many greens. Add browns and turn more often.
For more on the science behind composting, including the role of microbes, check out Extension resources from universities like Penn State Extension.
Troubleshooting Common Compost Tumbler Issues
Even with the best intentions, you might run into a few hiccups. Here’s how to fix them:
Issue: My Compost Smells Bad (Ammonia or Rotten Eggs)
Cause: Too many “greens” or not enough air. This leads to anaerobic (low-oxygen) decomposition.
Solution:
- Add more “browns” (dry leaves, shredded cardboard, sawdust).
- Turn the tumbler more frequently to introduce air.
- If it’s very wet, try adding some dry material and turning even more.
Issue: My Compost Isn’t Breaking Down (or is too Dry)
Cause: Not enough “greens” (nitrogen), too dry, or not enough turning.
Solution:
- Add more “greens” like fresh kitchen scraps or grass clippings.
- Add a little water. Your compost should feel like a damp sponge.
- Turn the tumbler more often.
- Ensure it’s in a sunny spot if possible.
Issue: I See Pests (Flies, etc.)
Cause: Usually due to exposed food scraps or the wrong materials being added.
Solution:
- Always bury fresh kitchen scraps under a layer of browns.
- Avoid adding meat, dairy, or oily foods.
- Ensure the tumbler lid is well-sealed when not in use.
- Turn regularly, as active composting tends to deter pests.
Issue: My Tumbler is Hard to Turn
Cause: It might be too full, the contents might be compacted, or the tumbler mechanism needs lubrication.
Solution:
- Don’t overfill your tumbler. Leave some room!
- Ensure you have a good mix of greens and browns to maintain structure.
- Check the tumblers’ instructions for any bearings or axles that might need a little water or even a dab of food-grade lubricant if the manual suggests it.
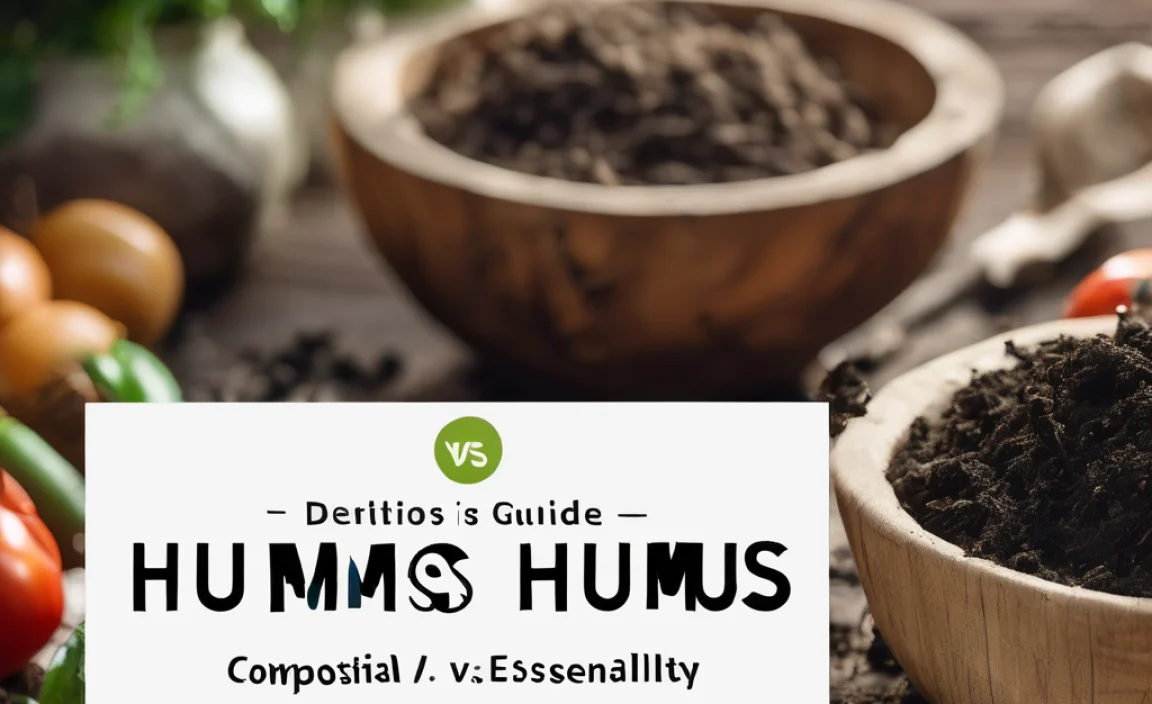
When Is Compost Ready? The Grand Finale!
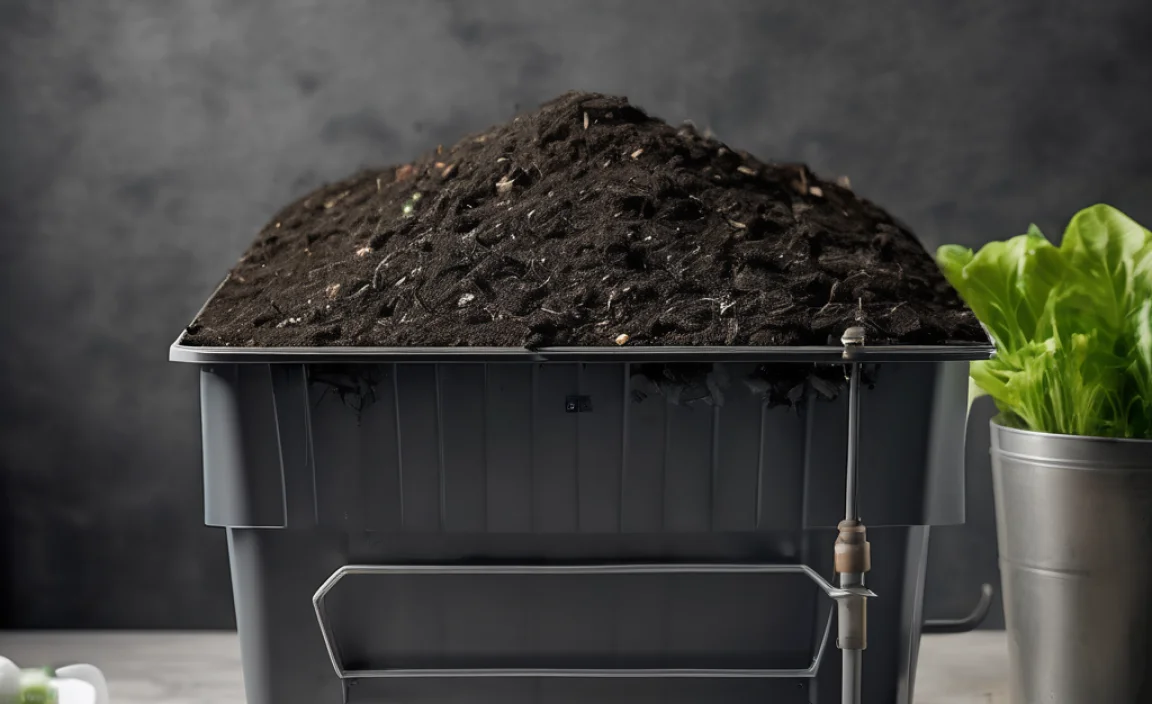
The moment of truth! How do you know when your compost is ready to use? It’s usually ready when it:
- Looks dark brown and crumbly.
- Smells earthy and pleasant, not sour or like ammonia.
- The original materials are no longer recognizable.
- Feels cool or slightly warm (not hot).
The exact time can vary greatly depending on how often you turn it, the mix of materials, temperature, and moisture. It can take anywhere from 4 weeks to 3-4 months. With regular turning and a good green-to-brown ratio, you’ll likely see finished compost in about 6-8 weeks.
If you’re in a hurry, you can always screen your compost to remove any larger, incompletely decomposed bits. These can go back into the tumbler for the next batch.
Using Your Finished Compost
Congratulations! You’ve made your own “black gold.” Here’s how to use it:
- As a Soil Amendment: Mix it into your garden beds before planting. It improves soil structure, drainage, and aeration.
- As a Top Dressing: Spread a layer around existing plants.
- In Potting Mixes: Mix it with other ingredients like peat moss or perlite for container plants. A ratio of 1 part compost to 2-3 parts other medium is a good start.
- For Lawns: Rake a thin layer over your lawn in spring or fall.
Your plants will thank you for the boost of nutrients and improved soil health!
Compost Tumbler Tips: Quick Comparison Table
Here’s a handy way to visualize some key aspects:
| Aspect | Beginner Tumblers (Single Chamber) | Advanced Tumblers (Dual Chamber) | Considerations |
|---|---|---|---|
| Ease of Use | Very easy. Fill, turn, empty. | Slightly more complex due to two chambers. | Both are simpler than manual piles if used correctly. |
| Continuous Compost? | No. Need to empty and restart. | Yes. One side composts while you fill the other. | Dual-chamber offers a steady supply. |
| Space Needed | Generally smaller footprint. | Can be wider or longer. | Always |

I am passionate about home engineering. I specialize in designing, installing, and maintaining heating, ventilation, and air conditioning systems. My goal is to help people stay comfortable in their homes all year long.