Ever wondered if you can really turn your kitchen scraps into garden gold? It might sound a bit like magic, but composting is actually a super simple and incredibly rewarding way to help your garden thrive and cut down on household waste. Many folks find it a bit daunting at first, thinking it’s messy or complicated. But don’t worry, it’s easier than you might think! I’m here to guide you, step-by-step, through the wonderfully earthy world of composting right here in the UK. We’ll break it all down, making it totally manageable. Ready to transform your waste into nutrient-rich goodness for your plants?
Composting in the UK: Your Go-To Guide
Welcome to your ultimate guide on composting in the UK! If you’re looking to reduce your household waste, improve your garden soil, and be a bit kinder to the planet, you’ve come to the right place. Composting is a natural process that breaks down organic materials, like food scraps and garden waste, into a rich, dark substance called compost. It’s often called “black gold” for good reason – it’s fantastic for your plants!
Why Compost? The Big Benefits for Your Garden and Beyond
Before we dive into the “how,” let’s chat about the “why.” Composting isn’t just a trendy gardening practice; it offers some fantastic advantages:
- Nourishes Your Soil: Compost is packed with essential nutrients that help plants grow strong and healthy. It improves soil structure, making it easier for plant roots to grow and for water and air to penetrate.
- Reduces Waste: A huge portion of household waste is made up of organic materials that can be composted. By composting, you divert this waste from landfill, where it produces harmful greenhouse gases.
- Saves Money: Instead of buying expensive soil conditioners or fertilisers, you can create your own for free!
- Helps the Environment: Composting is a natural way to recycle, reducing your carbon footprint and contributing to a more sustainable lifestyle.
- Improves Drainage and Water Retention: Whether your soil is heavy clay or sandy, compost helps balance it out, improving how it handles water.
Understanding Compost: The Magic Formula
For successful composting, you need a good balance of two main ingredients: “Greens” and “Browns.” Think of them as the fuel and the structure for your compost pile.
What are “Greens”? (Nitrogen-rich materials)
These are the wet, nitrogen-rich materials that provide the energy for the tiny organisms working in your compost bin. They help the pile heat up.
- Fruit and vegetable scraps
- Tea bags and coffee grounds
- Grass clippings (in thin layers to avoid matting)
- Plant trimmings (soft, leafy ones)
- Eggshells (crushed)
What are “Browns”? (Carbon-rich materials)
These are the dry, carbon-rich materials. They provide the structure and air pockets needed for the compost to break down efficiently without becoming a smelly, soggy mess.
- Cardboard (torn into small pieces, remove tape)
- Paper (shredded, avoid glossy paper)
- Dry leaves
- Straw or hay
- Twigs and small branches (chopped or shredded)
- Sawdust (from untreated wood)
What NOT to Compost
It’s just as important to know what to keep out of your compost bin to avoid pests, diseases, and unpleasant smells:
- Meat, fish, and dairy products (attract pests and can smell)
- Oily or greasy foods
- Diseased plants or weeds that have gone to seed (unless you have a very hot compost system)
- Dog or cat faeces
- Coal or charcoal ash
- Synthetic materials (plastics, metals, etc.)
Getting Started with Composting in the UK: Your Options
The good news is that you don’t need a huge garden to start composting. There are several types of compost bins and methods available, catering to different spaces and needs.
1. The Traditional Garden Compost Bin
This is what most people picture when they think of composting. It’s a container, often made of wood, plastic, or wire mesh, where you pile your organic waste.
- Best for: Gardens of all sizes, particularly those with a good amount of garden waste.
- Pros: Simple, cost-effective, can handle large volumes, good aeration with a well-built bin.
- Cons: Can take up some space, may look untidy if not managed well, can attract pests if not managed correctly.
Many local councils in the UK offer subsidised compost bins, which can be a great way to get started affordably. You can often find them advertised on your local authority’s website.
2. Tumbler Composters
These are sealed bins mounted on a frame that allow you to rotate them. This makes turning the compost much easier and speeds up the decomposition process.
- Best for: Those who want faster compost and find turning a traditional pile difficult. Good for smaller gardens as they are neater.
- Pros: Faster composting, easier to turn, contained, often pest-resistant.
- Cons: More expensive initially, can sometimes get too wet or dry if not managed, limited capacity per batch.
3. Wormeries (Vermicomposting)
This method uses special composting worms (like Red Wigglers) to break down food scraps. Wormeries are compact systems, often tiered, making them ideal for balconies, patios, or small gardens.
- Best for: People with limited outdoor space, mainly producing kitchen waste.
- Pros: Compact, efficient for food scraps, produces nutrient-rich worm castings and “worm tea” (a liquid fertiliser).
- Cons: Requires specific types of worms, cannot process large amounts of garden waste, sensitive to extreme temperatures.
You can learn more about setting up a wormery from resources like the Royal Horticultural Society (RHS), a leading authority on gardening in the UK.
4. Bokashi Bins
This is a more advanced method using anaerobic fermentation (without oxygen). It pickles your waste using a special inoculant and then requires burying the fermented material in the garden or a compost bin to finish decomposing.
- Best for: Those who want to compost almost all food waste, including meat and dairy, and have a place to bury the end product.
- Pros: Can compost practically all food waste, compact, relatively fast initial processing.
- Cons: Requires purchasing a special bin and bran, the fermented material needs further decomposition, can be a bit fiddly.
Choosing Your Compost Bin: A Quick Comparison
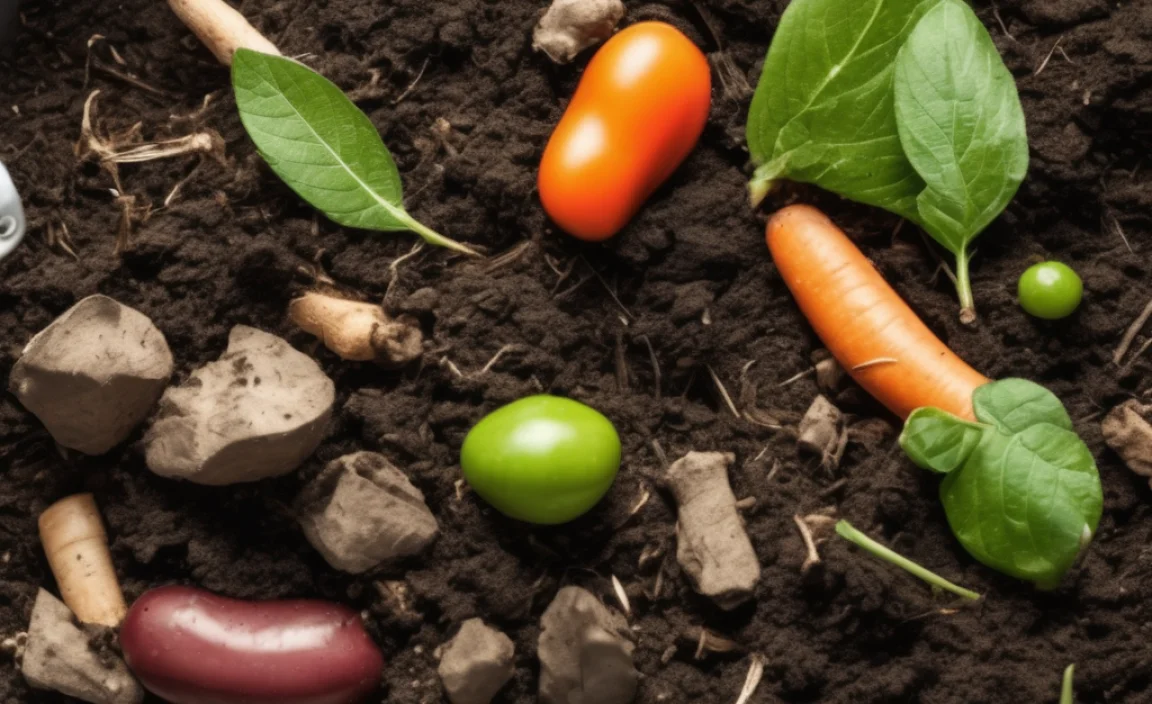
To help you decide, here’s a simple table:
| Composting Method | Ideal for | Space Required | Speed | Cost (Initial) | Ease of Use |
|---|---|---|---|---|---|
| Traditional Bin | All garden waste & kitchen scraps | Medium to Large Garden | Slow to Medium | Low (£20-£100, sometimes free from council) | Medium (requires turning) |
| Tumbler Composter | Kitchen scraps & soft garden waste | Small to Medium Garden/Patio | Fast | Medium to High (£80-£250) | Easy to Medium |
| Wormery | Primarily kitchen scraps | Balcony, Patio, Small Garden | Medium | Medium (£70-£150) | Easy |
| Bokashi Bin | Almost all food waste | Kitchen/Small Outdoor Space | Fast (fermentation), then slow | Medium (£50-£100, plus ongoing bran) | Medium (requires burying) |
How to Compost: A Step-by-Step Guide (Traditional Bin Method)
Let’s get down to the practicalities. We’ll focus on the most common method: the traditional garden compost bin. This is a great starting point for most UK gardeners.
Step 1: Choose the Right Spot for Your Bin
Location, location, location! Your compost bin needs a good home:
- Level Ground: It should sit on soil or grass, not concrete. This allows beneficial organisms from the soil to access the bin and excess moisture to drain away.
- Partially Shaded: Avoid full sun, which can dry the pile out too quickly, and deep shade, which can keep it too wet. A spot that gets morning sun and afternoon shade is often ideal.
- Accessible: Make sure you can easily get to it with your kitchen scraps and garden waste, and that you can access it with a fork or spade to turn and harvest the compost.
- Away from House: While a well-managed compost bin shouldn’t smell bad, it’s best to keep it a reasonable distance from your house or seating areas.
Step 2: Build Your Base Layer
Start with a good foundation. This helps with drainage and aeration.
- Add a layer (about 10-15cm or 4-6 inches) of coarse materials like twigs, small branches, or straw at the bottom of the bin.
Step 3: Start Adding Your Greens and Browns
Now it’s time to layer up! Aim for a good mix. A common ratio to aim for is roughly two parts Browns to one part Greens. This is a guideline, not a strict rule, and you’ll learn to adjust as you go.
- Add a layer of “Greens”: This could be kitchen scraps or fresh grass clippings.
- Cover with a layer of “Browns”: This could be dry leaves, shredded cardboard, or straw.
- Chop or Shred: Smaller pieces break down faster. Tear up cardboard, shred paper, and chop up larger scraps.
- Moisture Check: The pile should be damp, like a wrung-out sponge. If it’s too dry, add a little water. If it’s too wet, add more Browns.
Don’t worry about perfect layers. Just try to mix them as you add them. Burying fresh kitchen scraps under a layer of Browns helps prevent smells and discourages pests.
Step 4: Maintain Your Compost Pile
Composting is an ongoing process. Here’s what you need to do:
- Keep Adding Materials: Continue adding your Greens and Browns as you generate them.
- Balance Greens & Browns: If your pile seems wet and smelly, add more Browns. If it’s dry and not breaking down, add more Greens and moisture.
- Moisture Control: Keep the pile moist but not waterlogged. A lid or cover can help manage moisture, especially during heavy rain or dry spells.
- Aerate (Turn) Your Compost: This is key to speeding up decomposition and preventing anaerobic (smelly) conditions.
- Ideally, turn your compost pile every 4-8 weeks.
- Use a garden fork or compost aerator tool.
- Try to move material from the outside to the inside, and vice versa.
- If you have a tumbler, simply rotate it a few times every few days.
Step 5: When is Compost Ready?
Patience is a virtue! Compost can take anywhere from 3-12 months to be ready, depending on your method, materials, and how often you turn it.
- Signs of Ready Compost:
- It will be dark brown and crumbly.
- It will smell earthy and pleasant, like a forest floor.
- You won’t be able to recognize the original materials.
- It will feel cool to the touch.
If you find lumps of material that haven’t broken down, you can either put them back into a new compost pile or sift the compost and return the larger pieces.
Step 6: Harvesting Your Compost
Once compost is ready, it’s time to harvest!
- If you have a bin with a base door, you can fork out the finished compost from the bottom.
- Alternatively, you can empty the entire bin or pile, sift the compost (using a sieve or large riddle), and put the unfinished material back into the bin to continue decomposing.
This finished compost is ready to be dug into your garden beds, used as a top dressing around plants, or mixed into potting compost for containers.
Troubleshooting Common Composting Issues
Even experienced composters run into a few snags now and then. Here are some common problems and how to fix them:
Problem: The Compost Smells Bad (Like Rotten Eggs or Ammonia)
Cause: Too much Green material, not enough air, or too wet.
Solution:
- Add a good layer of Brown material (dry leaves, shredded cardboard) to absorb moisture and odour.
- Turn the pile thoroughly to introduce air.
- Ensure good drainage. If it’s in a sealed bin, consider adding some rough materials to the base for better airflow.
Problem: The Compost is Dry and Not Breaking Down
Cause: Not enough moisture, too many Brown materials, or not enough “activators” (like fresh greens).
Solution:
- Add water gradually while turning the pile. Aim for the consistency of a wrung-out sponge.
- Add more Green materials (food scraps, grass clippings) to introduce moisture and nitrogen.
- You can also add a handful of garden soil or some finished compost to introduce beneficial microbes.
Problem: The Compost is Attracting Pests (Rats, Flies)
Cause: Inappropriate materials being added (meat, dairy, oily foods), or the bin not being secure enough.
Solution:
- Ensure you are only adding approved materials. Avoid meat, dairy, and oily foods.
- Always cover fresh food scraps with a layer of Brown material.
- If using an open bin, ensure it has a lid and is kept tidy. A tumbler or enclosed bin is generally more pest-resistant.
- Burying food scraps deeper into the pile can also help.
Problem: The Pile Isn’t Heating Up
Cause: Pile is too small, not enough Green material, or too dry.
Solution:
- Make sure your pile is at least 1 cubic metre (about 3ft x 3ft x 3ft) for sufficient mass to generate heat.
- Add more Nitrogen-rich Green materials.
- Check moisture levels and add water if necessary.
- Turning the pile can sometimes help by mixing in cooler outer materials with the core.
Compost Activators: Boosting Your Bin
While not strictly necessary, a compost activator can help speed up decomposition, especially if you’re getting started or have a lot of tougher, woody material.
- What they are: These are usually commercially produced powders or liquids containing bacteria, enzymes, or nutrients designed to kick-start the composting process.
- When to use them: You can add a small amount when you first start your bin, or when you add large amounts of woody material.
- Natural alternatives: A spadeful of good garden soil or some finished compost can also introduce the necessary micro-organisms to get things going. A layer of nettles or comfrey leaves (if you have them) also works well.
You can find compost activators at most garden centres in the UK and online retailers. For example, GardenSite is a UK retailer that offers a range of composting accessories.
Can I Compost from a Flat or Small Garden?
Absolutely! Composting isn’t just for those with rolling acres.
- Wormeries: As mentioned, these are perfect for balconies and

I am passionate about home engineering. I specialize in designing, installing, and maintaining heating, ventilation, and air conditioning systems. My goal is to help people stay comfortable in their homes all year long.

