Why Compost Wood Chips? The Big Picture
Composting might sound complicated, but at its heart, it’s just nature’s way of recycling. It’s about breaking down organic materials into something new and useful. Wood chips, which are considered a “brown” material (high in carbon), are a bit different from your typical kitchen scraps or grass clippings. They take longer to break down, but that’s not a bad thing!
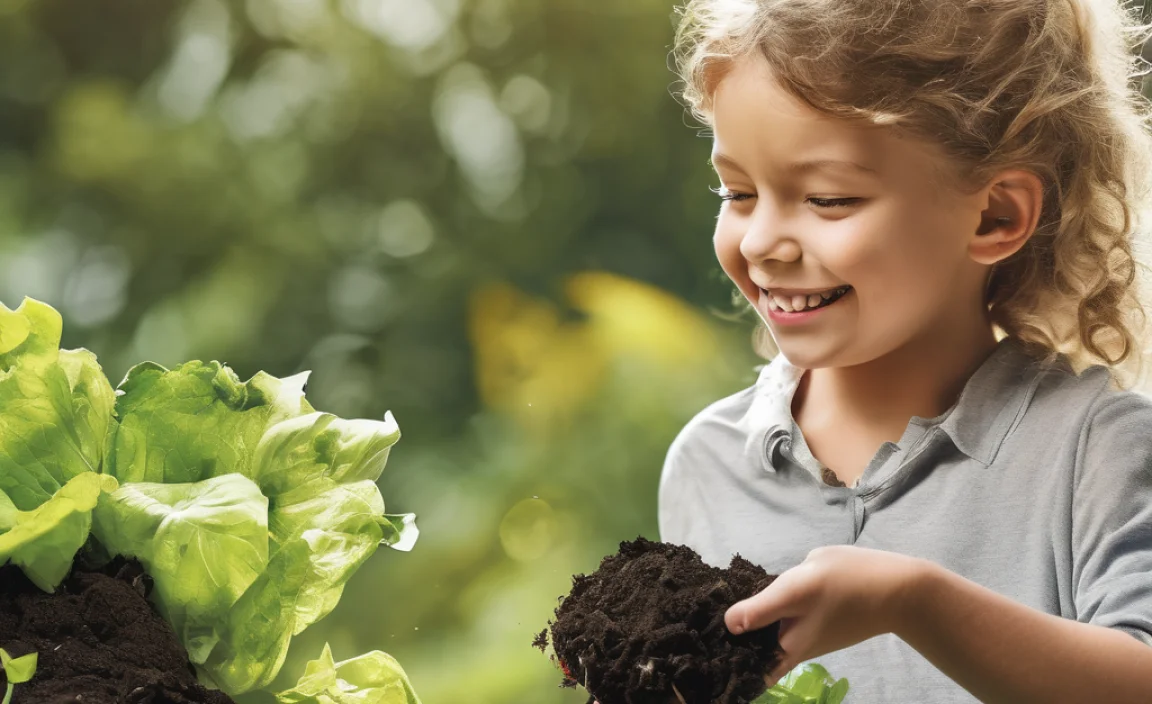
When you compost wood chips properly, you’re not just getting rid of them. You’re creating a super valuable soil amendment. This finished compost improves soil structure, helps it hold moisture, and provides essential nutrients for your plants. Plus, by composting, you’re diverting waste from landfills, which is a win for everyone.
Think of it this way: instead of throwing away valuable organic matter, you’re transforming it into something that will make your garden thrive. It’s a rewarding process that saves you money and helps the environment.
Understanding the “Browns” and “Greens”
Composting relies on a balance of two main types of materials: “greens” and “browns.”
- Greens (Nitrogen-rich): These are moist materials that break down quickly. Think fruit and vegetable scraps, coffee grounds, grass clippings, and fresh plant trimmings. They provide nitrogen, which helps the microbes that do the composting work multiply.
- Browns (Carbon-rich): These are dry, woody materials that break down slowly. This is where wood chips fit in, along with things like dry leaves, straw, shredded newspaper, and cardboard. They provide carbon, which is the energy source for those same microbes.
Wood chips are very high in carbon. This means they need a good amount of nitrogen (from your greens) to get the composting process going efficiently. Without enough greens, your wood chip pile can sit there for a very long time without much change.
Are All Wood Chips Created Equal for Composting?
For composting, it’s best to use wood chips that are as natural as possible. This means avoiding:
- Treated lumber: Wood treated with chemicals (like CCA or creosote) can be toxic and should never be composted. These chemicals can leach into your compost and then into your garden soil, potentially harming plants and ending up in your food.
- Painted or stained wood: The paints and stains often contain chemicals that aren’t good for composting or for your garden.
- Wood from diseased trees: While debatable, it’s generally safer to avoid composting wood from trees that had serious diseases or pest infestations, just to be sure you aren’t spreading anything in your garden.
- Very large or dense wood pieces: The smaller, the better! Large chunks of hardwood might take years to break down.
Ideally, you want chips from ethically and sustainably sourced wood, like from local arborists, municipal yard waste sites, or even your own healthy trees. Freshly chipped wood is perfectly fine.
What You’ll Need: Tools and Materials
You don’t need a lot of fancy equipment to start composting wood chips. Here’s a basic rundown:
Essential Materials:
- Wood Chips: Your main ingredient. Aim for smaller chips if possible.
- “Green” Materials: Kitchen scraps (no meat or dairy), grass clippings, coffee grounds, vegetable garden waste. This is crucial for balancing the carbon in the chips.
- Water: To keep your compost pile moist.
Helpful Tools:
- Compost Bin or Pile Space: You can buy a bin, build one, or just designate a pile in a corner of your yard. For wood chips, a larger space or a bin that allows for good airflow is best.
- Pitchfork or Shovel: For turning and mixing the compost.
- Hose or Watering Can: To add water.
- Optional: Chipper/Shredder: If your wood chips are huge, a chipper can make them smaller, speeding up decomposition.
- Optional: Thermometer: A compost thermometer helps monitor the heat, which is a sign of active decomposition.
Step-by-Step: How to Compost Wood Chips
Composting wood chips isn’t difficult, but it requires a bit of patience and attention to a few key things. Here’s how to get started:
Step 1: Choose Your Composting Method
You have a few options for where to compost:
- Open Pile: The simplest. Just create a pile in a designated spot in your yard. This works well for larger volumes of material, like wood chips.
- Enclosed Bin: These can be made of plastic, wood, or wire mesh. They help contain the pile and can retain heat and moisture.
- Enclosed Tumbler: These are rotating drums that make turning very easy. They are often faster but might not handle large volumes of woody material as well as open piles.
For wood chips, an open pile or a large, well-ventilated bin is often the most practical. You’ll need space for the pile to grow and for air to circulate.
Step 2: Prepare Your Wood Chips
If your wood chips are very large, consider running them through a chipper or shredder. Smaller pieces break down much faster. Aim for pieces generally no larger than your thumb. If you don’t have a chipper, don’t worry too much; it will just take longer.
It’s also a good idea to mix your wood chips with other materials as you go, rather than just piling them all up and then trying to mix. This helps kickstart the process.
Step 3: Build Your Compost Layer by Layer
This is where the “greens” and “browns” ratio is key. A good starting point is about 2 parts browns (wood chips) to 1 part greens by volume. Don’t stress too much about getting this perfect; you can adjust as you go.
Here’s how to layer:
- Start with a base layer: Begin with a layer of coarser “brown” materials, like twigs or straw, at the bottom of your pile or bin. This helps with drainage and aeration.
- Add wood chips: Spread a layer of your prepared wood chips.
- Add a “green” layer: Cover the wood chips with a layer of kitchen scraps, grass clippings, or other nitrogen-rich materials.
- Add a small amount of finished compost or soil (optional but helpful): If you have some already-made compost or even just garden soil, sprinkle a little on top of the green layer. This introduces the helpful microbes needed to kickstart decomposition.
- Moisten the layers: Lightly water each layer as you add it. The goal is for the material to be as damp as a wrung-out sponge.
- Repeat: Continue layering browns and greens until your bin is full or you’ve used up your materials. Always try to finish with a layer of browns on top. This helps prevent odors and keeps pests away.
Pro Tip: If you have a lot of wood chips, it’s better to mix them in as you generate them with other compostable materials, rather than letting them sit in a separate pile for too long. This way, they get incorporated into the active composting process sooner.
Step 4: Monitor Moisture and Aeration
This is perhaps the most critical part of composting wood chips.
Moisture:
Wood chips are dry and absorbent. Your compost pile needs to stay consistently moist, like a damp sponge, but not soggy. If it gets too dry, decomposition will slow down or stop. If it’s too wet, it can become anaerobic (lacking oxygen) and start to smell bad.
- Test: Grab a handful of compost from the interior of the pile. If water drips out, it’s too wet. If it crumbles easily, it’s likely too dry or just right.
- Add water: If it’s too dry, water the pile, especially when you turn it. Make sure the water penetrates the whole pile.
- Add dry material: If it’s too wet, add more “brown” materials like dry leaves, shredded paper, or more wood chips to absorb the excess moisture.
Aeration (Oxygen):
The microbes that break down the material need oxygen. This is why turning is so important.
- Turn Regularly: Aim to turn your compost pile every 2-4 weeks. Use a pitchfork or shovel to mix the outside material into the center and vice versa. This introduces air, redistributes moisture, and helps the materials break down evenly.
- Airflow in Bins: If you have an enclosed bin, ensure it has ventilation holes. For open piles, simply turning is usually enough.
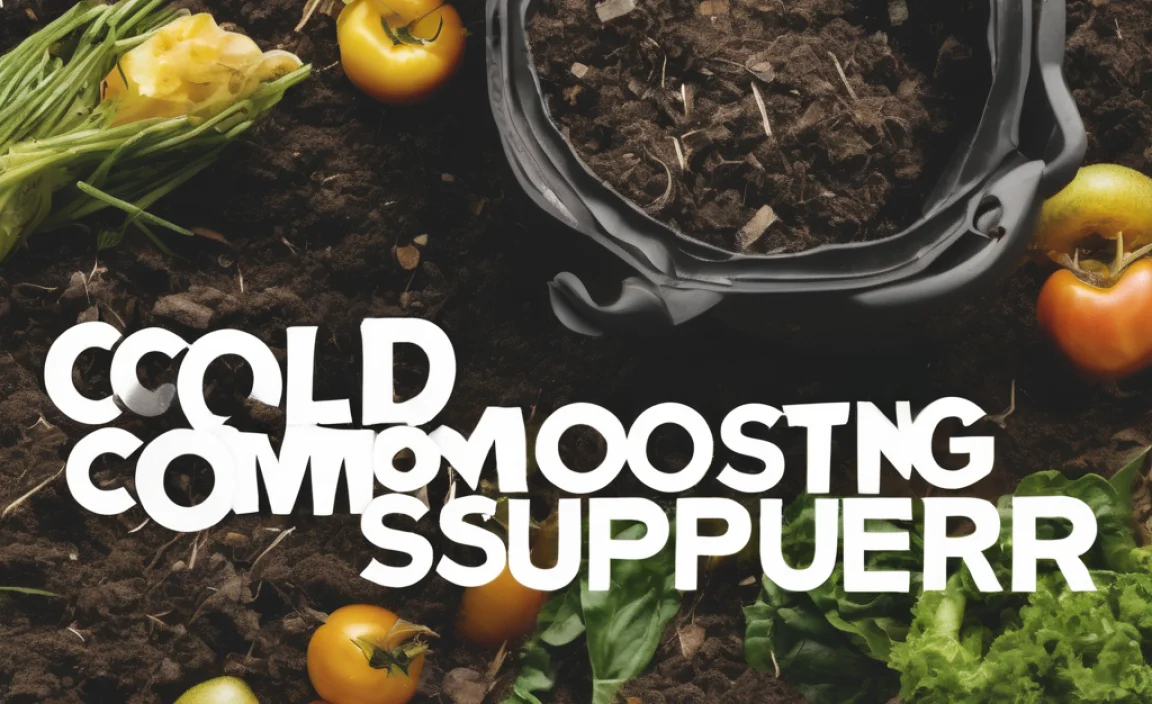
Step 5: The “Hot” vs. “Cold” Composting Debate
Composting wood chips can be done using either a “hot” or “cold” method.
Hot Composting:
This method aims to generate high temperatures (130-160°F or 55-70°C) within the pile. High heat speeds up decomposition significantly and kills weed seeds and pathogens. It requires a good balance of greens and browns, consistent moisture, and frequent turning. Hot composting your wood chips will make them break down much faster.
- Achieving Heat: To get a hot compost pile, you generally need a higher proportion of greens to browns (closer to 1:1 or even 2:1 greens to browns by volume) for the initial build, along with materials large enough to allow airflow. A pile that is at least 3x3x3 feet is recommended to build enough mass for heating up.
Cold Composting:
This is a more passive approach. You simply add materials to your pile and let nature take its course. It requires less effort but takes much longer – potentially six months to two years. Cold composting is easier with wood chips, as you can simply add them to a designated pile and let them break down slowly over time. You’ll still need to add greens and moisture periodically, but turning is less critical and can be done less frequently.
Which is better for wood chips? For beginners, cold composting is often easier. You can add your wood chips to a general compost pile and let them break down over time. If you have a large quantity of wood chips and want them to break down faster, you’ll need to actively manage a hot compost system, ensuring a good balance of greens, moisture, and regular turning. Websites like the EPA’s composting page offer great foundational knowledge.
Step 6: Waiting and Curing
Composting wood chips takes time. Depending on the size of the chips, the ratio of greens to browns, how often you turn it, and the composting method used, it can take anywhere from a few months to over a year.
- Signs of Finished Compost: The material will be dark brown, crumbly, and smell earthy, like a forest floor. You shouldn’t be able to identify the original materials (wood chips, kitchen scraps, etc.).
- Curing: Once your compost looks ready, let it “cure” for another 2-4 weeks. This allows the beneficial microbes to stabilize and the compost to mature.
Step 7: Using Your Finished Compost
Once your compost is cured, it’s ready to use! Some great ways to use your wood chip compost include:
- Soil Amendment: Mix it into garden beds before planting to improve soil structure and fertility.
- Mulch: Spread a layer around trees, shrubs, and garden plants to retain moisture, suppress weeds, and regulate soil temperature.
- Top Dressing: Sprinkle a thin layer on your lawn to add nutrients.
- Potting Mix: Combine it with other ingredients like perlite or vermiculite for a DIY potting mix.
Troubleshooting Common Wood Chip Composting Problems
Even with the best intentions, you might run into a few snags. Here are some common issues and how to fix them:
| Problem | Cause | Solution |
|---|---|---|
| Pile is not heating up or decomposing | Too many browns (wood chips), not enough greens; too dry; pile is too small. | Add more nitrogen-rich “green” materials (kitchen scraps, grass clippings); add water; turn the pile to aerate; ensure pile is large enough (minimum 3x3x3 ft for hot composting). |
| Pile smells bad (ammonia or rotten eggs) | Too wet (anaerobic conditions) or too many greens. | Turn the pile immediately to introduce air; add more “brown” carbon materials (wood chips, dry leaves, shredded paper) to absorb moisture and balance nitrogen; ensure good drainage. |
| Pile is too dry | Not enough moisture added; exposed to sun and wind. | Water the pile thoroughly while turning; cover the pile loosely with a tarp to retain moisture if necessary. |
| Wood chips are not breaking down | Chips are too large; not enough greens (nitrogen); lack of turning; pile is too cool. | Chop or shred chips smaller; add more nitrogen-rich material; turn more frequently; focus on maintaining moisture. |
| Pests (rodents, flies) | Pile contains meat, dairy, or fatty foods; exposed food scraps. | Avoid adding meat, dairy, or oily foods; always cover food scraps with a layer of “brown” material (wood chips, leaves); maintain a balanced, actively decomposing (hot) pile, which deters pests. |
The Importance of Balanced Composting
Successfully composting wood chips really boils down to maintaining that balance between carbon-rich “browns” and nitrogen-rich “greens.” Wood chips are fantastic for adding structure and long-term carbon to your compost, but they need their green counterparts to energize the decomposition process. Think of it like baking a cake – you need the flour (browns) for structure, but you also need the eggs and sugar (greens) to make it rise and taste good.
When you get this balance right, along with adequate moisture and oxygen, you create an ideal environment for the microorganisms, fungi, and other beneficial creatures that do the hard work of breaking down organic matter. This leads to faster composting and a richer, more stable end product for your garden. For more detailed information on compostable materials, check out this resource from the EPA on composting at home.
Conclusion
So, there you have it! Composting wood chips is a thoroughly achievable task that can greatly benefit your garden. By understanding the balance of “greens” and “browns,” maintaining proper moisture and aeration, and being a little patient, you can transform those woody materials into a valuable, nutrient-rich soil amendment. Whether you choose a quick “hot” composting method or a slower “cold” approach, the reward of creating your own free, super-powered garden food is well worth the effort. Don’t be afraid to get your hands dirty; your plants will thank you for it!
FAQ: Your Wood Chip Composting Questions Answered
Q1: How long does it take to compost wood chips?
It really varies! Smaller chips in a well-managed “hot” compost system can break down in 3-6 months. Larger chips or “cold” composting might take 1-2 years or even longer. The key factors are chip size, the ratio of greens to browns, moisture, and how often you turn it.
Q2: Can I just put a big pile of wood chips in my backyard?
Yes, you can, but it will take a very long time to break down on its own. To speed things up and create usable compost, you need to mix it with nitrogen-rich “green” materials, add water, and ideally turn it periodically.
Q3: My wood chip compost smells bad. What did I do wrong?
A bad smell usually means the pile is too wet and not getting enough air (anaerobic). Try turning it right away to introduce oxygen. You can also add more dry “brown” materials like shredded newspaper or more wood chips to absorb excess moisture and balance the nitrogen.
Q4: Do I need to worry about wood chips having diseases or pests?
If you’re using wood from your own healthy trees or from a reputable source, it’s generally not a major concern. However, it’s always best to avoid wood from trees that had significant diseases or pest infestations, or from chemically treated wood, to be safe.
Q5: Can I use sawdust too?
Yes, sawdust can also be composted! Sawdust is very fine and can compact easily, so it’s best to mix it with coarser materials like wood chips or straw to ensure good airflow. Like wood chips, it’s a “brown” and needs plenty of “greens” to break down properly.
Q6: How much green material do I need for my wood chips?
A good starting ratio is around 2 parts wood chips (browns) to 1 part green material by volume. If you’re aiming for hot composting and faster breakdown, you might need an even higher ratio of greens, closer to 1:1 or even 2:1 greens to browns.

I am passionate about home engineering. I specialize in designing, installing, and maintaining heating, ventilation, and air conditioning systems. My goal is to help people stay comfortable in their homes all year long.