Dreaming of a greener thumb but stuck with a small balcony? You’re not alone! Many of us think composting needs a big backyard, but that’s just not true. It can feel like a bummer when you want to reduce waste and grow happy plants, but don’t have much space. The good news? Composting on a balcony is totally doable, even for beginners. We’ll walk you through it, step-by-step, making it easy and fun. Get ready to turn your kitchen scraps into garden gold!
Composting on Your Balcony: The Essential Guide
Hey there, green-thumb hopefuls! Troy D Harn here, ready to demystify composting for your cozy balcony space. Who says you need acres of land to be a composting pro? With a little know-how and the right setup, your balcony can become a thriving hub of sustainability. We’ll cover everything from picking the right bin to what scraps to toss in. Let’s get this composting party started!
Why Compost on Your Balcony?
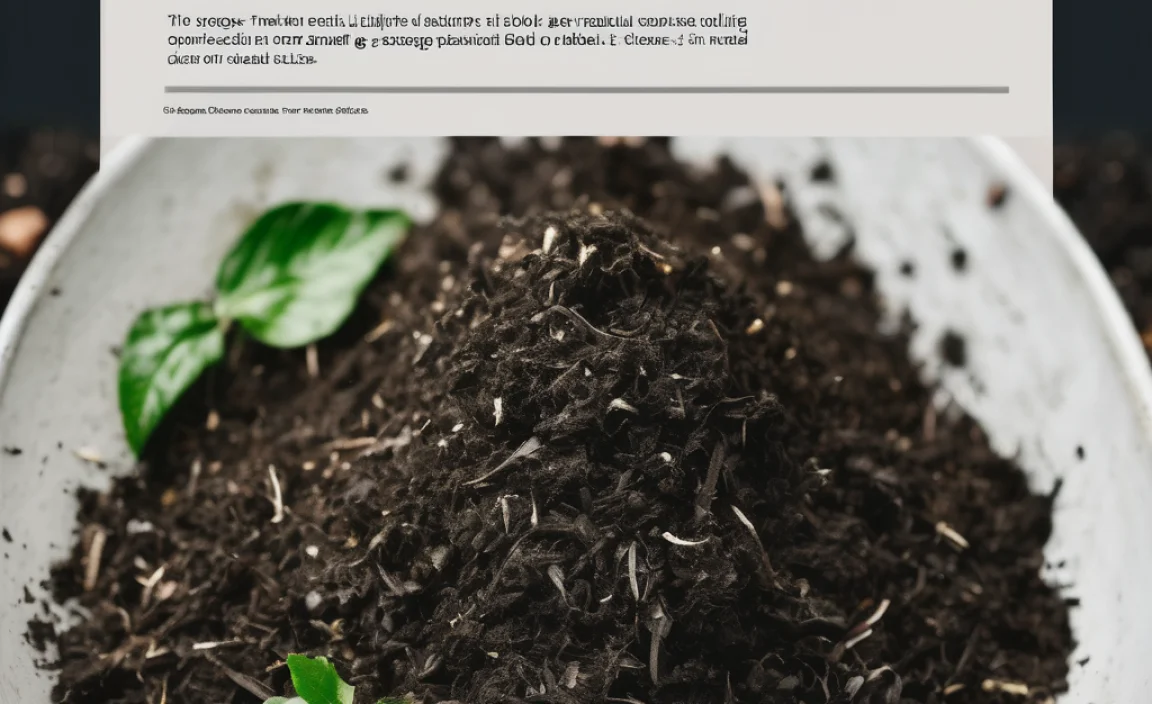
Composting is a fantastic way to reduce the amount of waste we send to landfills. It’s like giving your food scraps a second life! On a balcony, it’s also a way to create your own nutrient-rich soil amendment, perfect for those potted plants you love. Imagine: your herbs and veggies get the best food, made right from what you were going to throw away. Plus, it feels good to do something positive for the environment, right from your own little urban oasis.
The Benefits of Balcony Composting
- Waste Reduction: Significantly cuts down on landfill waste.
- Nutrient-Rich Soil: Creates free, high-quality compost for your plants.
- Environmental Impact: Reduces greenhouse gas emissions from landfills.
- Cost Savings: Saves money on store-bought fertilizers and soil.
- Learning Opportunity: A fun and educational way to connect with nature.
Choosing Your Balcony Composting System
This is where we get practical. Not all composting methods are balcony-friendly. We need something compact, relatively neat, and effective. Here are the top contenders:
1. The Balcony Composter Bin (Tumbler Style)
These are often enclosed bins that you can tumble or rotate. They’re great because they keep things contained and speed up the composting process. Look for models designed for smaller spaces. They usually have two chambers, so you can add new materials to one while the other is actively composting.
Pros:
- Fast: Tumbling helps aeration and speeds up decomposition.
- Contained: Keeps critters out and odors in.
- Easy to Mix: Simple to turn and aerate.
- Compact: Many are designed for small outdoor spaces.
Cons:
- Cost: Can be more expensive initially.
- Requires Turning: Need to put in a little physical effort.
- Not for Huge Batches: Capacity might be limited.
2. Worm Composting (Vermicomposting)
This is a super popular method for small spaces. You use red wiggler worms in a special bin to break down your food scraps. It’s efficient, produces nutrient-dense compost (worm castings), and is surprisingly odor-free if managed correctly.
For a deeper dive into setting up your worm farm, check out the EPA’s composting resources, which offer great foundational knowledge applicable even on a small scale.
Pros:
- Highly Efficient: Worms are excellent decomposers.
- Excellent Compost: Produces valuable worm castings.
- Odor-Free: If managed properly, there’s virtually no smell.
- Space-Saving: Worm bins are typically compact.
Cons:
- Specific Needs: Requires live worms and their specific environment.
- Temperature Sensitive: Worms need moderate temperatures.
- Initial Setup: Might seem a bit daunting for absolute beginners.
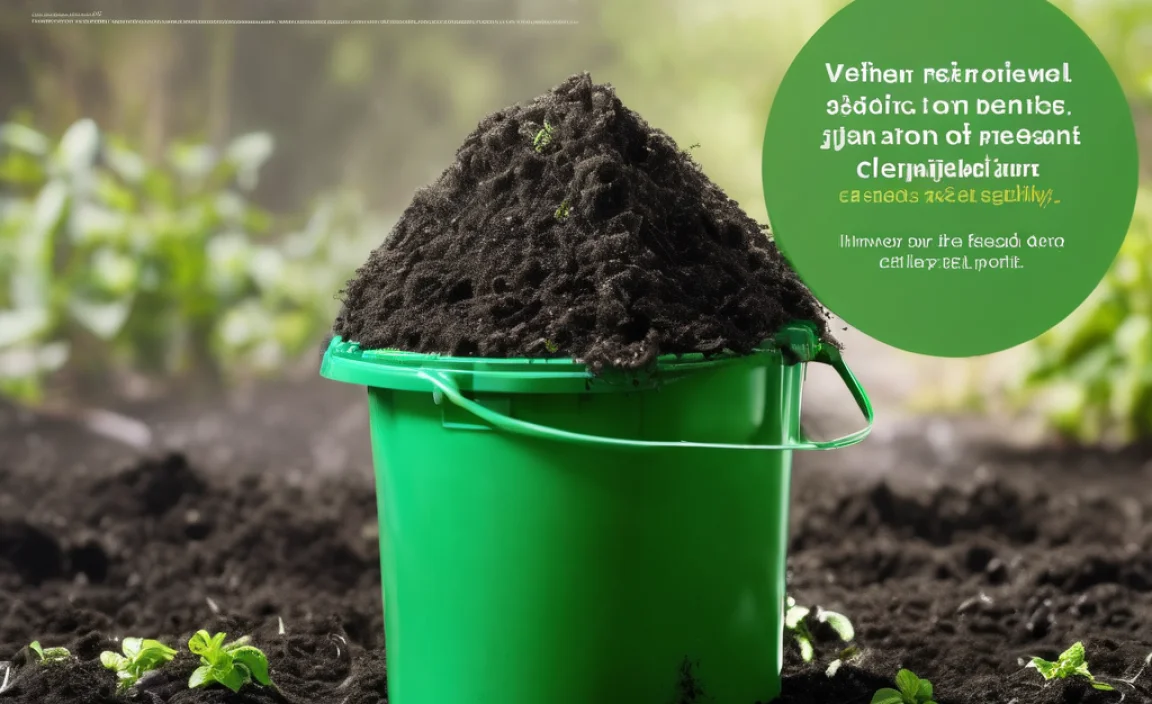
3. Bokashi Composting
This is a bit different. Bokashi uses a fermentation process with a special bran inoculated with effective microorganisms (EMs). It pickles your food scraps, including meat and dairy, which regular composting can’t handle. The fermented material then needs to be buried (perhaps in a larger pot) to finish decomposing. It’s a great pre-composting step.
Pros:
- Accepts More Scraps: Can handle meat, dairy, and oily foods.
- Fast Fermentation: Quickly breaks down material in the bin.
- Compact Bin: Typically a sealed bucket system.
- Reduces Odors: The fermentation process limits smells.
Cons:
- Not Finished Compost: The fermented material needs further decomposition.
- Requires Special Bran: You need to buy the Bokashi bran.
- Liquid Byproduct: Produces “Bokashi tea” that needs managing.
What to Consider When Choosing
Think about your balcony size, how much waste you generate, and how much effort you’re willing to put in. For most beginners on a balcony, a small tumbler or a worm bin is a great starting point. If you’re feeling adventurous and want to compost everything, Bokashi is a good addition or alternative.
Setting Up Your Balcony Composter: Step-by-Step
Let’s get your chosen system ready to go. We’ll use a general approach that applies to most enclosed bins and tumbler systems, as they are often the most straightforward for beginners on balconies.
Step 1: Gather Your Tools & Supplies
Before you start, make sure you have everything on hand. This makes the process smooth and less frustrating.
- Your chosen compost bin (tumbler or enclosed bin).
- A small kitchen caddy or container for collecting scraps.
- Compost activators (like finished compost, a bit of soil, or specific compost starter – though often not needed if you have good greens and browns).
- Water source (hose, watering can).
- A small shovel or trowel for turning and harvesting.
- Garden gloves for handling compost.
- “Brown” materials: shredded newspaper, cardboard, dry leaves (if you can access them).
- Optional: A sturdy base if your bin needs one.
Step 2: Choose the Right Location
Your balcony likely has limited space, so placement is key.
- Sunlight: Most compost bins benefit from some sun to help heat the process, but too much direct, scorching sun can dry it out too quickly. A spot with partial sun is often ideal.
- Accessibility: Make sure you can easily reach the bin to add scraps, turn it, and eventually harvest your compost.
- Drainage: Ensure the area around your bin can handle minimal moisture and won’t damage your balcony surface. Many bins have a collection tray for leachate.
- Wind: Protect your bin from strong winds, which can dry it out or knock it over.
Step 3: Prepare Your Bin
If you bought a new bin, give it a quick rinse with water. Some bins come with instructions for assembling a base or ensuring the lid is secure. For a tumbler, make sure it’s set up to rotate smoothly.
Step 4: Add Your First Layers
Every compost pile needs a balance of “greens” (nitrogen-rich) and “browns” (carbon-rich). Starting correctly is important.
- Base Layer (Browns): Start with a few inches of coarse brown material at the bottom. This could be small twigs (if your bin can handle them), shredded cardboard, or dry leaves. This helps with drainage and airflow.
- Add Activator (Optional): If you have some finished compost or garden soil, add a small shovel-full. This introduces beneficial microbes to kickstart the process.
- Start Adding Kitchen Scraps (Greens): Begin adding your kitchen scraps. Chop larger items into smaller pieces to speed up decomposition.
- Balance with Browns: For every layer of greens you add, try to add a roughly equal layer of browns. This is the golden rule of composting!
Step 5: The “Greens” and “Browns” Ratio
This is crucial for successful composting. The goal is a good mix, aiming for roughly 2-3 parts browns to 1 part greens by volume. Too many greens can make your compost wet and smelly; too many browns can slow it down considerably.
| Greens (Nitrogen-Rich) | Browns (Carbon-Rich) |
|---|---|
| Fruit and vegetable scraps | Shredded newspaper (non-glossy) |
| Coffee grounds and tea bags | Shredded cardboard |
| Grass clippings (in moderation) | Dry leaves |
| Eggshells (crushed) | Straw or hay |
| Plant trimmings (non-diseased) | Wood chips or sawdust (in moderation) |
Step 6: Moisture Management
Your compost pile should be as damp as a wrung-out sponge. Not soggy, not dry.
- Too Wet: Add more brown materials (like shredded paper or cardboard) and ensure good aeration.
- Too Dry: Lightly water the pile. If using a tumbler, add a bit of water when you turn it.
Step 7: Aeration (Turning/Mixing)
Compost needs oxygen to break down effectively. If you have a tumbler, give it a few turns every few days. For an enclosed bin, use a compost aerator tool or a small shovel to mix the contents regularly, aiming for at least once a week.
Step 8: Be Patient and Observe
Composting takes time! Depending on your method, temperature, and how often you turn it, it can take anywhere from a few weeks to a few months to get finished compost. Keep an eye on the moisture, smell, and the general state of your materials. You’ll know it’s ready when it looks dark, crumbly, and smells earthy. No food scraps should be recognizable.
What Can You Compost on Your Balcony?
Here’s a quick rundown of what’s generally safe and effective to compost in your balcony setup. Remember to chop things up!
Compostable Items (The “Greens” and “Browns”)
- Fruits and Vegetables: All kinds, including peels, cores, and scraps.
- Coffee Grounds and Filters: Yes, these are great!
- Tea Bags: Remove any staples or plastic strings; most are compostable.
- Eggshells: Rinse and crush them well. They add calcium.
- Shredded Newspaper and Cardboard: Non-glossy and un-taped is best.
- Dry Leaves and Small Twigs: Excellent “brown” material.
- Grass Clippings: Use in moderation; they can get matted and smelly if added in large quantities.
- Used Paper Towels and Napkins: As long as they aren’t soiled with grease or harsh chemicals.
- Dead Flowers and Plant Trimmings: Avoid diseased plants.
What NOT to Compost (Generally)
These can attract pests, create odors, or introduce pathogens. If you’re using a Bokashi system, some of these might be okay as they get fermented first, but for traditional bin/tumbler composting, steer clear:
- Meat, Fish, and Bones: Attract pests and can smell bad.
- Dairy Products: Milk, cheese, yogurt – same reasons as meat.
- Oily Foods and Fats: Can slow down decomposition and attract pests.
- Diseased Plants: You don’t want to spread plant diseases.
- Weeds that have gone to seed: May sprout in your compost or garden.
- Pet Waste (Dog and Cat): Can contain harmful pathogens.
- Glossy or Coated Paper: Ink and coatings can be problematic.
- Chemically Treated Wood or Yard Waste: Avoid pesticides.
Troubleshooting Common Balcony Composting Issues
Even with the best intentions, you might run into a few snags. Don’t worry, these are usually easy to fix!
Issue: My compost smells bad (like ammonia or rotten eggs).
Cause: Too many “greens” (nitrogen-rich materials) or not enough air. Ammonia smell usually means too much nitrogen. Rotten egg smell means it’s anaerobic (lacking oxygen).
Solution: Add plenty of brown materials (shredded cardboard, dry leaves). Turn the compost thoroughly to aerate it. If it’s too wet, add more browns.
Issue: My compost is too dry and isn’t breaking down.
Cause: Not enough moisture or too many browns.
Solution: Lightly water the compost pile. If you have a tumbler, add water as you turn it. You can also add more “green” materials to boost moisture.
Issue: I’m not seeing any action or decomposition.
Cause: The pile might be too small, too dry, too cold, or lacking active microbes.
Solution: Ensure you have a good mix of greens and browns. Add a shovel-full of finished compost or garden soil to introduce microbes. Make sure it’s moist enough. If it’s very cold outside, action will slow down; try to insulate your bin if possible or be patient.
Issue: Fruit flies or other pests are showing up.
Cause: Exposed food scraps or compost that’s too wet.
Solution: Always cover fresh kitchen scraps with a layer of brown material. Ensure your bin lid is secure. If you have a tumbler, try to keep it closed when not actively adding or turning.
Using Your Finished Balcony Compost
The moment you’ve been waiting for! Once your compost is dark, crumbly, and smells like fresh earth, it’s ready to use.
How to Harvest
If you have a tumbler, you might be able to empty the entire batch. For enclosed bins, you can often scoop compost from a bottom hatch, or carefully empty the whole bin and separate finished compost from unfinished material using a sieve or by simply picking out the larger, uncomposted bits to add back to your active pile. Remember, some parts might still be breaking down, and that’s okay! They’ll continue to decompose in your pots.
Ways to Use Your Compost
- Potting Mix Booster: Mix 1 part compost with 2-3 parts potting soil for containers. This adds vital nutrients and improves soil structure.
- Top Dressing: Sprinkle a layer of compost on top of the soil in your pots. Worm castings are especially great for this.
- Seed Starting: Use a fine-screened compost mixed with coir or perlite for starting seeds.
- Liquid Fertilizer (Compost Tea): For a nutrient boost, steep compost in water for a day or two (aerating if possible) and use the liquid to water your plants.
Using your own compost is incredibly rewarding. It closes the loop on your waste and nourishes your plants beautifully. It’s a small step that makes a big difference!
Conclusion
See? Composting on your balcony is far from impossible – it’s an achievable, rewarding project! You’ve learned about the different systems, how to set them up, the importance of balancing your greens and browns, and how to troubleshoot common issues. You’re now equipped to transform your kitchen scraps into valuable compost, enriching your plants and reducing your waste. Don’t be afraid to start small and learn as you go. Happy composting, and enjoy your greener balcony!
Frequently Asked Questions (FAQ)
Here are some common questions beginners have about balcony composting.
Q1: Will my balcony compost bin smell bad?
A1: A properly managed compost bin should smell earthy, not foul. Bad smells usually mean the balance is off (too wet, too many greens, or not enough air). By following the “greens and browns” ratio and ensuring good aeration, you can keep odors to a minimum.
Q2: How much kitchen waste can I put in my balcony composter?
A2: This depends on the size of your bin. Start with what fits comfortably and always try to balance it with brown materials. Even small amounts of daily kitchen scraps, when managed correctly, will contribute to your compost.
Q3: Do I need to buy special compost starters?
A3: Not usually. Adding a shovel-full of finished compost or some garden soil when you first start your bin is enough to introduce beneficial microbes. The kitchen scraps and brown materials themselves contain the ingredients for decomposition.
Q4: Can I compost with only one type of material, like just fruit peels?
A4: No, you need a mix of “greens” (like fruit peels) and “browns” (like shredded paper or dry leaves). This balance is essential for the composting process to work correctly and avoid issues like smell and sogginess.
Q5: How often should I turn my balcony composter?
A5: For tumblers, a few turns every 2-3 days can speed things up. For static bins, aim to mix or turn the contents at least once a week. More frequent turning generally leads to faster composting.
Q6: What if I don’t have a lot of brown materials available?
A6: You can save shredded newspaper, junk mail (non-glossy), and cardboard boxes. If you have access to a park or natural area, dry leaves are a fantastic free resource in the fall. Some people even use shredded paper bags or plain paper packaging.

I am passionate about home engineering. I specialize in designing, installing, and maintaining heating, ventilation, and air conditioning systems. My goal is to help people stay comfortable in their homes all year long.