Hey there, fellow home enthusiasts! Troy D Harn here, your go-to guy for making home projects and gardening totally doable, even on a tight budget. Are you looking at those kitchen scraps and garden waste and thinking, “There’s got to be a better way than just tossing it”? You’re right! Composting can seem a bit daunting, but it’s actually super simple once you know the basics. And the best part? It doesn’t have to cost you an arm and a leg. Get ready, because we’re diving into some genius, affordable tips to get you composting like a pro, right from today!
Composting For Beginners Affordable: Your Easy-Peasy Guide
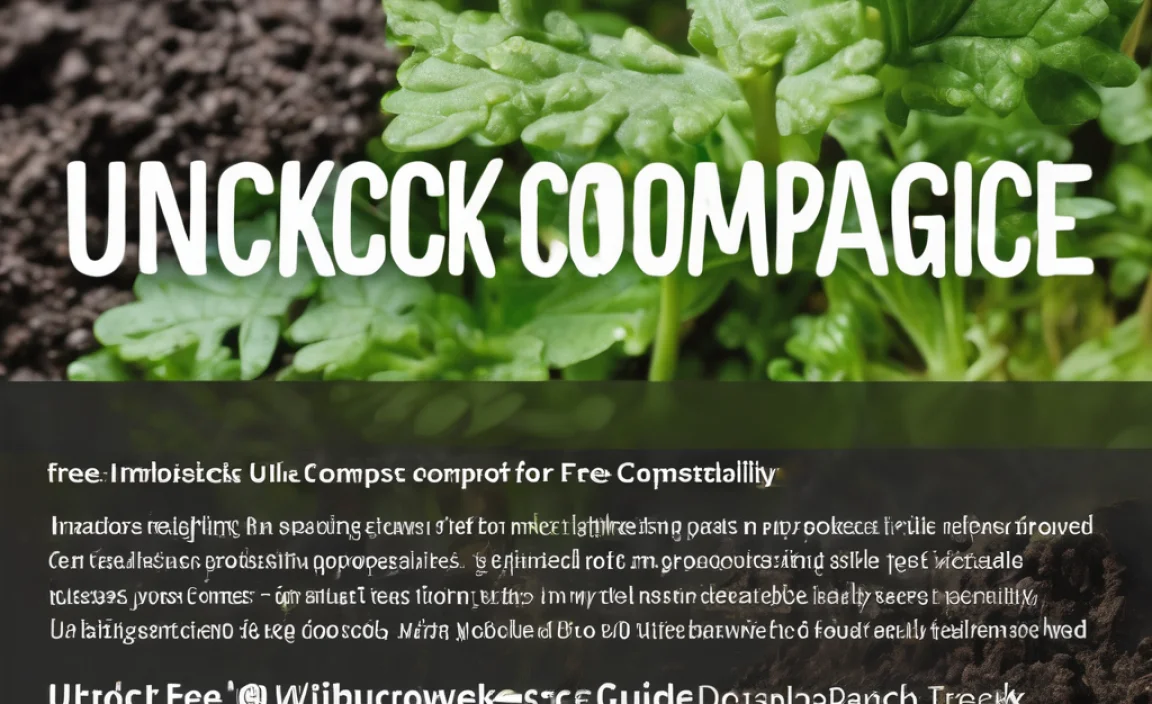
So, you’ve heard about composting. Maybe it conjures images of industrial operations or fancy, expensive bins. But let’s clear the air: turning your kitchen and yard waste into nutrient-rich “black gold” for your plants is totally achievable, even if you’re new to it and your wallet is feeling a little light. It’s one of the most rewarding things you can do for your garden and for the planet. Let’s get down to the nitty-gritty of making composting affordable and simple for everyone.
Why Bother With Composting? The Big Wins for Your Wallet & Garden
Before we get our hands dirty (figuratively, for now!), let’s talk about why this is such a great idea, especially for beginners on a budget.
- Free Fertilizer: Think about the cost of buying bagged fertilizer. Composting means you create your own amazing soil amendment for free! Your plants will thank you with better growth and healthier blooms.
- Reduces Waste: A huge chunk of what we throw away is compostable material. Composting diverts this from landfills, which is great for the environment and can sometimes even reduce your trash bill.
- Improves Soil: Compost is like a vitamin boost for your soil. It helps sandy soil retain water and nutrients, and it loosens up clay soil so plants can breathe and grow better.
- It’s Really Not Complicated: Despite what you might think, composting doesn’t require a PhD in soil science. It’s a natural process, and you’re just giving it a little nudge.
The “Browns” and “Greens”: What Goes In Your Compost Pile?
Composting is all about balance. You need a good mix of “browns” (carbon-rich materials) and “greens” (nitrogen-rich materials). Getting this ratio right is key to speedy, great-smelling compost. Too much of one can lead to a slow, slimy mess, or a dry, dusty pile.
Awesome “Browns” (Carbon Materials):
- Dry leaves (a real backyard treasure!)
- Shredded cardboard (non-glossy, remove tape)
- Shredded newspaper (avoid glossy inserts)
- Straw or hay
- Wood chips or sawdust (in moderation, from untreated wood)
- Pine needles (use sparingly, can be acidic)
- Dried grass clippings (once dried out)
Super “Greens” (Nitrogen Materials):
- Fruit and vegetable scraps (peels, cores, rinds)
- Coffee grounds and filters
- Tea bags (remove staples and plastic tags)
- Grass clippings (fresh)
- Plant trimmings (non-diseased, non-woody parts)
- Eggshells (rinsed and crushed)
- Manure from herbivores (like chickens, rabbits, cows – make sure it’s aged or composted well first)
Think of it like a recipe: you need a good blend for the best results. A common starting point is aiming for roughly a 2:1 or 3:1 ratio of browns to greens by volume. Don’t stress too much about the exact numbers at first; you’ll get a feel for it!
What to Absolutely Keep OUT of Your Compost Bin
Just as important as knowing what to add is knowing what NOT to add. These items can cause problems like attracting pests, smelling bad, or not breaking down.
- Meat, fish, and dairy products (attract pests, can smell)
- Oily or greasy foods
- Diseased plants (can spread disease to your garden)
- Weeds that have gone to seed (you’ll just be planting more weeds!)
- Pet waste from dogs and cats (can contain pathogens)
- Chemically treated wood or yard waste
- Glossy or coated papers/cardboards
- Inorganic materials (plastic, metal, glass)
Affordable Composting Setups: DIY & Smart Buys
Now for the fun part: how to create your composting system without breaking the bank. You don’t need a fancy Tumbler 5000 to start!
Option 1: The Simple Pile (Free!)
If you have a bit of yard space, the easiest and most affordable way to start is with an open pile. Just designate a spot in your yard.
- How to do it: Find a level spot, ideally with some sun and good drainage. Start layering your browns and greens. You can build it up over time. Aim for a pile at least 3 feet by 3 feet by 3 feet for good heat generation.
- Pros: Absolutely free, easy to add material, good airflow if managed correctly.
- Cons: Can look a bit messy, might take slightly longer if not managed actively, can attract pests if not balanced correctly.
Option 2: DIY Pallet Bin (Very Affordable)
Old wooden pallets are often free or very cheap from local businesses, construction sites, or online marketplaces. They’re perfect for building a simple, sturdy compost bin.
- How to do it: Gather 3 or 4 sturdy wooden pallets. Stand them up on their sides to form a square or U-shape, leaving one side open for easy access. You can secure them together with wire, zip ties, or screws.
- Pros: Very low cost, reasonably tidy, good airflow through the slats, can be expanded by adding more sides.
- Cons: Requires some effort to assemble, materials can rot over time, might require a bit of searching to find free pallets.
Option 3: Wire Mesh Bin (Affordable & Easy)
Hardware cloth or chicken wire can be used to create a simple, effective compost enclosure.
- How to do it: Buy a roll of sturdy wire mesh. Cut a length (enough to form a circle about 3 feet in diameter) and wire or zip tie the ends together. Place it in your desired spot and start filling!
- Pros: Excellent airflow, easy to set up, portable, relatively inexpensive.
- Cons: Can be a bit flimsy depending on the wire used, might not contain finer materials as well as a solid bin.
Option 4: Repurposed Containers (Creative & Affordable)
Got an old garbage can, wooden crate, or large plastic tote? With a few modifications, these can become excellent compost bins.
- How to do it: For plastic containers, drill plenty of holes (1/2 inch to 1 inch) all over the sides and bottom for ventilation and drainage. For wooden crates, ensure there are gaps between the slats.
- Pros: Gives new life to old items, can be contained and tidy, often has a lid to deter pests and keep moisture in.
- Cons: May have limited airflow depending on design, can be harder to turn the compost, might require more frequent watering or aeration.
For those who prefer a ready-made option but are still budget-conscious, look for basic plastic compost bins at garden centers, big box stores, or online. Often, you can find sales or older models for a good price. Avoid the really fancy, expensive tumblers when you’re starting out; they can be overkill and harder to manage effectively for a beginner.
Getting Started: Your First Steps to Composting Success
Ready to build your pile? Here’s a simple, step-by-step approach:
- Choose Your Location: Pick a spot that’s convenient for you to access, has decent drainage, and ideally gets some sun (to help heat it up) but not scorching, all-day sun (which can dry it out too quickly). Partial shade is often ideal.
- Start with a Base Layer of “Browns”: Lay down a few inches of coarse brown materials like twigs, straw, or shredded cardboard at the bottom of your chosen bin or pile. This helps with drainage and airflow.
- Add Your First “Greens”: Toss in your kitchen scraps (fruit and veggie peels, coffee grounds) and other nitrogen-rich materials.
- Layer It Up: Continue adding alternating layers of greens and browns. Aim for a good mix. A common mantra is “one-third green, two-thirds brown.”
- Chop it Up: If you have a chance, chop or shred larger items (like big vegetable stalks or cardboard) into smaller pieces. This speeds up decomposition.
- Moisture Check: Your compost pile should be as damp as a wrung-out sponge. If it’s too dry, water it. If it’s too wet, add more browns.
- Aeration is Key: The microbes that do the work need air. You’ll want to occasionally turn or aerate your compost pile. How often depends on how fast you want compost and your system. More turning equals faster compost.
Easy Composting Habits for the Busy Beginner
Composting doesn’t have to be a chore. Here are some simple habits to make it part of your routine:
- Kitchen Scraps Caddy: Keep a small container with a lid in your kitchen for collecting scraps. Empty it into your main compost bin daily or every other day.
- Yard Waste Zone: Have a designated spot or bin for garden trimmings and leaves. Pile them up, and add them to your compost as needed.
- “Sheet Composting” or “Lasagna Gardening”: This is a no-turn method where you layer materials directly onto your garden bed, letting nature do the work over time. It’s fantastic for lazy gardeners and busy bees!
- Top Up, Not Dig Out: With some bin designs, you can simply add new materials to the top, letting older material at the bottom mature.
What to Do With Finished Compost
The magical moment arrives when your compost looks dark, crumbly, and smells earthy. This is finished compost, and it’s ready to work wonders! You can:
- Mix it into Garden Beds: Dig it into your vegetable or flower beds before planting to enrich the soil.
- Top Dress Lawns: Spread a thin layer over your lawn to improve grass health.
- Use as Potting Mix: Mix compost with existing soil or perlite for a rich potting mix for containers.
- Around Trees and Shrubs: Apply a layer around the base of trees and shrubs (but not touching the trunk) to provide nutrients.
Troubleshooting Common Composting Potholes for Beginners
Even with the best intentions, you might run into a few hiccups. Don’t worry; they’re usually easy to fix!
| Problem | Possible Cause | Solution |
|---|---|---|
| Smelly Compost (like rotten eggs or ammonia) | Too many “greens” (nitrogen-rich materials), not enough “browns” (carbon), or the pile is too wet and compacted. | Add more brown materials (leaves, shredded cardboard, sawdust). Turn or aerate the pile to introduce air. If too wet, mix in dry browns. |
| Pile Isn’t Heating Up / Not Decomposing | Pile is too small, not enough nitrogen (“greens”), or too dry. | Add more nitrogen materials (kitchen scraps, fresh grass clippings). Make sure the pile is at least 3x3x3 feet. Add water and mix. |
| Attracting Pests (flies, rodents) | Exposed food scraps, or the pile is too wet and smelly. | Bury kitchen scraps deep within the pile, always cover fresh greens with a layer of browns. Ensure your bin is secure if pests are a major issue. Never add meat, dairy, or oily foods. Ensure adequate aeration. |
| Pile is Too Dry | Not enough moisture, sunny location drying it out, or too many browns. | Water the pile thoroughly with a hose or watering can. Mix it in. Consider covering the pile loosely with a tarp during very hot, dry spells. |
| Compost is Slimy or Soggy | Too much moisture, not enough airflow, or too many greens. | Add plenty of dry brown materials (shredded cardboard, straw, leaves). Turn the pile regularly to aerate it and break up clumps. |
Key Tools for Affordable Composting
You honestly don’t need much to get started. Here are a few helpful, affordable items:
- Pitchfork or Garden Fork: Essential for turning your compost pile. Look for one at a garage sale or secondhand store for the best price.
- Shovel: For moving compost and initial pile building.
- A Small Kitchen Container: For collecting scraps. An old ice cream tub or a cute repurposed jar works great!
- Gloves: To keep your hands clean. Any old gardening gloves will do.
- Optional: A Garden Hose Nozzle with a Spray Setting: For adding moisture evenly.
You can find many of these items secondhand, at dollar stores, or during end-of-season sales. The goal is to be functional, not fancy!
The Importance of Aeration and Moisture
These two factors are the unsung heroes of composting. Microbes need oxygen to do their work efficiently, and they need moisture to live and multiply. Think of it this way: a dry, compacted pile is like trying to run a marathon without water or air – it just won’t happen! Conversely, a waterlogged, oxygen-deprived pile will go anaerobic, producing unpleasant smells and a much slower decomposition rate. Regularly turning your compost (even just with a pitchfork) and ensuring it feels like a squeezed-out sponge will make all the difference.
For those curious about the science behind it, the process relies on aerobic decomposition, where beneficial bacteria and fungi break down organic matter in the presence of oxygen. This heat-generating process is what transforms your waste into nutrient-rich compost. You can learn more about the microbial processes involved from resources like the Environmental Protection Agency (EPA), which offers great insights into composting’s environmental benefits.
Composting in Small Spaces: Balconies & Tiny Yards
Don’t have a sprawling backyard? No problem! Composting is still very achievable.
- Worm Composting (Vermicomposting): This is fantastic for small spaces. You can buy or build a worm bin and use specific composting worms (like red wigglers) to break down kitchen scraps. It’s quiet, produces excellent compost, and can even be done indoors. You can find great beginner kits and resources online.
- Small Bins: Many compact compost bins are designed for patios or balconies. Look for ones with a good lid and ventilation.
- Community Composting: Some cities or neighborhoods have community garden compost piles or drop-off locations. This is a great way to participate if your living situation makes it impossible to compost at home.
Vermicomposting is one of the most efficient and odor-free methods for small spaces. Many resources, like those from university extension offices (e.g., Oregon State University Extension), offer excellent, free guides on setting up and maintaining a worm bin.
Quick Summary Table: Browns vs. Greens for Composting Balance
Here’s a quick snapshot to help you remember what goes where: