Thinking about composting but feel like it’s too complicated? You’re not alone! Many folks think composting is a big chore, messy, or just for serious gardeners. But what if I told you it’s actually super simple and brings amazing rewards? Let’s break down why composting is awesome and how easy it is to get started. We’ll go through everything you need to know, step-by-step, to turn kitchen scraps and yard waste into gardener’s gold!
Composting For Beginners Benefits: Proven Results You Can See
Hey neighbors! Troy D Harn here from TopChooser, ready to tackle another home project that’s good for your wallet and the planet. Today, we’re diving into the wonderful world of composting. If you’ve ever tossed a banana peel or some wilting lettuce into the trash and thought, “there has to be a better way,” you’re in the right place. Composting is that better way, and it’s way easier than you might think. We’re talking about turning what you might consider waste into a super-powered dirt booster for your garden or houseplants. Let’s get into the real benefits and how you can start seeing these proven results yourself.
Why Bother Composting? The Big Wins
So, why do people get excited about piling up old food and leaves? It boils down to some really solid benefits, both for your garden and for the environment. It’s a win-win that’s surprisingly achievable for anyone, from a condo dweller with a tiny balcony planter to someone with a sprawling backyard.
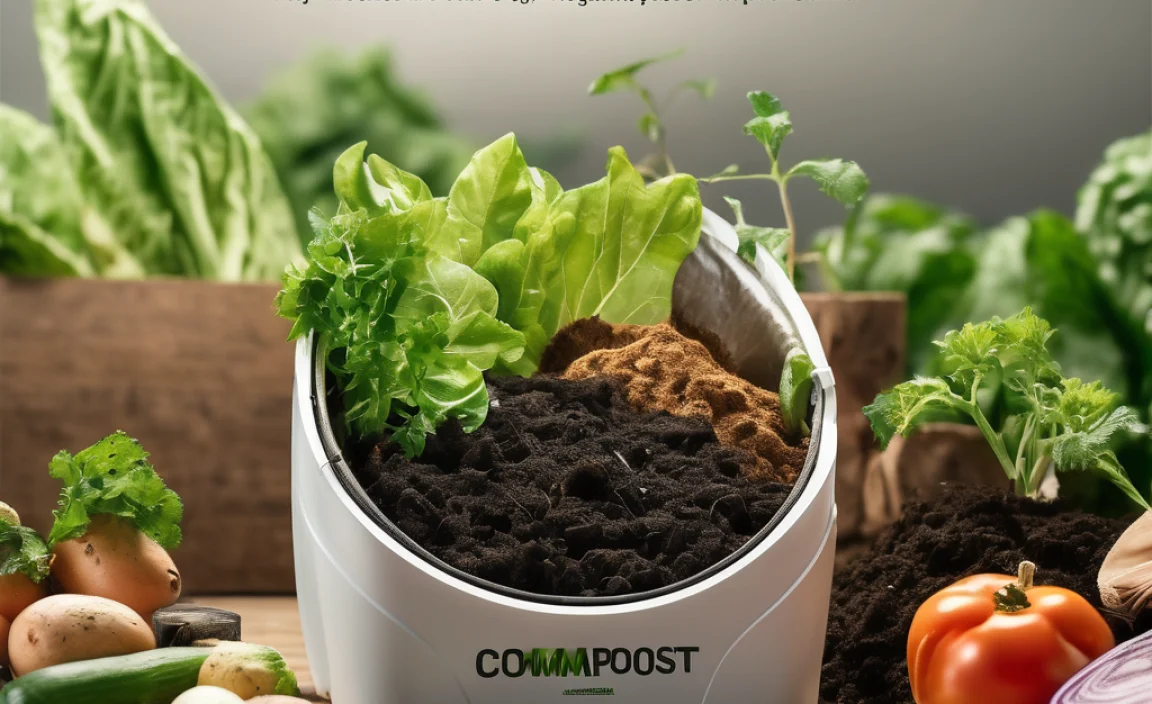
Benefit 1: Creating Nutrient-Rich Soil (aka “Black Gold”)
This is the main star of the show. Compost is like a superfood for your soil. It’s packed with all sorts of good stuff – nutrients and beneficial microbes – that your plants just love. When you add compost to your garden beds, flower pots, or lawn, you’re giving your plants a healthy dose of everything they need to grow strong, produce more flowers, and yield tastier veggies. This means healthier, happier plants for you, with less need for store-bought fertilizers.
Benefit 2: Reducing Your Trash and Landfill Waste
Think about how much food waste and yard trimmings you throw away each week. A huge chunk of household garbage is actually compostable material! When this stuff goes to a landfill, it doesn’t just disappear. It decomposes without oxygen, releasing methane, a potent greenhouse gas. By composting at home, you’re diverting this material from landfills, which helps reduce harmful emissions and conserves valuable landfill space. It’s a simple action with a big environmental impact.
Benefit 3: Saving Money on Soil and Fertilizers
Good quality soil and fertilizers can add up, especially if you have a decent-sized garden. Composting allows you to create your own nutrient-rich soil amendment for free! Once you get your compost going, you’ll find you need to buy less potting mix, topsoil, and synthetic fertilizers. This saves you money season after season, which is a big plus for any budget-conscious homeowner or renter.
Benefit 4: Improving Soil Structure and Water Retention
Compost doesn’t just add nutrients; it also physically changes your soil for the better. If you have heavy clay soil, compost helps to break it up, improving drainage and aeration so plant roots can breathe. If you have sandy soil, compost acts like a sponge, helping it hold onto water and nutrients better. This means you’ll likely need to water less often, saving you time and water. This improved soil structure is key to healthy plant growth.
Benefit 5: Supporting a Healthier Ecosystem
The living organisms that thrive in compost, like earthworms and beneficial bacteria, are exactly what your garden soil needs. When you add compost, you introduce a diverse community of these tiny helpers. They break down organic matter, make nutrients available to plants, and even help suppress plant diseases. It’s like inviting a whole crew of tiny gardeners to come and work on your behalf!
Getting Started: What You Need for Composting
The beauty of composting is that you can start with very little. There are several ways to compost, from simple piles to contained bins. We’ll focus on the easiest methods for beginners.
Option 1: The Simple Compost Pile
If you have some yard space, this is the most straightforward approach. You don’t need fancy equipment. Just find a spot in your yard that’s relatively easy to access, ideally with some sun (to help it heat up) but also some shade (to prevent it from drying out too fast). You’ll basically be layering your compostable materials directly on the ground.
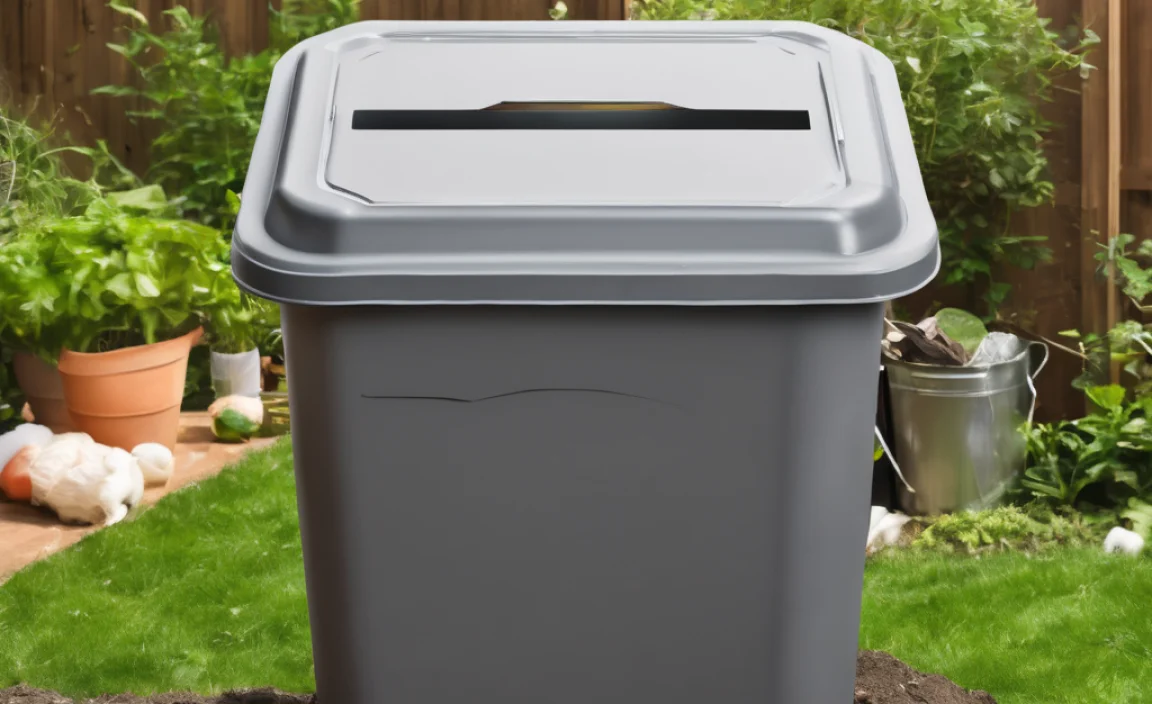
Option 2: The Composting Bin
Bins are a great option if you want to keep things tidy or if you have limited space. They come in various forms:
- Plastic or Metal Bins: These are readily available at garden centers and online. Some have lids, some are open-topped, and some even spin to help aerate.
- Wooden Pallet Bins: A DIY option that’s very affordable. You can often get free pallets from local businesses and build a simple enclosure.
- Tumbler Composter: These are sealed drums that you turn. They can speed up the composting process and keep pests out, but they can be a bit more expensive.
For beginners, a simple plastic bin or a DIY pallet bin is a fantastic starting point. They help contain the compost and can look neater in your yard.
What Can You Compost? The “Greens” and “Browns”
The secret to successful composting is balancing two types of materials: “Greens” and “Browns.” Think of them as the fuel and the structure for your compost pile. Getting this balance right is key to avoiding smells and speeding up decomposition.
Greens (Nitrogen-rich): These are typically moist, fresh materials that provide nitrogen for the microbes doing the work.
- Fruit and vegetable scraps (peels, cores, rinds, wilted veggies)
- Coffee grounds and paper filters
- Tea bags
- Grass clippings (in thin layers to avoid matting)
- Plant trimmings (non-woody, fresh bits)
- Eggshells (crushed)
Browns (Carbon-rich): These are usually dry, woody materials that provide carbon and create air pockets in your compost.
- Dry leaves
- Shredded newspaper or cardboard (avoid glossy inks)
- Straw or hay
- Wood chips or sawdust (in small amounts)
- Twigs and small branches (chopped up)
- Pine needles
A good rule of thumb is to aim for a ratio of about 2-3 parts Browns to 1 part Greens by volume. This ensures your compost doesn’t get too wet and smelly (too many Greens) or too dry and slow to decompose (too many Browns).
What NOT to Compost
Some items can cause problems, attract pests, or spread diseases. It’s best to keep these out of your beginner compost pile:
- Meat, fish, and bones
- Dairy products (cheese, yogurt, milk)
- Oily foods or fats
- Diseased plants
- Weeds that have gone to seed
- Pet waste (dog or cat feces)
- Treated wood
- Coal or charcoal ash
The Simple Steps to Composting Success
Ready to get your hands a little dirty? Here’s a straightforward way to start your compost!
Step 1: Choose Your Location and Method
As we discussed, decide if you’re going with an open pile or a bin. Pick a spot that’s convenient for you to access from your kitchen and garden. For bins, place them directly on the soil if possible; this allows beneficial organisms and worms to enter your compost from the ground up.
Step 2: Start Layering Your Materials
Begin with a layer of “browns” at the bottom. This could be twigs, straw, or dry leaves. This layer helps with aeration and drainage from the start. Then, add your “greens.”
Pro Tip: Chop or shred materials into smaller pieces. This increases the surface area and helps them break down much faster. Think small!
Step 3: Add Greens and Browns in Layers
Continue adding your kitchen scraps (greens) and yard waste (browns), trying to maintain that roughly 2-3 parts browns to 1 part greens ratio. Don’t stress too much about perfection; nature is pretty forgiving! Burying your food scraps under a layer of browns can also help deter pests and smells.
Step 4: Keep it Moist
Your compost pile should feel like a damp, wrung-out sponge. Not dripping wet, but definitely not dry and dusty. If it seems dry, add some water with ahose or watering can. If it’s too wet, add more “brown” materials like dry leaves or shredded cardboard.
Step 5: Aerate Your Compost (Turn It!)
This is crucial for speeding up decomposition and preventing unpleasant odors. Turning introduces oxygen, which the microbes need to work efficiently. Aim to turn your compost pile or bin every 1-4 weeks. You can use a pitchfork, a compost aerator tool, or simply stir it if you have a tumbler.
- Tumblers: Give them a few turns every few days.
- Bins/Piles: Use a pitchfork to mix the outer materials into the center and break up any clumps.
The more you turn it, the faster you’ll get compost. However, even an “unturned” pile will eventually break down, it just takes longer.
Step 6: Wait for the Magic to Happen
Composting is a process, and patience is your best friend. Depending on the materials you use, your climate, and how often you turn it, compost can be ready anywhere from two months to a year. You’ll know it’s ready when it looks dark, crumbly, and smells earthy and pleasant – like a forest floor. You shouldn’t be able to recognize the original materials anymore.
Troubleshooting Common Composting Issues
Even with the best intentions, you might run into a few hiccups. Here’s how to fix them:
| Problem | Cause | Solution |
|---|---|---|
| Bad Odor (Rotten Egg/Ammonia Smell) | Too many “greens” (nitrogen) or pile is too wet, leading to anaerobic decomposition. Lack of air. | Add more “browns” (carbon-rich materials like dry leaves, shredded cardboard, straw). Turn the pile to aerate it. If too wet, add dry browns and turn. |
| Pile Isn’t Heating Up/Decomposing Slowly | Too many “browns” (carbon) or not enough moisture. Pile is too small. | Add more “greens” (food scraps, grass clippings). Add water to make it as damp as a wrung-out sponge. Ensure the pile is at least 3x3x3 feet for effective heating. Turn it to mix materials. |
| Attracting Pests (Flies, Rodents) | Exposed food scraps, or inappropriate items in the pile. | Always cover fresh food scraps with a layer of “browns.” Avoid adding meat, dairy, or oily foods. Use a secured bin or a tumbler. Ensure your pile is actively decomposing; well-managed compost is less attractive to pests. |
| Pile is too Dry | Not enough moisture, too much “browns,” or excessive sun/wind. | Water the pile thoroughly with a hose or watering can. Add more “greens” if the balance is too heavy on browns. Cover the pile loosely with a tarp if it’s in a very sunny or windy spot, but ensure air can still get in. |
Checking out resources like the EPA’s composting page can offer even more in-depth guidance on managing your compost effectively.
Using Your Finished Compost
Once your compost is ready, it’s time to reap the rewards! Here are some common ways to use it:
- Soil Amendment: Mix it into your garden beds before planting. A layer of 2-4 inches worked into the top 6-8 inches of soil is great.
- Top Dressing: Spread a 1-2 inch layer around existing plants, shrubs, and trees.
- Potting Mix: Mix compost with other materials like perlite and peat moss to create your own custom potting soil for containers and houseplants. A good ratio might be 1/3 compost, 1/3 peat moss, and 1/3 perlite.
- Lawn Dressing: Rake a thin layer (about 1/4 to 1/2 inch) over your lawn in the spring or fall to improve soil health.
The earthy smell and rich, dark color are your indicators of pure gardening goodness!
Composting for Beginners Benefits: A Quick Summary
Getting started with composting is a journey that pays off in multiple ways. It’s an accessible, eco-friendly practice that offers tangible benefits for your garden and your wallet. Here’s a quick rundown of the proven results:
- For Your Garden: Enriches soil, boosts plant health and growth, improves soil structure, and enhances water retention.
- For Your Wallet: Reduces the need to buy fertilizers and soil amendments, potentially saving you money.
- For the Planet: Decreases landfill waste and reduces harmful greenhouse gas emissions.
Don’t let the idea of composting intimidate you. Start small, be patient, and enjoy the process. You’ll be amazed at the “black gold” you can create from everyday discards.
Conclusion: Your Composting Journey Starts Now
So there you have it! Composting for beginners doesn’t have to be complicated. By understanding what goes in, how to balance your greens and browns, and the simple steps to manage moisture and aeration, you’re well on your way to creating your own valuable soil amendment. The benefits are clear: healthier plants, less waste, and a positive
Frequently Asked Questions About Composting
1.How long does it take to make compost?
It varies! With good management (balancing greens, browns, moisture, and aeration), you can get finished compost in as little as 2-3 months. However, a slower, less-managed pile can take 6 months to a year or even longer. The key is to be patient and let nature do its work.
2.Do I need a special bin to compost?
No, not necessarily! You can create a simple compost pile in a corner of your yard. However, bins are great for keeping things tidy, retaining moisture and heat, and can deter pests. Many DIY bin options are very affordable, and commercial bins offer convenience.
3.My compost smells bad. What did I do wrong?
A bad smell, like rotten eggs or ammonia, usually means your compost pile has too much nitrogen (too many “greens”), is too wet, or doesn’t have enough air. Try adding more carbon-rich “browns” (like dry leaves or shredded cardboard) and turning the pile to introduce oxygen. Ensure it’s not waterlogged.
4.Can I compost in a small space like a balcony?
Yes! You can use smaller compost bins designed for balconies and apartments, like worm composting (vermicomposting) bins or compact tumbler composters. These are designed to handle food scraps effectively without odor or pests, making composting accessible even without a yard.
5.What are the best “brown” materials for beginners?
Easy and common browns include dry leaves (a fantastic resource!), shredded newspaper or plain cardboard (avoid glossy or colored inks), straw, hay, and small twigs. Collecting a good stash of dry leaves in the fall is a great way to ensure you have plenty of carbon material for your compost year-round.
6.How do I know when compost is ready to use?
Finished compost will be dark brown to black, crumbly, and uniform in texture. You shouldn’t be able to recognize the original food scraps or yard waste materials. Most importantly, it will smell earthy and pleasant, like a forest floor, not like rotting food.
.lwrp.link-whisper-related-posts{
margin-top: 40px;
margin-bottom: 30px;
}
.lwrp .lwrp-title{
}.lwrp .lwrp-description{
}
.lwrp .lwrp-list-container{
}
.lwrp .lwrp-list-multi-container{
display: flex;
}
.lwrp .lwrp-list-double{
width: 48%;
}
.lwrp .lwrp-list-triple{
width: 32%;
}
.lwrp .lwrp-list-row-container{
display: flex;
justify-content: space-between;
}
.lwrp .lwrp-list-row-container .lwrp-list-item{
width: calc(25% – 20px);
}
.lwrp .lwrp-list-item:not(.lwrp-no-posts-message-item){
max-width: 150px;
}
.lwrp .lwrp-list-item img{
max-width: 100%;
height: auto;
object-fit: cover;
aspect-ratio: 1 / 1;
}
.lwrp .lwrp-list-item.lwrp-empty-list-item{
background: initial !important;
}
.lwrp .lwrp-list-item .lwrp-list-link .lwrp-list-link-title-text,
.lwrp .lwrp-list-item .lwrp-list-no-posts-message{
}@media screen and (max-width: 480px) {
.lwrp.link-whisper-related-posts{
}
.lwrp .lwrp-title{
}.lwrp .lwrp-description{
}
.lwrp .lwrp-list-multi-container{
flex-direction: column;
}
.lwrp .lwrp-list-multi-container ul.lwrp-list{
margin-top: 0px;
margin-bottom: 0px;
padding-top: 0px;
padding-bottom: 0px;
}
.lwrp .lwrp-list-double,
.lwrp .lwrp-list-triple{
width: 100%;
}
.lwrp .lwrp-list-row-container{
justify-content: initial;
flex-direction: column;
}
.lwrp .lwrp-list-row-container .lwrp-list-item{
width: 100%;
}
.lwrp .lwrp-list-item:not(.lwrp-no-posts-message-item){
max-width: initial;
}
.lwrp .lwrp-list-item .lwrp-list-link .lwrp-list-link-title-text,
.lwrp .lwrp-list-item .lwrp-list-no-posts-message{
};
}
Related Posts


I am passionate about home engineering. I specialize in designing, installing, and maintaining heating, ventilation, and air conditioning systems. My goal is to help people stay comfortable in their homes all year long.