Composting for Beginners: Your Effortless Start to Garden Gold
Ever look at your kitchen scraps and garden waste and think, “There has to be a better way than the trash can?” You’re not alone! Many of us want to be a bit kinder to the planet and give our gardens a nutrient boost, but composting can seem a little… complicated. Don’t worry, it’s simpler than you think!
This guide is here to break down composting into super-easy steps. We’ll show you exactly what you need, what to do, and what to avoid. Get ready to turn everyday waste into black gold for your plants!
What Exactly Is Composting?

Think of composting as nature’s recycling program. It’s the process of breaking down organic materials – things like food scraps and yard clippings – into a rich, soil-like substance called compost. This amazing stuff is packed with nutrients that your plants will absolutely love.
Why bother? Well, composting does a few wonderful things. It reduces the amount of waste you send to landfills, which is fantastic for the environment. It also creates a free, natural fertilizer that makes your soil healthier and your plants grow stronger and more vibrant. Plus, it’s incredibly satisfying to see your kitchen scraps become something so beneficial!
Why Composting Makes Sense for Everyone

Composting isn’t just for folks with giant backyards and a degree in soil science. Whether you have a small balcony or a sprawling garden, there’s a composting method that can work for you. It’s a practical way to reduce waste and improve your living space, one kitchen peel at a time.
For homeowners, it’s a direct path to a lusher garden. For renters, even a small worm bin can yield nutrient-rich fertilizer for potted plants. It’s a budget-friendly, eco-conscious choice that truly pays off. We’ll cover the easiest ways to get started, so you can feel confident and successful right from the first step.
The Big Benefits of Composting
- Reduces Landfill Waste: A huge portion of household trash is made up of organic materials that could be composted instead.
- Enriches Soil: Compost adds vital nutrients and improves soil structure, helping plants grow better.
- Naturally Suppresses Diseases: Healthy soil rich in compost can help plants fight off pests and diseases.
- Conserves Water: Compost helps soil retain moisture, meaning you’ll need to water your plants less often.
- Saves Money: You won’t need to buy as much artificial fertilizer or soil amendments.
- Good for the Planet: It reduces greenhouse gas emissions from landfills and creates a valuable resource.
Your Essential Composting Toolkit: What You’ll Need
Getting started with composting doesn’t require a lot of fancy equipment. In fact, you might already have most of what you need! The key is having a place for your compost to break down and a few basic tools to manage it.
Choosing Your Composting System
The first big decision is where your compost will live. Here are the most popular and beginner-friendly options:
1. The Open Pile Method
This is the simplest approach. You just create a pile of organic materials in a corner of your yard. It’s free, requires no special bin, and can be as large or small as you need.
- Pros: Extremely easy to set up, no cost, can handle large volumes.
- Cons: Can look a bit messy, might attract pests if not managed well, can take longer to break down.
2. The Bin System
This involves using a container, which can be store-bought or homemade. Bins help keep things tidy, can speed up decomposition, and offer better control over moisture and pests. Common types include:
- Enclosed Bins: These are plastic or wooden containers with lids and often doors at the bottom. Great for keeping pests out and moisture in. You can find them at most garden centers.
- Tumblers: These are enclosed drums that you can rotate. Tumbling helps mix the compost, speeding up the process significantly. They are usually more expensive but very efficient.
- Wire Mesh or Pallet Bins: You can build these yourself with simple materials. They offer good airflow but may not deter pests as well as enclosed bins.
3. Worm Composting (Vermicomposting)
This is perfect for small spaces, like apartments or balconies. You use special composting worms (like red wigglers) in a bin to break down food scraps. It produces a nutrient-rich fertilizer called worm castings, which are like superfood for plants!
- Pros: Great for small spaces, quick processing of food scraps, produces high-quality castings.
- Cons: Requires specific worms, can’t handle large volumes of yard waste.
Essential Tools for Any Method
No matter which system you choose, a few simple tools will make your composting journey smoother:
- A Pitchfork or Shovel: For turning and mixing your compost pile. This helps with aeration.
- A Trowel or Small Shovel: Useful for digging into your compost bin or pile.
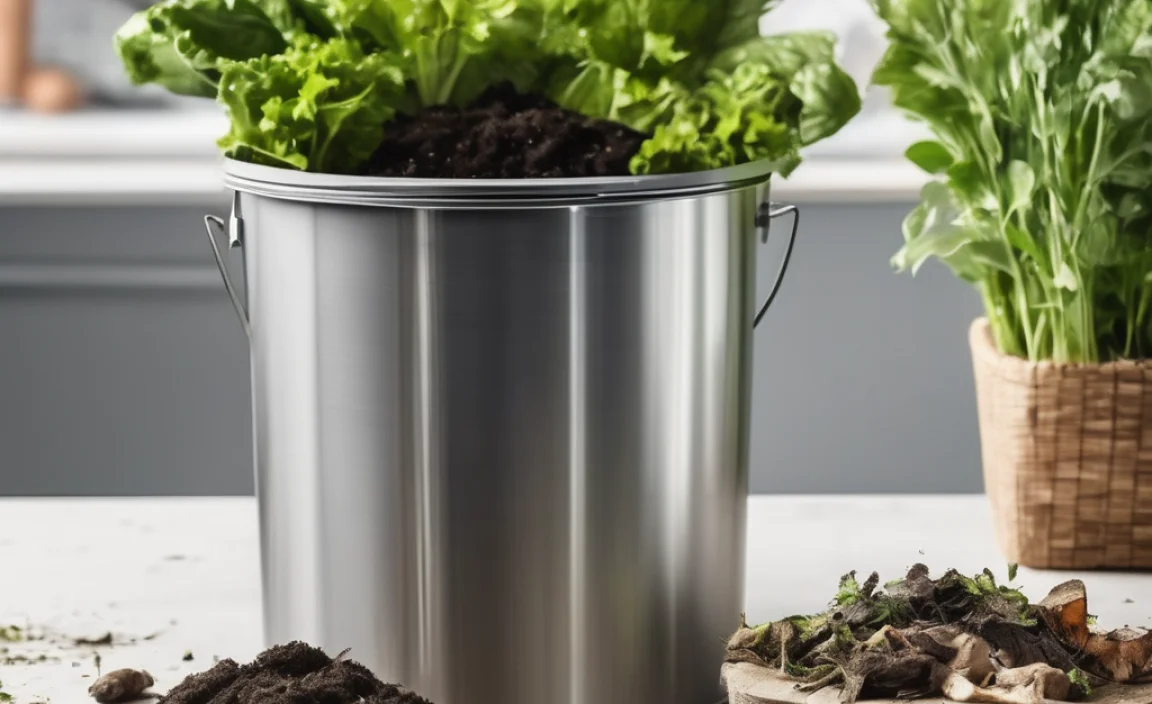
- A Bucket with a Lid: To collect kitchen scraps before taking them to your main compost bin. It helps keep smells contained.
- A Garden Hose or Watering Can: Compost needs moisture to break down properly.
The Magic Ingredients: What Goes In and What Stays Out
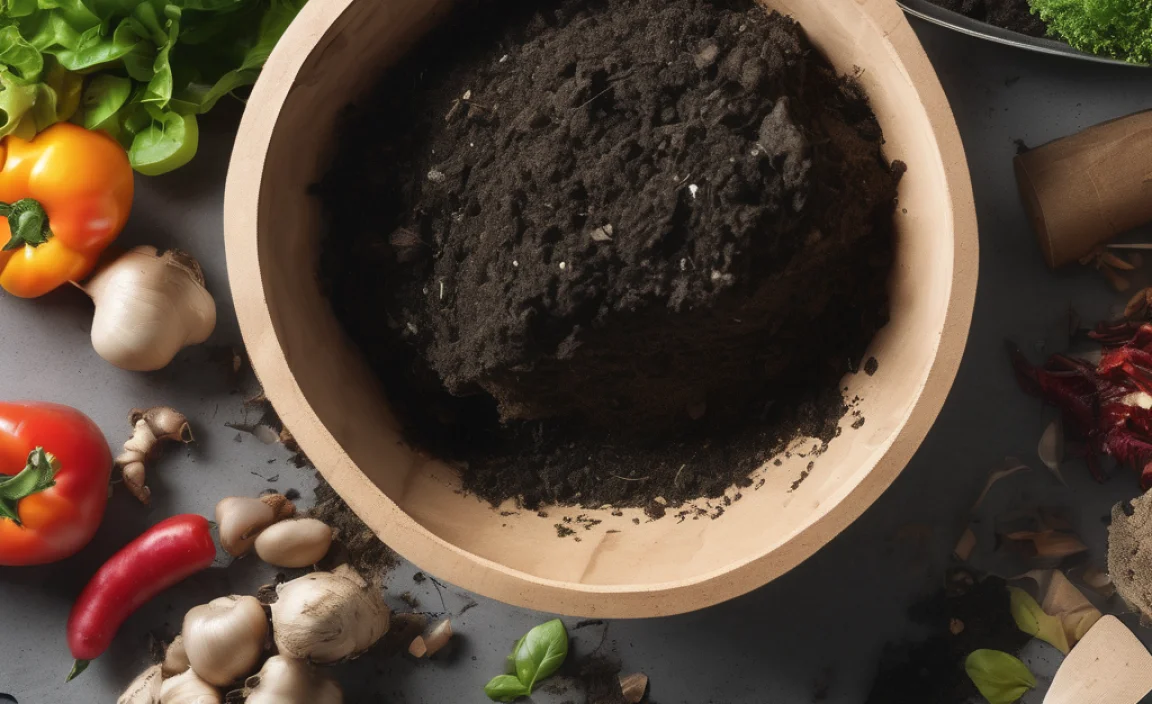
This is where many beginners get a little confused, but it’s actually quite straightforward. Think of your compost ingredients in two categories: “Greens” and “Browns.”
Greens (Nitrogen-Rich Materials)
These items are wet and provide nitrogen, which is essential for the microorganisms that break down your compost. They tend to break down quickly.
- Fruit and vegetable scraps
- Coffee grounds and tea bags
- Grass clippings (in thin layers to avoid matting)
- Plant trimmings (non-diseased)
- Eggshells
Browns (Carbon-Rich Materials)
These materials are dry and provide carbon, which is the energy source for the microbes. They help with aeration and prevent the pile from becoming too wet or smelly.
- Dry leaves
- Shredded newspaper or cardboard (avoid glossy paper)
- Straw or hay
- Wood chips or small twigs (in moderation)
- Sawdust (from untreated wood)
The “No, Thank You” List: What NOT to Compost
Some things can cause problems, attract pests, or introduce disease. It’s best to keep these out of your compost bin:
- Meat, fish, and dairy products (can attract pests and cause odors)
- Oily foods or fats
- Diseased plants (can spread disease)
- Weeds that have gone to seed (seeds might survive and spread)
- Pet waste (dog and cat feces can contain harmful pathogens)
- Chemically treated wood or yard waste
- Coal or charcoal ash (can be toxic)
Achieving the Right Balance: The Green-to-Brown Ratio
The secret to speedy, effective composting is a good balance between your Greens and Browns. A common guideline is to aim for roughly equal parts by volume, or about two to three parts Browns for every one part Greens. This might sound complicated, but it just means if you add a good amount of kitchen scraps (Greens), make sure you’re also adding a good amount of dry leaves or shredded paper (Browns).
Too many Greens can make your pile wet and smelly, while too many Browns will slow down decomposition. Don’t stress too much about perfection; you’ll get a feel for it as you go!
Step-by-Step: Your First Compost Pile
Ready to get your hands virtually dirty? Here’s how to start your very own compost pile or bin. We’ll use the bin method as an example, as it’s popular for beginners, but the principles apply to open piles too.
Step 1: Choose Your Location
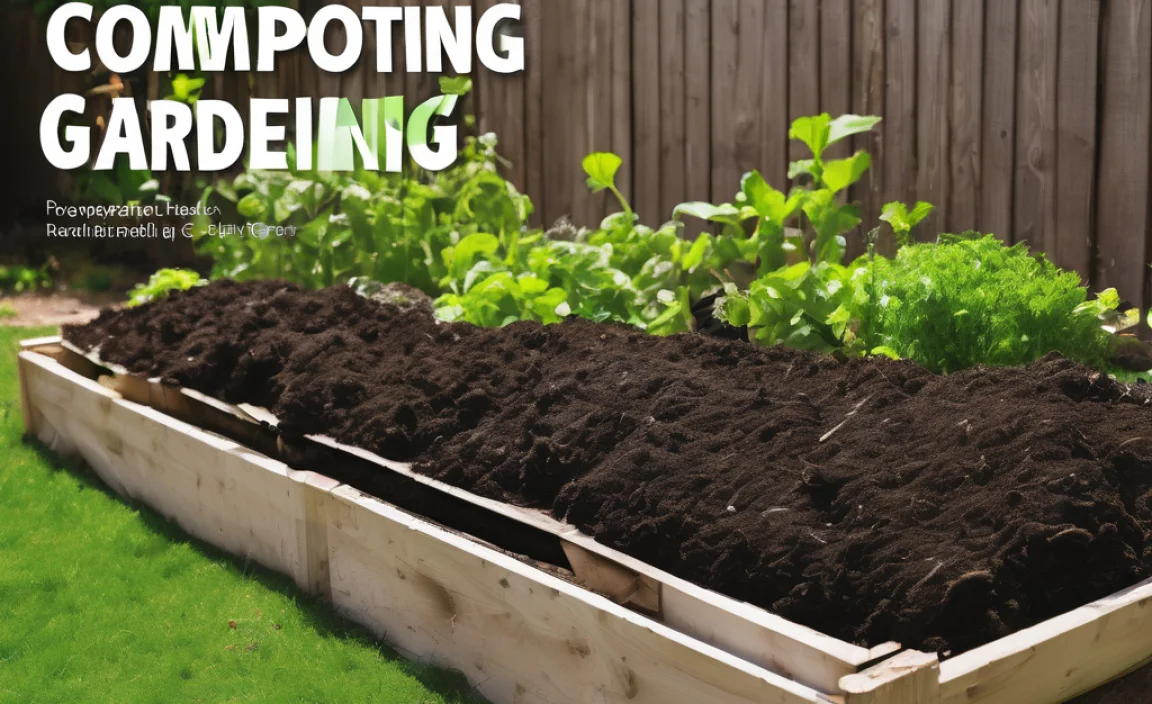
Find a convenient spot for your compost bin. It should be on bare soil or grass if possible, to allow for drainage and access for beneficial organisms. Partial shade is ideal – too much sun can dry it out, and too much shade can keep it too wet. Make sure it’s accessible with a wheelbarrow or bucket.
Step 2: Start with a Layer of Browns
Begin by putting a few inches of coarse brown material – like twigs, straw, or shredded cardboard – at the bottom of your bin. This helps with airflow and drainage.
Step 3: Alternate Greens and Browns
Now, start adding your kitchen scraps (Greens) and yard waste (more Browns). Aim to add a layer of Greens, then cover it with a layer of Browns. For example, add your fruit peels, then cover them with a scoop of dry leaves or shredded newspaper. This helps prevent odors and discourages pests.
Step 4: Chop It Up!
Smaller pieces break down much faster. Before adding larger items like corn cobs or tough plant stalks, chop them up with a shovel or pruning shears. Smaller scraps like vegetable peels can just go in as they are.
Step 5: Maintain Moisture Levels
Your compost pile should be as damp as a wrung-out sponge. Not dripping wet, and not bone dry. If it seems dry, add some water. If it’s too wet (often happens with too many Greens or heavy rain), add more Browns and turn it to introduce air.
Step 6: Aerate and Turn (The Key to Speed!)
Composting is an aerobic process, meaning it needs air. Turning your compost pile every week or two is crucial. Use your pitchfork or shovel to mix the materials from the outside into the center and vice-versa. This introduces oxygen, distributes moisture, and helps everything break down evenly and quickly. If you have a tumbler, just give it a few spins every few days.
Step 7: Be Patient and Observe
Composting takes time. Depending on the materials, the temperature, and how often you turn it, it can take anywhere from a few months to a year to produce finished compost. You’ll know it’s ready when it’s dark,crumbly, and smells earthy and pleasant. You shouldn’t be able to recognize the original materials.
Troubleshooting Common Composting Puddles
Even with the best intentions, you might run into a few hiccups. Here’s how to fix the most common compost conundrums:
Problem: It Smells Bad (Like Rotten Eggs or Ammonia)
Cause: Usually too many Greens (nitrogen-rich materials) and not enough Browns (carbon-rich materials), leading to a lack of oxygen. It’s become anaerobic, like a swamp!
Solution: Add a good amount of Browns (shredded paper, dry leaves, straw). Turn the pile thoroughly to mix them in and introduce air. Make sure it’s not too wet; if it is, add more Browns.
Problem: The Pile Isn’t Heating Up or Breaking Down
Cause:
- Not enough Greens (nitrogen).
- The pile is too dry.
- The materials are too large and need to be broken down.
- Not
Related Posts

I am passionate about home engineering. I specialize in designing, installing, and maintaining heating, ventilation, and air conditioning systems. My goal is to help people stay comfortable in their homes all year long.