Hey there, fellow home improvers and garden enthusiasts! Troy D Harn here from TopChooser. Ever look at your kitchen scraps and think, “There has to be a better way than just tossing this?” You’re not alone!
Many of us want to do a little good for the planet and our gardens, but composting can seem a bit… well, mushy and complicated. Don’t worry! I’m here to break it down into simple steps. We’ll turn those kitchen bits and yard waste into amazing garden gold. Ready to get started? Let’s dig in!
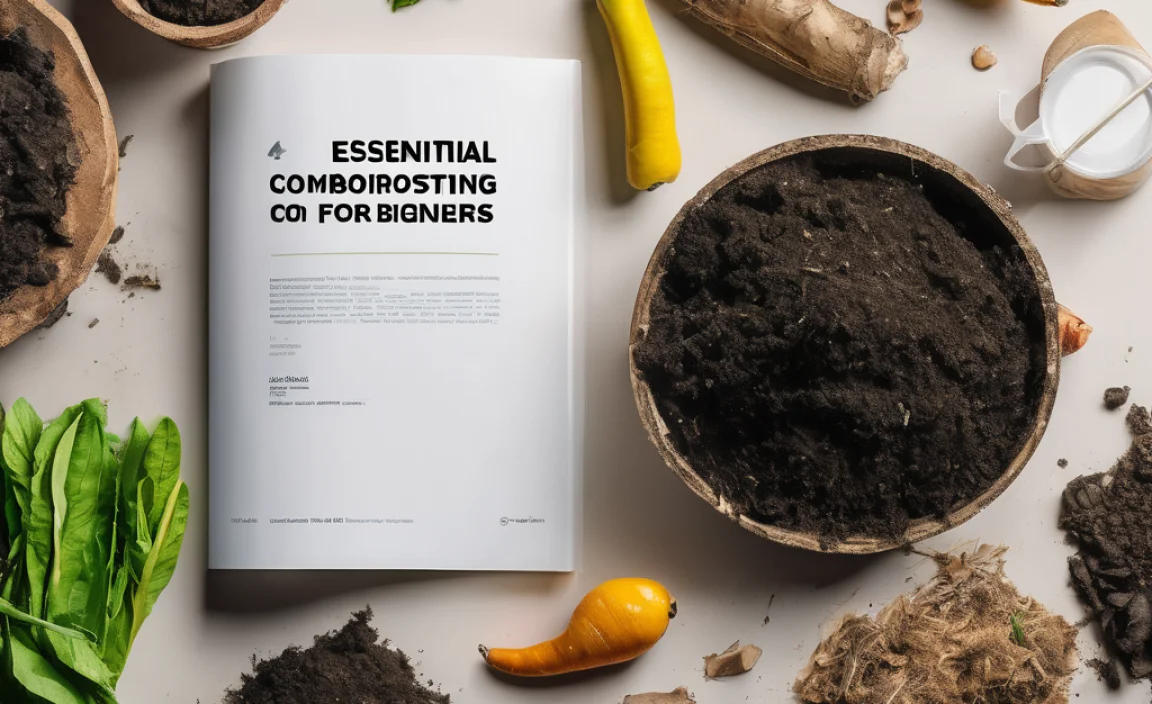
Composting for Beginners Course: Your Easy Guide to Garden Gold
Composting is one of the most rewarding things you can do for your garden and the environment. It’s like a magic trick that turns your waste into super-rich soil food. But for beginners, it can feel a bit daunting. What goes in? What stays out? Where do I even start? Relax! This guide is designed to make composting super simple. We’ll walk through everything you need to know, step-by-step, so you can start creating your own black gold with confidence.
Why Compost? It’s a Win-Win-Win!
Before we get our hands dirty, let’s talk about why composting is such a fantastic idea. It’s not just about reducing trash; it’s about giving back.
- For Your Garden: Compost is like a superfood for your soil. It improves soil structure, making it drain better in wet weather and hold moisture in dry spells. It also adds essential nutrients that help your plants grow big and strong, meaning tastier veggies and prettier flowers!
- For the Environment: When food scraps and yard waste end up in landfills, they decompose without oxygen, producing methane, a potent greenhouse gas. Composting reduces landfill waste and helps cut down on these harmful emissions. It’s a big win for Mother Earth!
- For Your Wallet: You’ll buy fewer fertilizers and soil amendments for your garden. Plus, you’ll be sending less trash to the curb, which can sometimes even save on waste disposal fees.
Choosing Your Composting Method: The Right Bin for You
The first big decision is where your compost will live. There are several popular options, and the best one for you depends on your space, how much waste you produce, and how quickly you want compost.
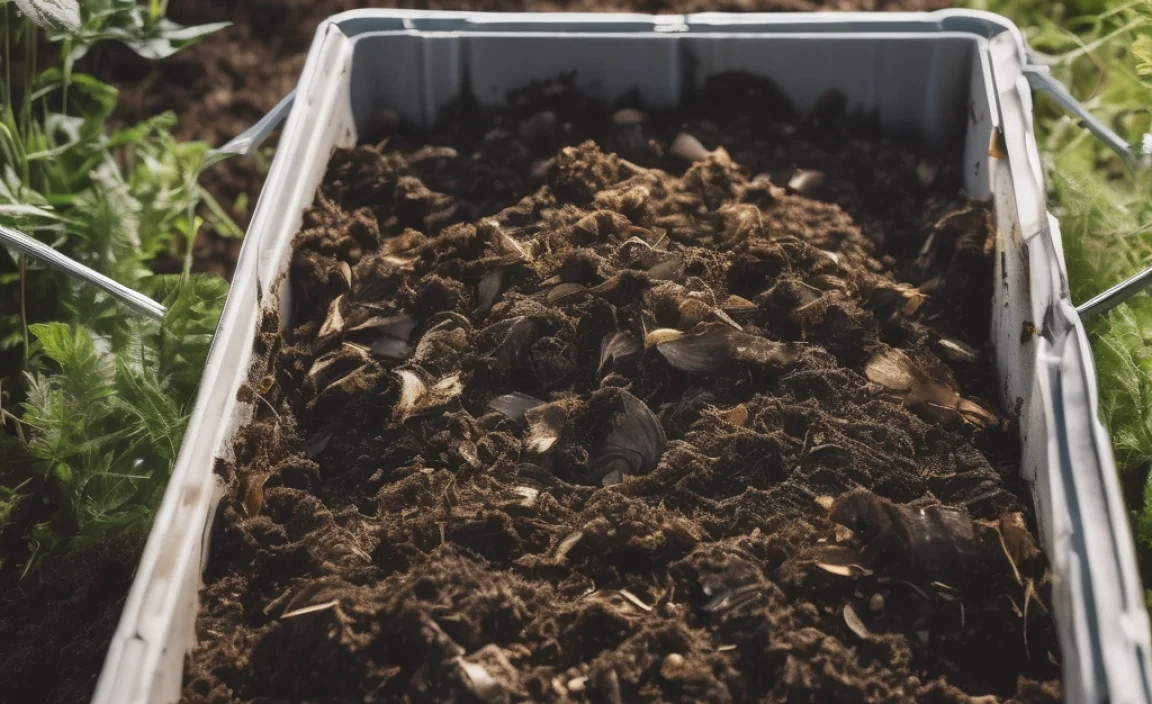
The Classic Compost Bin (Tumbler vs. Stationary)
These are the most common choices for backyard composting. They come in various shapes and sizes, from simple plastic bins to fancier wire mesh structures.
- Stationary Bins: These are usually large containers that sit in one spot. You add materials to the top and can harvest finished compost from a door at the bottom. They’re great for larger yards and can handle a good volume of material. You’ll typically need to turn these with a fork or aerator.
- Compost Tumblers: These are sealed drums or bins that you can rotate or “tumble.” This easy turning action speeds up decomposition because it aerates the compost and mixes the ingredients. They are often tidier and a good option if you’re worried about pests or want compost faster.
Where to find them: You can find a wide variety of compost bins at local garden centers, hardware stores, and online retailers like Gardener’s Supply Company which offers a range of well-regarded options.
Worm Composting (Vermicomposting)
This method uses special composting worms (like red wigglers) to break down your kitchen scraps. It’s perfect for apartment dwellers or those with very little outdoor space, as it can be done indoors or on a balcony.
Pros: Great for small spaces, produces nutrient-rich compost (worm castings), relatively fast.
Cons: Requires specific types of worms, you need to avoid certain foods (like citrus or onions in large quantities), and it’s not suitable for large volumes of yard waste.
Pile Composting (The “Set It and Forget It” Method)
If you have a decent amount of space and don’t mind a more rustic look, you can simply create a pile in a corner of your yard. This is the most straightforward method but can take longer to break down.
Pros: No cost for a bin, can handle large volumes.
Cons: Can look messy, may attract pests if not managed well, slower breakdown process, requires more effort to turn.
What Goes Into the Compost Heap? The “Greens” and “Browns”
This is where many beginners get confused. Think of composting as a balanced diet for your microbes. You need a mix of “green” materials (nitrogen-rich) and “brown” materials (carbon-rich).
“Greens” (Nitrogen-Rich)
These are typically moist, fresh materials that provide nitrogen, which helps the microorganisms multiply and get to work.
Good Greens Include:
- Fruit and vegetable scraps
- Coffee grounds and tea bags (remove staples from bags)
- Grass clippings (in thin layers to avoid matting)
- Plant trimmings and green leaves
- Eggshells (crushed well)
- Manure from herbivores (cow, horse, chicken, rabbit – ideally aged a bit)
“Browns” (Carbon-Rich)
These are typically dry, woody materials that provide carbon, which is like the energy source for the microbes. They also help with airflow!
Good Browns Include:
- Dry leaves
- Shredded newspaper and cardboard (avoid glossy or colored ink)
- Straw and hay
- Twigs and small branches (chopped or shredded)
- Sawdust (from untreated wood, in moderation)
- Brown paper bags
- Pine needles (in moderation, can be slow to break down)
The Ideal Ratio: Aim for roughly 2 parts Browns to 1 part Greens by volume. This is a guideline, not a strict rule. If your compost smells like ammonia, you might have too many greens. If it’s not heating up and seems slow, you might need more greens or moisture.
What NOT to Compost
Keeping certain things out of your compost bin is crucial to avoid attracting pests, spreading diseases, or creating unpleasant odors.
- Meat, fish, and bones
- Dairy products (milk, cheese, yogurt)
- Oily or greasy foods
- Diseased plants
- Weeds that have gone to seed (they might just sprout again!)
- Pet waste from cats and dogs (can contain harmful pathogens)
- Chemically treated yard waste or coal ash
- Glossy or coated papers/cardboard
- Inorganic materials (plastic, glass, metal)
Setting Up Your Compost Bin: A Step-by-Step Guide
Ready to start building your compost? Let’s get that bin set up!
Step 1: Choose the Perfect Spot
Find a convenient location for your compost bin. It should be:
- Accessible: Easy to get to from your kitchen and garden.
- Level: A flat surface is best for stability.
- Shaded or Partially Shaded: Direct sun can dry out your pile too quickly, while full shade might keep it too damp. A spot that gets morning sun and afternoon shade is often ideal.
- Well-drained: You don’t want your bin sitting in a puddle.
- Away from Wood Structures: If you’re using a wooden bin, keep it a bit away from fences or house siding to avoid moisture issues.
Tip: If you have a stationary bin, placing it directly on bare soil can be beneficial. This allows beneficial worms and microorganisms from the ground to find their way into your compost pile.
Step 2: Build Your Base Layer
Start with a layer of coarse “brown” materials at the bottom of your bin. This could be twigs, small branches, or straw. This layer helps with drainage and aeration, creating air pockets that are essential for the composting process.
Aim for a layer about 4-6 inches deep.
Step 3: Start Adding Your Greens and Browns
Now, begin layering your kitchen scraps (“greens”) and yard waste (“browns”). Think of it like making a lasagna! Alternate layers.
For every couple of inches of greens you add, cover it with a few inches of browns. This “sandwiching” helps to balance the moisture and carbon-to-nitrogen ratio, and it also discourages pests and odors.
Tip: Chop up larger items like broccoli stalks or cardboard. Smaller pieces break down much faster.
Step 4: Maintain Moisture Levels
Your compost pile needs to be about as damp as a wrung-out sponge. Too dry, and the microbes can’t work. Too wet, and it can become a slimy, anaerobic mess that stinks.
How to check: Grab a handful of compost and squeeze. A few drops of water should come out. If it’s dry, add some water. If it’s dripping wet, add more browns and turn it to introduce air.
You might need to water your compost bin every week or two, especially during dry, hot weather. Rain will help, but don’t rely on it entirely, especially for enclosed bins.
Step 5: Aerate Your Compost
Oxygen is vital for the friendly microbes that do the hard work of composting. Turning your compost pile introduces air. How often you turn depends on your method and how quickly you want compost.
- For fast compost: Turn your bin every 1-2 weeks. Tumblers make this super easy!
- For slower compost: Turning every 4-6 weeks is usually enough.
- No-turn method: If you have a good mix of greens and browns and adequate moisture, the compost will eventually break down on its own, but it will take much longer.
You can use a pitchfork, a compost aerator tool, or simply tumble your compost bin. If you have a stationary bin, you can also use a pitchfork to mix the outer layers into the center and vice versa.
How to Know When Your Compost is Ready
The most exciting part! Finished compost is a dark, crumbly material that smells earthy and sweet, like a forest floor after rain. You shouldn’t be able to recognize the original materials (no recognizable food scraps or leaves).
The time it takes can vary greatly, from as little as 2-3 months for a well-managed hot compost pile to a year or more for a passively managed cool compost pile. Factors affecting speed include:
- Size of the materials (smaller breaks down faster)
- Moisture levels
- Aeration (turning)
- Temperature (hot piles break down fastest)
- The ratio of greens to browns
Harvesting: If you have a stationary bin with a door at the bottom, you can usually harvest the finished compost from there while continuing to add new material to the top. For tumblers or piles, you might need to stop adding new materials for a few weeks to let the batch finish completely.
Using Your Homemade Compost
Once it’s ready, your compost is pure gold for your garden! Here are some ways to use it:
- Soil Amendment: Mix 1-3 inches of compost into garden beds before planting. This improves soil structure, fertility, and water retention.
- Top Dressing: Spread a layer of compost around established plants, shrubs, and trees. This nourishes the roots and helps retain soil moisture.
- Potting Mix: Mix compost with other materials like peat moss or coir and perlite for a fantastic homemade potting mix for containers.
- Lawn Care: Rake a thin layer of compost over your lawn in the spring or fall to improve soil health and encourage a greener, thicker turf.
Troubleshooting Common Composting Problems
Even with the best intentions, things can sometimes go a little sideways. Here’s how to fix common issues:
Problem: My compost smells bad (like rotten eggs or ammonia).
Cause: Too many “greens” (nitrogen-rich materials), too wet, or not enough air.
Solution:
- Add more “browns” (carbon-rich materials like dry leaves, shredded cardboard, or straw).
- Turn the pile thoroughly to introduce air.
- If it’s too wet, leave the lid off (if applicable) or turn it more frequently.
Problem: My compost pile isn’t heating up and is decomposing very slowly.
Cause: Not enough “greens” (nitrogen), too dry, or pile is too small.
Solution:
- Add more “greens” like fresh grass clippings or kitchen scraps.
- Add water until it’s like a wrung-out sponge.
- Turn the pile to mix everything and introduce air.
- Make sure your pile is at least 3x3x3 feet; smaller piles don’t retain heat well.
Problem: I see lots of flies or fruit flies.
Cause: Exposed food scraps, especially fruit.
Solution:
- Always cover fresh kitchen scraps with a layer of “browns.”
- Burying fresh scraps in the center of the pile helps too.
- Ensure your bin is well-covered if using a tumbler or enclosed bin.
Problem: My compost is too dry.
Cause: Not enough moisture added, too much sun, or a lack of “greens” which hold water.
Solution:
- Water the pile thoroughly.
- Add more “greens” (moist materials).
- If it’s in direct sun, consider moving it or providing some shade.
- Turn the pile to distribute moisture evenly.
Essential Tools for Beginners
You don’t need a lot of fancy gadgets to get started. Here are a few helpful items:
<td style=”border: 1px solid #ddd; padding
| Tool | Why You Need It | Top Recommedation |
|---|---|---|
| Compost Bin/Tumbler | To contain your compost and manage the process. | A basic stationary bin or a simple tumbler. |
| Pitchfork or Compost Aerator | For turning and aerating the pile. | A sturdy garden fork is versatile. |
| Kitchen Compost Caddy | To collect kitchen scraps conveniently before taking them to the main bin. | Look for one with a lid and charcoal filter if odor is a concern. |
| Gardening Gloves | To keep your hands clean and protected. | Any comfortable, durable pair will do. |
| Shovel |

I am passionate about home engineering. I specialize in designing, installing, and maintaining heating, ventilation, and air conditioning systems. My goal is to help people stay comfortable in their homes all year long.
