Hey there, fellow home improvers and garden enthusiasts! Troy D Harn here from TopChooser. Ever started composting, feeling all good about saving the planet and making fantastic garden food, only to notice… well, little critters having a party? Yep, I’m talking about flies. It’s a common worry for anyone new to composting, and honestly, it can put a damper on your composting dreams. But don’t you worry! We’ve all been there, and I’ve got the simple, practical know-how to keep those pesky flies away from your compost bin for good. Let’s turn that worry into a win!
Composting for Beginners: Banish Those Pesky Flies!
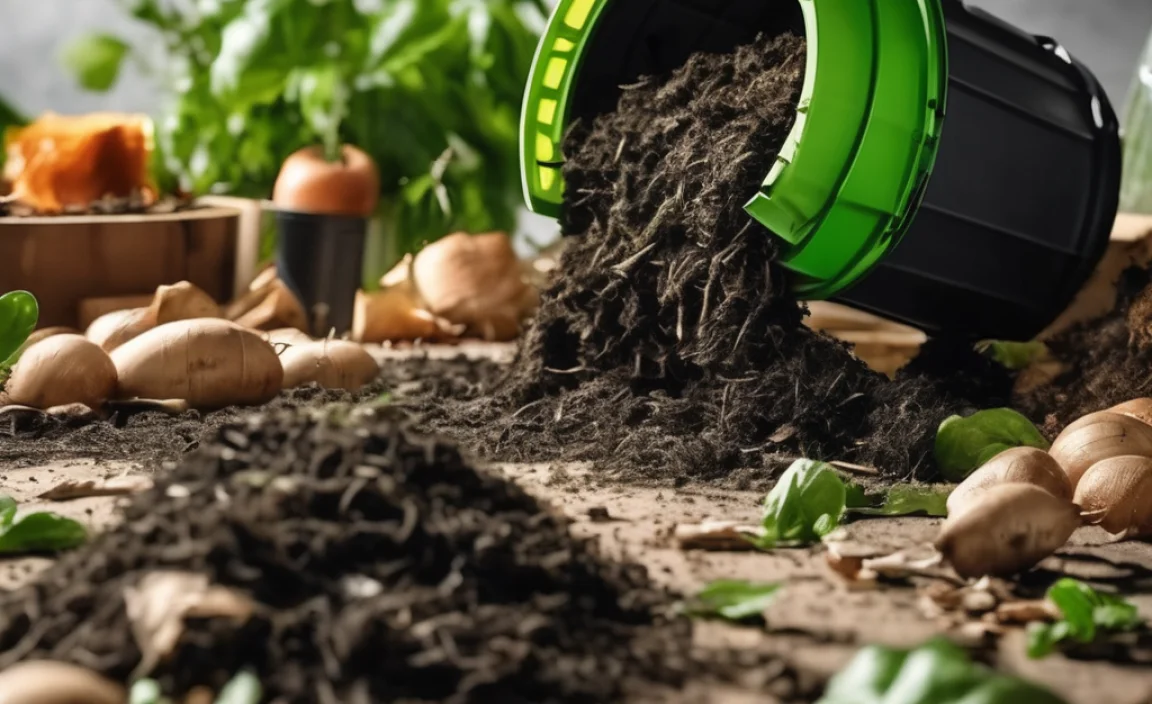
Composting is a fantastic way to reduce waste and create nutrient-rich soil for your garden. It’s like magic – turning kitchen scraps and yard waste into black gold! However, a common side effect that can make beginners cringe is the appearance of flies. Fruit flies, house flies, and others might show up, attracted by certain ingredients. It’s not a sign that you’re doing composting wrong, but it does mean your bin needs a little tune-up. The good news is that with a few simple strategies, you can easily prevent and manage flies in your compost bin, ensuring a smooth and stink-free composting journey.
Why Do Flies Love Compost Bins?
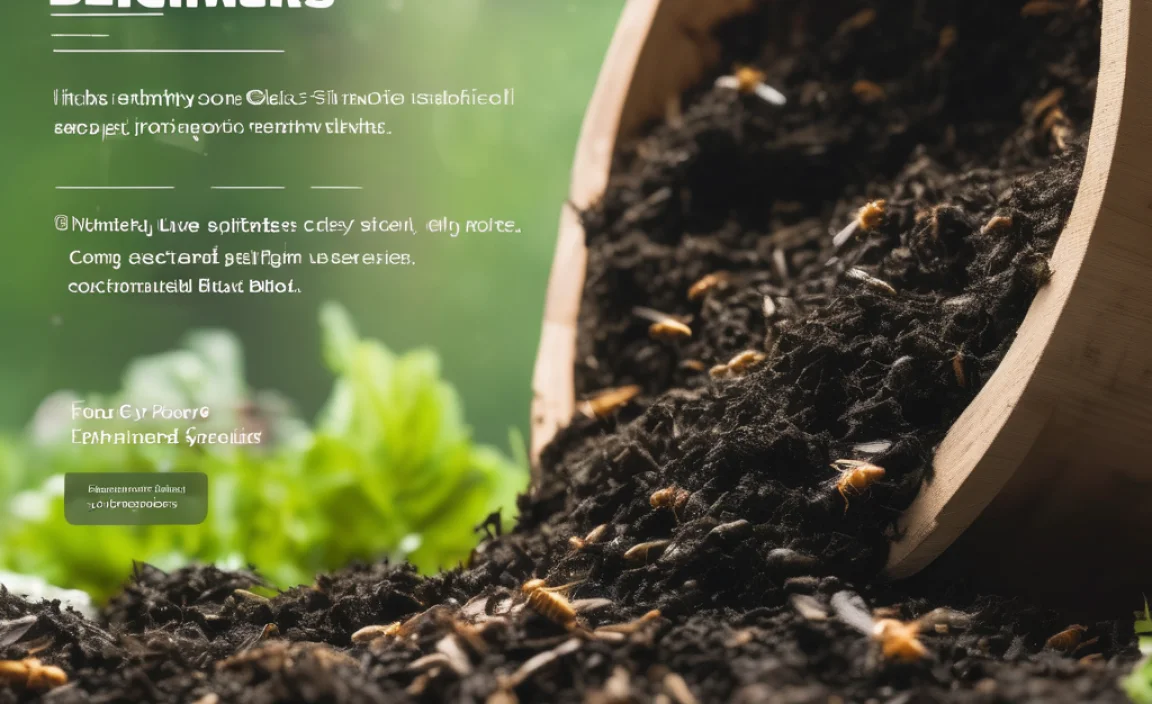
Flies, especially fruit flies and house flies, are drawn to compost bins for a few key reasons. They are primarily attracted to the moisture and the organic matter that’s breaking down, which can smell appealing to them. Think of it like a buffet! Certain food scraps, particularly fruits and vegetables that are starting to get a bit overripe, are prime targets for fruit flies. Kitchen scraps left exposed on the top layer are like an open invitation. The warmth generated by the composting process can also make the bin an attractive spot for them to lay their eggs.
Composting is a journey, and encountering a few flies doesn’t mean you’ve failed. It’s a sign that your compost pile is active! The key is to manage the environment so it becomes less appealing to them. We want to encourage the good composting microbes to do their work, not give the flies a free ride.
Understanding the “Greens” and “Browns” is Key

Before we dive into fly solutions, let’s quickly touch upon the dynamic duo of composting: “greens” and “browns.” This is foundational knowledge, and getting the balance right is your first line of defense against many composting issues, including flies.
- Greens (Nitrogen-rich): These are typically moist materials like fruit and vegetable scraps, coffee grounds, tea bags, and grass clippings. They provide nitrogen, which is food for the microbes that break down your compost.
- Browns (Carbon-rich): These are drier materials like dry leaves, shredded newspaper, cardboard, straw, and sawdust. They provide carbon, which is necessary for the microbes’ energy and helps balance moisture.
A common mistake beginners make is adding too many “greens” without enough “browns.” This creates a wet, dense, and sometimes slimy environment that’s a magnet for flies and can lead to unpleasant odors. Aiming for a ratio of roughly 2 parts browns to 1 part greens by volume is a good starting point.
The Ideal “Browns” to “Greens” Ratio for Fly Prevention
When you’re dealing with flies, it’s a strong indicator that your compost pile might be too wet or has too much exposed “green” material. Adding more “browns” is your secret weapon!
Why more browns help:
- Absorption: Browns act like sponges, absorbing excess moisture that might otherwise attract flies and create a breeding ground.
- Aeration: The bulkier nature of browns helps create air pockets in your compost pile, which is crucial for the aerobic decomposition process. Aerobic decomposition is faster and less smelly than anaerobic decomposition, which can attract pests.
- Covering: Browns can be used to cover fresh kitchen scraps, effectively burying the attractants for flies.
Think of it this way: the browns create a natural barrier and a less inviting environment for flies, while still allowing the composting process to work its magic.
The Best Composting Bins for Fly Prevention
The type of compost bin you choose can make a big difference in managing flies. While you can compost in an open pile, enclosed bins offer better control.
Enclosed Bins: Your First Line of Defense
Enclosed composters are fantastic for beginners, especially if you’re concerned about pests. They keep things tidy and, more importantly, keep insects and flies out.
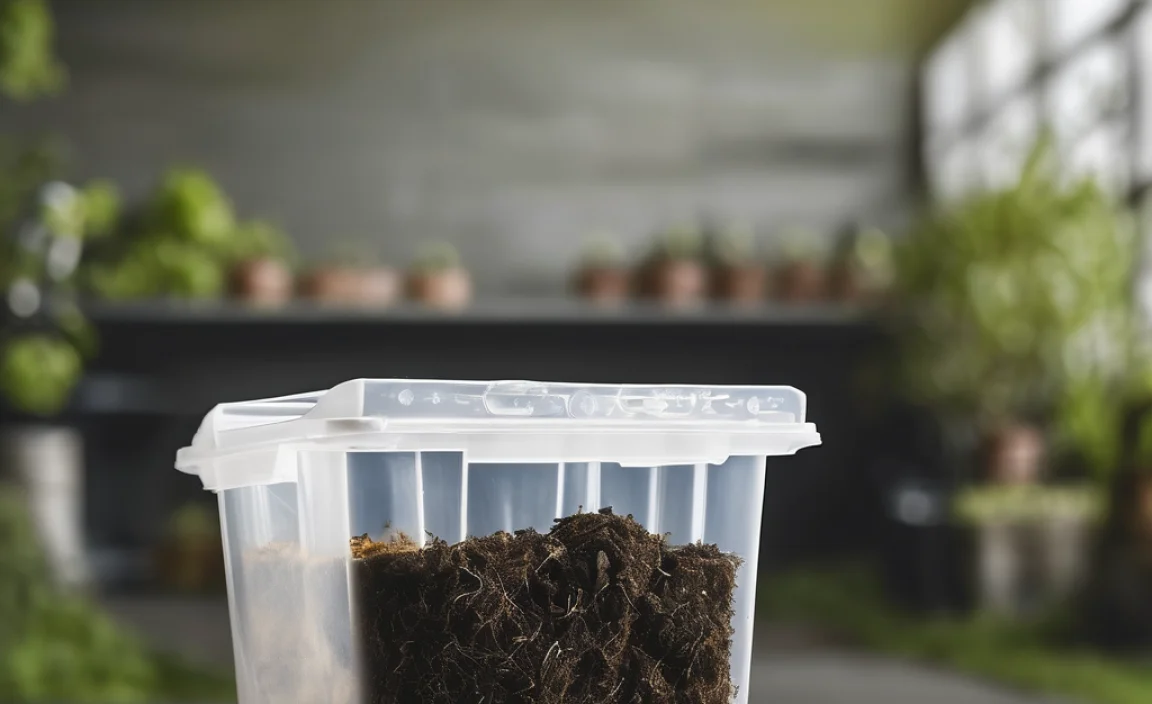
- Plastic Compost Bins (Tumblers or Stationary): These are readily available and quite effective. Look for bins with secure lids. Tumblers are great because they make turning your compost easy, which helps with aeration and speeds up decomposition.
- Worm Bins (Vermicomposting): While technically a different process, worm bins are excellent for kitchen scraps and are designed to be indoors or in shaded outdoor areas. The worms eat food scraps quickly, and the contained environment is very effective at keeping flies out.
Why they work:
- Physical Barrier: The walls and lid of an enclosed bin prevent flies from accessing the compost directly.
- Odor Containment: Enclosed bins help contain odors, which are a primary attractant for flies.
- Moisture Control: Many enclosed bins have features to help manage moisture levels, preventing the overly wet conditions that flies love.
If you’re starting with an open pile, don’t fret! Solutions are still at your fingertips. We’ll cover how to manage those in a bit.
DIY Bin Options and Fly Control
If you’re feeling a bit more hands-on, a DIY bin can be a budget-friendly option. The key is to ensure it’s well-constructed to minimize fly access.
- Pallet Bins with Wire Mesh: You can build a simple bin using wooden pallets. Crucially, line the inside and potentially the top with fine wire mesh (like hardware cloth) to prevent flies from getting in through gaps.
- Garbage Can Composter: An old plastic garbage can with a tight-fitting lid can be repurposed. Drill plenty of aeration holes on the sides and bottom, then consider adding a layer of mesh over the holes on the inside to prevent flies from entering yet allowing airflow.
Regardless of your bin choice, the maintenance and method of adding materials are what truly combat flies. A good bin just makes it a little easier.
Proven Strategies to Keep Flies Away
Now for the actionable steps! These are the tried-and-true methods that will make your compost bin an unappealing place for flies.
1. Bury Your “Greens” Deeply
This is arguably the most effective and simplest method. Whenever you add kitchen scraps (your “greens”) to the compost bin, make sure they are completely covered by a layer of “browns.”
How to do it:
- Dig a small hollow in the existing compost material.
- Place your kitchen scraps (like vegetable peels, fruit cores, coffee grounds) into the hollow.
- Cover the scraps with at least a few inches of dry “browns” such as shredded leaves, newspaper, or sawdust.
- Gently pat down the “browns.”
This method buries the moist, attractive food waste, starving flies of direct access and preventing them from laying eggs. It also helps to contain any odors.
2. Maintain the Right Moisture Level
Compost needs to be moist, but not soggy. Think of a wrung-out sponge. Too much moisture creates a soupy environment perfect for flies and other unwanted guests. Too dry, and your compost won’t break down effectively.
Signs of too much moisture:
- The compost feels wet and slimy.
- There’s standing water.
- Unpleasant, sour odors (often a sign of anaerobic conditions).
Fixing excess moisture:
- Add more dry “brown” materials. Stir and mix them in thoroughly.
- If you have an excess of very wet materials (e.g., grass clippings after a rain), let them sit out for a day or two to dry slightly before adding them.
- Ensure your bin has adequate drainage. If it’s in a location where it collects a lot of rainwater, consider moving it or adding a cover.
3. Aerate Your Compost Regularly
Flies are attracted to stagnant, oxygen-deprived conditions. Turning and aerating your compost pile introduces oxygen, which is vital for the beneficial microbes doing the composting work. Aerobic decomposition is faster, less smelly, and less attractive to flies.
How to aerate:
- Using a Pitchfork or Aeration Tool: Regularly poke holes into the pile and turn the materials. Aim to do this at least once a week, especially when you add new materials.
- Tumbler Bins: If you have a tumbler, simply rotate it a few times every few days. This is the easiest way to aerate.
- Open Piles: Turn the entire pile over periodically, mixing the outer layers inward and the inner layers outward.
A well-aerated pile heats up, which also helps to kill off fly eggs and larvae.
4. Choose Your “Greens” Wisely
While you can compost most kitchen scraps, some are more attractive to flies than others. Meat, dairy, and oily foods can be problematic, not just for flies but can also lead to odors and attract other pests like rodents. It’s best to avoid them, especially when you’re a beginner or if flies are an issue.
Best “Greens” for Fly-Free Composting:
- Fruit and vegetable scraps (avoiding very ripe or rotting pieces if possible)
- Coffee grounds and paper filters
- Tea bags (remove staples)
- Grass clippings (in moderation, and mixed with browns)
- Eggshells (crushed)
Materials to avoid (especially with flies):
- Meat scraps
- Fish scraps
- Dairy products (cheese, yogurt, milk)
- Oily or greasy foods
- Diseased plants
If you do add these, be extra diligent about burying them and covering them with plenty of browns.
5. Use a Compost Starter (Optional but Helpful)
A compost starter can help kickstart the decomposition process. These products often contain beneficial microbes or enzymes that speed up the breakdown of organic matter. A faster-composting pile means less time for flies to exploit exposed materials.
Benefits of a starter:
- Speeds up decomposition.
- Can help the pile heat up faster, killing off pests and seeds.
- Improves the microbial activity.
You can find these at most garden centers or online. Follow the product instructions for use.
6. Cover Your Compost Bin (If Applicable)
If you’re using an open compost pile or a bin that doesn’t have a tight-fitting lid, a cover can be very beneficial. This prevents rain from making the pile too wet and also shields it from direct sunlight, which can dry it out too much.
Covering options:
- Tarp: A simple heavy-duty tarp secured with weights or bungee cords.
- Plywood or Cardboard: A piece of wood or thick cardboard that fits over the top.
- Plastic Sheeting: Ensure it allows for some airflow.
Remember to remove the cover when you are actively adding materials and turning the pile to allow for aeration.
What NOT to Do When Dealing with Flies
Sometimes, knowing what to avoid is just as important as knowing what to do. Here are a few common mistakes beginners make that can exacerbate fly problems.
- Leaving Food Scraps Exposed: This is the number one attractant. Always bury your kitchen waste.
- Over-watering Your Compost: A soggy pile is a fly paradise. Always check the moisture level before adding water.
- Adding Meat, Dairy, or Oily Foods: As mentioned, these are strong attractants and can cause odor issues.
- Using Non-compostable Materials: Plastic, treated wood, and certain types of paper (glossy magazines) won’t break down and can introduce chemicals.
- Ignoring Aeration: A compacted, smelly pile is an invitation for all sorts of pests.
Troubleshooting Common Composting Issues
Let’s look at a quick comparison of issues and their solutions. Getting the balance right is key!
| Problem | Cause | Solution |
|---|---|---|
| Flies and Odors | Too many “greens” (moist waste), not enough “browns” (dry carbon material), pile too wet, exposed food scraps. | Add more “browns” (leaves, cardboard, sawdust). Bury kitchen scraps completely. Turn pile regularly for aeration. Ensure moisture is like a wrung-out sponge. Avoid meat/dairy. |
| Slow Composting (Pile not heating up) |
Not enough “greens” (nitrogen), pile too dry, pile not aerated enough, materials too large. | Add more “greens” (grass clippings, coffee grounds). Add water if too dry. Turn pile more frequently. Shred larger items. |
| Slimy/Soggy Pile | Too much moisture, too many “greens,” poor drainage, not enough aeration. | Add plenty of dry “browns.” Turn pile thoroughly to incorporate browns and aerate. Ensure bin drains well. |
| Unpleasant Ammonia Smells | Too much nitrogen (“greens”). | Add more “brown” materials like shredded cardboard or dry leaves to absorb excess nitrogen. Turn the pile. |
Advanced Tip: The “Compost Blanket” Technique
For those who want an extra layer of defense against flies or are dealing with a particularly active compost bin that seems to attract them, consider creating a “compost blanket.”
What it is: A thick layer (several inches) of finished or semi-finished compost, or a mix of finished compost and dry leaves, that is placed on top of your active composting material. You then add new kitchen scraps underneath this blanket.
How it works:
- Barrier Properties: The dense compost blanket acts as a physical barrier, making it harder for flies to reach fresh food scraps.
- Odor Masking: It helps to mask any odors that might attract flies.
- Scavenging Opportunity: Any beneficial microbes or even tiny insects in the compost blanket might help break down the fresh scraps even faster.
To use it: Dig a space in your active pile, add your kitchen scraps, and then push the compost blanket back over them. Ensure the blanket itself is kept moist but not wet.
The Science Behind It: Why These Methods Work
It’s not just about trial and error; there’s science behind these fly prevention techniques! Composting is an exothermic process, meaning it generates heat. Beneficial microorganisms (bacteria and fungi) are the workhorses. Flies, on the other hand, are attracted to specific chemical cues: moisture, sugars, and fermenting organic matter. They also need specific conditions to lay eggs and for larvae to survive.
By:
- Balancing Greens and Browns: You create an environment that favors aerobic decomposition. The microbes thrive, and the pile heats up. This heat is detrimental to fly eggs and larvae. The carbon in browns also helps prevent the clumping and pooling of moisture that flies need.
- Aerating: You ensure enough oxygen for the aerobic microbes and help prevent anaerobic pockets where smells might build that attract flies. It also helps manage temperature.
- Burying Scraps: You deny flies direct access to their food source and a place to lay eggs. It’s like removing the welcome mat.
- Controlling Moisture: Excess moisture favors anaerobic conditions and makes the compost too hospitable for flies. Keeping it at “wrung-out sponge” consistency is ideal.
These steps work in synergy to make your compost bin an active, healthy decomposition site for microbes, but an unappealing, unwelcoming place for flies. For more on the science of composting, the EPA offers great resources on home composting and its benefits
Related Posts

I am passionate about home engineering. I specialize in designing, installing, and maintaining heating, ventilation, and air conditioning systems. My goal is to help people stay comfortable in their homes all year long.