Ever look at your kitchen scraps and think, “There’s got to be a better way to deal with this?” You’re not alone! Many of us toss food waste and yard trimmings without a second thought. But what if those same leftovers could actually help your garden thrive? Composting might sound complicated, but it’s really just nature’s way of recycling. We’ll break it down step-by-step, making it super easy to get started. Get ready to turn your trash into gardening treasure!
Your TopChooser Guide to Composting for Beginners
Hey there, fellow home improvers and garden enthusiasts! Troy D Harn here, and if there’s one thing I love simplifying, it’s making our homes and yards better, one project at a time. Today, we’re diving into composting. Many people think it’s a job for seasoned gardeners only, or that you need a huge backyard and fancy equipment. I’m here to tell you that’s just not true!
Composting is one of those fantastic, low-effort, high-reward tasks that benefits your wallet and the planet. It’s about taking organic materials – stuff that would otherwise end up in a landfill – and transforming them into nutrient-rich fertilizer for your plants. Think of it as a natural recycling program for your kitchen and yard!
Why bother? Well, for starters, it significantly reduces the amount of waste you send to the landfill. Plus, this “black gold” you create is pure goodness for your soil, helping your plants grow healthier and stronger without needing store-bought chemicals. It’s a win-win-win situation!
Over the next few minutes, we’ll walk through everything you need to know, from choosing the right bin to knowing what you can and can’t compost. We’ll keep it simple, practical, and totally doable, no matter your experience level. Let’s get started on this composting journey together!
Why Start Composting? The Big Benefits
Before we get our hands dirty, let’s talk about why composting is such a fantastic idea. It’s not just about being a good environmental citizen (though that’s a big plus!). There are practical benefits right in your backyard.
- Reduces Landfill Waste: Food scraps and yard waste make up a huge portion of what we throw away. Composting diverts this from landfills, where it can produce harmful methane gas.
- Creates Nutrient-Rich Soil: Compost is packed with vitamins, minerals, and beneficial microorganisms. It’s like a superfood for your soil, improving its structure, drainage, and ability to hold moisture.
- Saves Money: You’ll need less fertilizer and soil amendments for your garden, saving you cash on gardening supplies.
- Improves Soil Health: Healthy soil means healthier plants that are more resistant to pests and diseases.
- Conserves Water: Compost helps soil retain moisture, so you’ll need to water your garden less often.
Understanding the Basics: The “Greens” and “Browns”
The secret to successful composting lies in a good balance of two types of materials: “greens” and “browns.” Think of them as the yin and yang of your compost pile.
What are the “Greens”?
Greens are nitrogen-rich materials. They’re usually moist and help heat up your compost pile, speeding up the decomposition process. They can sometimes smell if too much is added without enough browns.
- Fruit and vegetable scraps
- Coffee grounds and tea bags
- Grass clippings (in thin layers to avoid matting)
- Plant trimmings (non-diseased)
- Eggshells (crushed)
What are the “Browns”?
Browns are carbon-rich materials. They are often dry and provide the energy source for the microorganisms that break down the compost. They also help with aeration and preventing the pile from becoming too dense or smelly.
- Dried leaves
- Straw or hay
- Shredded newspaper or cardboard (avoid glossy paper)
- Twigs and small branches (chopped)
- Sawdust (from untreated wood, in moderation)
The Ideal Ratio
A good starting point is to aim for a ratio of roughly 2 to 3 parts browns to 1 part greens. This isn’t an exact science, and you’ll adjust as you go, but it’s a solid guideline. Too many greens can make your compost wet and smelly, while too many browns might slow down the decomposition process.
Choosing Your Composting Bin: Options for Everyone
The right bin for you depends on your space, how much waste you generate, and how much effort you want to put in. Here are some popular beginner-friendly options:
1. Open Pile or Bin
This is the most basic method. You simply create a pile directly on the ground or in a simple enclosure made from wire mesh, pallets, or scrap lumber. It’s the cheapest and easiest to start.
- Pros: Easy to set up, requires no special equipment, good for large yards.
- Cons: Can look a bit messy, may attract pests if not managed well, can dry out faster.
2. Stationary Bin
These are sturdy bins, often made of plastic or wood, that sit in one place. They usually have a lid and sometimes a door at the bottom for easy access to finished compost. They keep things neat and contained.
- Pros: Tidy appearance, retains moisture and heat well, discourages pests.
- Cons: Can be more expensive, harder to turn the compost compared to an open pile.
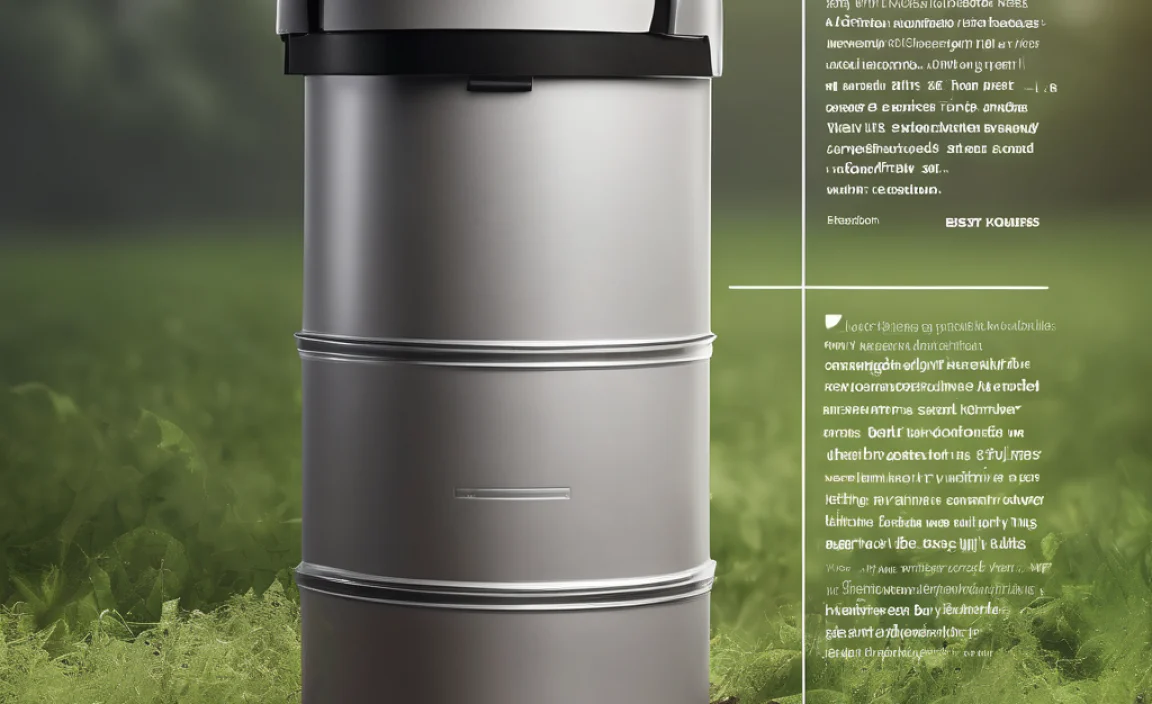
3. Tumbler Composter
These are sealed barrels or bins mounted on an axis that allows you to easily rotate or “tumble” the contents. This constant mixing speeds up decomposition and aeration significantly.
- Pros: Fast composting, easy to turn, contained and pest-resistant, very neat.
- Cons: Most expensive option, can be bulky, may have smaller batch capacity.
4. Worm Composting (Vermicomposting)
This uses specific types of worms (like red wigglers) in a special bin to break down kitchen scraps. It’s ideal for apartment dwellers or those with very little space, and it produces incredibly rich compost.
- Pros: Great for small spaces, produces high-quality compost, can be done indoors or on a balcony.
- Cons: Requires specific types of worms, sensitive to temperature extremes, can’t process as much material as other methods.
For most beginners with a bit of yard space, a stationary bin or a simple open pile managed with a good greens/browns ratio is a fantastic starting point. If you’re in an apartment, look into worm composting!
What You CAN Compost (and What to Avoid)
Knowing what to toss in is key to avoiding smells, pests, and a failed compost pile. It’s mostly about organic matter, but there are a few important “don’ts.”
Compostable Items (the Good Stuff!):
This list covers most of your kitchen and garden waste that’s perfect for composting:
| Greens (Nitrogen-Rich) | Browns (Carbon-Rich) |
|---|---|
| Fruit scraps | Dried leaves |
| Vegetable scraps | Straw or hay |
| Coffee grounds | Shredded newspaper/cardboard (non-glossy) |
| Tea bags | Twigs and small branches (chopped) |
| Grass clippings (thin layers) | Sawdust (untreated wood, in moderation) |
| Eggshells (crushed) | Paper towels (unsoiled by grease/chemicals) |
| Plant trimmings (non-diseased) | Corn cobs (chopped) |
| Spent flowers | Pine needles (in moderation, can be acidic) |
Items to AVOID (the Bad Stuff):
These items can cause problems, attract pests, or spread disease.
- Meat, fish, and bones: Attract pests and can create strong odors.
- Dairy products (milk, cheese, yogurt): Similar to meat, they attract pests and smell bad.
- Oily or greasy foods: Can slow decomposition and attract pests.
- Diseased plants: The disease can spread through your compost and into your garden.
- Weeds that have gone to seed: You might end up spreading weeds throughout your garden.
- Pet waste (dog, cat feces): Can contain harmful pathogens that may not be killed by the composting process.
- Chemically treated wood or yard waste: Chemicals can leach into your compost and harm plants.
- Coal or charcoal ash: Contains sulfur and iron in amounts that can be harmful to plants.
Step-by-Step: Building Your First Compost Pile
Ready to get down to business? Here’s how to build your compost pile, layer by layer:
Step 1: Choose and Prepare Your Location
Find a spot that’s convenient for you to access but not too close to your house if you’re worried about any initial odors. It should be on bare earth if possible (not concrete or pavement) so that beneficial microbes and worms can enter your pile. Partial sun or shade is usually ideal; too much sun can dry it out, too much shade can keep it too wet.
Step 2: Start with a Base Layer of Browns
Begin by placing a 4-6 inch layer of bulky brown materials at the bottom. This could be twigs, straw, or shredded cardboard. This layer helps with aeration and drainage, preventing your pile from becoming a soggy mess.
Step 3: Add Your First Layer of Greens
Add a few inches of your green nitrogen-rich materials on top of the browns. This could be kitchen scraps or freshly cut grass. Try to chop larger items into smaller pieces to speed up decomposition.
Step 4: Cover with Another Layer of Browns
To help balance the greens and prevent odors or pests, always cover your green layer with a layer of brown materials (leaves, shredded paper, etc.). Aim for about twice as much brown material as green material.
Step 5: Continue Layering
Keep adding alternating layers of greens and browns as you generate more waste. Remember the general rule: for every 1 inch of green material, add about 2-3 inches of brown material. Chop larger items into smaller pieces.
Step 6: Moisten the Pile
Your compost pile needs moisture to work. It should feel like a damp, wrung-out sponge. If it’s too dry, water it with a hose or watering can as you add layers. If it’s too wet, add more brown materials.
Step 7: Aerate (Turn) Your Pile
This is crucial for speeding up decomposition and preventing the pile from becoming anaerobic (lacking oxygen), which causes foul odors. Aim to turn your pile every 1-4 weeks. You can use a pitchfork, a compost aerator tool, or if you have a tumbler, just give it a good spin. Turning mixes the materials, introduces oxygen, and helps distribute moisture and heat.
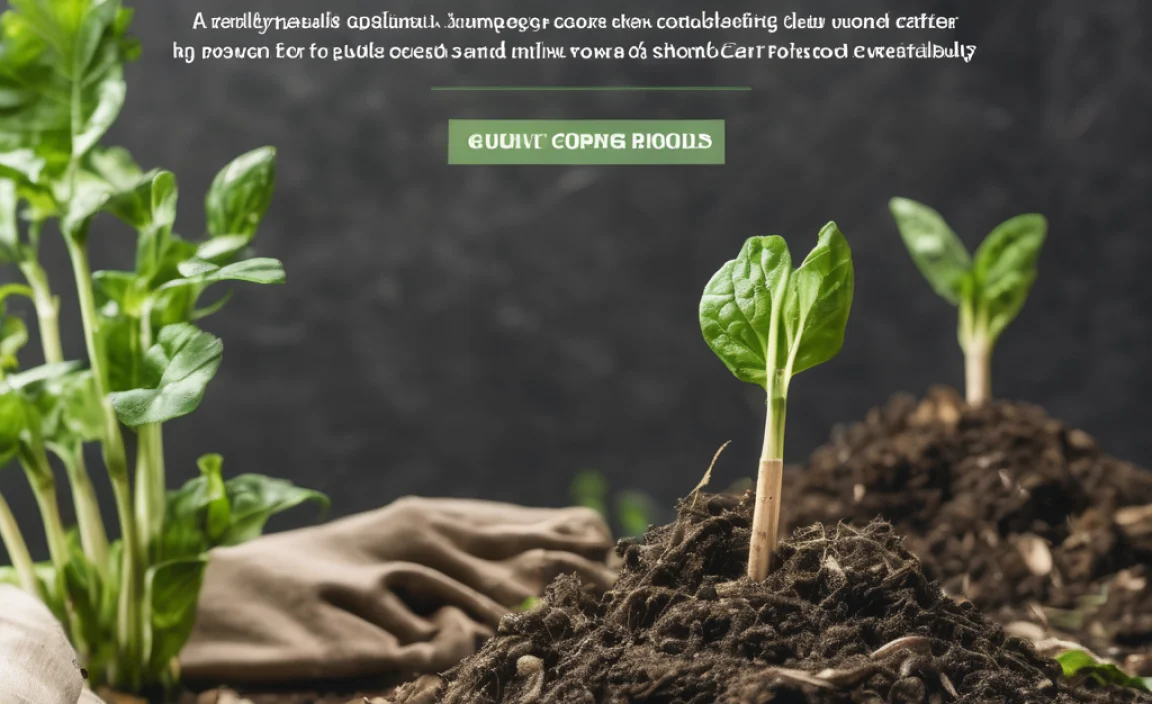
Step 8: Know When It’s Ready!
Your compost is ready when it’s dark brown, crumbly, and smells earthy – like a forest floor after rain. You shouldn’t be able to identify the original pieces of food or yard waste. This can take anywhere from a few months to a year, depending on your method, how often you turn it, and the materials you use.
Troubleshooting Common Composting Problems
Even with the best intentions, sometimes your compost pile might act up. Don’t worry, these are common issues with easy fixes:
- Problem: The pile smells bad (like rotten eggs or ammonia).
- Cause: Too much nitrogen (greens), not enough oxygen, or too wet.
- Solution: Add more brown materials (leaves, shredded cardboard) to balance the nitrogen. Turn the pile thoroughly to introduce air. If it’s too wet, add more browns and turn it.
- Problem: The pile isn’t heating up or decomposing.
- Cause: Not enough nitrogen (too many browns), or the pile is too dry.
- Solution: Add more green materials (kitchen scraps, fresh grass clippings). Ensure the pile is moist like a wrung-out sponge. Turn the pile to mix materials.
- Problem: Pests are attracted to the pile (flies, rodents).
- Cause: Exposed kitchen scraps, especially meat/dairy (which should be avoided anyway).
- Solution: Ensure that all kitchen scraps are buried under a layer of brown materials. Avoid adding meat, dairy, and oily foods. If using an open pile, consider covering it with a tarp or using a pest-resistant bin.
- Problem: The pile is too wet and slimy.
- Cause: Too many moisture-rich greens, not enough browns, or poor drainage.
- Solution: Add plenty of dry, bulky brown materials (shredded newspaper, leaves, straw). Turn the pile to improve aeration. If in a bin, ensure drainage holes are clear.
Remember, composting is a dynamic process. Observing your pile and making small adjustments is part of the learning curve. You’ve got this!
Using Your Finished Compost
Once your compost is dark, crumbly, and smells like your favorite forest floor, it’s ready to be used! It’s a wonderful soil amendment. Here’s how:
- As a Soil Amendment: Mix it into your garden beds before planting. It improves soil structure, aeration, and water retention. A layer of 1-3 inches is usually sufficient.
- As a Top Dressing: Spread a thin layer around established plants, trees, and shrubs. This feeds the soil and helps retain moisture.
- In Potting Mixes: You can add compost to your homemade potting mixes for containers and hanging baskets. A good ratio is often 1 part compost to 2 parts potting soil or coco coir.
- To Top Dress Lawns: Rake a thin layer over your lawn in the spring or fall to add nutrients and improve soil health.
Can I Compost Indoors? The Urban Gardener’s Guide
Absolutely! If you don’t have a yard, or if you live in an apartment or condo, composting is still well within your reach. Worm composting, or vermicomposting, is the most popular and effective method for indoor composting.
What You Need for Worm Composting:
- A Worm Bin: You can buy specialized worm bins or even make your own using opaque plastic storage totes. The bin needs to be dark, have ventilation holes, and a way to drain excess liquid (often called “worm tea”).
- Bedding: This is what the worms live in. Shredded newspaper, coconut coir, or straw work well. It needs to be moist.
- Composting Worms: You need specific types of worms, like Red Wigglers (Eisenia fetida) or European Nightcrawlers (Eisenia hortensis). Regular garden worms won’t thrive in a bin. You can buy them online or from local bait shops.
- Food Scraps: Primarily fruit and vegetable scraps, coffee grounds, and tea bags. Avoid the “don’ts” mentioned earlier.
How it Works:
Once your bin is set up with bedding and your worms are introduced, you start feeding them your kitchen scraps. Bury the scraps in a different spot in the bedding each time to encourage the worms to move around. They’ll eat the scraps and their castings are your finished compost! The process is odorless when done correctly, and the resulting worm castings are incredibly nutrient-dense.
For more detailed information on getting started with vermicomposting, resources like the U.S. Environmental Protection Agency (EPA) on composting offer excellent guidance.
Composting Speed: What Affects How Fast It Works?
The time it takes for your compost to break down can vary a lot. Several factors play a role:
- Temperature: Warmer temperatures speed up decomposition. A pile actively “cooking” can reach 130-160°F (54-71°C).
- Aeration: How often you turn your pile. More turning means more oxygen, which means faster decomposition. Tumblers are great for this.
- Moisture: The pile needs to be consistently damp but not waterlogged.
- Particle Size: Smaller pieces break down much faster than large ones. Chopping up kitchen scraps and yard waste helps immensely.
- Greens-to-Browns Ratio: A good balance of nitrogen (greens) and carbon (browns) is crucial for the microbes that do the work.
A hot composting system, actively managed with regular turning and ideal conditions, can produce finished compost in as little as 3-4 months. A cold or passive system, where you just pile things up and let nature take its course, could take 1-2 years.
Conclusion: Happy Composting!
So there you have it – your straightforward guide to composting for beginners. We’ve covered why it’s so beneficial, how to pick your system, what to compost, and even how to fix common hiccups. You’ve learned about the essential “greens” and “browns” and how to layer them up. Remember, composting isn’t about perfection; it’s about progress and giving back to the earth while enriching your own garden.
Whether you start with a small bin on your patio or a modest pile in the corner of your yard, you’re taking a fantastic step towards a more sustainable lifestyle and healthier plants. Don’t be afraid to experiment and observe. Your compost pile will tell you what it needs. Soon, you’ll be turning kitchen scraps into that magical “black gold” that makes your garden flourish. Happy composting, and enjoy the rewards!
FAQ: Your Beginner Composting Questions Answered
Here are some common questions beginners have:
Q1: How big does my compost pile need to be?
A: For effective “hot composting” that heats up, a pile generally needs to be at least 3 feet x 3 feet x 3 feet (1 cubic yard) to retain heat. However, you can still compost successfully with smaller piles or bins, even if it takes a bit longer.
Q2: Do I have to turn my compost pile?
A: Turning significantly speeds up decomposition and helps prevent odors by introducing oxygen. While it’s not strictly mandatory (passive composting works, just slower), it’s highly recommended for faster, better results.
Q3: I live in an apartment, can I still compost?
A: Yes! Worm composting (vermicomposting) is perfect for small spaces like apartments or balconies. Bokashi fermentation is another, more advanced option.
Q4: My compost is full of fruit flies. Help!
A: Fruit flies are usually attracted to exposed food scraps. Make sure to bury your kitchen waste deep within the pile or bin, and always cover fresh “greens” with a layer of “browns.” Avoid feeding your compost meat and dairy products.
Q5: Can I compost diseased plant material?
A: It’s best to avoid composting diseased plants. The heat in some compost piles might not be sufficient to kill all pathogens, which could then be spread into your garden. Stick to healthy plant trimmings.
Q6: How much finished compost will I get?
A: This varies greatly, but you can expect to lose about 30-50% of the original volume as the organic matter breaks down. For instance, a full compost bin might yield a quarter to half that amount in finished compost.

I am passionate about home engineering. I specialize in designing, installing, and maintaining heating, ventilation, and air conditioning systems. My goal is to help people stay comfortable in their homes all year long.