Hey there! Troy D Harn here, your go-to guy for making tough DIY and home projects feel like a walk in the park. Ever looked at your business’s waste and thought, “There’s got to be a better way than just tossing it all?” You’re not alone! Many businesses feel the same way. It can seem a bit overwhelming at first, right? But what if I told you that turning that waste into valuable compost is totally doable, even for a business? We’re going to break it down, step-by-step. Get ready to learn how your business can join the compost revolution!
Composting For Businesses How To: Your Proven Guide to Greener Operations
Let’s be honest, running a business often means dealing with a fair bit of waste. From kitchen scraps in a cafeteria to paper trimmings in an office, it all adds up. But what if you could turn a significant portion of that waste into something incredibly useful? That’s where composting comes in! For businesses, it’s not just about being environmentally friendly; it’s a smart move that can save money, boost your brand image, and even create a valuable product.
I know what you might be thinking: “Composting? For a business? That sounds complicated and messy!” As your friendly neighbor who loves making things simple, I’m here to tell you it’s absolutely achievable. Forget jargon and confusing manuals; we’re going to walk through this together, just like I’d show you how to build a birdhouse. We’ll cover why it makes sense, what you need, and how to get started, step by easy step. By the end, you’ll feel confident that composting can be a smooth and beneficial part of your business operations.
Why Should Your Business Start Composting?

Beyond just “doing good,” there are some seriously practical reasons why businesses are embracing composting. It’s a win-win-win: good for the planet, good for your wallet, and good for your reputation.
Environmental Benefits
- Reduces Landfill Waste: A huge chunk of what goes to landfills is organic material. Composting diverts this, saving valuable landfill space and reducing methane gas emissions, which are potent greenhouse gases.
- Creates Nutrient-Rich Soil: Compost is often called “black gold” for a reason! It’s packed with nutrients that plants love, improving soil health, structure, and water retention.
- Conserves Water: Healthy, compost-amended soil holds moisture better, meaning you’ll need to water less.
- Reduces Need for Chemical Fertilizers: By using compost, you can cut down on synthetic fertilizers, which can be costly and have negative environmental impacts.
Economic Advantages
- Lower Waste Disposal Costs: The less trash you send to the landfill, the less you’ll pay in tipping fees and hauling charges.
- Potential Revenue Stream: If you create a good amount of high-quality compost, you might be able to sell it to local gardeners, landscapers, or even other businesses.
- Cost Savings on Soil and Amendments: If your business has landscaping needs, you can use your own compost instead of buying expensive soil conditioners.
Brand and Community Benefits
- Enhanced Brand Image: Being a composting business shows your customers and community that you’re committed to sustainability, which can attract environmentally conscious consumers.
- Employee Engagement: Involving your staff in composting initiatives can boost morale and create a shared sense of purpose.
- Positive Public Relations: A well-executed composting program can be a great story for your marketing and public relations efforts.
Getting Started: What Your Business Needs for Composting
Setting up a composting system for your business doesn’t have to be overly complicated. The key is to understand what you’re composting and choose a system that fits your space, volume, and resources. Think of it like picking the right tool for a job – you wouldn’t use a tiny screwdriver to hammer a nail, right?
Assessing Your Waste Stream
Before you buy anything, take a good look at what kind of organic waste your business produces. This will determine the scale and type of composting system you’ll need.
Common Business Organic Waste:
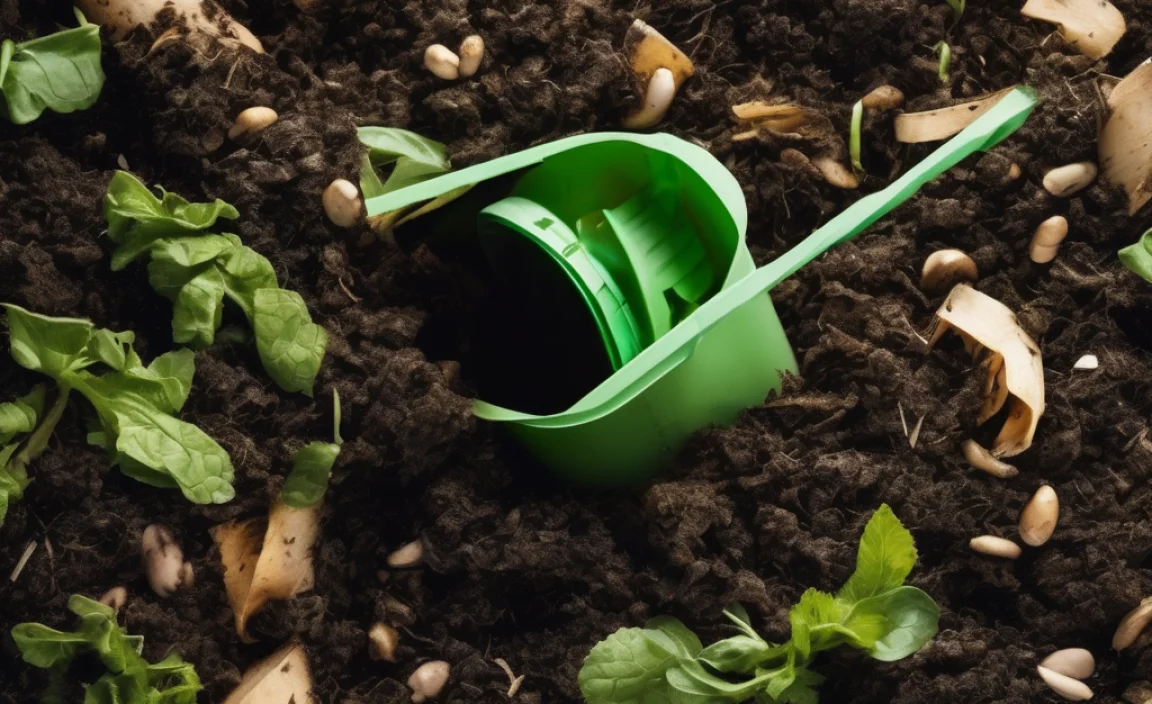
- Food Scraps: From cafeterias, break rooms, restaurants, cafes. This includes fruits, vegetables, coffee grounds, tea bags, eggshells. (Be mindful of what’s acceptable for your chosen composting method – meat, dairy, and oily foods can be trickier).
- Yard Waste: If your business has groundskeepers or landscaping, this includes grass clippings, leaves, and small branches.
- Paper and Cardboard: Uncoated paper, shredded paper, cardboard (torn into small pieces). Avoid glossy or heavily inked paper.
- Other Organic Materials: Sawdust (untreated), coffee filters, plant trimmings from offices, etc.
Choosing the Right Composting Method
There are several ways to compost, each with its pros and cons. For businesses, we often look at systems that can handle larger volumes and are relatively contained.
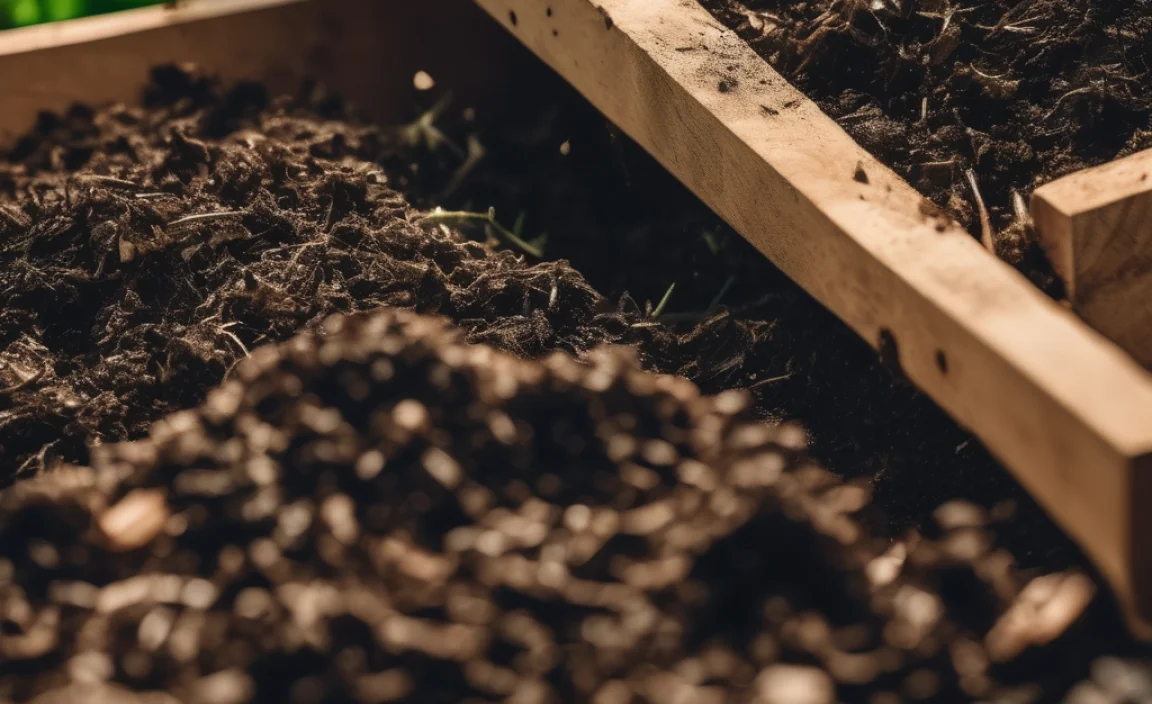
1. Aerobic Composting (The Most Common & Recommended Method)
This involves using oxygen-loving microbes to break down organic matter. You’ll need a bin or pile, and regular turning to ensure air circulation.
- Windrows: Long piles of organic material, usually outdoors. Great for large volumes. Requires space and specialized turning equipment for very large operations.
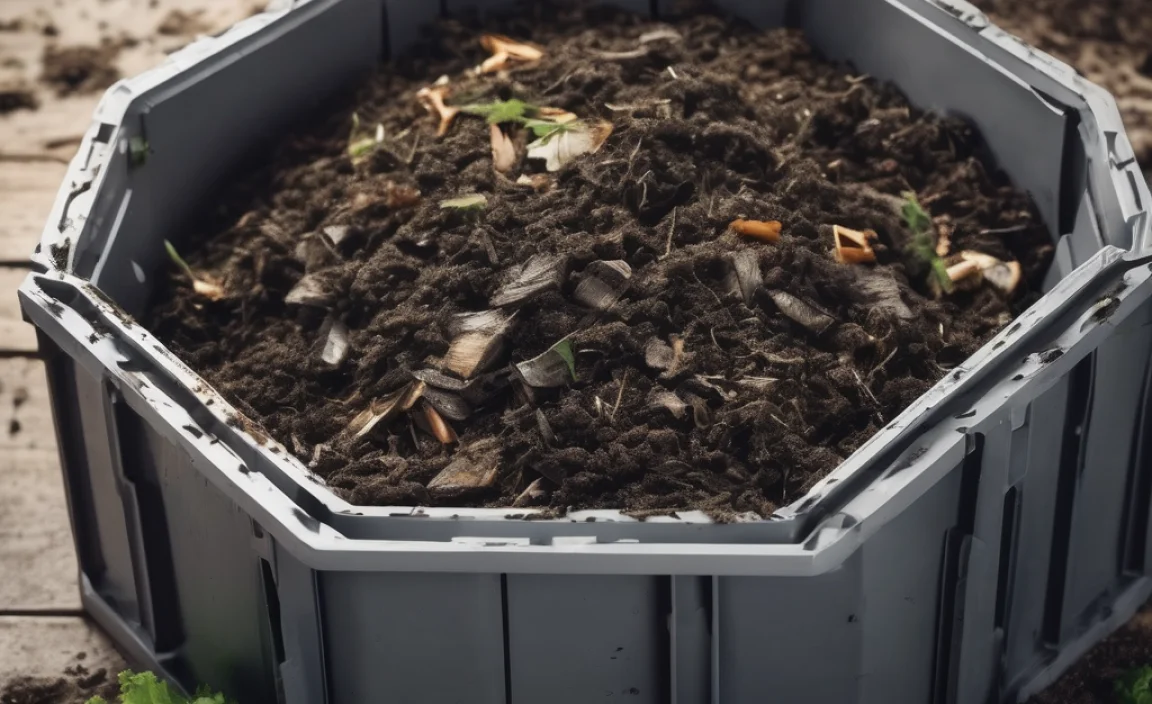
- In-Vessel Composting: This is often the best choice for businesses, especially those with limited space or concerns about pests and odors. It involves containing the compost within a manufactured container.
- Static Piles: Piles enclosed in bins or containers, often with aeration systems (like pipes for air circulation) installed within.
- Tumbler Bins: Large, enclosed rotating drums. Good for smaller to medium volumes, they make turning easy and help speed up the process while containing odors and pests.
2. Vermicomposting (Worm Composting)
Uses specific types of earthworms to break down food scraps. It’s excellent for food waste and produces very high-quality compost (worm castings).
- Best for: Smaller businesses with a significant amount of food waste and limited outdoor space. Think cafes, small offices, or schools.
- Considerations: Requires careful management of worm conditions (temperature, moisture) and can’t process all types of organic waste (e.g., large amounts of yard waste, meat, dairy).
3. Bokashi Composting
This is an anaerobic (without oxygen) fermentation process using a special inoculant (bran sprinkled with beneficial microorganisms). It pickles waste, including meat and dairy.
- Best for: Businesses producing a lot of food waste, especially meat and dairy, where traditional composting might be challenging or slower.
- Considerations: The fermented product isn’t finished compost; it needs to be buried in soil or added to a traditional compost pile to fully break down. It’s more of a pre-composting step.
Essential Tools and Supplies
What you need will depend on your chosen method. Here’s a general rundown:
- Compost Bin or Enclosure: This could be a commercial-grade tumbler, a sturdy wooden bin, a concrete enclosure for windrows, or specialized in-vessel systems.
- Collection Bins: Smaller bins for collecting organic waste from different departments or kitchens. Look for ones with good lids.
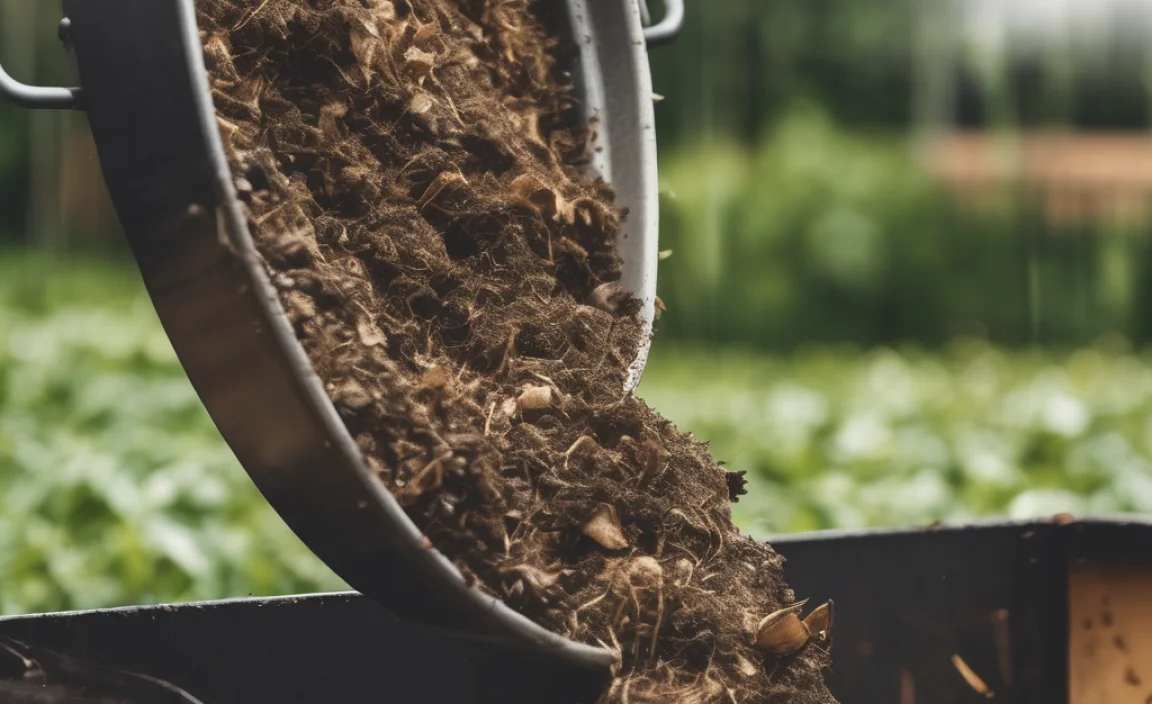
- Pitchfork or Shovel: For turning compost piles or moving material. If you’re doing large windrows, you might need a small tractor with a loader or a dedicated compost aerator.
- Water Source: Composting requires moisture, so having easy access to water is important.
- Optional: Thermometer: A compost thermometer helps you monitor the internal temperature of your pile, ensuring it’s hot enough to kill pathogens and weed seeds (usually between 130-160°F or 55-71°C).
- Optional: Aeration Tools: For static piles, aeration tubes or pipes can be very helpful.
- Optional: Testing Kits: To check the pH and nutrient levels of your finished compost.
The Composting Process for Businesses: Step-by-Step
Let’s get down to the nitty-gritty. Here’s a general guide to setting up and managing a compost system for your business.
Step 1: Site Selection and Setup
Choose an appropriate location. For outdoor systems like windrows or static piles, consider:
- Accessibility: Easy for staff to drop off waste and for you to manage the piles.
- Drainage: Avoid areas that get waterlogged.
- Sunlight/Shade: Partial shade is often ideal; too much sun can dry it out, too much shade can keep it too cool.
- Odor/Pest Control: Position away from main building entrances or sensitive areas.
- Regulations: Check local zoning laws and health department regulations regarding composting on business property. Your local environmental agency can be a great resource.
For indoor systems like tumblers or vermicomposting bins, ensure there’s adequate space and ventilation.
Step 2: Establish Your “Greens” and “Browns”
Successful composting is all about balancing nitrogen-rich “greens” with carbon-rich “browns.”
- Greens (Nitrogen-rich): Food scraps (fruits, veggies, coffee grounds), grass clippings, plant trimmings. These provide the protein and moisture for microbes.
- Browns (Carbon-rich): Dried leaves, shredded paper/cardboard, straw, sawdust. These provide the energy source and add bulk for air circulation.
A good general ratio is about 2-3 parts browns to 1 part greens by volume. Too many greens can lead to a slimy, smelly pile. Too many browns can make it slow to decompose.
Step 3: Collect and Transport Organic Waste
Set up a system for collecting waste from its source. Educate staff on what can and cannot be composted. Clearly label collection bins. Have designated collection points where waste is consolidated before being moved to the main composting area.
Step 4: Layer Your Compost Pile or Fill Your Bin
Start with a layer of browns at the bottom of your bin or pile to help with drainage and aeration. Then, alternate layers of greens and browns. For example:
- Start with a 4-6 inch layer of browns (leaves, shredded paper).
- Add a 2-3 inch layer of greens (food scraps, grass clippings).
- Cover the greens with another layer of browns to help suppress odors and deter pests.
- Continue layering until your bin is full or you reach your desired pile size.
If using a tumbler, simply add your greens and browns directly into the drum.
Step 5: Manage Your Compost Pile
This is where the magic happens, but it requires a little attention.
- Moisture: The compost should be as moist as a wrung-out sponge. If it’s too dry, add water. If it’s too wet, add more browns and turn it.
- Aeration: This is crucial for aerobic decomposition.
- For Piles/Windrows: Turn the pile every 1-2 weeks using a pitchfork or shovel. This mixes materials, introduces oxygen, and speeds up decomposition. For large operations, a mechanical aerator or front-end loader might be used.
- For Tumblers: Rotate the tumbler every few days according to the manufacturer’s instructions.
- For Static Bins with Aeration: Ensure pipes are clear and allow air to flow. You might still need occasional turning if the material compacts.
- Temperature: Monitor the temperature if possible. A hot pile (130-160°F / 55-71°C) breaks down waste faster and kills weed seeds and pathogens.
Step 6: Know When Compost is Ready
Finished compost will be dark brown, crumbly, and smell earthy, like a forest floor. You shouldn’t be able to recognize the original materials. This process can take anywhere from a few weeks (with actively managed hot composting) to several months or even a year (with passive methods).
Step 7: Using or Disposing of Your Compost
Once ready, your compost can be:
- Used on your business’s landscaping.
- Offered to employees.
- Sold to local gardeners or landscapers.
- Donated to community gardens or local farms.
Challenges and Solutions for Business Composting
Even with the best intentions, you might run into a few snags. Here’s how to tackle them:
Challenge: Odors
Cause: Too many greens, too much moisture, not enough air, or composting prohibited items like meat/dairy in non-suitable systems.
Solution:
- Add more browns (carbon material) to absorb moisture and balance the nitrogen.
- Turn the pile more frequently to increase aeration.
- Ensure the pile is not oversaturated with water.
- Avoid adding meat, dairy, and oily foods unless using Bokashi or a specialized system designed for them.
- Make sure your collection bins have tight-fitting lids.
Challenge: Pests (Rodents, Flies)
Cause: Exposed food scraps, using prohibited items (meat, dairy, oils).
Solution:
- Always cover fresh food scraps with a layer of browns.
- Use enclosed composting systems (tumblers, in-vessel bins) which are generally more pest-resistant.
- Bury food scraps in the center of an active compost pile, away from the edges.
- Do not add meat, dairy, or oily foods to standard compost systems if pests are a concern.
- Check local regulations on managing pests associated with composting.
Challenge: Slow Decomposition
Cause: Pile is too dry, not enough greens (nitrogen), lack of aeration/turning, or materials are too large.
Solution:
- Add water to a dry pile and ensure it stays moist.
- Add more greens (food scraps, grass clippings) to boost nitrogen.
- Turn the pile more frequently.
- Chop or shred larger items into smaller pieces.
- Ensure the pile is hot enough – if it’s cold, it’s not decomposing efficiently.
Challenge: Material Volume & Space Limitations
Cause: Business produces a large amount of waste, or has limited outdoor space.
Solution:
- Consider commercial-grade tumblers or in-vessel systems designed for higher volumes and smaller footprints.
- Explore partnerships with local farms or community gardens that have space for composting.
- Investigate professional food waste diversion services that may offer composting solutions.
- Bokashi pre-composting can reduce the volume of food waste before it goes to a composting facility.
Compost Quality: Dos and Don’ts
The quality of your compost directly impacts its usefulness. Here’s a quick guide:
| Do Compost (The Greens & Browns) | Avoid Composting (Especially in Standard Systems) |
|---|---|
| Fruit and vegetable scraps | Meat, fish, and bones |
| Coffee grounds and filters | Dairy products (milk, cheese, yogurt) |
| Tea bags | Oily or greasy foods |
| Eggshells | Diseased plants or weeds gone to seed |
| Grass clippings | Pet waste (dog/cat feces) |
| Leaves and shredded paper/cardboard | Treated wood or sawdust from treated wood |
| Yard waste (small twigs, plant trimmings) | Coal or charcoal ash |
| Sawdust (untreated) |

I am passionate about home engineering. I specialize in designing, installing, and maintaining heating, ventilation, and air conditioning systems. My goal is to help people stay comfortable in their homes all year long.