Hey there! Ever look at your furry (or feathered, or scaled!) friends and wonder about all the… well, waste they produce? As pet owners, it’s easy to feel a bit overwhelmed by the sheer volume of pet waste. But what if I told you there’s a super simple, eco-friendly way to handle it? Composting pet waste is totally doable and can even benefit your garden. We’ll break it down step-by-step, so stick around!
Composting Pet Waste: A Genius Essential Guide for Business Owners
As a pet owner, you know that our beloved animals bring immense joy into our lives. They’re part of the family! But let’s be honest, they also come with a certain… output. For individuals and especially for businesses that cater to pets – think doggy daycare centers, boarding kennels, or even grooming salons – managing pet waste efficiently and responsibly is a big deal. It’s not just about keeping things tidy; it’s about environmental impact and, sometimes, local regulations.
The good news is you don’t have to just bag it and send it to a landfill. Composting pet waste is a fantastic way to turn a common problem into a valuable resource. It reduces landfill burden, creates nutrient-rich fertilizer, and is surprisingly easy to set up. You might be thinking, “Composting poop? Is that even safe or practical?” The answer is a resounding YES, with a few important guidelines to follow. This guide is all about making that process simple, safe, and effective for your business. We’ll cover everything from understanding what can and can’t be composted to setting up your system and troubleshooting common issues.
Why Compost Pet Waste for Your Business? The Big Benefits
Let’s dive into why composting your business’s pet waste is a truly “genius” move. It’s not just about being green; it’s about being smart for your business and the planet.
- Reduces Landfill Waste: Pet waste in landfills can decompose anaerobically (without oxygen), producing methane, a potent greenhouse gas. Composting converts it aerobically, reducing methane emissions. This also means less volume going to already crowded landfills.
- Creates Nutrient-Rich Compost: Properly composted pet waste is a goldmine of nutrients for your garden or landscaping. It’s packed with nitrogen and phosphorus that can help your plants thrive.
- Controls Odors and Pests: A well-managed compost system, especially one designed for pet waste, can effectively control odors and deter pests that might be attracted to raw waste.
- Eco-Friendly Image: For pet-focused businesses, adopting sustainable practices like composting can significantly enhance your brand image. It shows customers you care about the environment, which can be a strong selling point.
- Potential Cost Savings: Depending on your waste disposal costs, composting could lead to savings on trash collection fees.
- Compliance with Regulations: In some areas, there are regulations regarding the disposal of pet waste. Composting might offer a compliant and sustainable alternative.
What Pet Waste Can You Actually Compost?
This is a crucial question, and the answer depends on your composting method. Not all pet waste is created equal when it comes to composting. The key concern is the presence of pathogens, which can be harmful to humans and other animals.
Generally, the safest and most recommended pet waste for composting comes from:
- Herbivores: Waste from animals that eat plants, like rabbits, guinea pigs, hamsters, and horses, is generally safe to compost directly. It’s already rich in plant matter and less likely to contain harmful pathogens.
- Dogs and Cats (with caution and specific methods): While dog and cat waste can be composted, it requires a dedicated composting system designed to reach high temperatures necessary to kill pathogens. It should NEVER be composted alongside food scraps for consumption and the resulting compost should be used with extreme caution, preferably not on edible gardens. Many experts recommend hot composting or specialized tumblers for these types of waste.
What to Avoid Composting
There are definitely things you should keep out of your pet waste compost bin:
- Waste from sick animals: If an animal is ill, especially with a transmissible disease, its waste should not be composted.
- Cat litter (most types): Most commercial cat litters are not suitable for composting. Clay-based litters can clump and create anaerobic pockets, while silica gel litters won’t break down. Some biodegradable litters might be compostable, but check the packaging and consider the pathogen risk. It’s usually best to avoid it altogether.
- Invasive plant species: If your pet consumes invasive plants, their waste could potentially spread those seeds if composted.
- Medicated pet waste: If your pet is on medication, it’s generally advised not to compost their waste.
Choosing the Right Composting Method for Your Business
Selecting the right composting method is key to success and safety. For businesses, especially those with a significant amount of waste, dedicated systems are often the most practical. Here are the top options:
1. Hot Composting (The Pathogen-Killing Method)
This is the most effective method for safely composting dog and cat waste. Hot composting involves carefully balancing “greens” (nitrogen-rich materials like pet waste) and “browns” (carbon-rich materials like dried leaves, sawdust, or straw), maintaining optimal moisture levels, and actively turning the compost pile to ensure it reaches temperatures between 131°F (55°C) and 160°F (70°C). These high temperatures are crucial for killing harmful pathogens.
- Pros: Kills pathogens effectively, produces high-quality compost relatively quickly, reduces waste volume significantly.
- Cons: Requires more effort and attention to maintain temperature and moisture, needs regular turning, a larger space for the compost pile, and materials management.
- Best for: Businesses with a volume of dog/cat waste, those with space, and a commitment to active management.
2. Composting Tumblers
Composting tumblers are sealed drums that rotate. They offer a contained, pest-resistant, and often faster composting solution. For pet waste, look for tumblers specifically designed to handle it or that can achieve high temperatures. They make turning easier than a traditional pile.
- Pros: Contained (keeps pests out and odors in), easier to turn, often faster than stationary piles, takes up less garden space.
- Cons: Can be more expensive upfront, capacity might be limited, requires some manual effort to turn.
- Best for: Businesses with moderate amounts of waste, limited space, or a desire for a cleaner, more contained system.
3. In-Vessel Composting Systems
These are fully enclosed systems, often used commercially, that provide controlled conditions for composting. They can be very effective at reaching and maintaining high temperatures and are ideal for managing large volumes of waste in a contained and odor-controlled manner. Some advanced systems use forced aeration.
- Cons: Can be very expensive, requires significant space and potentially technical know-how.
- Best for: Large-scale operations like boarding kennels or doggy daycare centers with substantial waste output.
4. Dedicated Pet Waste Composter (Burial/Passive Method)
These are specialized bins, often made of plastic with drainage holes, designed specifically for burying pet waste. They are dug into the ground and filled with waste, which then breaks down over time. They aren’t “hot” composting and don’t guarantee pathogen destruction but are a step up from landfills for smaller volumes, especially for herbivores. Some can be used for dog waste if buried deep and used cautiously.
- Pros: Simple to use, relatively inexpensive, good for smaller amounts of waste, especially herbivores.
- Cons: Does not reliably kill pathogens, takes longer to decompose, can attract pests if not managed properly or buried deep enough, compost is not recommended for edible gardens.
- Best for: Smaller businesses or specific areas within a larger business that have limited waste or only herbivore waste.
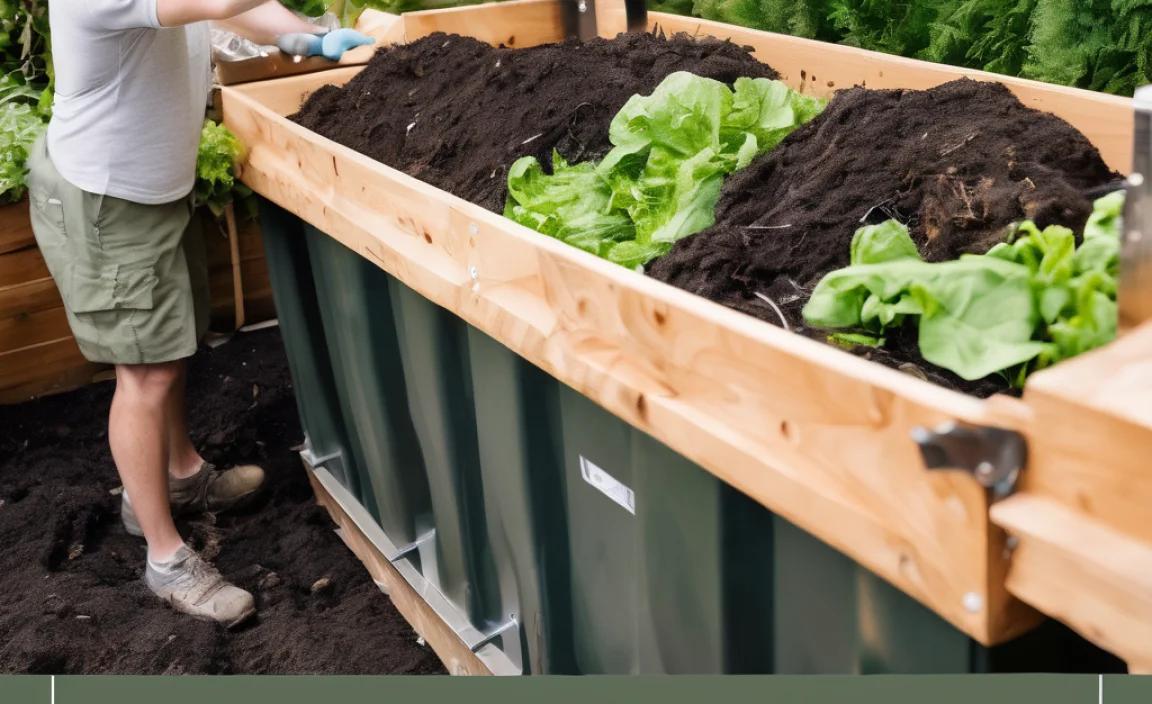
Setting Up Your Pet Waste Composting System: A Step-by-Step Guide
Let’s get practical! Here’s how you can set up a hot composting system, which is the most recommended for businesses dealing with dog or cat waste.
Step 1: Choose Your Location and Bin/Pile System
You need a spot that’s:
- Accessible: Easy to get to with waste and tools.
- Well-drained: Avoid areas that get waterlogged.
- Slightly out of the way: To minimize visual impact and any potential odors (though a well-managed system shouldn’t smell bad).
- Sun/Shade: Some sun can help heat it up, but too much intense sun can dry it out quickly. A balance is good.
You can build a bin from pallets, buy a commercial compost bin, or simply create a dedicated pile. For hot composting, a three-bin system is ideal: one for active composting, one for curing, and one for finished compost. If space is tight, a large, well-managed single pile or a large, high-quality tumbler is a great start.
Step 2: Gather Your Materials (Greens and Browns)
For effective hot composting, you need a good carbon-to-nitrogen ratio. A common recommendation is around 25-30 parts carbon to 1 part nitrogen by volume. This means you’ll need a lot more “browns” than “greens” (your pet waste).
- Greens (Nitrogen-Rich):
- Pet waste (dog, cat, rabbit, guinea pig, hamster, horse)
- Fresh grass clippings (in moderation)
- Fruit and vegetable scraps (avoid meat, dairy, oily foods)
- Coffee grounds and tea bags
- Browns (Carbon-Rich):
- Dried leaves (very important!)
- Straw or hay
- Wood chips or sawdust (untreated wood only)
- Shredded newspaper or cardboard (uncoated)
- Pine needles
Where to get Browns: Partner with local landscapers for leaves, use straw from feed stores, or collect cardboard boxes from your own deliveries.
Step 3: Start Layering Your Compost
Begin with a base layer of coarse browns (like twigs or wood chips) to ensure good aeration at the bottom. Then, alternate layers of greens and browns. A good starting ratio is about 2-3 inches of browns for every 1 inch of greens. Make sure to mix the pet waste thoroughly with the browns – don’t just dump a pile of poop on top!
Tip: If your pet waste is very wet, ensure you add extra dry browns to absorb excess moisture.
Step 4: Manage Moisture Levels
Your compost pile should feel like a damp, wrung-out sponge. Too dry, and the composting microbes slow down. Too wet, and it can become anaerobic and smelly.
- Adding Water: If it’s too dry, sprinkle water on it as you turn.
- Adding Browns: If it’s too wet (and smelly), add more dry brown materials and turn thoroughly.
A compost thermometer is a very useful tool here. You can find affordable ones online:
Learn more about pet waste management from the EPA for broader context.
Step 5: Aerate and Turn Your Compost
This is the secret to hot composting and killing pathogens. You need to introduce oxygen regularly. Aim to turn your pile at least once a week, or more often if it’s a very active pile.
- How to Turn: Use a garden fork or a compost aerator tool. Mix the outer materials into the center and the center materials to the outside.
- Monitor Temperature: Use your compost thermometer. When the center of the pile reaches 131°F (55°C) or higher and stays there for a few days, you’re doing great! Once the temperature starts to drop, it’s time to turn it.
Step 6: Curing the Compost
After several weeks or months of active composting (turning and heating), your compost will start to look like dark, crumbly soil. At this stage, it needs to cure. Move the compost to a separate pile or bin and let it sit for another 1-3 months. This “curing” period allows it to cool down, stabilize, and for any remaining pathogens to die off. The finished compost should smell earthy and pleasant.
Step 7: Using Your Finished Compost
Once cured, your compost is ready! Remember, if you composted dog or cat waste, it’s best to use this compost on ornamental plants, shrubs, or trees, and to avoid using it in vegetable gardens or anywhere food will be grown. For herbivore waste, it’s generally safer for all garden uses.
- How to Use: Mix it into garden beds, use it as a top dressing for lawns, or add it to potting mixes.
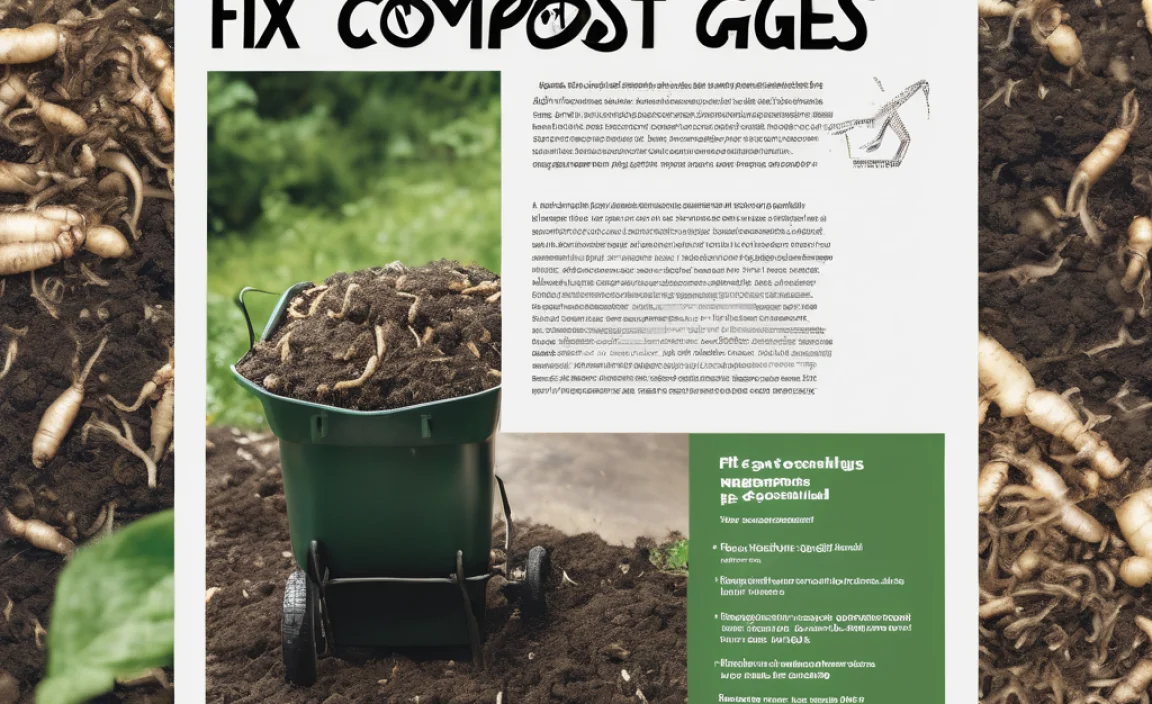
Troubleshooting Common Composting Problems
Even with the best intentions, you might run into a snag. Here’s how to fix common issues:
Problem: My compost smells bad (like ammonia or rotten eggs).
Cause: Too much nitrogen (greens) or not enough air (too wet and compacted).
Solution: Add a generous amount of dry brown materials (leaves, straw, sawdust) and turn the pile thoroughly to aerate it. Ensure good drainage.
Problem: My compost pile isn’t heating up.
Cause: Not enough nitrogen (greens), too dry, or not enough material to build mass. It might also be too small.
Solution: Add more nitrogen-rich greens (like pet waste, grass clippings, or coffee grounds). Check moisture – it should be like a damp sponge. If the pile is too small, add more material to create a mass of at least 3x3x3 feet if possible.
Problem: My compost is attracting pests (flies, rodents).
Cause: Exposed food scraps or pet waste, pile is too wet, or not hot enough. Rodents are usually attracted to meat, dairy, or oily foods in the mix, but can be attracted to poorly managed pet waste piles.
Solution: Ensure all pet waste is well-covered with brown materials. Bury food scraps deep within the pile. Use a sealed bin or tumbler. Make sure your pile is actively heating up. For rodent issues specifically with pet waste, a dedicated, well-sealed compost bin designed for waste is often the best bet.
Problem: My compost is too dry.
Cause: Lack of moisture, too much sun, or too many dry brown materials.
Solution: Water the pile thoroughly as you turn it. Add more water if needed until it feels like a damp sponge. Consider adding a water-retaining material like finished compost or coir to future batches.
The “Big Three” of Composting: Greens, Browns, and Air
When it comes to successful composting, remember these three simple pillars:
| Element | What it is | Why it’s Important | Examples (Pet Waste Context) |
|---|---|---|---|
| Greens (Nitrogen) | Wet, nitrogen-rich materials. | Provide protein and essential nutrients for the microbes that break down waste. | Pet waste (esp. from omnivores/carnivores), fresh grass clippings, food scraps. |
| Browns (Carbon) | Dry, carbon-rich materials. | Provide energy for the microbes, add bulk, and help with aeration, preventing the pile from becoming too dense and wet. | Dried leaves, straw, sawdust, shredded cardboard, pine needles. |
| Air (Oxygen) | Oxygen for aerobic decomposition. | Microbes need oxygen to work efficiently. Without it, decomposition slows down, and anaerobic conditions (which cause bad smells and methane) set in. | Achieved by turning the compost pile, using coarse materials at the base, and proper bin design. |
Composting Pet Waste: Essential Tools to Have
You don’t need a huge setup, but a few key tools make the job much easier and more effective.
- Compost Bin or Tumbler: A dedicated bin or tumbler will help contain materials and deter pests.
- Garden Fork or Pitchfork: Essential for turning the compost.
- Compost Thermometer: Helps you monitor the temperature to ensure pathogen kill. <a href="https

I am passionate about home engineering. I specialize in designing, installing, and maintaining heating, ventilation, and air conditioning systems. My goal is to help people stay comfortable in their homes all year long.