Hey everyone, Troy D Harn here! Ever feel like your business is creating a mountain of trash that just keeps growing? It’s a common problem, and it can feel overwhelming. But what if I told you there’s a super-effective way to turn that waste into something valuable, help the planet, and even save some money? It’s called composting, and setting it up for your business is totally doable, even if you’re a total beginner. We’re going to walk through it, step by step, making it simple and stress-free. Get ready to turn that waste problem into a win-win solution!
Why Composting Makes Sense for Your Business
Let’s be honest, most businesses create waste. Think about that coffee shop with all the used grounds, a restaurant with food scraps, or even an office with paper waste. Tossing it all in the bin means it ends up in a landfill, taking up space and creating harmful greenhouse gases like methane. That’s not great for anyone.
Composting offers a fantastic alternative. It’s a natural process where organic materials break down into a nutrient-rich soil amendment. For businesses, this means:
- Reduced Waste Disposal Costs: Less trash usually means lower hauling fees.
- Environmental Benefits: You’re diverting waste from landfills and cutting down on greenhouse gas emissions. This is a big win for sustainability!
- Potential for Cost Savings or Revenue: Finished compost can be used in landscaping, gardens, or even sold.
- Positive Brand Image: Customers and employees increasingly care about businesses that are environmentally responsible.
- Compliance with Regulations: Some areas are starting to require businesses to compost or separate organic waste.
It might sound complex, but breaking it down, it’s really just about managing organic materials smartly. Let’s get into how you can make it happen for your business.
Getting Started: The Pre-Composting Checklist
Before you start piling up scraps, a little planning goes a long way. Think of this as your quick prep work before the main event.
1. Assess Your Waste Stream
What kind of organic waste does your business generate? And how much of it?
- Food Scraps: From kitchens, break rooms, cafeterias (fruits, vegetables, coffee grounds, tea bags, eggshells).
- Yard Waste: If you have landscaping on your property (leaves, grass clippings, small branches). Many businesses don’t generate this on-site, but if you do, it’s a goldmine for composting.
- Paper Products: Uncoated paper, cardboard (shredded), napkins, paper towels (check for grease contamination). Avoid glossy or plastic-coated paper.
- Other Organics: Depending on your business, this could include things like sawdust from a woodworking shop or certain biodegradable packaging.
Take a few days to observe and maybe even weigh your organic waste. This helps you understand the volume you’ll be dealing with.
2. Understand Local Regulations
This is super important! Before you dive in, check with your local municipality or waste management services. Some areas have specific rules about commercial composting, including:
- Permits required for collection or processing.
- Restrictions on what can be composted.
- Requirements for how waste is stored and handled.
- Available municipal composting programs or resources.
A great place to start for general information on composting laws and best practices is the U.S. Environmental Protection Agency (EPA). While this link is for home composting, they often link to more specific state or local resources.
3. Decide on Your Composting Method
There are a few ways to go about composting for a business, depending on your space, volume, and resources.
Option A: On-Site Composting
- Static Piles: Large heaps of organic material that decompose over time. Best for businesses with a lot of space and material. Requires careful management of carbon-to-nitrogen ratios and moisture.
- Aerated Static Piles (ASPs): Similar to static piles but with forced air blown through the pile, speeding up decomposition and reducing odors. Requires equipment like blowers and piping.
- In-Vessel Systems: Enclosed containers or bins where composting occurs. These can be highly controlled, efficient, and often more aesthetically pleasing for urban or smaller spaces. Examples include tumblers, bins, or larger automated systems.
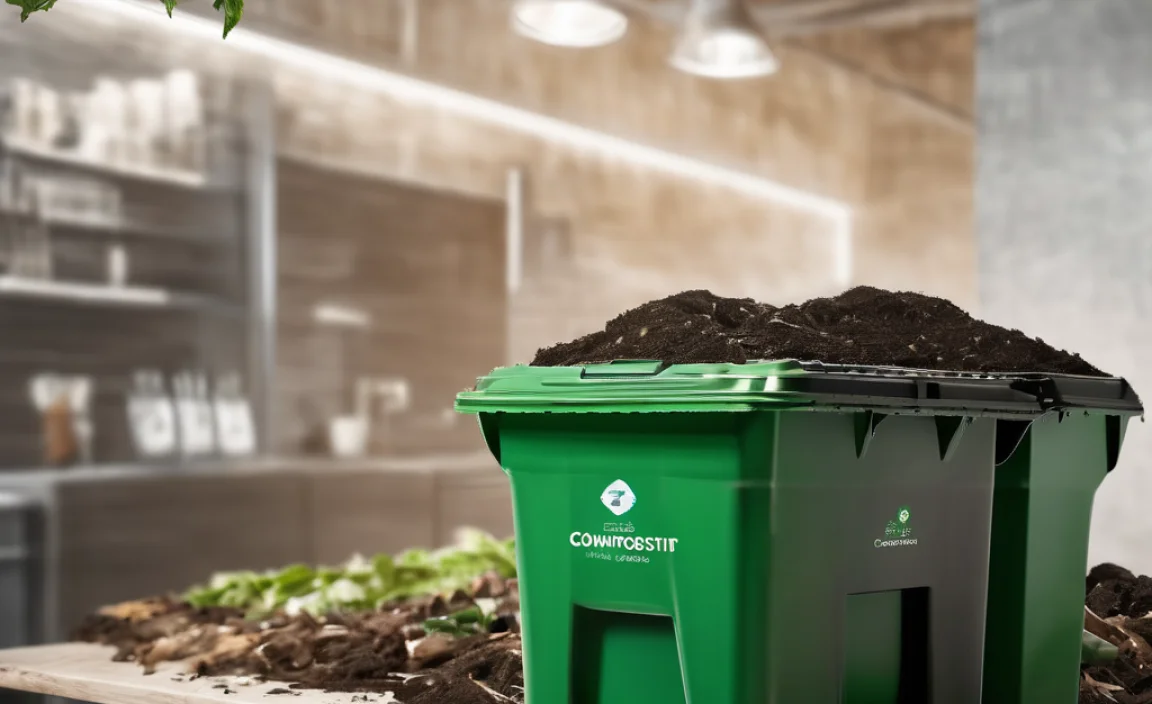
Option B: Third-Party Composting Services
- This is often the easiest route for businesses. You partner with a local commercial composting company. They provide bins, pick up your organic waste regularly, and do the composting off-site.
- Pros: Minimal effort, no need for space or equipment, expertise handled by professionals.
- Cons: Ongoing service fees.
For many businesses, especially those just starting, a third-party service is the most practical and cost-effective solution. If you have ample space and a dedicated team, on-site could be an option.
4. Secure Necessary Equipment and Space (If Composting On-Site)
If you’re going the on-site route, you’ll need:
- Compost Bins/Piles: These can range from simple wooden enclosures to purpose-built bins or even large concrete bunkers.
- Tools: Pitchforks or shovels for turning, a wheelbarrow, a water source, possibly a tarp for covering piles.
- “Greens” and “Browns”: You’ll need a balance of nitrogen-rich materials (greens) and carbon-rich materials (browns).
- Space: A designated area, away from public view, with good drainage and access to water. It should be convenient for staff to deposit waste but not so close that it causes odor or pest issues.
Step-by-Step: Setting Up Your Composting System
Let’s break down the practical steps, whether you’re dropping waste off with a service or managing it yourself.
Step 1: Educate Your Staff
This is crucial for success. Everyone involved needs to know what goes into the compost bin and what stays out. Conduct a brief training session:
- What to Compost: Clearly list acceptable items (e.g., fruit & veggie scraps, coffee grounds, tea bags, clean paper napkins). Use visual aids if possible!
- What NOT to Compost: List common contaminants (e.g., meat, dairy, oily foods, plastics, disposable wipes, certain types of paper). Putting the wrong things in can ruin a whole batch or attract pests.
- Where the Bins Are Kept: Make sure everyone knows the location of the collection bins.
- Why It Matters: Briefly explain the environmental and business benefits to boost buy-in.
Consider creating simple posters for break rooms or kitchens. Clear signage is your best friend here.
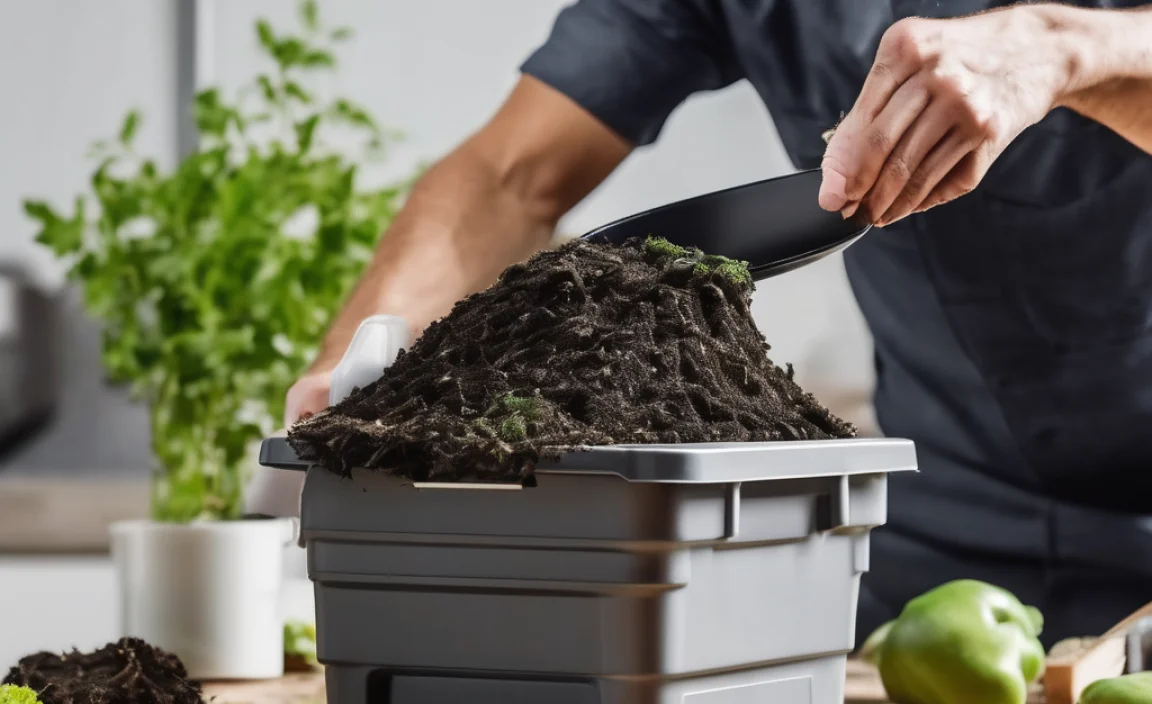
Step 2: Set Up Collection Points
Place designated compost bins strategically where organic waste is generated.
- Kitchens/Cafeterias: Have bins near prep areas and dishwashing stations.
- Break Rooms: Conveniently located for staff snacks and meals.
- Customer Areas (Restaurants/Cafes): If appropriate, provide bins for customers’ food scraps. Clear signage is vital here so customers know what to do.
- Offices: Near copiers for certain paper waste, or in break areas.
Ensure the bins are easy to identify and clean. Consider using different colored bins or clear labels for compost compared to trash.
Step 3: Manage the “Greens” and “Browns” (For On-Site Composting)
If you’re composting on-site, you need to create a good mix for decomposition. Aim for a balance that’s roughly two to three parts “browns” (carbon-rich) to one part “greens” (nitrogen-rich) by volume.
Greens (Nitrogen-rich):
- Food Scraps (vegetable peels, coffee grounds, fruit scraps)
- Grass Clippings
- Fresh Plant Trimmings
Browns (Carbon-rich):
- Dry Leaves
- Shredded Cardboard (uncoated, no tape)
- Shredded Paper (non-glossy)
- Wood Chips or Sawdust (untreated)
- Straw or Hay
The Ideal Mix:
Start your compost pile with a base layer of bulky browns (like twigs or coarse cardboard) for aeration. Then, alternate layers of greens and browns, or mix them as you add them. Chop larger items into smaller pieces to speed up decomposition.
| Category | What to Add (Greens – Nitrogen) | What to Add (Browns – Carbon) | What to AVOID |
|---|---|---|---|
| Food | Fruit & veggie scraps, coffee grounds, tea bags, eggshells | Meat, dairy, bones, oily foods, grease | |
| Yard Waste | Grass clippings, fresh plant trimmings | Dry leaves, straw, small twigs | Diseased plants, weeds with seeds |
| Paper/Cardboard | Shredded newspaper (non-glossy), uncoated cardboard (torn), paper towels, napkins (if not greasy) | Glossy paper, waxed cardboard, colored inks, plastic-lined paper | |
| Other | Sawdust (untreated wood), wood chips | Synthetic fibers, pet waste (dog/cat), chemically treated wood, coal ash |
Key Tip: If your compost pile looks too wet and smells bad, add more browns. If it’s dry and not breaking down, add more greens and moisture.
Step 4: Maintain Your Compost System
This is where the actual “composting” happens.
For On-Site Composting:
Moisture: Your compost pile should feel like a wrung-out sponge – damp, but not soggy. You may need to add water during dry periods. Cover piles with a tarp during heavy rain.
Aeration: Compost needs air to breathe. Turn your compost pile regularly (every week or two) with a pitchfork or shovel. This also helps mix the materials and speeds up decomposition. If you have an Aerated Static Pile (ASP) system, ensure the blowers are functioning correctly.
Temperature: An active compost pile will heat up in the center, which is good! This heat helps kill weed seeds and pathogens. If it’s not heating up, it might need more greens, more moisture, or more turning.
Pest Management: Proper mix (no meat/dairy), covering fresh additions with a layer of browns, and regular turning help deter pests. If pests become a persistent problem, review your composting method and materials.
Timeframe: Depending on the method, materials, and management, compost can be ready in as little as 2-3 months (for methods like ASP or in-vessel) or up to a year (for simple static piles).
For Third-Party Services:
Regular Pick-up: Work with your chosen service to establish a regular collection schedule that fits your waste volume. Ensure bins are accessible for their collection vehicle.
Bin Management: Keep the collection bins clean. Rinse them out periodically to prevent odors and keep them presentable.
Contamination Control: Continue to educate your staff and customers to minimize contamination, as this can lead to extra fees from the service provider.
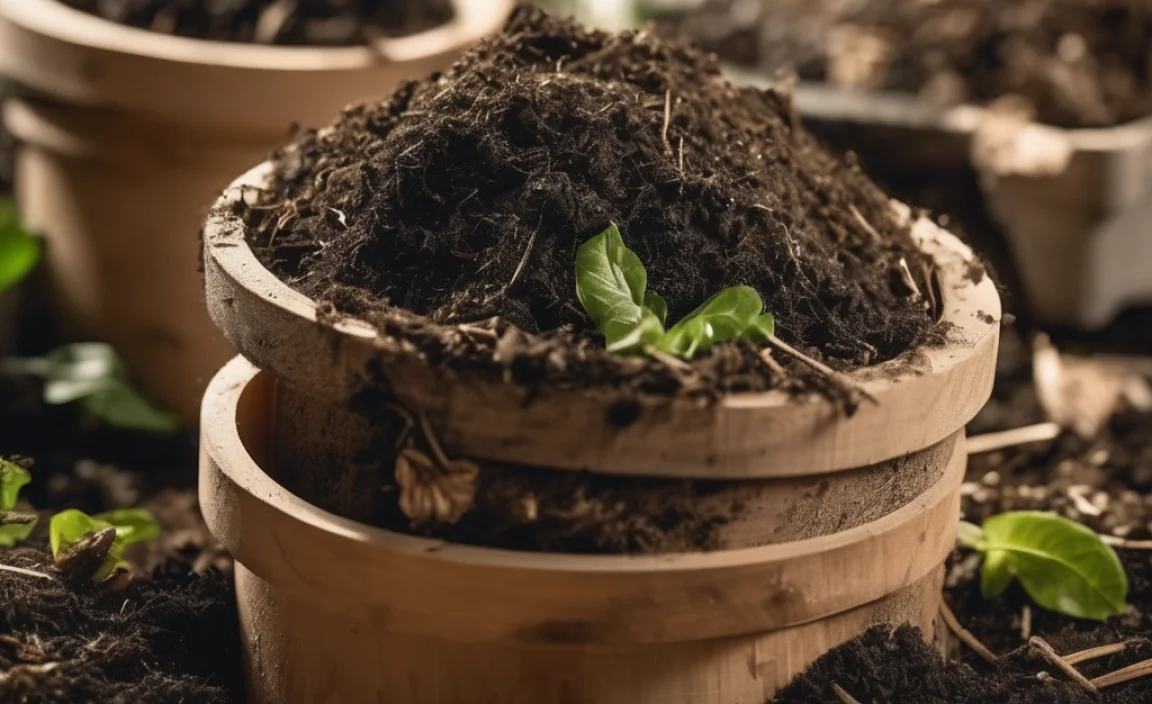
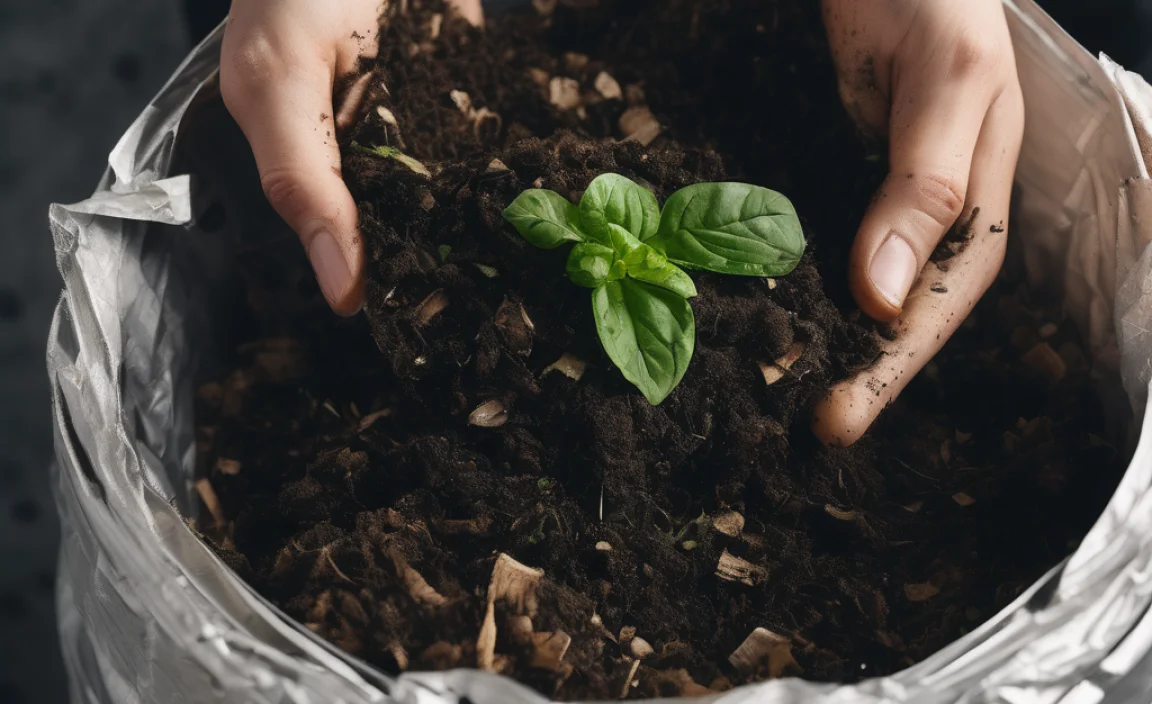
Step 5: Harvesting and Using Your Compost (On-Site)
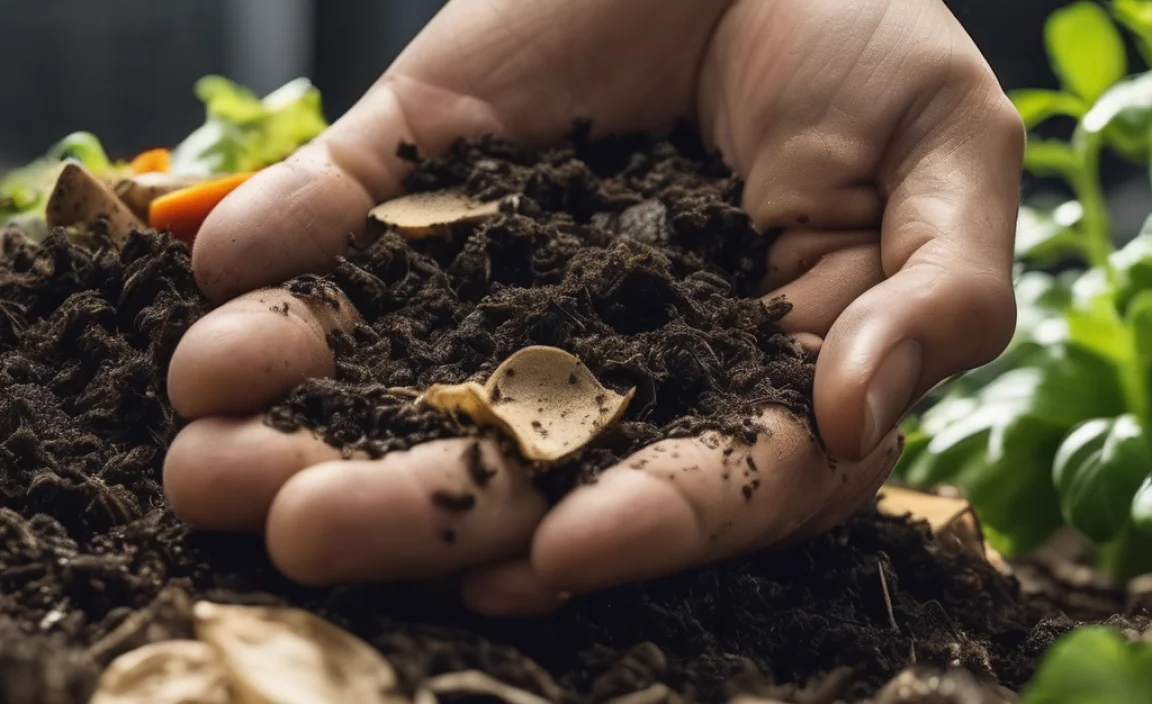
Once your compost has finished breaking down, it will look and smell like dark, crumbly soil. It won’t contain recognizable food scraps anymore. You can check for finished compost by looking at the bottom of your pile, as it usually matures first.
Screening: You might want to screen the compost through a mesh (like a hardware cloth) to remove any larger, unfinished pieces. These can be returned to the active pile.
Uses:
- Landscaping: Improve the soil in your business’s own gardens, planters, or green spaces.
- Donation: Offer it to local community gardens or urban farms—a great PR opportunity!
- Sale: If you produce a significant amount of high-quality compost, you might even sell it to local nurseries or landscapers.
Even if you don’t have immediate use, you can store finished compost in piles or bins. Fresh compost is a fantastic, natural soil enhancer.
Choosing the Right Composting Method for Your Business Size
Not all businesses are the same, and neither are their composting needs. Here’s a quick look at which method might suit you best:
| Business Size/Type | Recommended Method | Key Considerations |
|---|---|---|
| Small Office (under 50 employees) | Third-Party Service | Easiest to implement. Minimal space required. Focus on staff education for low contamination. |
| Small Restaurant/Café (low volume food waste) | Third-Party Service or Small In-Vessel System | Third-party is simplest. In-vessel needs dedicated space and staff training for acceptable food waste. |
| Larger Restaurant/Hotel/Catering | Third-Party Service or Aerated Static Pile (ASP) | High volume of food waste. Third-party is still often best for simplicity. ASP is viable if significant space and resources are available. |
| Grocery Store/Supermarket | Third-Party Service or Large-Scale On-Site (e.g., ASP, engineered system) | Very high volumes of food and some packaging waste. Requires significant space and management if done on-site. |
| Manufacturing (e.g., wood, paper production) | On-Site (based on waste material) | Specific waste streams (sawdust, paper scraps). Can be blended with other organic sources or managed separately. |
| Business with On-site Landscaping | On-Site Static Pile or In-Vessel (blending yard waste with other organics) | Can effectively utilize yard waste. Needs space to manage the different material types. |
Tips for Long-Term Composting Success
Once you’ve got your system up and running, here are some tips to keep it humming:
- Continuous Education: New employees join, and habits can slip. Periodically refresh training and signage.
- Monitor Contamination: Regularly check what’s going into your compost bins. Address recurring contamination issues with targeted training or bin placement adjustments.
- Seek Feedback: Ask staff about challenges they face with the system. Their input can lead to practical improvements.
- Celebrate Wins: Share your composting achievements (e.g., tons diverted from landfill, cost savings) with your team and your customers.
- Stay Informed: Regulations and best practices evolve. Keep an eye on local waste management news.
- Build Partnerships: Connect with local composting experts or other businesses successfully composting. Sharing knowledge is invaluable.
For resources on commercial composting and waste reduction, check out the excellent guides from organizations like the StopWaste program (a leading example from Alameda County, California, though their resources are broadly applicable). They offer practical advice and case studies for businesses.
Frequently Asked Questions (FAQ)
Q1: Is composting really worth the effort for a business?
A1: Absolutely! While it takes some initial setup and ongoing management, the benefits in reduced waste costs, environmental impact, and enhanced brand reputation often make it very worthwhile.
Q2: What if my business doesn’t have much space for composting?
A2: No worries! The easiest solution for businesses with limited space is to use a third-party commercial composting service. They handle all the on-site space and processing for you
Related Posts


I am passionate about home engineering. I specialize in designing, installing, and maintaining heating, ventilation, and air conditioning systems. My goal is to help people stay comfortable in their homes all year long.