Thinking about getting a composter but feeling a little overwhelmed by the choices? You’re not alone! Picking the right composter can seem like a big decision, especially when you just want to turn those kitchen scraps and yard trimmings into garden gold. But don’t sweat it! I’m Troy, and I’m here to break down everything you need to know. We’ll look at the different types, what to consider, and how to make sure you pick the perfect one for your needs. Let’s get your composting journey started the easy way!
Why Bother Buying a Composter?
Composting is an amazing way to reduce waste and create a nutrient-rich soil amendment for your plants. Instead of sending food scraps and yard waste to the landfill, you can transform them into “black gold” for your garden. This not only helps your garden thrive but also lessens your environmental impact. Buying a composter makes this process much tidier and often faster than just piling things up in a corner.
There are several great reasons to invest in a composter:
- Waste Reduction: Divert a significant portion of your household waste from landfills.
- Soil Enrichment: Produce high-quality compost that improves soil structure, fertility, and moisture retention.
- Cost Savings: Reduce the need to buy fertilizers and soil conditioners for your garden.
- Environmental Benefits: Reduce methane emissions from landfills and conserve resources.
Types of Composters: Finding Your Fit
The “composting buy” landscape offers a few main players, each with pros and cons. Understanding these will help you narrow down your choices. Think about your space, how much waste you generate, and how active you want to be in the process.
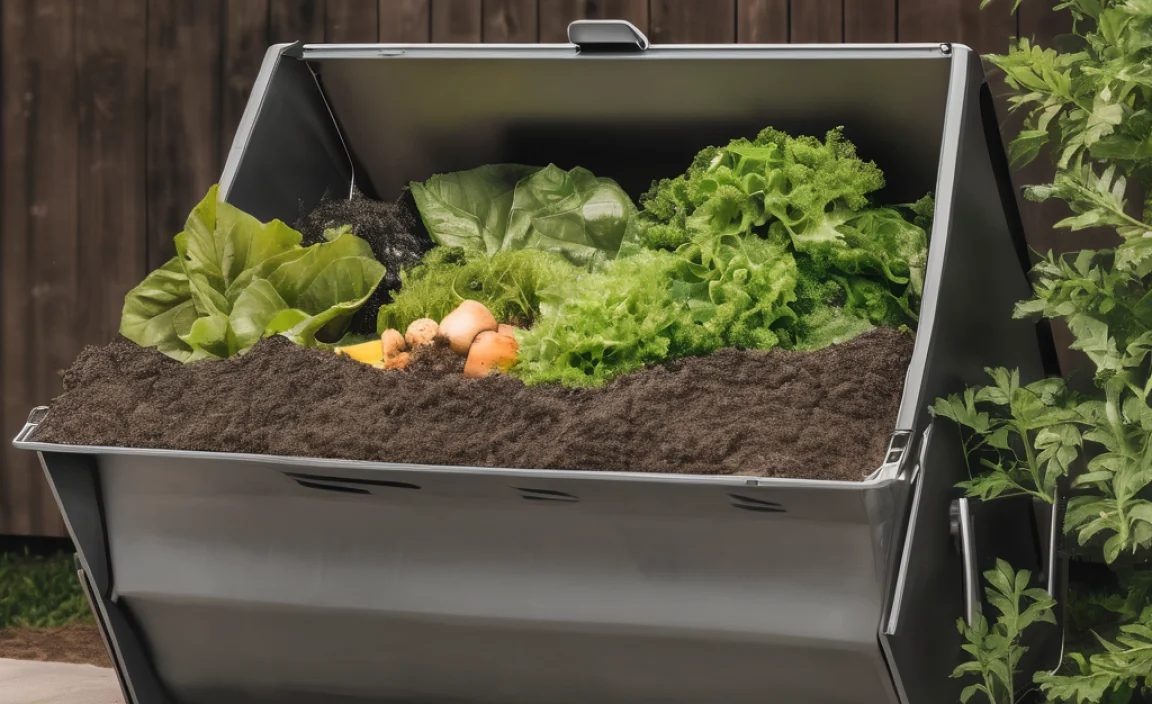
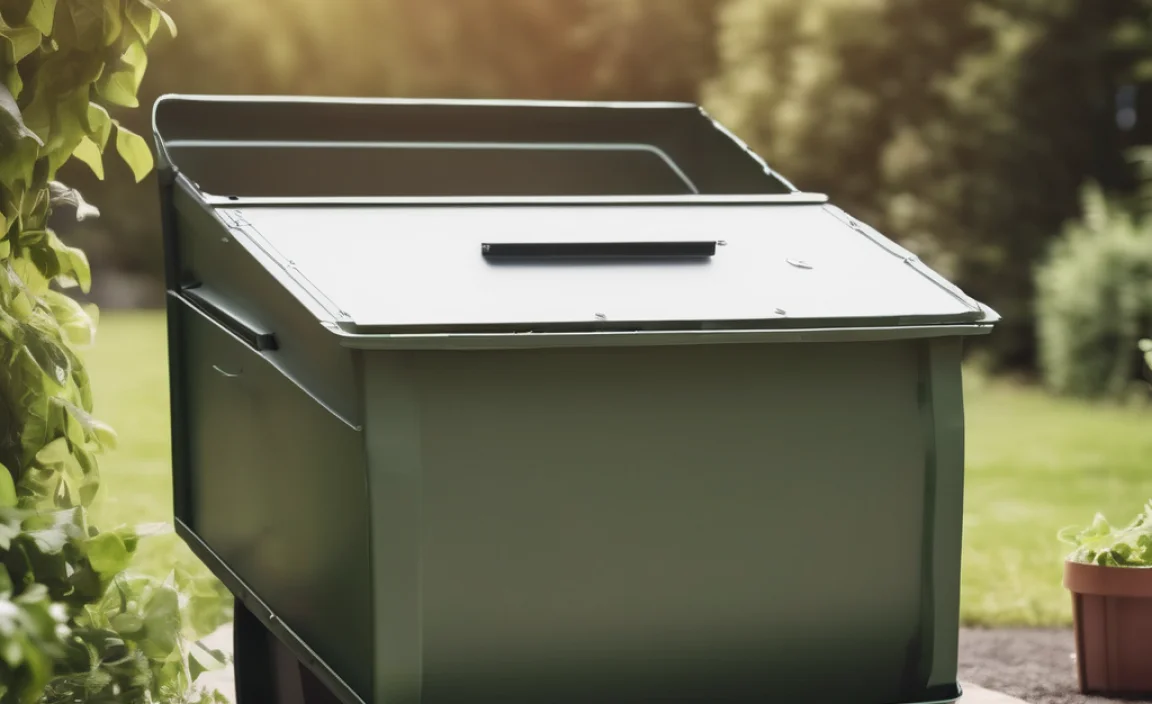
1. Stationary Bins (Also Known as Open Piles or Enclosed Bins)
These are often the most common and accessible option. They can be simple open piles or enclosed structures made from wood, wire mesh, or recycled plastic. Enclosed bins help retain moisture and heat, and they can look tidier in the yard.
Pros:
- Generally lower cost, especially for DIY or simple wire bins.
- Can handle large volumes of material.
- Simple to understand and use.
Cons:
- Can take longer to produce compost (6 months to a year or more).
- May require more manual turning to speed up decomposition.
- Open piles might attract pests if not managed carefully.
2. Tumbler Composters
These are enclosed drums on a stand that you can easily turn or “tumble.” This constant mixing aerates the compost and speeds up the decomposition process significantly.
Pros:
- Much faster composting times (often 1-3 months).
- Pest-resistant due to the enclosed design.
- Easy to turn and mix the compost, requiring less physical effort than manual turning.
Cons:
- Can be more expensive than stationary bins.
- Limited capacity; you can’t add all your scraps at once – you often need to fill one batch before starting another.
- Some models can be heavy to turn when full.
3. Worm Composters (Vermicomposting)
These systems use special composting worms (like red wigglers) to break down primarily kitchen scraps. They are often compact and can be kept indoors or on a balcony, making them perfect for apartment dwellers.
Pros:
- Excellent for small spaces (apartments, balconies).
- Produces very nutrient-rich compost (worm castings).
- Relatively fast processing of kitchen scraps.
Cons:
- Cannot process large volumes of yard waste.
- Requires specific types of worms and careful management of moisture and temperature.
- Some people are squeamish about worms.
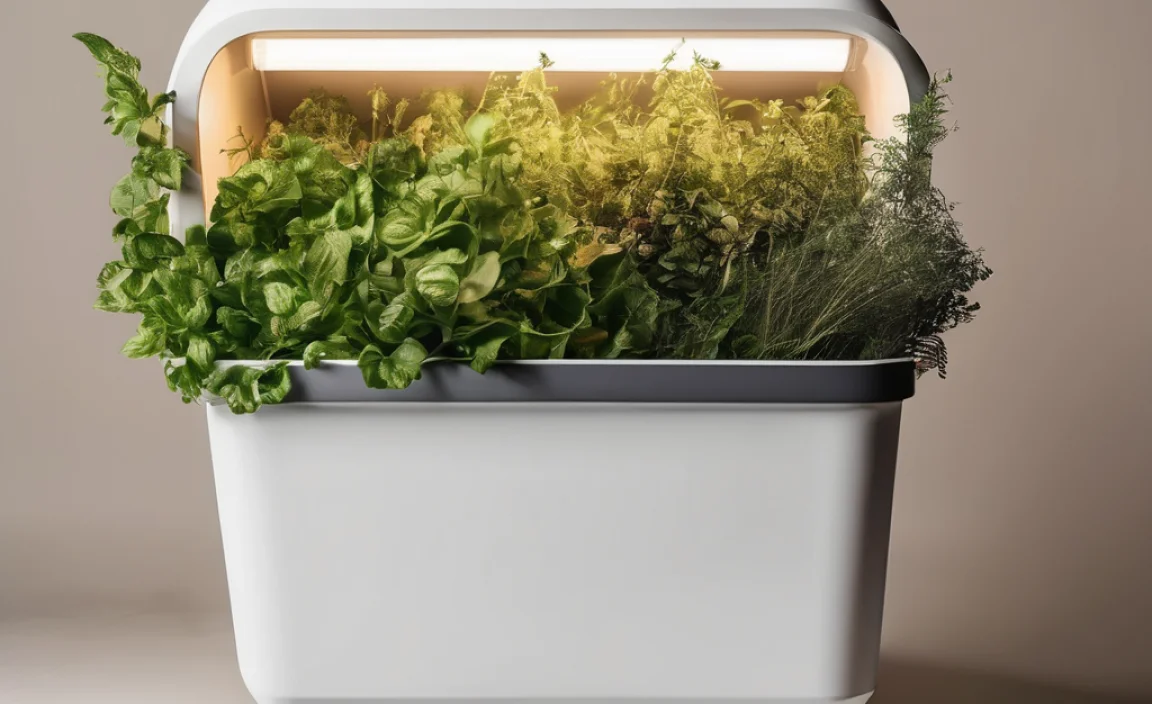
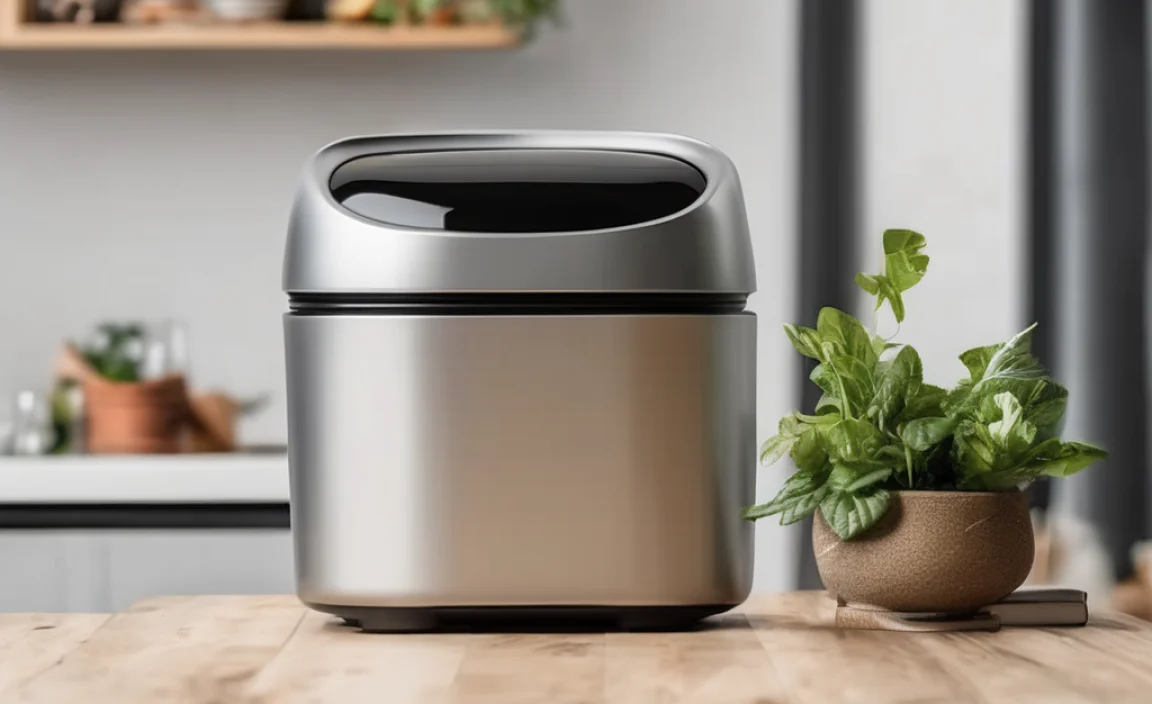
4. Electric Food Digesters/Composters
These are modern appliances that use heat and aeration to break down food scraps very quickly, often turning them into a dry, compost-like material in just a few hours. They are typically countertop units.
Pros:
- Extremely fast processing (hours).
- Reduces food waste volume significantly.
- Odorless and compact, suitable for kitchens.
Cons:
- High upfront cost.
- High energy consumption (uses electricity).
- The end product isn’t true compost; it’s more of a dried food material that can help condition soil but may lack the complex microbial benefits of traditional compost.
Key Factors for Your Composting Buy
Now that you know the different types, let’s talk about what really matters when you’re standing there with a “composting buy” decision to make. It’s about matching the composter to your life and your yard.
1. Space Availability
This is probably the biggest factor. A big yard can easily accommodate a large stationary bin or even an open pile. If you’re in a smaller yard or an apartment, a tumbler or a worm bin might be your best bet. Measure your space before you shop!
2. Volume of Organic Waste
Do you have a large family that generates a lot of kitchen scraps? Do you have a big garden with lots of leaves and grass clippings to compost? If you produce a lot of organic material, you’ll need a composter with a bigger capacity. Stationary bins and larger tumblers are good for higher volumes.
3. Speed of Composting Desired
Are you eager to get compost for your garden within a few months? Tumbler composters and well-managed stationary bins with regular turning are faster. Worm bins are great for kitchen scraps but won’t process large amounts quickly. Electric digesters are the fastest but don’t produce biologically active compost.
4. Budget
Composters range from under $50 for a simple wire bin to several hundred dollars for a high-end tumbler or electric digester. Decide how much you’re willing to spend. Remember, sometimes a slightly more expensive, well-designed composter can save you time and frustration in the long run.
5. Ease of Use and Maintenance
How much work do you want to put in? Tumblers are easy to turn. Stationary bins might require more manual turning with a pitchfork or aerator. Worm bins need regular feeding and monitoring. Electric digesters are mostly hands-off once you load them.
6. Pest Control
If pests like rodents or raccoons are a concern in your area, opt for enclosed composters or tumblers. Make sure any stationary bin has a lid and is well-constructed to deter critters. Avoid adding meat, dairy, or oily foods to any compost pile or bin, as these are more likely to attract pests.
7. Aeration and Moisture Control
Good compost needs air and the right amount of moisture – think a damp sponge. Some composters have built-in vents, while others are designed for easy turning to provide aeration. You might need to consider how you’ll manage moisture, especially with tumblers or enclosed bins that can dry out or get too wet easily.
What to Compost and What to Avoid
No matter which composter you buy, knowing what goes in is crucial for success and preventing smells or pests. The general rule is to balance “greens” (nitrogen-rich) and “browns” (carbon-rich).
Great for Your Composter (“Greens” and “Browns”):
| Greens (Nitrogen-Rich) | Browns (Carbon-Rich) |
|---|---|
| Fruit and vegetable scraps | Dry leaves |
| Coffee grounds and tea bags | Shredded newspaper and cardboard (non-glossy) |
| Grass clippings (in thin layers) | Straw and hay |
| Plant trimmings (non-diseased) | Wood chips and sawdust (from untreated wood) |
| Eggshells (crushed) | Pine needles (use sparingly) |
Avoid in Your Composter:
These items can cause odors, attract pests, or simply not break down well in a typical home composter.
- Meat, fish, and bones
- Dairy products (cheese, yogurt, milk)
- Oily or greasy foods
- Diseased plants or weeds that have gone to seed
- Pet waste (dog, cat feces) – these can contain harmful pathogens.
- Treated wood products
- Coal or charcoal ash
Tips for a Successful Composting Buy and Beyond
Getting your composter is the first step. Making brilliant compost is the goal! Here are some practical tips to ensure your composting buy leads to composting success.
1. Chop Materials to Size
Smaller pieces break down faster. Chop up large vegetable scraps, shred cardboard and newspaper, and break up twigs. This increases the surface area for microbes to work on.
2. Aim for the Right Carbon-to-Nitrogen Ratio
A good balance is key. Too much green can lead to a wet, slimy, smelly mess. Too much brown can make the process very slow. A common recommendation is about 25-30 parts carbon to 1 part nitrogen by volume. This often translates to roughly 2-3 times more browns than greens. Don’t get too caught up in precise measurements; just aim for a good mix.
3. Maintain Moisture Levels
Your compost pile should be as moist as a wrung-out sponge. If it’s too dry, decomposition slows down. If it’s too wet, it can become anaerobic (lacking oxygen) and smelly. Add water if it’s dry, or add more brown materials if it’s too wet.
4. Ensure Good Aeration
Composting microbes need oxygen. Turn your compost regularly if you have a stationary bin. Tumblers make this easy. For stationary piles, use a pitchfork or a compost aerator tool. Even poking holes with a stick helps!
5. Be Patient!
Composting takes time. The speed depends on the type of composter, the materials you use, and how well you manage it. Don’t get discouraged if it doesn’t happen overnight. You’ll learn what works best for your setup.
6. Consider Your Location
Place your composter in a convenient spot, but consider the elements. Some sun can help heat the pile, but too much direct sun can dry it out. Partial shade is often ideal. Make sure it’s accessible for adding materials and harvesting finished compost.

I am passionate about home engineering. I specialize in designing, installing, and maintaining heating, ventilation, and air conditioning systems. My goal is to help people stay comfortable in their homes all year long.