Hey there, fellow garden enthusiasts! Troy D Harn here from TopChooser, ready to help you tackle the wonderful world of composting. So, you’ve got a vibrant community garden in the city, and you’re wondering how to turn all those kitchen scraps and garden trimmings into black gold for your plants? It might seem a bit daunting at first, especially in an urban setting where space can be tight. The good news is, composting for community gardens is totally doable and incredibly rewarding. We’ll break it down simply, step-by-step, so everyone can get involved and make a real difference in your garden’s health. Stick around, and let’s dig in!
Why Composting is a Game-Changer for Urban Community Gardens
So, why bother with composting, especially in a busy city garden? Think of it as giving your plants a super healthy, all-natural meal. Composting for community gardens urban is the secret sauce that makes plants thrive, keeps your soil happy, and reduces waste. It’s a win-win for everyone involved and for our planet.
Boosts Soil Health Instantly
Healthy soil is the foundation of any great garden. Compost acts like a super soil conditioner. It improves soil structure, making it easier for plant roots to grow and get the air and water they need. In urban areas, many soils can be compacted or nutrient-poor. Compost breathes life back into them.
Reduces Waste Heading to Landfills
Did you know a huge chunk of what we throw away is organic material that could be composted? Kitchen scraps like vegetable peels, coffee grounds, and yard waste can all be transformed. Composting these items keeps them out of landfills, where they produce harmful methane gas. It’s a simple way for your community garden to be more eco-friendly.
Saves Money on Soil Amendments
Buying soil, fertilizers, and amendments can add up quickly. When you compost, you’re essentially creating your own nutrient-rich soil enhancer for free! This is fantastic for community gardens on a budget, allowing more resources to be allocated to seeds, tools, or other essential garden supplies.
Enriches Plant Growth
Plants need nutrients to grow strong and healthy. Compost is packed with essential vitamins and minerals that plants love. It provides them with a slow, steady release of food, leading to more vibrant flowers, tastier vegetables, and a generally more robust harvest for everyone in the garden.
Getting Started: Essential Tools and Materials for Your Urban Community Compost System
Before we jump into the “how-to,” let’s gather our supplies. You don’t need a lot of fancy equipment, and often, you can get creative with what you have or look for affordable options. The goal is to set up a system that works for your community garden’s space and needs.
Choosing Your Compost Bin System
This is your starting point. For urban community gardens, space and aesthetics often play a role. Here are a few popular options:
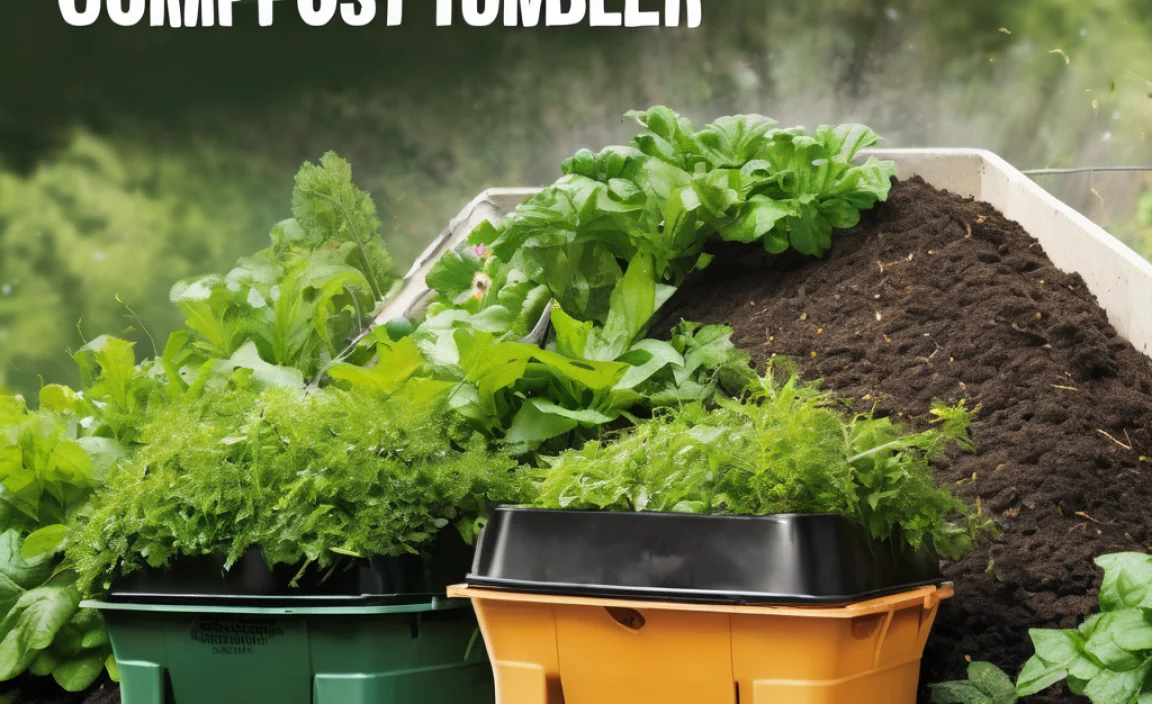
- Tumbler Composters: These are enclosed bins that you can rotate, which speeds up the composting process. They are tidy, keep pests out, and are great for smaller spaces. They can be pricier but are a good investment for a community.
- Stationary Bins: These can be purchased or built. They are usually open on one side or have a removable panel for easy access. They require a bit more turning with a fork but are very effective. Many DIY plans are available online, perfect for a group project!
- Open Piles: If your community garden has ample space and you’re not too worried about aesthetics or pests, a simple open pile is the most basic form. You’ll need to manage turning it more actively.
- Worm Composting (Vermicomposting): While not for large-scale community garden waste, worm bins are excellent for processing kitchen scraps from individuals and can produce a very rich compost called ‘worm castings’. This might be a good supplementary system for dedicated members.
Key Materials for a Thriving Compost Pile
Composting is all about balancing “greens” and “browns.” Think of it like a recipe:
- “Greens” (Nitrogen-Rich): These materials are typically moist and provide nitrogen. Think fresh, leafy things.
- Fruit and vegetable scraps (peels, cores, rinds)
- Coffee grounds and tea bags
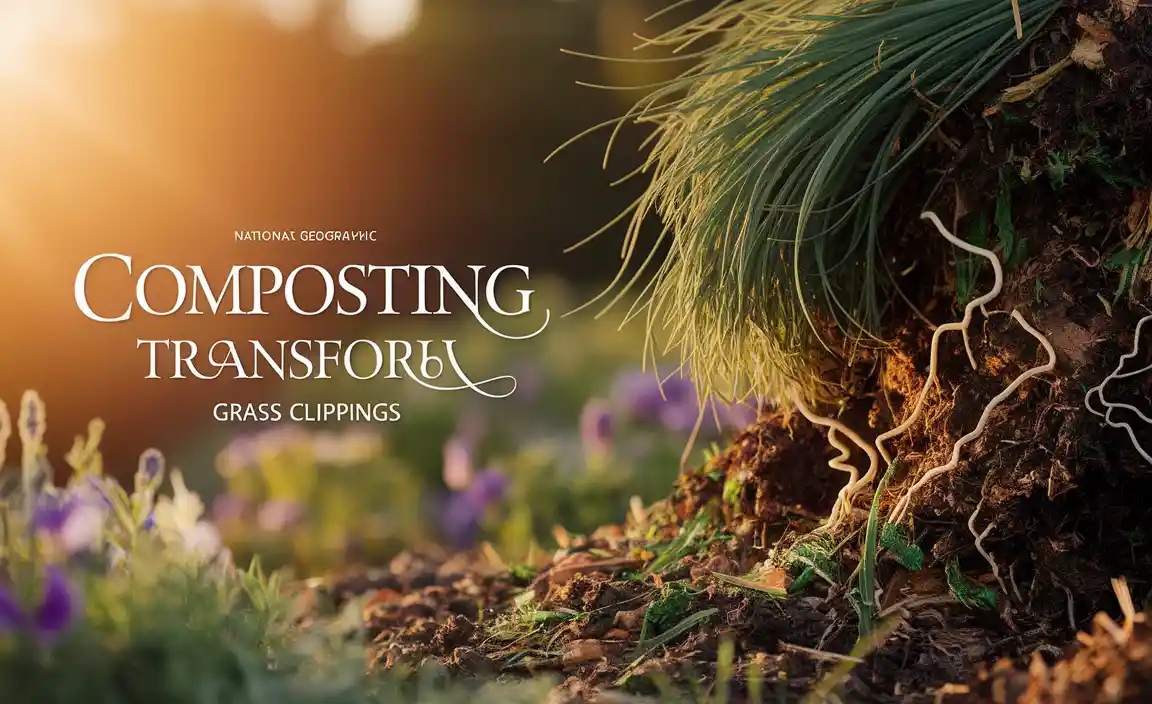
- Grass clippings (in thin layers to avoid matting)
- Plant trimmings (non-woody)
- Eggshells
- “Browns” (Carbon-Rich): These are drier materials that provide carbon and help with aeration. They prevent the pile from getting too slimy and smelly.
- Dry leaves
- Shredded newspaper (avoid glossy paper)
- Cardboard (shredded, remove tape and labels)
- Straw or hay
- Wood chips or sawdust (use sparingly and ensure they are untreated)
- Pine needles
Tools You’ll Find Handy
You don’t need a whole shed full of tools, but a few items make the job easier:
- Pitchfork or Compost Aerator: For turning and mixing your compost pile. An aerator tool is specifically designed to poke holes and mix without excessive lifting.
- Shovel: To move compost into or out of bins, and to mix ingredients.
- Garden Gloves: To keep your hands clean and protected.
- Watering Can or Hose: To maintain the right moisture level.
- Optional: A Thermometer: To check if your compost pile is heating up properly, which indicates it’s actively decomposing.
The Step-by-Step Guide to Composting for Community Gardens Urban
Now that we’ve got our tools and ingredients, let’s get composting! This guide is designed to be super clear, so everyone in the garden can participate. We’ll aim for a balanced pile that decomposes efficiently.
Step 1: Select and Set Up Your Compost Bin
Choose a location for your compost bin that is easily accessible to gardeners but ideally not right next to a communal seating area. It should be on bare soil if possible, allowing beneficial microbes and worms to enter. If using a tumbler or a bin that sits on a solid surface, ensure adequate drainage.
For community gardens, consider having a dedicated committee or a rotating roster of volunteers responsible for managing the compost. Clear signage about what can and cannot be added is also super helpful!
Step 2: Start Layering Your Materials
Begin by adding a layer of “browns” (like twigs or shredded cardboard) at the bottom. This helps with airflow. Then, start adding your “greens” and “browns” in alternating layers. A good general ratio to aim for is roughly two to three parts browns to one part greens by volume. This might sound complicated, but as you get a feel for it, it becomes intuitive.
Pro Tip: Chop or shred larger items. Smaller pieces decompose much faster. So, a banana peel breaks down quicker than a whole one, and shredded leaves compost faster than whole ones.
Step 3: Maintain the Right Moisture Level
Your compost pile should be as damp as a wrung-out sponge – not soaking wet and not bone dry. If it’s too dry, decomposition slows down considerably. If it’s too wet, it can become anaerobic (lacking oxygen) and start to smell bad. Periodically check the moisture by squeezing a handful of the material. If a few drops of water come out, it’s about right. If it’s dry, add water. If it’s soggy, add more “browns” and turn the pile.
Step 4: Aerate Your Compost Pile
Oxygen is crucial for the microbes that do the hard work of breaking down organic matter. Turning your compost pile regularly helps introduce oxygen and mixes the materials, speeding up the process and preventing bad odors. Aim to turn it at least once every week or two. You can use a pitchfork to lift and turn the materials, or a compost aerator tool.
For tumbler bins, simply rotating them a few times every few days is sufficient aeration.
Step 5: What to Compost and What to Avoid
Knowing what goes in is key to successful composting. Here’s a quick rundown:
| Compost (YES!) | Do NOT Compost (NO!) |
|---|---|
| Fruit and vegetable scraps | Meat, bones, and dairy products (attract pests and smell bad) |
| Coffee grounds and tea bags | Oily foods, grease, and fats |
| Yard waste (leaves, grass clippings) | Diseased plants (can spread disease) |
| Eggshells (crushed) | Weeds that have gone to seed (can re-sprout) |
| Shredded newspaper and cardboard | Pet waste (from dogs and cats – can contain pathogens) |
| Hair and nails | Chemically treated wood or yard waste |
| Spent coffee filters | Coal or charcoal ash |
Sticking to these guidelines prevents your community compost pile from becoming a smelly nuisance and ensures the final product is safe and beneficial for your garden. Remember, the goal is to create a nutrient-rich soil amendment, not a compost heap that attracts unwanted visitors.
Step 6: Knowing When Your Compost is Ready
Patience is a virtue when composting! It typically takes anywhere from 4-12 months for compost to be ready, depending on how actively you manage it, the materials used, and the climate. You’ll know your compost is ready when:
- It has a dark, crumbly texture.
- It smells earthy and pleasant, like the forest floor.
- You can no longer recognize the original materials you put in.
- The temperature of the pile has cooled down.
Once ready, you can screen it to remove any larger pieces that haven’t fully broken down yet. These can be added back to your new compost pile. The finished compost is a dark, rich material that is ready to be used in your community garden beds.
Troubleshooting Common Composting Issues in Community Gardens
Even with the best intentions, sometimes things go awry. Don’t worry, most composting problems are easily fixed with a few adjustments. These are common hiccups you might encounter in a community garden setting:
The Pile Smells Bad (Ammonia or Rotten Eggs)
Cause: Too many “greens” or the pile is too wet and lacks air. This creates anaerobic conditions.
Solution:
- Add more “brown” materials (dry leaves, shredded cardboard) to absorb excess moisture and balance the nitrogen.
- Turn the pile thoroughly to introduce air.
- Stop adding “green” materials until the smell dissipates.
The Pile Isn’t Heating Up or Decomposing
Cause: The pile is too dry, lacks nitrogen (“greens”), or is too small to generate heat.
Solution:
- Add water and mix to increase moisture.
- Add more “green” materials (like kitchen scraps or grass clippings).
- If the pile is small, add more materials to increase its mass.
- Ensure there are enough “browns” for carbon and structure.
Attracting Pests (Rodents, Flies)
Cause: Including forbidden items like meat, dairy, or oily foods. Also, the pile might be too exposed.
Solution:
- Strictly avoid meat, dairy, oils, and fats.
- Bury kitchen scraps deep within the compost pile, covering them with “brown” materials.
- Use a compost bin with a lid or a tumbler to deter pests.
- Ensure the pile is located away from buildings or main pathways.
Compost is Too Wet and Slimy
Cause: Too much moisture, often from excessive “greens” or rainwater.
Solution:
- Add plenty of dry “brown” materials (shredded paper, leaves, straw).
- Turn the pile frequently to dry it out and aerate it.
- If it’s in an open bin, consider covering it during heavy rain.
Maximizing Your Community Garden Compost’s Benefits
Once your compost is ready, it’s time to use it! Incorporating compost into your community garden soil is one of the best things you can do for plant health and yield. For more information on soil health and composting resources from trusted sources, check out the U.S. Environmental Protection Agency’s composting page, which offers a wealth of reliable information.
How to Use Finished Compost
- In Garden Beds: Spread a layer of compost (about 2-4 inches) over your garden beds and gently mix it into the top few inches of soil. This is best done in the spring before planting or in the fall after harvest.
- As Mulch: A layer of compost around plants acts as mulch, retaining moisture, suppressing weeds, and slowly releasing nutrients.
- In Planting Holes: When planting seedlings, add a handful of compost to the planting hole to give them a great start.
- For Seed Starting: Mix compost with other materials like peat moss or coir (coconut fiber) to create a nutrient-rich potting mix for starting seeds indoors or in trays.
Composting and Sustainability
By embracing composting, your urban community garden becomes a model of sustainability. You’re not just growing plants; you’re fostering a cyclical system that nourishes the soil, reduces waste, and builds a stronger, more resilient garden ecosystem. This is community building at its finest, transforming waste into a valuable resource for everyone to share.
Conclusion
Composting for community gardens urban is a powerful way to enhance soil health, dramatically reduce waste, and create a more sustainable and vibrant garden for everyone. We’ve walked through choosing the right system, understanding the “greens” and “browns,” layering, moisture, aeration, and troubleshooting common issues. Remember, with a little bit of planning and consistent effort, your community garden can transform kitchen scraps and yard waste into rich, nutrient-dense compost that will make your plants flourish.
Don’t be afraid to experiment and learn as you go. The process of composting is a journey, and the rewards – healthier soil, a greener environment, and a more connected community – are well worth the effort. So, gather your fellow gardeners, start your compost bins, and get ready to see the amazing transformation. Happy composting!
Frequently Asked Questions About Composting for Community Gardens Urban
Got more questions? We’ve got answers!
Q1: How do we get everyone in the community garden involved with composting?
A: Clear communication and education are key! Hold a kickoff meeting, create a simple, visual guide for what to compost and what not to, and designate a few “compost champions” to help guide others. Make it a shared responsibility and celebrate successful compost batches!
Q2: What if we don’t have a lot of space for a compost bin in our urban garden?
A: Tumbler composters are excellent for smaller spaces and look tidier. You can also consider a tiered bin system or even setting up a “shared” composting station if individual plots are too small.
Q3: Can we compost diseased plant matter?
A: Generally, it’s best to avoid composting diseased plants in a community garden setting unless you have a very hot composting system (which reaches temperatures high enough to kill pathogens) and are confident in its management. Otherwise, it’s safer to discard diseased material.
Q4: How long does it usually take to get finished compost?
A: It can vary widely, from 4 months to over a year. Factors include the size of the compost mass, the mix of greens and browns, moisture levels, and how often you turn it. Actively managed piles decompose faster.
Q5: What should we do if our compost pile is attracting flies?
A: Flies are often attracted to exposed kitchen scraps. Make sure to bury all food waste deep within the compost pile and cover it with a layer of brown material. A well-managed compost pile that is heating up properly should discourage many flies.
Q6: Is it okay to put in small amounts of meat or dairy?
A: It’s strongly recommended to avoid meat, dairy, and oily foods altogether in community garden composting. These items can attract pests and create unpleasant odors, which can be a significant issue in shared spaces.

I am passionate about home engineering. I specialize in designing, installing, and maintaining heating, ventilation, and air conditioning systems. My goal is to help people stay comfortable in their homes all year long.