Hey there! Ever feel like your farm is producing a lot of waste that could be used for something great? It’s a common thought, and the good news is, there’s a fantastic solution: composting! It turns kitchen scraps, yard trimmings, and even animal manure into a nutrient-rich soil amendment. We know diving into a new process can seem a bit daunting, but don’t worry. This guide is here to break down composting into simple, manageable steps. We’ll cover everything you need to know, just like a friendly neighbor sharing a useful tip. Let’s get started and transform that farm waste into gardening gold!
Troy D Harn’s Composting for Farmers PDF: Your Essential Guide
Hello, neighbor! Troy D Harn here from TopChooser. If you’re a farmer looking for a natural, cost-effective way to enrich your soil, you’ve landed in the right spot. Composting might sound like a big word, but it’s actually a simple process that can make a huge difference on your farm, from improving crop yields to reducing waste disposal costs. Think of it as nature’s recycling program, and we’re going to walk through how to set up your own farm-scale composting operation. Whether you’re dealing with crop residues, manure, or just looking for a better way to manage your farm’s organic materials, this guide is your go-to resource. We’ll make it easy, practical, and something you’ll feel confident tackling.
Why Composting is a Farmer’s Best Friend
As farmers, we’re always thinking about the soil. It’s the heart of our operation. Composting is like giving your soil a super-food smoothie! It’s a natural way to:
- Boost Soil Health: Compost adds vital organic matter, which improves soil structure, aeration, and water retention. This means healthier plants that are more resilient to drought and disease.
- Reduce Waste: Farms produce a significant amount of organic waste – crop residues, animal manure, spoiled feed. Composting diverts this from landfills or burning, turning it into a valuable resource.
- Save Money: By creating your own fertilizer, you cut down on the need to buy expensive synthetic fertilizers and soil amendments.
- Increase Crop Yields: Healthier soil leads to healthier, more productive plants.
- Environmental Benefits: Composting reduces greenhouse gas emissions associated with decomposing organic matter in landfills and can help sequester carbon in the soil.
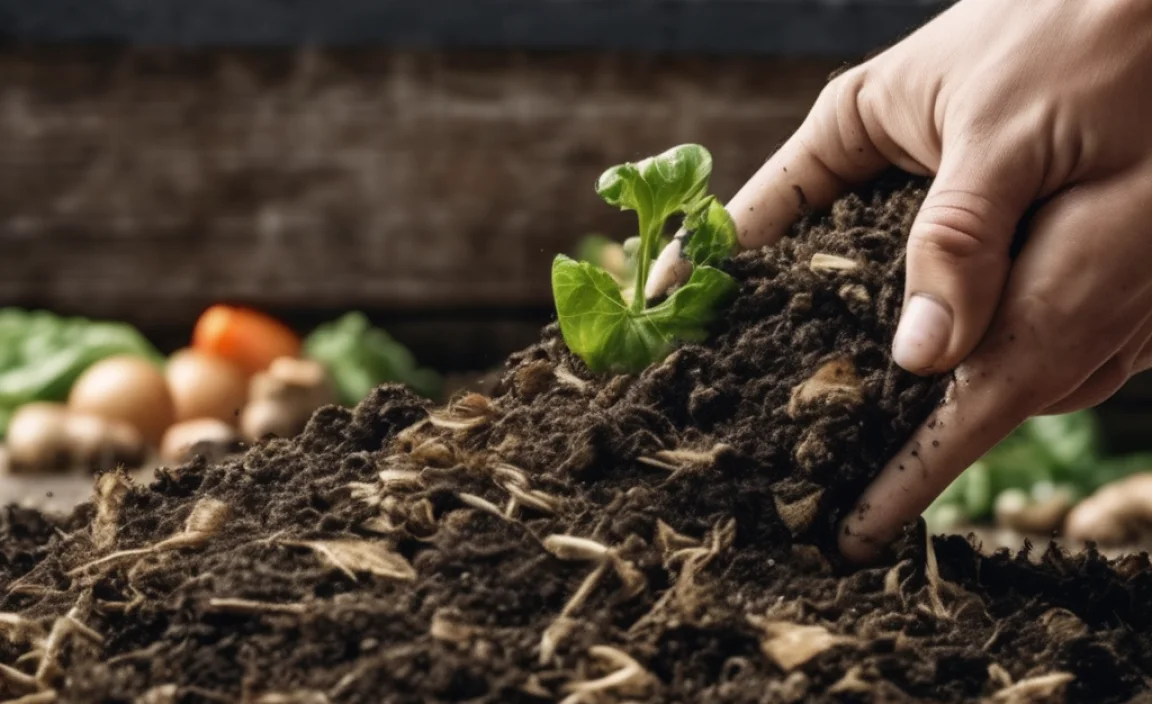
Understanding the Basics: What is Compost?
At its core, composting is the natural process of decomposition. Organic materials (like fallen leaves, food scraps, and manure) are broken down by microorganisms (bacteria and fungi) and larger organisms (like worms and insects) into a stable, humus-like material called compost. It’s essentially nutrient-rich soil food!
To get good compost, you need a balance of key ingredients and conditions. Think of it like baking a cake – you need the right mix of ingredients and the right oven temperature. For composting, these are:
- “Greens” (Nitrogen-Rich Materials): These provide the energy for microorganisms. Examples include fresh grass clippings, vegetable scraps, coffee grounds, and manure from animals (excluding pet waste, which can contain pathogens).
- “Browns” (Carbon-Rich Materials): These provide the bulk and carbon source. Examples include dry leaves, straw, sawdust, shredded cardboard, and wood chips.
- Water: Microorganisms need moisture to thrive. The compost pile should be as damp as a wrung-out sponge.
- Air (Oxygen): Aerobic decomposition (which is what we want!) requires oxygen. Turning the pile helps provide this.
The “Composting For Farmers PDF” – Your Go-To Resource
We know farmers are busy and often prefer tangible resources. While this online guide is comprehensive, having a printable PDF with key information can be incredibly handy. At TopChooser, we believe in making essential information accessible. If you’re searching for a “Composting For Farmers PDF,” you might find resources from agricultural extension offices or university programs. These often provide detailed, research-backed guides tailored to specific farm types. For example, the U.S. Environmental Protection Agency (EPA) offers a wealth of free information on composting, including principles that apply to larger-scale operations.
A good PDF guide will typically cover:
- Detailed breakdowns of “greens” and “browns” suitable for farms.
- Recommended methods for different farm sizes and types of waste.
- Diagrams of common composting systems.
- Troubleshooting common composting problems.
- Testing and using finished compost.
Keep an eye out for materials from your local university extension service or agricultural department – they are often excellent sources of practical, localized advice.
Choosing the Right Composting Method for Your Farm
Not all farms are the same, and neither are their composting needs. The best method for you will depend on the amount and type of organic material you generate, your available space, labor, and budget. Here are a few common methods suitable for farms:
1. Windrow Composting
This is one of the most popular methods for larger farms because it’s efficient for handling significant volumes of material. It involves creating long, rectangular piles (windrows) of organic matter.
How it works:
- Build the Windrow: Layer your “greens” and “browns” to create a pile, aiming for a carbon-to-nitrogen ratio of roughly 25:1 to 30:1 by weight. A good starting point is about 2-3 parts browns to 1 part greens by volume.
- Moisten: Add water as you build the pile to ensure it’s consistently moist, like a damp sponge.
- Turn Regularly: This is the key to speed and quality. Turning the windrow mixes the materials, aerates the pile, and distributes moisture and heat. For faster decomposition, you’ll turn it more frequently (e.g., every 7-14 days). Large farms might use mechanical turners.
Pros:
- Handles large volumes of material efficiently.
- Can reach high temperatures, killing weed seeds and pathogens.
- Relatively simple to manage with basic equipment.
Cons:
- Requires a significant amount of space.
- Needs regular turning, which can be labor-intensive or require specialized machinery.
- Can be visually less appealing if not managed well.
2. Aerated Static Piles (ASP)
ASP is a bit more high-tech than windrows, but it can be very efficient and requires less turning. It uses a system of pipes to force air through the compost pile.
How it works:
- Build the Pile: Mix your greens and browns, often with a higher percentage of browns to ensure good airflow. Build a pile over a network of perforated pipes laid on the ground.
- Add Airflow: Connect a blower to the pipes. The blower can either push fresh air into the pile or draw air out, depending on the system. This provides consistent oxygen to the microorganisms.
- Monitor Temperature: The aerobic process generates heat, usually reaching 130-160°F (55-71°C), which helps kill pathogens and weed seeds.
- Curing: After a few weeks of aeration, the pile is left to cure for several more weeks.
Pros:
- Faster decomposition than passive methods.
- Can handle a wide range of materials.
- Good pathogen and weed seed kill.
- Requires little to no turning.
Cons:
- Higher initial setup cost due to blowers and piping.
- Requires a power source for the blower.
- Requires careful management of the aeration system.
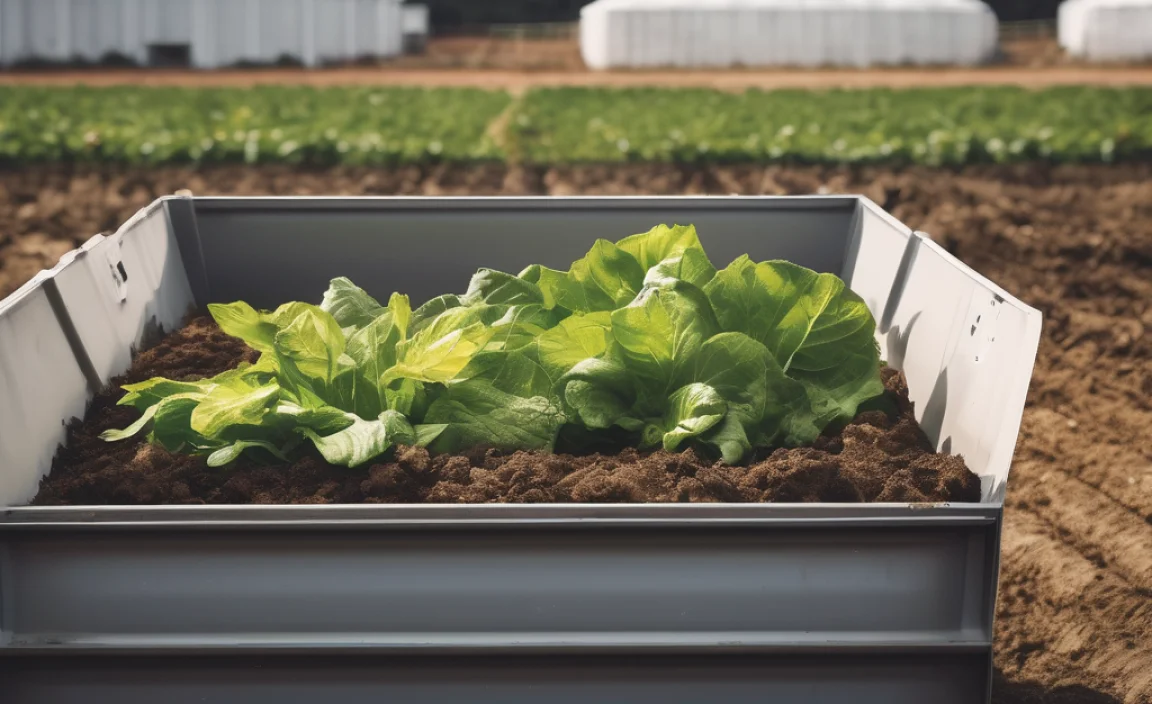
3. In-Vessel Composting
This method involves containing the composting materials within a vessel or container, such as a drum, bin, or a specialized commercial composter. It’s great for smaller farms or for composting specific materials, and it offers more control over the environment.
How it works:
- Fill the Vessel: Layer greens and browns inside the container. Many in-vessel systems are designed to promote airflow and moisture retention.
- Manage Conditions: These systems often have features for turning, aeration, and moisture control. The enclosed nature helps maintain optimal temperatures and reduces odor.
- Harvest: Compost is typically ready within weeks to months, depending on the system and management.
Pros:
- Contained process reduces odor and pest issues.
- Faster composting times can be achieved.
- Good for smaller operations or sensitive areas.
- High-quality compost is often produced.
Cons:
- Can have higher upfront costs for specialized bins or systems.
- Capacity can be limited compared to windrows.
- Requires more active management of the enclosed environment.
Materials You Can Compost (and What to Avoid)
Knowing what goes into your compost pile is crucial for success. Here’s a general guide:
Good to Compost (Greens & Browns)
Think of your farm’s organic output. Most of it is compostable!
“Greens” (Nitrogen-Rich)
- Animal manure: Cow, horse, chicken, sheep, rabbit (avoid diseased animals).
- Crop residues: Green waste, plant trimmings, spoiled produce.
- Grass clippings: In moderation to avoid matting.
- Food scraps: Vegetable and fruit peelings, coffee grounds, eggshells.
“Browns” (Carbon-Rich)
- Straw and hay: Old or waste bedding.
- Dry leaves: Fallen leaves from trees.
- Shredded cardboard and paper: Non-glossy, plain print.
- Wood chips and sawdust: From untreated wood.
- Crop stalks and stems: Dried corn stalks, bean vines.
What to Avoid
To keep your compost safe and effective, steer clear of these:
- Meat, bones, dairy products, and oily foods: These can attract pests and create foul odors.
- Diseased plants: They might spread diseases to your garden if the compost doesn’t get hot enough.
- Weeds that have gone to seed: Unless your compost pile reaches very high temperatures consistently, these seeds may survive and sprout in your garden.
- Pet waste (dog and cat feces): These can contain harmful pathogens.
- Chemically treated wood or yard waste: Pesticides and herbicides can harm beneficial microbes and end up in your finished compost.
- Coal ash: Contains sulfur and iron in amounts that can harm plants.
Building Your Farm Compost Pile: A Step-by-Step Approach
Let’s get practical. Here’s how to set up a basic farm compost pile, like a simple windrow. This process is adaptable whether you’re using a shovel or a tractor.
Step 1: Choose Your Location
Find a spot that is:
- Accessible: Easy to get to with materials and equipment.
- Well-drained: You don’t want your pile sitting in a puddle.
- Partially shaded: Full sun can dry it out too quickly, while deep shade can keep it too wet.
- Away from water sources: To prevent contamination.
Step 2: Gather Your Materials
Collect a good mix of your farm’s available “greens” and “browns.” It’s best to have a decent stockpile of both before you start. Chop or shred larger materials to speed up decomposition.
Step 3: Build the Base Layer
Start with a layer of coarse “browns” (like straw or small branches) about 4-6 inches deep. This helps with aeration from the bottom. If using manure, this is a good place to start. A common starting mix for a windrow is about 2-3 parts browns to 1 part greens by volume.
Step 4: Add Your Greens and Browns
Alternate layers of “greens” and “browns,” aiming for that ideal C:N ratio. As you add layers, sprinkle a bit of finished compost or healthy soil if you have it – this introduces beneficial microorganisms to kickstart the process.
A good way to think about layering:
- Browns Layer: Add a layer of straw, leaves, or shredded cardboard.
- Greens Layer: Add manure, grass clippings, or kitchen scraps.
- Repeat: Continue layering until your pile is about 4-5 feet high.
Step 5: Moisten the Pile
Water each layer as you build. The goal is for the entire pile to be consistently moist – like a wrung-out sponge. Squeeze a handful of material; a few drops of water should come out, but it shouldn’t be dripping wet.
Step 6: Turn Your Pile
This is where the magic happens faster! For active composting, turn the pile every 7-14 days. You can use a pitchfork for smaller piles or a tractor with a front-end loader for larger ones. The goal is to mix the outer materials into the hotter center and bring the center materials to the outside. This provides oxygen and heat.
If you’re using Aerated Static Piles (ASP), you’ll manage airflow through pipes instead of turning.
Step 7: Monitor and Maintain
- Temperature: A healthy compost pile will heat up significantly (130-160°F / 55-71°C) especially after turning. This heat is crucial for killing weed seeds and pathogens. Use a compost thermometer!
- Moisture: Check the moisture level regularly and add water if it feels dry. If it’s too wet, add more brown material and turn it.
- Odor: A well-managed compost pile should smell earthy, not rotten. Foul odors usually indicate too much nitrogen (greens) or not enough air. Add browns and turn.
Step 8: Harvesting the Compost
Your compost is ready when it’s dark, crumbly, smells earthy, and you can no longer recognize the original materials. This can take anywhere from 1 to 6 months, depending on your method, materials, and turning frequency. You can sift it to remove any larger, unfinished pieces, which can go back into a new compost pile.
Tools and Equipment for Farm Composting
You don’t need a ton of fancy gear to start, especially if you’re beginning with smaller volumes. However, as your scale increases, so does the utility of certain tools.
Essential Tools (Beginner to Intermediate)
- Pitchfork/Shovel: For turning smaller piles and mixing materials.
- Wheelbarrow: For moving materials around.
- Hose with Spray Nozzle: For adding moisture.
- Compost Thermometer: Essential for monitoring the internal temperature of your pile. This helps ensure effective decomposition and pathogen kill. An example of a quality compost thermometer can be found at many garden supply stores or online retailers.
- Buckets or Bins: For collecting kitchen scraps or consolidating materials.
Advanced/Larger Scale Equipment
- Tractor with Front-End Loader: Invaluable for turning large windrows and moving bulk materials.
- Compost Turner/Aerator: Specialized machinery for efficiently turning large windrows or aerating static piles.
- Chipper/Shredder: For breaking down larger woody materials into smaller, faster-composting pieces (like branches, corn stalks).
- Screens/Sifters: For separating finished compost from unfinished material.
- In-Vessel Composting Systems: Commercial bins or tumblers designed for faster composting.
Troubleshooting Common Composting Problems
Even with the best intentions, you might run into a snag. Don’t get discouraged! Most composting problems have simple solutions.
| Problem | Possible Causes | Solutions |
|---|---|---|
| Pile isn’t heating up | Too dry; Not enough nitrogen (“greens”); Pile too small; Not enough air. | Add
.lwrp.link-whisper-related-posts{ margin-top: 40px; }.lwrp .lwrp-description{ } max-width: 150px; }@media screen and (max-width: 480px) { } }.lwrp .lwrp-description{ } max-width: initial; }; |

I am passionate about home engineering. I specialize in designing, installing, and maintaining heating, ventilation, and air conditioning systems. My goal is to help people stay comfortable in their homes all year long.