Hey there, neighbor! Ever look at your farm scraps, manure, or yard waste and think, “There’s got to be a better way to handle this?” You’re not alone. Figuring out what to do with all that organic material can feel like a puzzle. But what if I told you there’s a simple, natural way to turn that “waste” into pure gold for your land? That’s where composting comes in, and for us folks out in the country, it’s a game-changer. We’ll walk through it step-by-step, making it easy and effective. Ready to boost your farm’s health, one compost pile at a time?
Composting for Farmers Rural: Proven Success is Closer Than You Think
As farmers, we’re stewards of the land. We know that healthy soil means healthy crops and healthy livestock. That’s why composting is such a fantastic practice for rural operations. It’s not some fancy, complicated process; it’s about working with nature to create something amazing. Think of it as supercharging your farm’s natural cycle. Instead of hauling away organic materials or letting them sit and become a nuisance, you’re transforming them into nutrient-rich “black gold” that your soil will absolutely love.
This isn’t just about getting rid of stuff. It’s about building a more sustainable, productive, and cost-effective farm. By composting, you’re not only reducing your reliance on synthetic fertilizers, but you’re also improving your soil’s structure, water retention, and overall vitality. We’ll break down exactly how to get started, what works best, and how to make this a proven success on your farm.
Why Composting is a Champion for Rural Farms
Let’s face it, farming brings a lot of organic material into the equation. We’re talking about crop residues, animal manures, bedding materials, and even kitchen scraps from the farmhouse. When managed properly, these aren’t just byproducts; they’re valuable resources. Composting is the process of breaking down these organic materials into a stable, nutrient-rich humus. For rural farmers, this translates into some pretty compelling benefits:
- Soil Improvement: Compost adds essential nutrients, improves soil structure, increases water-holding capacity, and promotes beneficial microbial activity. This means healthier plants, better yields, and more resilience against drought.
- Waste Reduction: It diverts a significant amount of organic waste from landfills or open burning, which can be environmentally harmful and sometimes costly to manage.
- Reduced Fertilizer Costs: By creating your own nutrient-rich soil amendment, you can significantly cut down on the amount of commercial fertilizers you need to purchase.
- Improved Water Management: Compost acts like a sponge, helping your soil absorb and retain water. This is a huge advantage, especially in drier climates or during dry spells.
- Disease Suppression: Healthy soil, rich in beneficial microbes from compost, can help suppress plant diseases and reduce the need for chemical treatments.
- Sustainable Practices: Composting aligns perfectly with sustainable agriculture, closing nutrient loops and building a healthier ecosystem on your farm.
Getting Started: Your Composting Blueprint
The beauty of composting for farmers is that you can scale it to your needs. Whether you have a small homestead or a larger operation, there’s a method that will work for you. The core concept remains the same: create the right conditions for microorganisms to do their work.
What You’ll Need: Essential Tools and Materials
You don’t need fancy equipment to start composting. For most rural setups, especially for beginners, a good old-fashioned pile or a simple bin is all you need. Here’s a breakdown of what to consider:
- A Suitable Location: Choose a spot that’s easily accessible, has good drainage, and is relatively level. It should be close enough to where you generate materials and where you’ll use the finished compost. Partial shade is often ideal to prevent the pile from drying out too quickly in hot sun.
- “Greens” and “Browns”: These are the building blocks of your compost pile.
- Greens (Nitrogen-rich): Fresh grass clippings, vegetable scraps, fruit peels, manure (from chickens, cows, horses, pigs – avoid dog/cat feces), coffee grounds, tea bags.
- Browns (Carbon-rich): Dried leaves, straw, hay, shredded cardboard (uncoated), shredded newspaper, wood chips, sawdust (use in moderation).
- Water Source: Your compost pile needs to be moist, like a wrung-out sponge. Having a hose or watering can nearby is crucial.
- A Pitchfork or Shovel: For turning the compost pile. Turning helps aerate it and speeds up decomposition.
- Optional: Compost Bin: While not strictly necessary, a bin can help contain the material, keep things tidy, and retain moisture and heat. These can be anything from simple wire mesh cylinders to wooden structures or purchased tumblers. For a farm, larger piles are often the norm.
The Magic Formula: Balancing Greens and Browns
This is the heart of successful composting. The microorganisms that break down your materials need a balanced diet of nitrogen-rich “greens” and carbon-rich “browns.” A good rule of thumb is to aim for a ratio of roughly 2 to 3 parts Browns to 1 part Greens by volume.
Too many greens can lead to a wet, slimy, and smelly pile. Too many browns will slow down decomposition because there isn’t enough nitrogen to feed the microbes. Don’t stress too much about being exact; if your pile isn’t working, you can always adjust the ratio.
Composting Methods for Rural Farmers
There are a few common ways to compost on a farm. The best method depends on the amount of material you have, the space available, and how quickly you need finished compost.
- Passive Piles (The Simple Heap): This is the most straightforward method. You simply pile your organic materials in a designated spot. Layer your greens and browns, add water until moist, and let nature take its course. This method is slow but requires the least effort. Turn it occasionally if you want to speed things up.
- Active Piles (Turning It Up): This involves more frequent turning (every week or two). By turning, you introduce oxygen, which is vital for the aerobic microbes that do the fast decomposition work. This method produces compost much faster than passive piles.
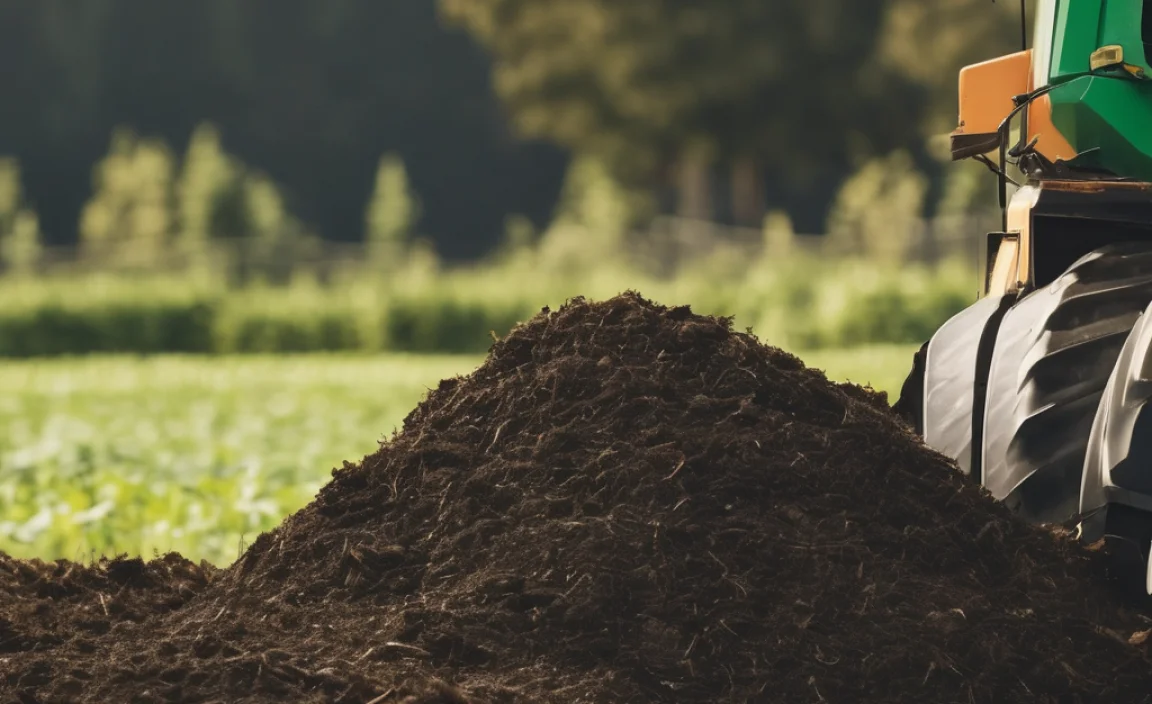
- Aerated Static Piles (For Larger Operations): This advanced technique involves forcing air through a large pile of compost, often using fans and pipes. It’s more complex but allows for faster composting of large volumes of material, especially manure, and can reach higher temperatures, killing pathogens and weed seeds. The U.S. Department of Agriculture (USDA) provides excellent resources on efficient composting of manure, which uses principles similar to aerated static piles. You can find great information on their Agricultural Research Service (ARS) pages.
- Compost Bins/Containers: While often associated with suburban gardening, farmers can use larger, sturdy bins. These help manage space and can be particularly useful for smaller amounts of kitchen or specific farm waste. They can be made from wood pallets, wire mesh, or purchased.
Step-by-Step: Building Your First Compost Pile (Passive Method)
Let’s get your hands dirty! This is a super simple approach perfect for beginners.
- Choose Your Spot: Find that level, well-drained area.
- Start with a Base Layer of Browns: Lay down a 4-6 inch layer of coarse brown materials like straw, wood chips, or shredded cardboard. This helps with drainage and aeration from the bottom.
- Add Your Greens: Layer on about 2-3 inches of your nitrogen-rich kitchen scraps, grass clippings, or fresh manure.
- Add Another Layer of Browns: Cover the greens with another 4-6 inches of brown materials like dried leaves or straw. This helps control odors and keeps the pile from getting too wet.
- Add Water: Sprinkle water lightly over the layers. The goal is for the material to feel like a damp sponge – moist but not dripping when you squeeze a handful.
- Keep Layering: Continue alternating layers of greens and browns as you accumulate them. Finish with a layer of browns on top to discourage pests and odors.
- Wait and Monitor: Allow the pile to decompose naturally. Check the moisture level every week or two and add water if it feels dry. You can turn the pile with a pitchfork every month or two if you want to speed things up, but it’s not essential for a passive pile.
Step-by-Step: Building Your First Compost Pile (Active Method)
This method requires a bit more effort but yields faster results.
- Gather Your Materials: Collect a good mix of greens and browns. Aim for a sizable pile, at least 3x3x3 feet, for it to heat up effectively.
- Build in Layers: Start with a bulky brown layer, then add a thinner green layer, then another bulky brown layer. About 2-3 parts browns to 1 part greens by volume is your target.
- Moisten Each Layer: As you build, dampen each layer. The entire pile should be consistently moist, like a wrung-out sponge.
- Turn Regularly: After about a week, when the pile starts to heat up (you might feel the warmth if you stick your hand in, or use a compost thermometer), turn it. Use your pitchfork to move the outer materials to the inside and vice-versa.
- Continue Turning: Turn the pile every 1-2 weeks. The more you turn, the faster it will break down. You’ll see the material transform from recognizable scraps into a darker, crumbly compost.
- Monitor Moisture: Always ensure the pile remains moist. If it dries out, decomposition will slow significantly.
What Can (and Can’t) Go in Your Farm Compost Pile?
Knowing what to add is key to a successful and safe compost pile. For rural farming, you have a fantastic variety of materials at your disposal. However, there are some items to avoid.
Things That Are Great for Your Farm Compost Pile:
- Animal Manures: Cow, horse, chicken, sheep, pig manure (aged is best, especially for chicken manure which is very hot). This is a nitrogen powerhouse!
- Crop Residues: Stalks, leaves, vines, spoiled hay or silage.
- Bedding Materials: Straw, hay, wood shavings, sawdust (use sawdust in moderation as it can be very carbon-rich).
- Kitchen Scraps: Fruit and vegetable peels, coffee grounds, tea bags, eggshells.
- Yard Waste: Grass clippings, leaves, small twigs, plant trimmings.
- Weeds: As long as they haven’t gone to seed. If using weed seeds, ensure your pile gets hot enough to kill them.
- Paper and Cardboard: Uncoated, unprinted shredded paper or cardboard.
Things to Leave Out (or Be Very Careful With):
- Meat, Bones, and Dairy Products: These can attract pests (rodents, flies), create strong odors, and may harbor pathogens. Larger farm-scale hot composting systems can handle these, but for a beginner pile, it’s best to skip them.
- Diseased Plants: If plants are diseased, especially with aggressive fungal or bacterial issues, they can survive the composting process if the pile doesn’t get hot enough. It’s safer to remove and destroy them.
- Weeds with Mature Seeds: If you’re not confident in your pile’s ability to reach high temperatures, avoid adding weeds that have gone to seed.
- Pet Waste (Dogs and Cats): These can contain dangerous pathogens that a typical home compost pile may not kill.
- Treated Wood: Contains chemicals that can leach into your compost.
- Coal Ash: Can contain heavy metals.
- Synthetic Materials: Plastic, synthetic fibers, etc., will not decompose.
Troubleshooting Common Composting Problems
Even with the best intentions, sometimes your compost pile might act up. Here are a few common issues and how to fix them:
Problem: The Pile Smells Bad (Ammonia or Rotten Eggs)
Cause: Usually too many greens (excess nitrogen) or the pile is too wet and not getting enough air (anaerobic). Ammonia smell means too much nitrogen; rotten egg smell means it’s anaerobic.
Solution: Add more brown materials (straw, leaves, shredded cardboard) to balance the ratio and absorb moisture. Turn the pile thoroughly to introduce oxygen.
Problem: The Pile Isn’t Heating Up or Decomposing Slowly
Cause: Not enough nitrogen (too many browns), the pile is too small, or it’s too dry.
Solution: Add more green materials. Ensure your pile is at least 3x3x3 feet. Check the moisture – it should be damp like a wrung-out sponge. Add water and turn.
Problem: The Pile is Dry and Dusty
Cause: Not enough moisture, or it’s exposed to too much sun and wind.
Solution: Water the pile thoroughly. Turn it while watering to ensure the moisture penetrates throughout. If it’s in a very exposed spot, you might want to add a tarp loosely over the top (don’t seal it completely, it needs air) or build it in a more sheltered location.
Problem: Pests (Rodents, Flies) are a Problem
Cause: Often attracted by exposed food scraps, meat, dairy, or fatty materials.
Solution: Ensure you’re burying kitchen scraps deep within the pile, covered by browns. Avoid adding meat, bones, and dairy. Turn the pile regularly, which can deter some pests.
Temperature Matters: The Hot Composting Advantage
For farmers, especially when dealing with manure or wanting to kill off weed seeds and pathogens, hot composting is a powerful tool. Hot composting relies on creating and maintaining a pile that reaches temperatures between 131°F and 160°F (55°C to 70°C) for an extended period. This kills most weed seeds and harmful pathogens.
To achieve hot composting:
- Balance: Maintain the correct Greens-to-Browns ratio (around 1 part Green to 2-3 parts Brown).
- Moisture: Keep the pile consistently moist, as described earlier.
- Aeration: Turn the pile frequently (every few days to a week) to supply oxygen.
- Size: The pile needs to be large enough (at least 3x3x3 feet) to build and retain heat.
A thermometer designed for compost is a useful tool here. It helps you monitor the internal temperature and ensure it’s reaching those killing zones. This level of microbial activity is intense! It’s a scientific process that works in nature, but we’re just giving it a helpful push.
| Category | Nitrogen Source (Greens) | Carbon Source (Browns) |
|---|---|---|
| Volume | ~25-30% | ~70-75% |
| Examples | Grass Clippings, Vegetable Scraps, Fresh Manure, Coffee Grounds, Fruit Peels | Dried Leaves, Straw, Hay, Shredded Cardboard, Sawdust, Wood Chips, Newspaper |
| Role | Provides nitrogen for microbial growth and heat generation. | Provides energy for microbes and structure to allow air circulation. |
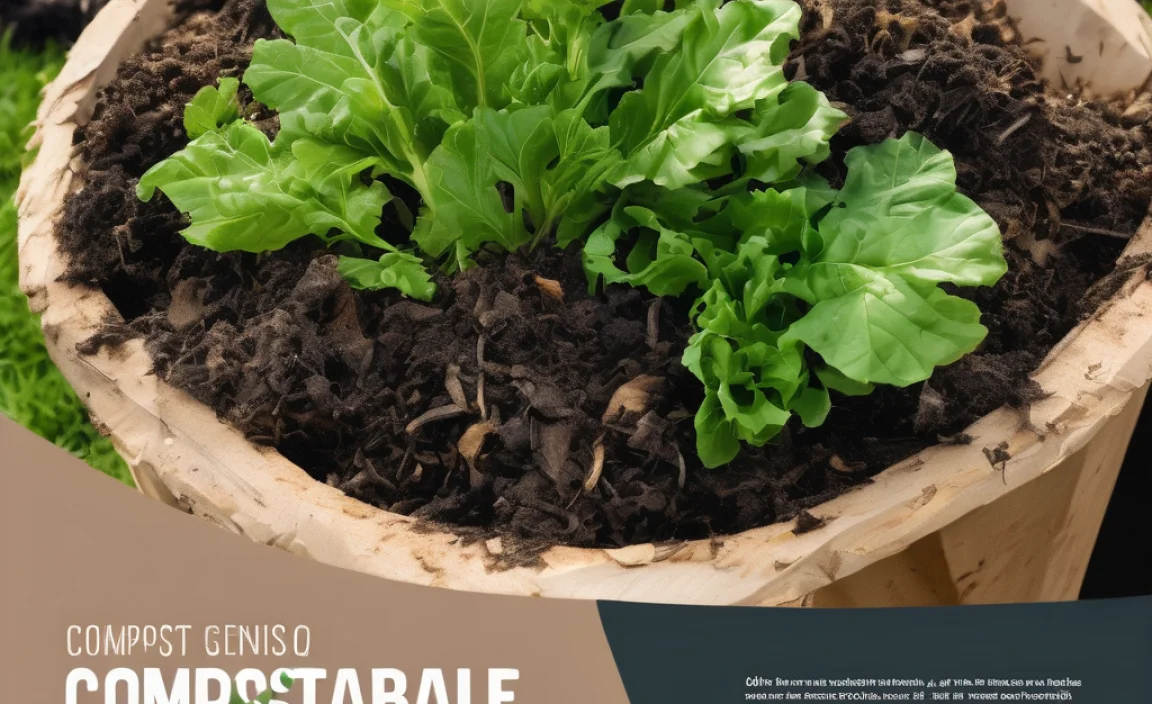
Using Your Finished Farm Compost
After several weeks to a few months (depending on your method and effort), your compost will be ready. Finished compost is dark, crumbly, and smells earthy – like a forest floor after rain. You shouldn’t be able to recognize the original materials.
Here’s how to use this valuable farm amendment:
- As a Soil Amendment: Spread a layer of compost (1-3 inches) onto garden beds, around trees and shrubs, or into croplands and then till it in. This improves soil structure and fertility for the long term.
- As a Top Dressing: Apply a thin layer (about 1/2 to 1 inch) around existing plants. It will slowly break down and release nutrients.
- In Planting Holes: Mix compost with the native soil
.lwrp.link-whisper-related-posts{
margin-top: 40px;
margin-bottom: 30px;
}
.lwrp .lwrp-title{}.lwrp .lwrp-description{
}
.lwrp .lwrp-list-container{
}
.lwrp .lwrp-list-multi-container{
display: flex;
}
.lwrp .lwrp-list-double{
width: 48%;
}
.lwrp .lwrp-list-triple{
width: 32%;
}
.lwrp .lwrp-list-row-container{
display: flex;
justify-content: space-between;
}
.lwrp .lwrp-list-row-container .lwrp-list-item{
width: calc(25% – 20px);
}
.lwrp .lwrp-list-item:not(.lwrp-no-posts-message-item){max-width: 150px;
}
.lwrp .lwrp-list-item img{
max-width: 100%;
height: auto;
object-fit: cover;
aspect-ratio: 1 / 1;
}
.lwrp .lwrp-list-item.lwrp-empty-list-item{
background: initial !important;
}
.lwrp .lwrp-list-item .lwrp-list-link .lwrp-list-link-title-text,
.lwrp .lwrp-list-item .lwrp-list-no-posts-message{}@media screen and (max-width: 480px) {
.lwrp.link-whisper-related-posts{}
.lwrp .lwrp-title{}.lwrp .lwrp-description{
}
.lwrp .lwrp-list-multi-container{
flex-direction: column;
}
.lwrp .lwrp-list-multi-container ul.lwrp-list{
margin-top: 0px;
margin-bottom: 0px;
padding-top: 0px;
padding-bottom: 0px;
}
.lwrp .lwrp-list-double,
.lwrp .lwrp-list-triple{
width: 100%;
}
.lwrp .lwrp-list-row-container{
justify-content: initial;
flex-direction: column;
}
.lwrp .lwrp-list-row-container .lwrp-list-item{
width: 100%;
}
.lwrp .lwrp-list-item:not(.lwrp-no-posts-message-item){max-width: initial;
}
.lwrp .lwrp-list-item .lwrp-list-link .lwrp-list-link-title-text,
.lwrp .lwrp-list-item .lwrp-list-no-posts-message{};
}

I am passionate about home engineering. I specialize in designing, installing, and maintaining heating, ventilation, and air conditioning systems. My goal is to help people stay comfortable in their homes all year long.