Got a pile of kitchen scraps and yard waste lurking about? Wondering if you can turn that into something useful for your garden? You’re not alone! Many of us want to compost but feel a little lost on where to start. It can seem complicated, but it’s actually pretty simple once you know the basics. This guide will break it all down, step-by-step, so you can make nutrient-rich compost with confidence. Ready to transform your trash into garden gold?
Composting Guide: Essential Tips for Beginners
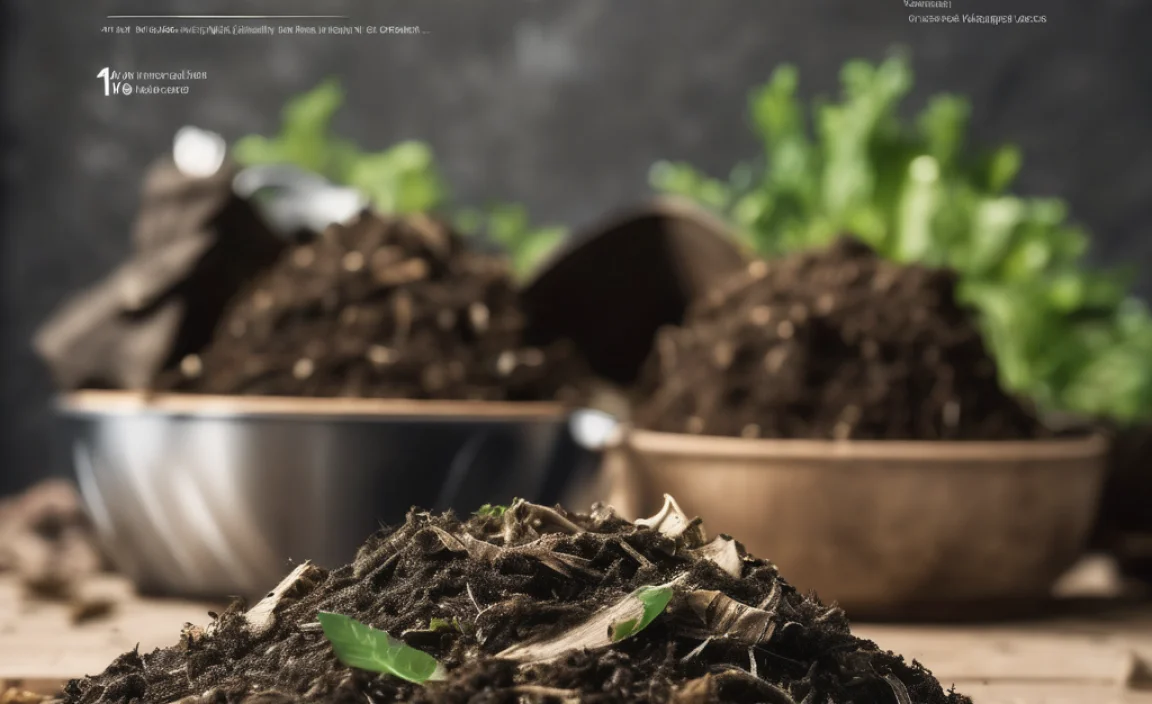
Hey there, neighbor! Troy D Harn here from TopChooser. If you’re looking to give your garden a boost and reduce waste, composting is a fantastic way to go. It’s like a natural recycling program for your home. Think of all those coffee grounds, vegetable peels, and fallen leaves – instead of heading to the landfill, they can become amazing food for your plants! Don’t worry if you’ve never composted before; I’m going to walk you through all the essential tips to get you started, no fancy jargon, just straightforward advice.
Why Compost? The Big Benefits
Let’s chat for a second about why composting is so great. It’s not just about being eco-friendly, though that’s a huge part of it. Good compost is loaded with nutrients that your plants will absolutely love. It helps improve your soil’s structure, making it easier for roots to grow and for water to drain properly. Plus, it’s a super satisfying way to see waste transform into something valuable. It’s a win-win for your garden and the planet!
Choosing Your Composting Method
Before you start tossing things in a pile, you’ll want to pick the best composting method for your space and lifestyle. There are a few popular options, each with its own pros and cons. Let’s take a look:
1. The Open Pile (or Heap)
This is the most basic method. You simply designate a spot in your yard and start layering your compostable materials. It’s easy to set up and requires minimal investment, but it can sometimes look a bit messy and might attract critters if not managed well. It also takes longer to break down compared to other methods.
2. Compost Bins (Enclosed Systems)
These are containers designed specifically for composting. They come in many shapes and sizes, from simple plastic bins to tumblers that make turning easier. Bins help keep things tidy, retain moisture and heat better, and can deter pests. They’re great for smaller yards or if you want a neater appearance.
3. Tumbler Composters
A compost tumbler is a barrel or bin mounted on a stand that allows you to easily rotate (or tumble) the contents. This makes turning the compost much simpler, which speeds up the decomposition process significantly. They are usually enclosed, which helps with heat and pest control, but they can be more expensive to purchase.
4. Worm Composting (Vermicomposting)
This method uses specific types of earthworms (like red wigglers) to break down food scraps in a contained bin. It’s perfect for apartment dwellers or those with very little outdoor space. Worm composting produces a nutrient-rich compost called “worm castings,” which is incredibly beneficial for plants. You’ll need a special worm bin and a supply of composting worms, which you can often buy online.
For beginners, an enclosed bin or a tumbler is often a great starting point because they offer good control over moisture, aeration, and pest deterrence.
What to Compost: The “Greens” and “Browns”
The secret to successful composting is balancing two types of materials: “Greens” and “Browns.” Think of it like a recipe. Greens are nitrogen-rich materials, and Browns are carbon-rich materials. Getting this balance right is key for your compost pile to heat up and break down efficiently.
What are “Greens”? (Nitrogen-Rich)
- Fruit and vegetable scraps
- Coffee grounds and tea bags
- Grass clippings (in thin layers)
- Plant trimmings (non-woody)
- Eggshells
- Manure from herbivores (like chickens, rabbits, cows – NOT dogs or cats)
What are “Browns”? (Carbon-Rich)
- Dry leaves
- Shredded newspaper and cardboard (avoid glossy paper/ink)
- Straw or hay
- Wood chips or sawdust (in moderation)
- Paper towels and toilet paper rolls
- Dried pine needles
The Ideal Ratio
A good starting point for the ratio of Browns to Greens is about 2:1 or 3:1 by volume. This means you generally want more Browns than Greens. Too many Greens can make your pile slimy and smelly, while too many Browns can make it dry and slow to decompose. Don’t stress too much about perfect measurements; just aim for a good mix, adding Browns whenever you add a clump of Greens.
What NOT to Compost (Uh Oh!)
Just as important as knowing what to add is knowing what to leave out. Some items can cause problems, attract pests, or spread diseases. Here’s a quick rundown of things to avoid:
- Meat, fish, and bones
- Dairy products (cheese, yogurt, milk)
- Oily or greasy foods
- Diseased plants or weeds that have gone to seed
- Pet waste (dog, cat, or any carnivore)
- Treated wood or sawdust from treated wood
- Charcoal ash or coal ash
- Synthetic materials (plastics, synthetic fabrics)
- Glossy or coated paper
These items can attract unwanted pests, create foul odors, or introduce harmful pathogens into your compost. Stick to plant-based materials and appropriate manures for the best results.
Setting Up Your Compost Bin or Pile
Once you’ve chosen your method and know what to compost, it’s time to get set up. Whether you have a bin or are making a pile, a few things are crucial:
Location, Location, Location!
Pick a spot that’s convenient for you to access, as you’ll be adding materials regularly. It should also be:
- Partially shaded: Full sun can dry out your compost too quickly, while full shade might keep it too damp and slow down decomposition.
- Well-drained: You don’t want your compost sitting in a puddle.
- Near a water source: You might need to add moisture occasionally.
- On bare soil (if possible): This allows beneficial microorganisms and worms to enter the pile from the ground. If you’re on a concrete patio, ensure your bin has good drainage.
Starting Your First Layers
Think of building your compost like making a lasagna. Start with a base layer:
- Base Layer: Begin with a 4-6 inch layer of coarse “Brown” materials like twigs, small branches, or wood chips at the bottom. This helps with aeration and drainage.
- Alternate Layers: Now, start adding your “Greens” and “Browns” in alternating layers. Aim for a mix that’s roughly 2-3 parts Browns to 1 part Greens by volume. Spread out materials evenly.
- Moisture Check: Each time you add a new layer, lightly water it. The goal is for the compost to be as moist as a wrung-out sponge – damp, but not dripping when you squeeze it.
- Size Matters: Chop or shred larger items into smaller pieces. This increases the surface area, allowing microorganisms to break them down faster.
If you’re using a compost bin, just follow the manufacturer’s instructions, but the layering principle remains the same.
Maintaining Your Compost: The Key Ingredients
Your compost pile needs a few things to thrive and do its decomposing magic:
Air (Oxygen)
Composting is an aerobic process, meaning it needs oxygen to work best. Without enough air, your pile can become anaerobic, leading to slow decomposition and unpleasant smells. You’ll need to turn or aerate your compost pile regularly.
- How to Aerate:
- For Piles: Use a pitchfork or compost aerator tool to turn the pile every 1-2 weeks. Try to bring the outer materials into the center and vice-versa.
- For Bins: Follow the bin’s instructions. Tumblers just need to be rotated every few days. Stationary bins might require turning with a fork or using a specific aeration tool.
Moisture
Your compost should feel like a damp sponge. Not too wet, not too dry. If it seems dry, add water while turning. If it’s too wet, add more “Brown” materials and turn it to help it dry out.
Temperature
A healthy compost pile will heat up, especially in the center. This heat is a sign that the microorganisms are hard at work breaking down the materials. The ideal temperature range is between 130-160°F (54-71°C). Turning the pile regularly helps maintain this heat and speeds up decomposition.
Microorganisms
These tiny helpers (bacteria, fungi, and other tiny creatures) are the true composters. Providing them with the right balance of Greens, Browns, air, and moisture is crucial for them to do their job efficiently.
Troubleshooting Common Composting Problems
Even with the best intentions, you might run into a few snags. Here are some common issues and their simple fixes:
Problem: My compost smells bad (like rotten eggs or ammonia).
Cause: Usually too many “Greens” or not enough air (anaerobic conditions). This can also happen if it’s too wet.
Solution:
- Add more “Brown” materials like dry leaves, shredded cardboard, or sawdust.
- Turn the pile thoroughly to introduce air.
- If it’s very wet, add more dry Browns and turn.
Problem: My compost pile isn’t heating up or is decomposing very slowly.
Cause: Not enough “Greens,” too dry, or not enough air.
Solution:
- Add more “Green” materials (like kitchen scraps or fresh grass clippings).
- Add water and mix it in.
- Turn the pile to introduce air.
Problem: My compost is attracting pests (flies, rodents).
Cause: Often caused by adding prohibited items like meat, dairy, or oily foods, or by leaving food scraps exposed on top.
Solution:
- Ensure you’re not adding forbidden items.
- Always bury kitchen scraps deep within the pile, covering them with “Brown” materials.
- Consider using a secure, enclosed compost bin or tumbler.
- Maintain the proper moisture and aeration – healthy, hot compost piles deter pests.
Problem: There are too many flies buzzing around.
Cause: Exposed food scraps, particularly fruit and vegetable waste.
Solution:
- Always cover fresh food scraps with a layer of “Browns” (like dry leaves or shredded paper).
- Turn your compost pile to mix in the scraps and break them down faster.
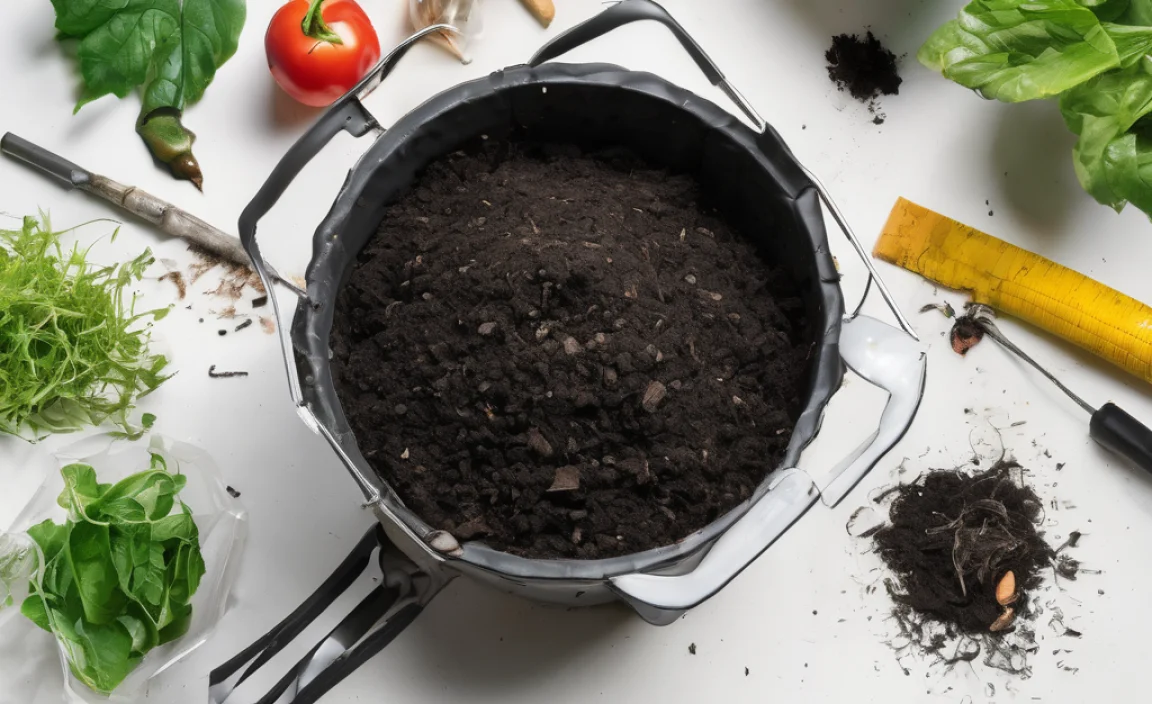
When is Compost Ready?
This is the exciting part! Your compost is ready when it looks and smells like rich, dark earth. You shouldn’t be able to recognize the original materials you put in. It will be crumbly, dark brown, and have a pleasant, earthy scent. Depending on your method, the materials you use, and how often you turn it, compost can take anywhere from a few months to a year to mature.
Signs of finished compost:
- Dark brown, crumbly texture.
- Earthy smell, similar to a forest floor.
- Original materials are no longer recognizable.
- The pile has cooled down.
How to Use Your Compost
Once your compost is ready, you can start reaping the benefits! Here are a few ways to use it:
- Soil Amendment: Mix compost directly into your garden beds before planting. It improves soil structure, drainage, and nutrient content. Aim for a 2-4 inch layer mixed into the top 6-8 inches of soil.
- Top Dressing: Spread a thin layer of compost (about 1 inch) around the base of established plants, shrubs, and trees. This feeds the plants and helps retain moisture.
- Potting Mix: Mix compost with other ingredients like perlite, vermiculite, or coconut coir to create a nutrient-rich potting mix for containers and houseplants. A common ratio is one-third compost, one-third peat moss or coir, and one-third perlite or vermiculite.
- Lawn Care: Spread a thin layer of compost over your lawn in spring or fall to improve soil health and encourage lush growth.
Compost is truly black gold for your garden, so enjoy using your homemade creation!
Quick Summary Table: Greens vs. Browns
| Category | What to Add | Why it’s Important |
|---|---|---|
| Greens (Nitrogen-Rich) | Fruit & veggie scraps, coffee grounds, grass clippings, plant trimmings, eggshells, herbivore manure | Provide nitrogen, moisture, and heat up the pile. |
| Browns (Carbon-Rich) | Dry leaves, shredded newspaper/cardboard, straw, twigs, sawdust, paper towels | Provide carbon, add bulk, and allow air circulation. |
Essential Tools for Composting
You don’t need a lot of fancy equipment to start composting, but a few basic tools can make the job much easier and more effective:
- Compost Bin or Tumbler: Your choice depends on space and preference.
- Pitchfork or Garden Fork: Essential for turning and aerating the pile.
- Compost Aerator Tool: A specialized tool that can help break up compacted areas and allow air to circulate.
- Shovel: Useful for moving finished compost or turning larger piles.
- Garden Gloves: Protect your hands while handling compost materials.
- Watering Can or Hose with a gentle spray nozzle: For adding moisture to the pile.
- Kitchen Countertop Compost Pail: A small container with a lid to collect food scraps indoors before taking them out to the main compost bin.
For more information on soil health and composting benefits, the Environmental Protection Agency (EPA) offers excellent resources.
Remember, the most important thing is to get started! Don’t overthink it. Nature is pretty good at breaking things down, and you’re just helping it along. With these essential tips, you’ll be well on your way to creating your own nutrient-rich compost and making your garden happier and healthier.
Frequently Asked Questions About Composting
Q1: How do I know if my compost is ready to use?
Your compost is ready when it’s dark brown, crumbly, and smells earthy and pleasant, like a forest floor after rain. You shouldn’t be able to recognize the original food scraps or yard waste.
Q2: What’s the easiest way to start composting for a beginner?
An enclosed compost bin or a compost tumbler is usually the easiest for beginners. They help manage moisture, keep things tidy, and deter pests, making the process more foolproof.
Q3: Can I compost pet waste?
No, it’s generally not recommended to compost pet waste from cats or dogs. Their waste can contain harmful pathogens that may not be killed during the composting process, especially in backyard composting systems. Manure from herbivores like rabbits or chickens is safe to compost.
Q4: My compost pile is too wet and smelly. What should I do?
This usually means there’s too much “Green” material or not enough air. The solution is to add a good amount of “Brown” materials (like dry leaves, shredded cardboard, or sawdust) and turn the pile well to introduce oxygen. Let it dry out a bit.
Q5: How often should I turn my compost pile?
For faster composting, turning the pile every 1-2 weeks is ideal. If you’re in less of a hurry, turning every 4-6 weeks will still work, it will just take longer for the compost to be ready.
Q6: Can I compost citrus peels and onions?
Yes, you can compost citrus peels and onions! While some people worry they might slow down decomposition or deter
.lwrp.link-whisper-related-posts{
margin-top: 40px;
margin-bottom: 30px;
}
.lwrp .lwrp-title{
}.lwrp .lwrp-description{
}
.lwrp .lwrp-list-container{
}
.lwrp .lwrp-list-multi-container{
display: flex;
}
.lwrp .lwrp-list-double{
width: 48%;
}
.lwrp .lwrp-list-triple{
width: 32%;
}
.lwrp .lwrp-list-row-container{
display: flex;
justify-content: space-between;
}
.lwrp .lwrp-list-row-container .lwrp-list-item{
width: calc(25% – 20px);
}
.lwrp .lwrp-list-item:not(.lwrp-no-posts-message-item){
max-width: 150px;
}
.lwrp .lwrp-list-item img{
max-width: 100%;
height: auto;
object-fit: cover;
aspect-ratio: 1 / 1;
}
.lwrp .lwrp-list-item.lwrp-empty-list-item{
background: initial !important;
}
.lwrp .lwrp-list-item .lwrp-list-link .lwrp-list-link-title-text,
.lwrp .lwrp-list-item .lwrp-list-no-posts-message{
}@media screen and (max-width: 480px) {
.lwrp.link-whisper-related-posts{
}
.lwrp .lwrp-title{
}.lwrp .lwrp-description{
}
.lwrp .lwrp-list-multi-container{
flex-direction: column;
}
.lwrp .lwrp-list-multi-container ul.lwrp-list{
margin-top: 0px;
margin-bottom: 0px;
padding-top: 0px;
padding-bottom: 0px;
}
.lwrp .lwrp-list-double,
.lwrp .lwrp-list-triple{
width: 100%;
}
.lwrp .lwrp-list-row-container{
justify-content: initial;
flex-direction: column;
}
.lwrp .lwrp-list-row-container .lwrp-list-item{
width: 100%;
}
.lwrp .lwrp-list-item:not(.lwrp-no-posts-message-item){
max-width: initial;
}
.lwrp .lwrp-list-item .lwrp-list-link .lwrp-list-link-title-text,
.lwrp .lwrp-list-item .lwrp-list-no-posts-message{
};
}
Related Posts

I am passionate about home engineering. I specialize in designing, installing, and maintaining heating, ventilation, and air conditioning systems. My goal is to help people stay comfortable in their homes all year long.