Think of it: less trash, healthier plants, and a little win for Mother Earth, all from your own cozy balcony. Sound too good to be true? Stick around, because we’re breaking down composting for your hotel balcony step-by-step. You’ll be amazed at how simple and rewarding it can be. Let’s get started, and you’ll see how genius and essential this can be!
Why Bother Composting on a Hotel Balcony?

It’s a fair question, right? Especially if you’re not exactly a seasoned gardener. But here’s the thing: composting is a fantastic way to reduce your household waste. Those coffee grounds, fruit peels, and veggie scraps? They can all become nutrient-rich compost, which is like superfood for plants. This means:
- Less Landfill Waste: A significant portion of what we throw away is compostable organic material. Composting diverts this from landfills, reducing methane gas production – a powerful greenhouse gas.
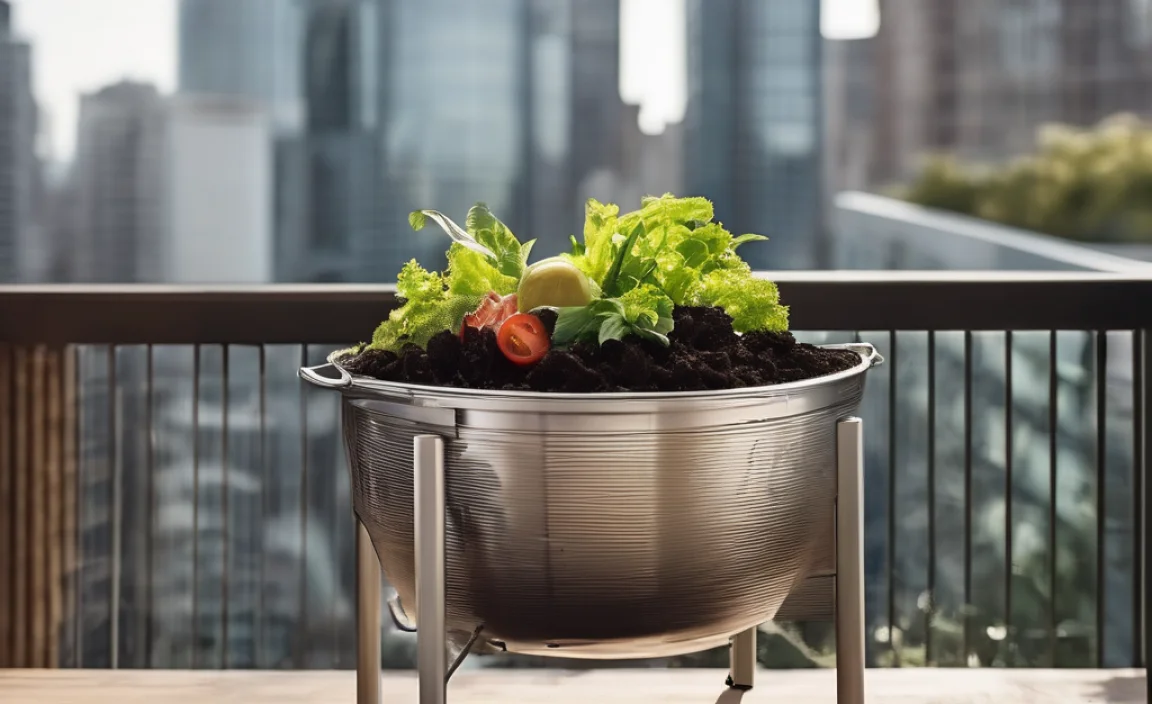
- Free, Rich Fertilizer: Your compost becomes a natural, free fertilizer for any plants you might have on your balcony, or even for donating to community gardens.
- Environmental Friendliness: You’re actively participating in a sustainable practice that benefits the environment. It’s a small action with a big collective impact.
- Educational Opportunity: It’s a great way to learn about natural cycles and get a little closer to nature, even in an urban setting.
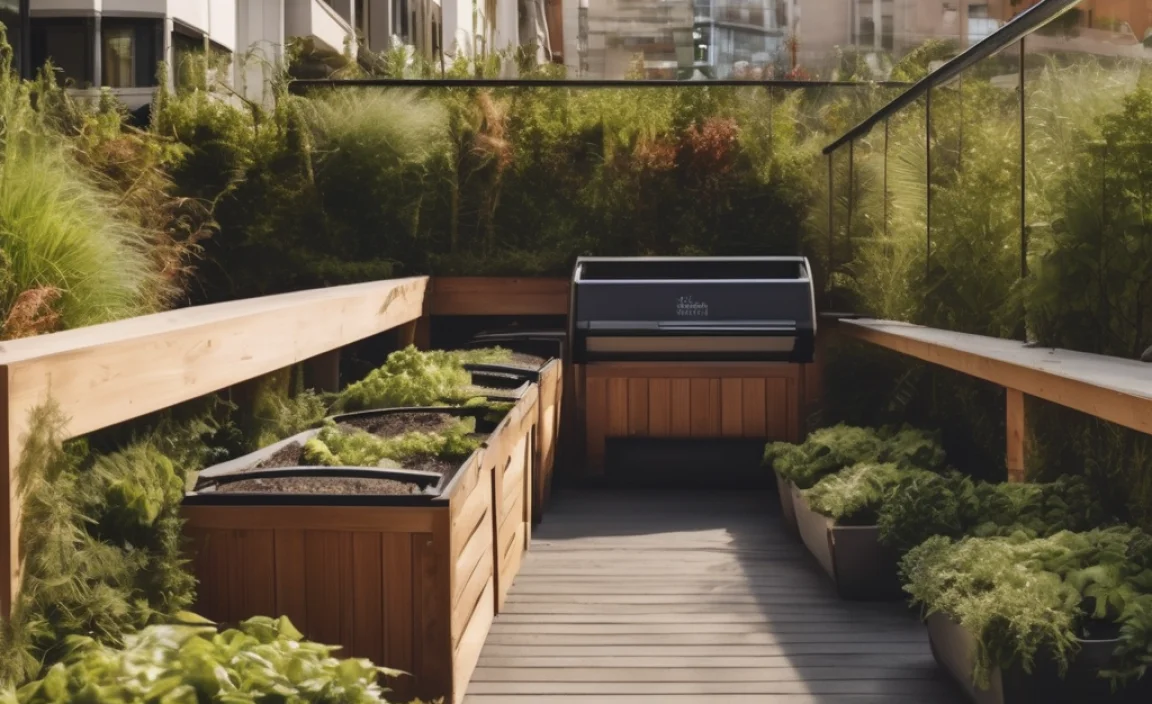
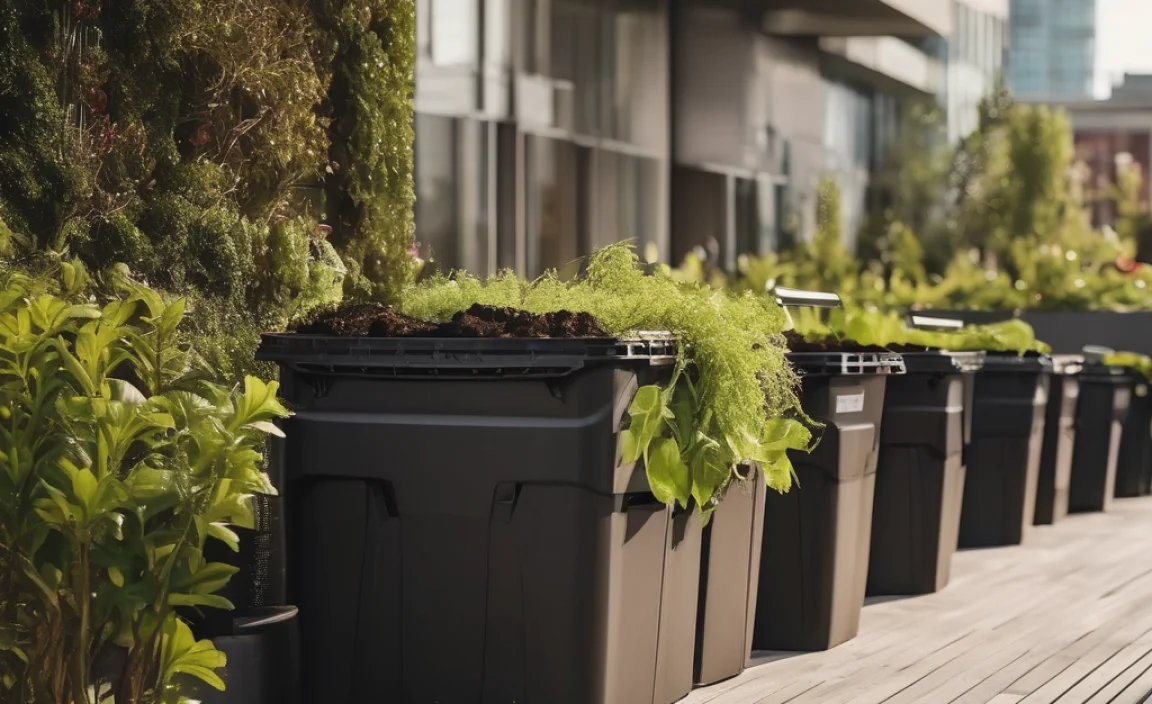
Even a small balcony can host a surprisingly effective composting system. We’re not talking about a giant farm here, but a neat, contained setup that works with your space.
Choosing the Right Composting Method for Your Balcony
The key to successful balcony composting is choosing a method that fits your space, your lifestyle, and what you’re composting. Since space is usually limited, we’ll focus on compact and contained systems.
1. The Worm Composting Bin (Vermicomposting)
This is a super popular choice for small spaces, and for good reason! Worms do the hard work of breaking down your food scraps. It’s relatively odorless when done correctly and produces amazing worm castings.
How it works: You set up a bin with bedding material (like shredded newspaper or coco coir), add special composting worms (Red Wigglers are the most common), and feed them your kitchen scraps. The worms eat the scraps and bedding, and their waste (castings) is your nutrient-rich compost.
Pros:
- Compact and tidy.
- Low odor.
- Fast breakdown of food scraps.
- Produces highly valuable worm castings.
Cons:
- Requires specific composting worms.
- You need to manage the moisture and temperature.
- Can’t handle large volumes of yard waste.
2. Bokashi Composting
Bokashi is a bit different. It’s an anaerobic fermentation process that pickles your food waste using a special inoculated bran. It’s like a pre-composting step.
How it works: You layer kitchen scraps in an airtight Bokashi bin and sprinkle it with Bokashi bran. This bran contains beneficial microbes that ferment the waste. After a few weeks, the fermented material is ready to be buried in soil (if you have access to a garden bed or a large planter) or added to a traditional compost pile or bin to finish breaking down. You also drain off a liquid called “Bokashi tea,” which can be diluted and used as a potent fertilizer.
Pros:
- Can handle meat, dairy, and oily foods (which are typically avoided in other methods).
- Airtight system means minimal odor.
- Compacts waste significantly.
- Produces a liquid fertilizer.
Cons:
- Requires purchasing Bokashi bran.
- The fermented material isn’t finished compost; it needs to be buried or further composted.
- Needs an airtight system, which might be slightly pricier upfront.
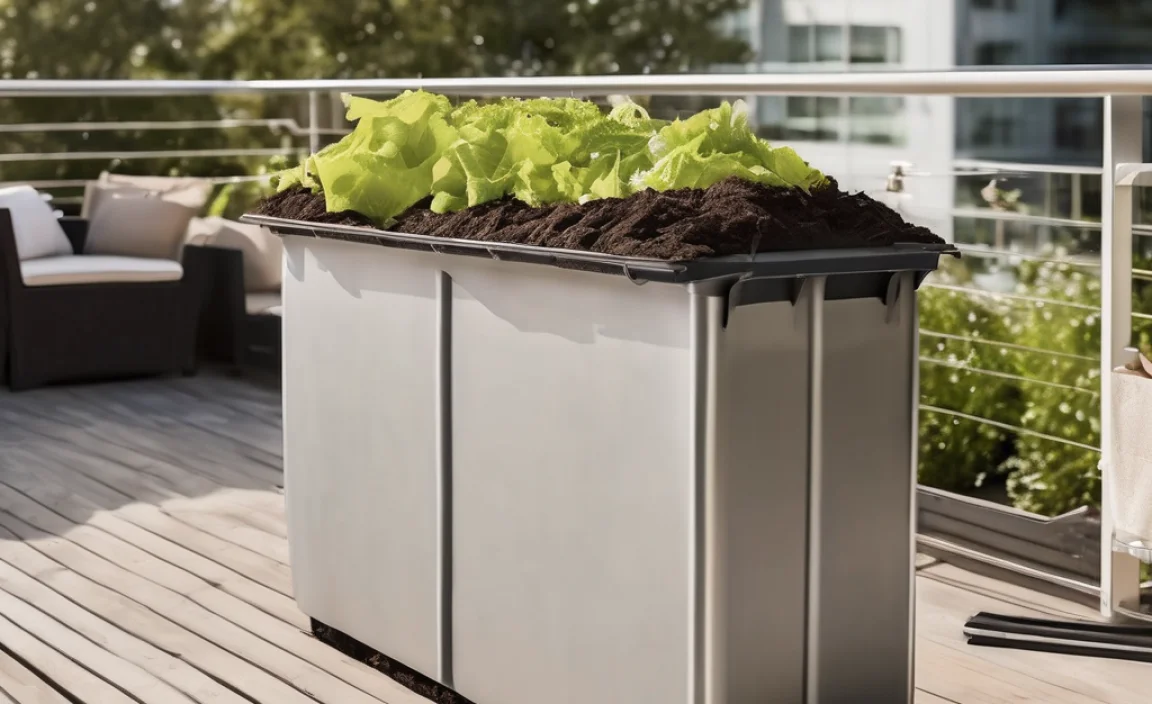
3. Small Tumbler or Bin Composter
If you have a bit more balcony space and want a more traditional composting method, a small compost tumbler or a compact bin is an option. These are designed for smaller volumes and easier turning.
How it works: You add alternating layers of “greens” (food scraps, coffee grounds) and “browns” (shredded paper, dry leaves). You then turn the tumbler or mix the bin periodically to aerate. Heat builds up, breaking down the materials.
Pros:
- Good for a wider range of organic materials (though avoid meat/dairy for simplicity on a balcony).
- Compost is produced more quickly than in a static pile.
- Tumblers make turning easy.
Cons:
- Can potentially attract pests if not managed well (though tumblers reduce this risk).
- Requires more space than a worm bin.
- Needs a good balance of greens and browns.
Setting Up Your Balcony Composter: A Step-by-Step Guide (Worm Composting Focus)
For most hotel balconies, worm composting is the most practical and beginner-friendly choice. Let’s walk through setting one up. The principles are similar for other methods, but worm bins are less prone to smells and quicker for small-scale use.
What You’ll Need:
- A Worm Bin: You can buy a pre-made one or make your own from opaque plastic storage totes. Look for bins designed for vermicomposting. Ensure it has a lid with some ventilation. A good size is typically around 10-20 gallons.
- Composting Worms: You’ll need about 1/2 lb to 1 lb of composting worms. Red Wigglers (Eisenia fetida) are the best choice. You can order them online from reputable suppliers.
- Bedding Material: This provides a home for the worms and helps absorb moisture and odors. Shredded newspaper (avoid glossy inks), shredded plain cardboard, coco coir, or peat moss work well.
- Food Scraps: Your kitchen waste! We’ll cover what to feed them below.
- A Small Scraper or Trowel: For burying food scraps.
- A Spray Bottle: For misting the bedding to keep it moist.
- Optional: Worm Bin Additives: Crushed eggshells (rinsed and crushed) can help with grit for the worms and balance pH.
Step 1: Prepare Your Worm Bin
If you’re using a storage tote, you’ll need to drill some “drainage” holes in the bottom (about 8-10 per tote) and some ventilation holes in the lid. If it’s a multi-tier system, the holes are usually pre-drilled. Make sure your bin is opaque; worms don’t like light.
Step 2: Add Bedding
Moisten your bedding material thoroughly. It should be damp like a wrung-out sponge – not dripping wet, not dry. A good starting point is about 2-4 inches of bedding in the bottom of your bin.
Step 3: Introduce the Worms
Gently place your composting worms on top of the moistened bedding. Leave the lid off for about 30 minutes to an hour. The worms will naturally burrow down, seeking darkness. This is also a good time to add pre-moistened bedding on top of them.
Step 4: Add First Food Scraps
After the worms have settled (a day or two), you can introduce their first meal. Dig a small pocket in one corner of the bin and add a small amount of chopped-up food scraps. Cover the scraps completely with bedding. Start with only about 1/4 to 1/2 cup of food scraps for 1/2 lb of worms. Don’t overfeed!
Step 5: Maintain Moisture and Aeration
Periodically check the moisture level. If it seems too dry, lightly mist with your spray bottle. If it’s too wet (unpleasant smells), add more dry bedding and gently aerate the contents with your trowel.
Step 6: Regular Feeding and Harvesting
Feed your worms every 2-3 days, or when they’ve finished the previous meal. Bury the food scraps in different spots each time to encourage them to move and process the material. After about 2-3 months, you should start seeing dark, crumbly worm castings. You can harvest these by gently pushing the finished compost to one side and adding fresh bedding and food to the other, or by using a multi-tier system where the worms migrate upwards.
What Can (and Can’t) You Compost?
This is crucial for success, especially for beginners. Keeping the right balance prevents odors and speeds up decomposition.
“Greens” (Nitrogen-Rich Materials):
These are typically moist and break down quickly. They provide nitrogen for the worms or microbes.
- Fruit and vegetable scraps (peels, cores, rinds)
- Coffee grounds and paper filters
- Tea bags (remove staples and synthetic bags)
- Eggshells (rinsed and crushed)
- Grass clippings (in small amounts)
- Plant trimmings
“Browns” (Carbon-Rich Materials):
These are usually dry and provide carbon. They help with aeration and balance moisture.
- Shredded newspaper (non-glossy)
- Shredded cardboard (plain, no tape or labels)
- Paper towel and toilet paper rolls
- Dry leaves
- Sawdust (from untreated wood only)
- Straw or hay
What to AVOID in Balcony Composting:
These items can cause odors, attract pests, or introduce pathogens.
- Meat, fish, and bones
- Dairy products (cheese, yogurt, milk)
- Oily or greasy foods
- Diseased plants
- Pet waste (dog or cat feces)
- Weeds that have gone to seed
- Chemically treated wood or yard waste
- Synthetic materials
For worm bins, it’s best to stick mostly to fruit and veggie scraps, coffee grounds, tea bags, and crushed eggshells. This keeps things simple and odor-free.
Tips for Balcony Composting Success
To make your balcony composting experience a breeze, keep these tips in mind:
- Chop It Up: Smaller pieces of food scraps break down much faster. Take a minute to chop up your veggie peels and fruit rinds before adding them.
- Balance is Key: Remember the green/brown ratio if using a bin composter. For worm bins, don’t overfeed them.
- Moisture Management: Your compost should be damp, not soaking wet or bone dry. If it’s too wet, add more dry bedding. If too dry, mist it.
- Aerate Regularly: For bin composters, turning or mixing is essential. For worm bins, gently fluffing the top layer or using a trowel every so often helps, ensuring air reaches the worms.
- Location, Location, Location: Place your composter in a spot on your balcony that gets some shade, especially during the hottest parts of the day. Too much direct sun can overheat the bin.
- Patience, Grasshopper: Composting is a natural process. It takes time! Don’t get discouraged if it’s not finished in a week.
- Start Small: Begin with a manageable amount of waste and one method. Once you’re comfortable, you can expand.
Balcony Composter Options Table
Here’s a quick cheat sheet to help you compare:
| Feature | Worm Composting | Bokashi Composting | Small Tumbler/Bin |
|---|---|---|---|
| Odor Potential | Very Low (if managed) | Very Low (fermentation smell) | Low to Medium (if managed) |
| What You Can Compost | Veggie/Fruit Scraps, Coffee Grounds, Tea Bags, Eggshells | Most Food Scraps (incl. meat/dairy) | Veggie/Fruit Scraps, Coffee Grounds, Paper, Yard Waste |
| Requires Special Additives? | No (worms are special) | Yes (Bokashi Bran) | No |
| Finished Product | Worm Castings (Fertilizer) | Fermented Material (needs further processing) | Compost (Fertilizer) |
| Space Requirement | Small | Small | Medium |
| Effort Level | Low to Medium | Low | Medium |
External Resources for Composting
If you want to dive deeper, these resources offer more in-depth information and are from trusted sources:
- United States Environmental Protection Agency (EPA) – Composting Basics: The EPA offers comprehensive guidance
Frequently Asked Questions (FAQ)
Q1: Will my balcony composter smell bad?
Not if you do it right! The key is to maintain the right balance of “greens” and “browns” (for bin composters) and to avoid prohibited items like meat and dairy. For worm bins, ensure the bedding is moist but not soggy, and bury food scraps completely. Odors usually indicate the system is too wet or has too much “green” material.
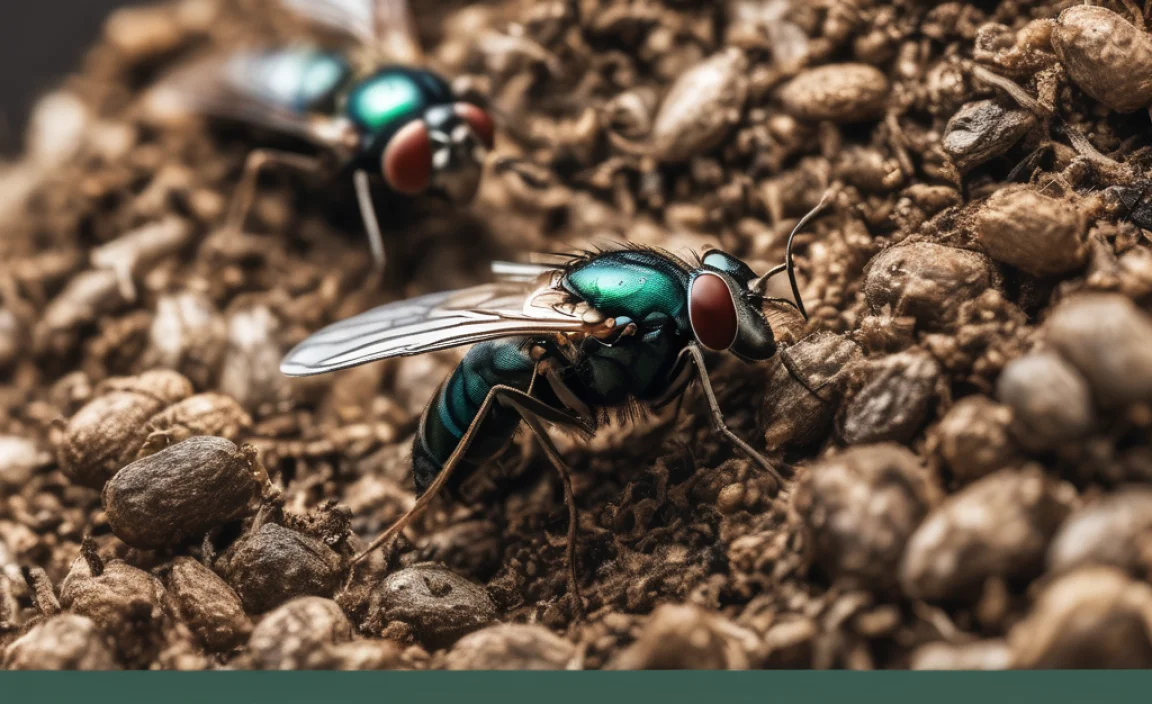
Q2: Can composting attract pests like flies or rodents?
Pests are more likely to be attracted to improperly managed compost. Using an enclosed bin (like a worm bin or a sealed tumbler) and ensuring food scraps are buried or covered helps prevent this. Bokashi bins are airtight, and worm bins, when properly maintained, are generally pest-resistant. Avoid adding meat, dairy, or oily foods, which are stronger attractants.
Q3: How much kitchen waste can I compost on my balcony?
This depends on the size of your bin. A typical worm bin can handle 1-2 pounds of food scraps per week for 1-2 pounds of worms. Small tumblers might handle a few pounds per week. Start small and see how quickly your system processes the waste. It’s better to underfeed initially than to overwhelm your composter.
Q4: What if I’m away from my hotel for a while?
For worm bins, worms can survive for a week or two without food if they have enough bedding. You can also add a bit more food before you leave. For Bokashi, the fermentation process continues, and the bin can be left sealed. Tumbler or bin composters will continue to break down slowly without turning. Just be aware that if you’re gone for a month, your compost might not be finished upon return.
Q5: How do I know when my compost is ready?
For traditional composters (tumblers/bins), finished compost will be dark, crumbly, and smell earthy, like a forest floor. You shouldn’t be able to recognize the original food scraps. For worm compost, the finished product is worm castings – small, dark, moist pellets. If the material still looks like food scraps, it needs more time. A sign that it’s well on its way is when the worms start migrating to a new area to eat fresh food, leaving the finished material behind.
Q6: Can I compost everything from my hotel food service?
No, you cannot compost everything. Stick to fruit and vegetable scraps, coffee grounds, and tea bags. Avoid dairy, meat, oils, and anything that might have been heavily processed or contain non-compostable ingredients. Always check what’s allowed for your chosen composting method.
.lwrp.link-whisper-related-posts{
margin-top: 40px;
margin-bottom: 30px;
}
.lwrp .lwrp-title{
}.lwrp .lwrp-description{
}
.lwrp .lwrp-list-container{
}
.lwrp .lwrp-list-multi-container{
display: flex;
}
.lwrp .lwrp-list-double{
width: 48%;
}
.lwrp .lwrp-list-triple{
width: 32%;
}
.lwrp .lwrp-list-row-container{
display: flex;
justify-content: space-between;
}
.lwrp .lwrp-list-row-container .lwrp-list-item{
width: calc(25% – 20px);
}
.lwrp .lwrp-list-item:not(.lwrp-no-posts-message-item){
max-width: 150px;
}
.lwrp .lwrp-list-item img{
max-width: 100%;
height: auto;
object-fit: cover;
aspect-ratio: 1 / 1;
}
.lwrp .lwrp-list-item.lwrp-empty-list-item{
background: initial !important;
}
.lwrp .lwrp-list-item .lwrp-list-link .lwrp-list-link-title-text,
.lwrp .lwrp-list-item .lwrp-list-no-posts-message{
}@media screen and (max-width: 480px) {
.lwrp.link-whisper-related-posts{
}
.lwrp .lwrp-title{
}.lwrp .lwrp-description{
}
.lwrp .lwrp-list-multi-container{
flex-direction: column;
}
.lwrp .lwrp-list-multi-container ul.lwrp-list{
margin-top: 0px;
margin-bottom: 0px;
padding-top: 0px;
padding-bottom: 0px;
}
.lwrp .lwrp-list-double,
.lwrp .lwrp-list-triple{
width: 100%;
}
.lwrp .lwrp-list-row-container{
justify-content: initial;
flex-direction: column;
}
.lwrp .lwrp-list-row-container .lwrp-list-item{
width: 100%;
}
.lwrp .lwrp-list-item:not(.lwrp-no-posts-message-item){
max-width: initial;
}
.lwrp .lwrp-list-item .lwrp-list-link .lwrp-list-link-title-text,
.lwrp .lwrp-list-item .lwrp-list-no-posts-message{
};
}

I am passionate about home engineering. I specialize in designing, installing, and maintaining heating, ventilation, and air conditioning systems. My goal is to help people stay comfortable in their homes all year long.