Hey there! So, you run a hotel and you’re thinking about composting? That’s awesome! It might seem like a big deal, but it’s totally doable. We’re going to break down how to get your hotel composting like a pro, making a real difference for the planet and maybe even your bottom line.
Imagine turning all those coffee grounds and food scraps into amazing compost that can be used for gardens or even donated. It’s not as complicated as it sounds. We’ll walk through it step-by-step, so you can feel confident every step of the way.
Ready to transform your hotel’s waste? Let’s get started!
Why Composting is a Hotel’s Best Friend
Let’s talk about why composting is such a smart move for hotels. First off, it’s fantastic for the environment. Hotels generate a lot of waste, especially from kitchens and guest rooms. Think about all those leftover meals, vegetable peels, coffee grounds, and even some paper products. When this waste goes to a landfill, it produces methane, a potent greenhouse gas that’s bad for our planet. Composting diverts this waste, turning it into a valuable resource instead of a problem.
Beyond the green benefits, composting can also look really good for your hotel’s image. Guests today are more eco-conscious than ever. Having a visible composting program can attract customers who care about sustainability. It’s a concrete way to show you’re committed to responsible practices. Plus, by reducing the amount of trash you send to the landfill, you might even save money on waste disposal fees. It’s a win-win-win: good for the planet, good for your brand, and good for your budget.
Getting Started: The Essential Prep Work
Before you dive headfirst into composting, there’s a little bit of groundwork to do. Think of it like getting your ducks in a row. This ensures everything runs smoothly and efficiently once you start collecting your organic waste.
Assessing Your Hotel’s Waste Stream
The very first step is to understand just how much organic waste your hotel produces. You’ll want to get a rough idea of the types and volumes. This means looking at what’s coming out of your kitchens (food prep scraps, plate scrapings), your banquets and events, guest rooms (if you collect those), and even your bars (coffee grounds, tea bags). Knowing these numbers will help you choose the right composting method and the right size equipment.
You can do this by keeping a log for a week or two. Estimate the weight or volume of different types of organic waste. This initial assessment is crucial, as it dictates the scale of your operation and what resources you’ll need.
Choosing the Right Composting Method
There are a few ways to compost, and the best one for your hotel depends on your space, budget, and volume of waste. Let’s look at the most common options:
- On-Site Composting Systems: These are specialized bins or tumblers designed for efficient composting. They can be great for hotels with some outdoor space.
- Commercial Composting Services: Many areas have businesses that pick up organic waste from commercial clients. This is often the easiest option if you have limited space or staff for on-site management.
- Industrial Composting Facilities: Some hotels might work with larger, municipal facilities, but this usually involves specific drop-off requirements or contracts.
For hotels looking to take a more hands-on approach and potentially gain the most benefits, on-site composting is often the goal. If that’s your aim, we’ll focus on that, but keep commercial services in mind as a solid alternative.
Gathering Your Composting Supplies
So, you’ve decided to go the on-site route? Great! Here’s what you’ll likely need to get started:
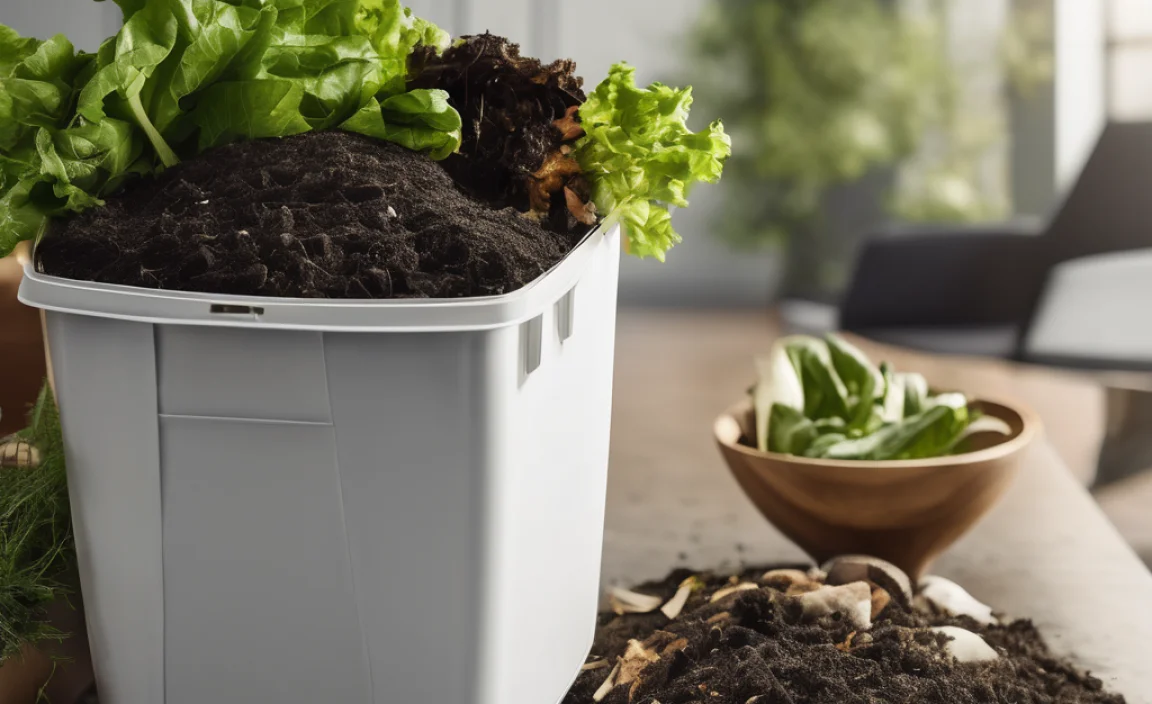
- Collection Bins: Sturdy, lidded bins for kitchens and other collection points. These should be easy to clean.
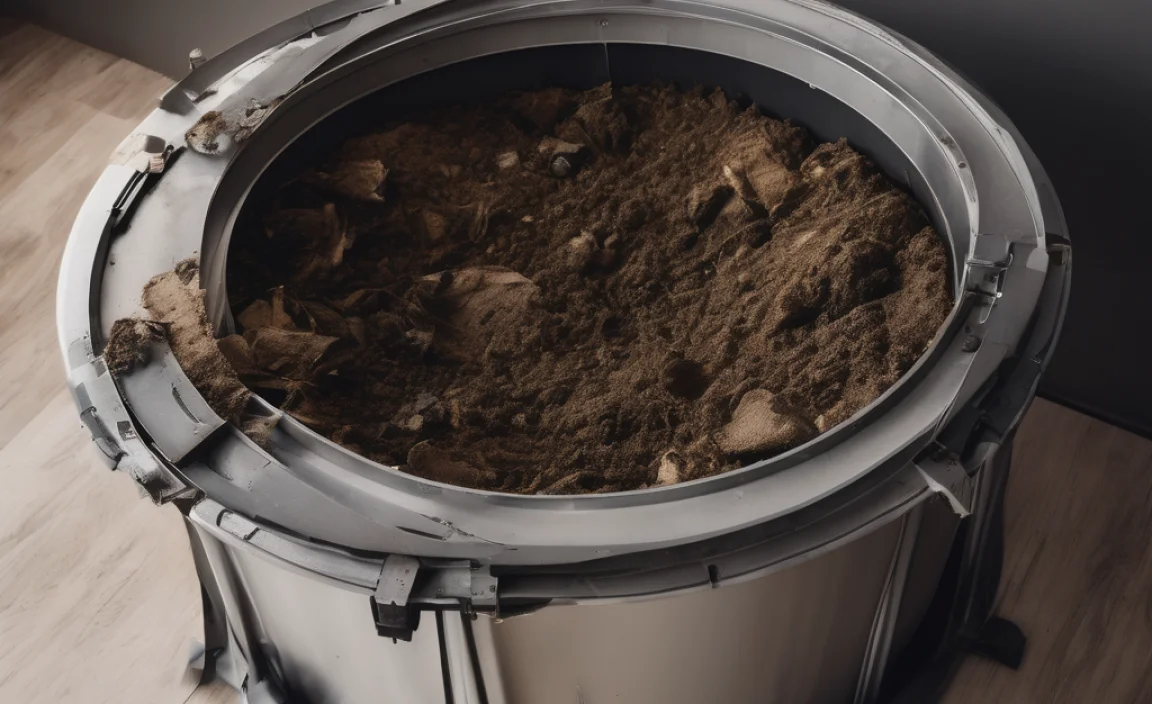
- Compost Bin/Tumbler: This is where the magic happens! Choose a size that can handle your estimated waste volume. Lots of hotels opt for larger capacity tumblers or tiered systems.
- Pitchfork or Aeration Tool: For turning and mixing the compost.
- Water Source: To keep the compost pile moist.
- “Brown” Materials: These are carbon-rich items. Think dry leaves, shredded cardboard, sawdust, or paper. You’ll need a local source for these.
- Gloves and Protective Gear: For safe handling.
Training Your Staff: The Key to Success
No composting program will work without your team’s buy-in and understanding. You need to train everyone who will be involved in collecting and managing the waste.
Hold sessions to explain:
- What can and cannot be composted (this is super important!).
- How to properly collect waste in the designated bins.
- Where these bins will be located.
- The importance of keeping “contaminants” (like plastic or glass) out of the compost.
- Any specific handling procedures you’ve put in place.
Make it a team effort. Highlight the positive impact they’re making. The more they understand, the more likely they are to do it right!
The Composting Process: Step-by-Step
Now for the fun part – actually composting! We’ll break this down into manageable steps so it doesn’t feel overwhelming.
Step 1: Setting Up Your Collection Stations
Place your designated composting bins in strategic locations. This usually means:
- Kitchens: Near prep areas and dishwashing stations.
- Buffets/Dining Areas: For plate scrapings (if applicable).
- Bar Areas: For coffee grounds, tea bags, and fruit peels.
- Housekeeping Carts: For guest room waste if you’re collecting it (often a smaller, dedicated bin).
Make sure these bins are clearly labeled with what is and isn’t accepted. Use pictograms or simple language. Easy access and clear instructions are essential for your staff.
Step 2: Adding Materials to Your Compost Bin
This is where you’ll start adding your collected organic waste. The key to successful composting is balance – a mix of “greens” (nitrogen-rich) and “browns” (carbon-rich).
Greens (Nitrogen-Rich):
- Fruit and vegetable scraps
- Coffee grounds and filters
- Tea bags
- Plate scrapings (without meat/dairy if following a simpler method)
- Grass clippings (in moderation)
Browns (Carbon-Rich):
- Shredded cardboard (non-glossy)
- Paper towels and napkins (unsoiled by chemicals)
- Dry leaves
- Sawdust (from untreated wood)
- Straw
For hotels, you’ll likely have an abundance of greens from the kitchen. You’ll need to actively source or collect brown materials to maintain a good balance.
Step 3: Layering and Mixing Your Compost
A good compost pile or bin isn’t just a heap; it’s a carefully balanced ecosystem. When you add your kitchen scraps (greens), always mix in a layer of brown material on top and around them.
Why is this important?
- Balance: It provides the necessary carbon for the microbes to thrive.
- Odor Control: Browns help absorb moisture and prevent the compost from getting too wet and smelly.
- Pest Deterrence: Covering fresh scraps with browns makes them less attractive to pests.
If you’re using a compost tumbler, you can often add materials in batches, layer them, and then give it a good spin. If you have a static pile, you’ll mix them using your pitchfork.
Step 4: Aeration – Giving Your Compost Air
Composting is an aerobic process, meaning it needs oxygen to work effectively. Microbes that break down organic matter need air to breathe. If your compost gets too compacted, it can become anaerobic, leading to foul odors and slower decomposition.
How to aerate:
- Turning: If you have a static pile, use a pitchfork to turn and mix the materials every week or two. Move the outer layers to the inside and vice-versa.
- Aeration Tools: Specialized tools can help push air into the pile without completely turning it.
- Compost Tumblers: Most tumblers are designed to be rotated regularly, which naturally aerates the contents. This is a big advantage for busy hotel operations. A good rule of thumb is to turn or tumble your compost at least once a week.
Step 5: Managing Moisture Levels
Your compost needs to be moist like a wrung-out sponge, but not soggy. Too dry, and the decomposition process slows to a crawl. Too wet, and it can become anaerobic and smelly.
How to check and adjust:
- Feel the Compost: Grab a handful. It should feel damp, and only a drop or two of water should come out when squeezed.
- If Too Dry: Add water. You can mist it with a hose or add wetter materials like fruit scraps.
- If Too Wet: Add more brown materials (shredded cardboard, dry leaves). These will absorb excess moisture. Ensure good drainage for your bin or pile.
Step 6: Patience and Monitoring
Composting takes time! Depending on the method, materials, and conditions, it can take anywhere from a few weeks to several months for organic waste to break down into finished compost.
What to look for:
- A reduction in the volume of materials.
- The materials losing their original form and becoming darker and more crumbly.
- An earthy smell, not a rotten one.
Regularly check the temperature of your compost. A healthy, active compost pile can reach temperatures of 130-160°F (54-71°C), which helps kill weed seeds and pathogens. This is often achievable with larger, well-managed on-site systems.
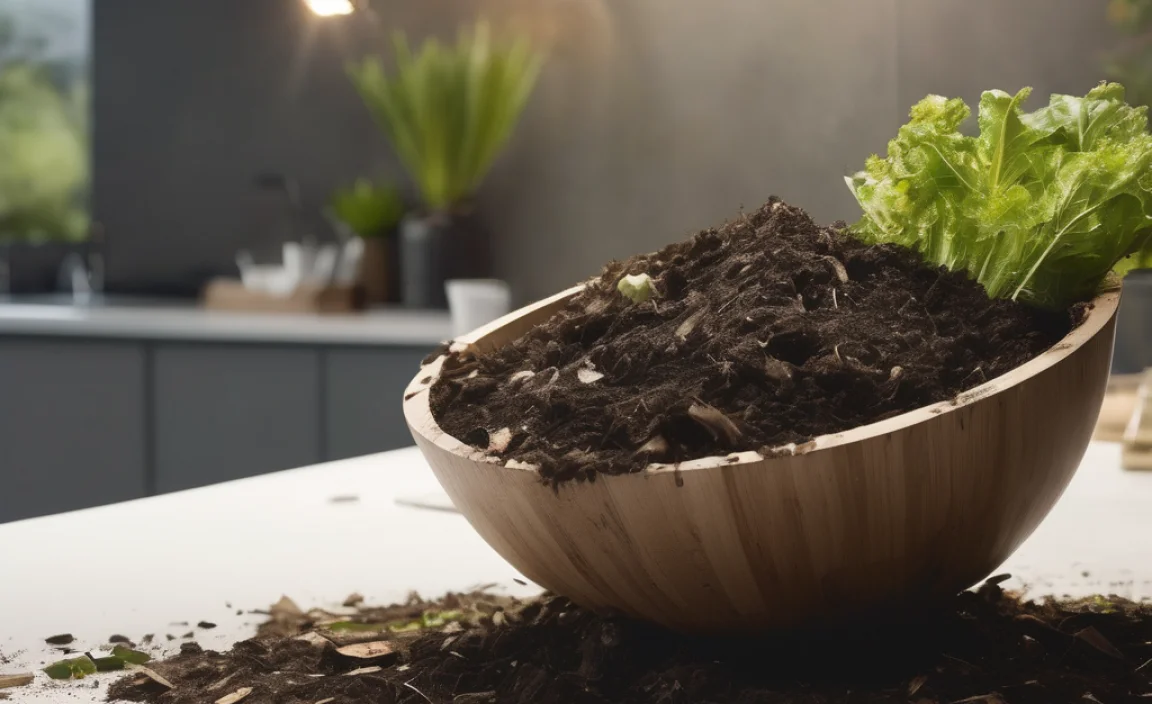
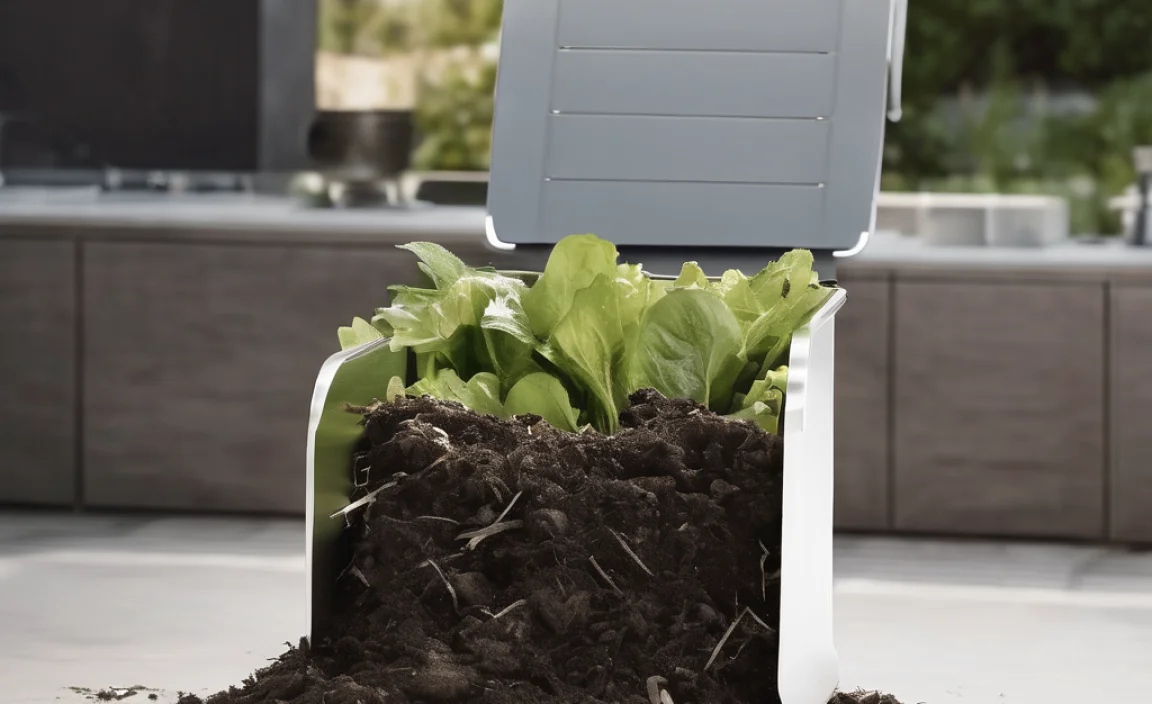
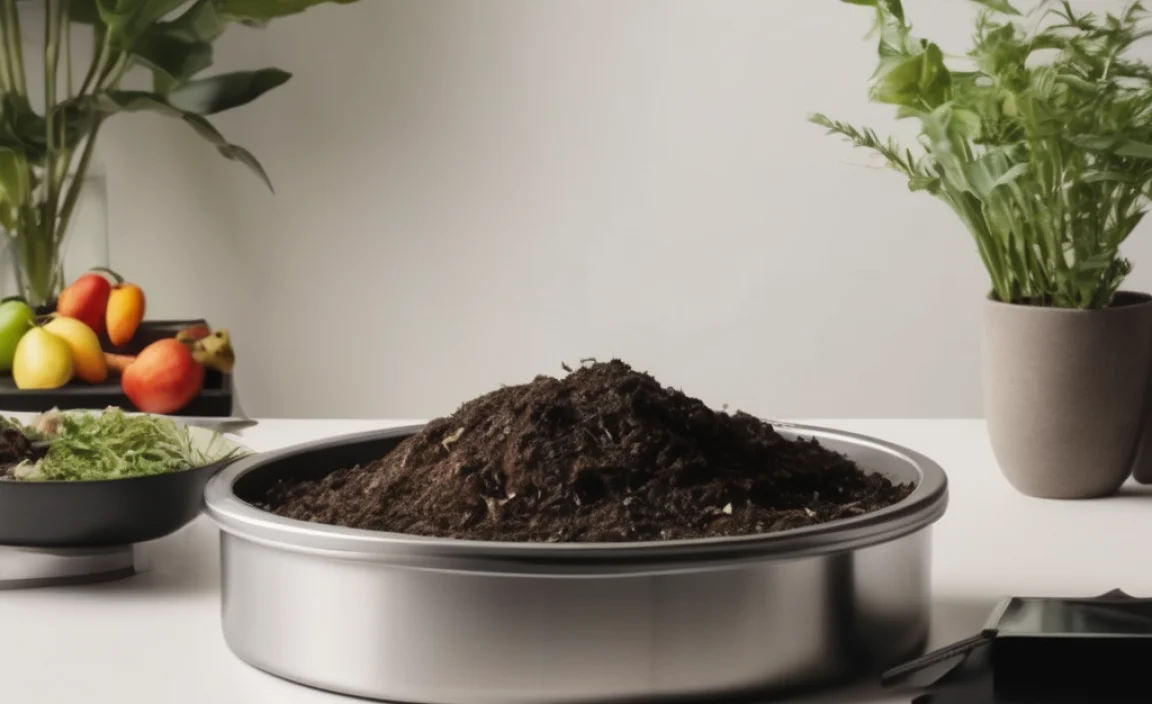
Step 7: Harvesting Your Finished Compost
Once your compost looks dark, crumbly, and smells like rich soil, it’s ready to be harvested! You’ll know it’s done when you can no longer recognize the original food scraps or yard waste.
To harvest:
- Screening (Optional): You can screen the compost through a mesh to remove any larger, unfinished pieces. Those can be returned to the active compost bin to break down further.
- Using It: Finished compost can be used in your hotel’s landscaping, gardens, or even given away to guests or local community gardens. It’s a fantastic natural fertilizer.
What Can (and Can’t) Go in Your Hotel Compost? A Quick Guide
Getting this right is crucial to avoid problems. Here’s a simple breakdown:
YES, Please Compost!
- All fruit and vegetable scraps
- Coffee grounds, filters, and tea bags
- Eggshells
- Bread, pasta, rice, and grains
- Plate scrapings (without meat, dairy, or grease)
- Paper napkins and towels (unsoiled by cleaning chemicals)
- Shredded, un-glossy cardboard and paper products
- Grass clippings and dry leaves (great “browns”!)
- Plant trimmings and dead flowers
NO, Please Keep Out!
- Meat, fish, and bones
- Dairy products (milk, cheese, yogurt)
- Oily or greasy foods
- Diseased plants
- Pet waste (dog or cat feces)
- Stickers on fruits and vegetables
- Plastics, glass, metal
- Chemically treated wood or paper
- Glossy paper or magazines
- Synthetic fibers or materials
A Note on Meat, Dairy, and Fats: While some advanced composting methods can handle these, for a beginner-friendly hotel setup, it’s usually best to avoid them. They can attract pests and create odors if not managed perfectly. If you’re using a commercial service, check their specific guidelines!
Weighing Your Options: On-Site vs. Commercial Composting
Deciding whether to compost on-site or use a commercial service is a big decision. Both have their pros and cons, and the best choice really depends on your hotel’s unique situation.
| Feature | On-Site Composting | Commercial Composting Service |
|---|---|---|
| Control & Customization | Full control over the process and materials. Can tailor compost for specific uses. | Less control; materials are processed according to the service’s methods. |
| Cost | Initial investment in bins/equipment. Ongoing labor costs. Saves on waste hauling fees. | Regular pickup fees. Potentially lower labor costs. |
| Space Requirements | Requires dedicated space for bins, compost area, and material storage. | Minimal space needed for collection bins. No dedicated composting area. |
| Staff Involvement | Requires significant staff training and ongoing participation in collection and management. | Primary staff involvement is in collecting waste in designated bins for pickup. |
| Environmental Impact | Maximize waste diversion, can create valuable compost for hotel use. | Diverts waste from landfill; compost produced elsewhere. |
| Odor & Pest Potential | Higher potential if not managed correctly. | Lower potential on-site, managed by the service. |
| Expertise Needed | Requires understanding of composting science, balancing inputs, and management. | Minimal expertise needed; service provider handles the complexity. |
When On-Site Might Be Best:
- Your hotel has ample outdoor space.
- You have a dedicated facilities or groundskeeping team eager to manage it.
- You envision using the finished compost for your own landscaping or a staff garden.
- You want to create a highly visible sustainability initiative.
- You have the budget for initial equipment investment.
When a Commercial Service Might Be Best:
- You have very limited space, especially outdoors.
- Your staff availability for composting tasks is limited.
- You prefer a simpler, hands-off approach to waste diversion.
- You want to ensure consistent composting without needing in-house expertise.
Many hotels find a hybrid approach works too, perhaps composting some materials on-site and having a service handle others. It’s all about finding what fits your operation best.
Common Challenges and How to Solve Them
Even with the best intentions, composting can throw a few curveballs. Here are some common issues hotels face and how to tackle them:
Challenge 1: Odors
Why it happens: Compost is too wet, not enough air (anaerobic), or too many “greens” without enough “browns.”
The Fix:
- Add more “brown” materials like shredded cardboard or dry leaves to absorb moisture and balance the mix.
- Turn the compost pile more frequently to introduce air.
- Ensure your compost bin or pile has good drainage.
- Avoid adding meat, dairy, and greasy foods if you’re struggling with odors.
Challenge 2: Pests (Flies, Rodents)
Why it happens: Exposed food scraps, especially meat or dairy, are attractive to pests. Or, the compost might be too wet.
The Fix:
- Always cover fresh kitchen scraps with a thick layer of “brown” material.
- Use a compost bin with a secure lid. Tumblers are excellent for pest deterrence.
- Avoid adding meat, bones, dairy, and greases altogether for simpler systems.
- Maintain proper moisture levels – a very wet pile can attract some pests.
- Ensure collection bins in kitchens are emptied regularly and cleaned.
Challenge 3: Slow Decomposition
Why it happens: Compost is too dry, too cold, materials are too large, or there’s not enough of a “green” nitrogen source.
The
.lwrp.link-whisper-related-posts{
margin-top: 40px;
margin-bottom: 30px;
}
.lwrp .lwrp-title{
}.lwrp .lwrp-description{
}
.lwrp .lwrp-list-container{
}
.lwrp .lwrp-list-multi-container{
display: flex;
}
.lwrp .lwrp-list-double{
width: 48%;
}
.lwrp .lwrp-list-triple{
width: 32%;
}
.lwrp .lwrp-list-row-container{
display: flex;
justify-content: space-between;
}
.lwrp .lwrp-list-row-container .lwrp-list-item{
width: calc(25% – 20px);
}
.lwrp .lwrp-list-item:not(.lwrp-no-posts-message-item){
max-width: 150px;
}
.lwrp .lwrp-list-item img{
max-width: 100%;
height: auto;
object-fit: cover;
aspect-ratio: 1 / 1;
}
.lwrp .lwrp-list-item.lwrp-empty-list-item{
background: initial !important;
}
.lwrp .lwrp-list-item .lwrp-list-link .lwrp-list-link-title-text,
.lwrp .lwrp-list-item .lwrp-list-no-posts-message{
}@media screen and (max-width: 480px) {
.lwrp.link-whisper-related-posts{
}
.lwrp .lwrp-title{
}.lwrp .lwrp-description{
}
.lwrp .lwrp-list-multi-container{
flex-direction: column;
}
.lwrp .lwrp-list-multi-container ul.lwrp-list{
margin-top: 0px;
margin-bottom: 0px;
padding-top: 0px;
padding-bottom: 0px;
}
.lwrp .lwrp-list-double,
.lwrp .lwrp-list-triple{
width: 100%;
}
.lwrp .lwrp-list-row-container{
justify-content: initial;
flex-direction: column;
}
.lwrp .lwrp-list-row-container .lwrp-list-item{
width: 100%;
}
.lwrp .lwrp-list-item:not(.lwrp-no-posts-message-item){
max-width: initial;
}
.lwrp .lwrp-list-item .lwrp-list-link .lwrp-list-link-title-text,
.lwrp .lwrp-list-item .lwrp-list-no-posts-message{
};
}

I am passionate about home engineering. I specialize in designing, installing, and maintaining heating, ventilation, and air conditioning systems. My goal is to help people stay comfortable in their homes all year long.