Hey there, gardening pals! Troy D Harn here from TopChooser. Ever looked at kitchen scraps and thought, “What can I do with this?” Or maybe you want to teach your little ones about nature and where food comes from? Composting is a fantastic way to do both! It might sound a bit tricky, but it’s actually super simple, even for beginners. We’ll break it down into easy steps so you and your kids can become composting pros in no time. Ready to turn trash into garden gold? Let’s dig in!
Composting for Kids Guide: Essential Steps to Turn Scraps into Super Soil
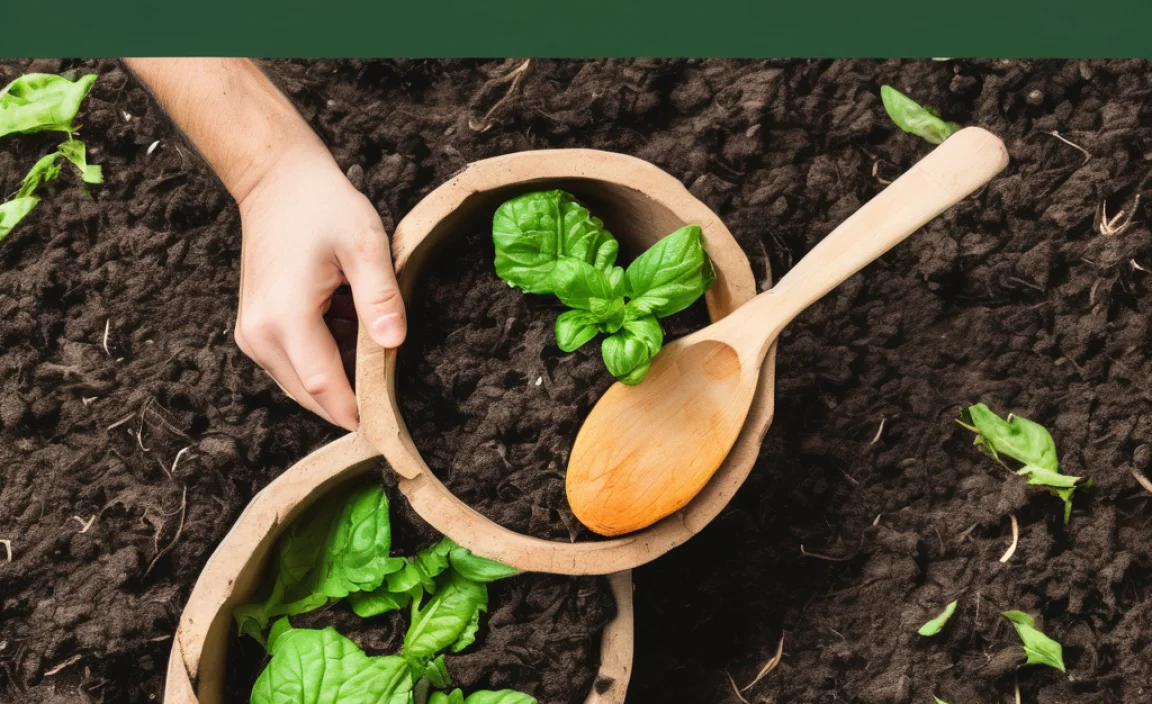
Composting is like magic for your garden. It’s the process of taking organic materials – things that were once alive, like food scraps and yard waste – and letting them break down naturally to create a rich, dark material called compost. This compost is pure goodness for your plants, acting like a superfood that helps them grow strong and healthy. Plus, it’s a fantastic way to reduce the amount of waste your family sends to the landfill. Teaching your kids about composting is a brilliant way to connect them with nature, promote environmental responsibility, and show them the amazing cycle of life.
Don’t worry if you’ve never composted before. This guide is designed to make it easy for everyone, especially kids! We’ll walk through everything you need to know, from choosing a compost bin to knowing what can and can’t be composted. Get ready for some fun, hands-on learning that benefits your home and the planet!
Why Start Composting With Kids?
Getting kids involved in composting offers a treasure trove of benefits:
- Environmental Awareness: It teaches them about reducing waste, recycling, and the importance of caring for the Earth.
- Science in Action: They get to see decomposition, the role of microorganisms, and the transformation of materials up close. It’s a living science lesson!
- Connection to Nature: Understanding where nutrients come from helps them appreciate plants, food, and the natural world more deeply.
- Responsibility and Patience: Caring for the compost bin teaches them to be responsible and that good things take time.
- Healthy Eating: Seeing how compost helps grow vegetables can encourage them to try new foods from your garden.
- Problem-Solving: They can help troubleshoot if the compost isn’t breaking down, learning to identify issues and find solutions.
What You’ll Need: Your Composting Toolkit
You don’t need a lot of fancy equipment to get started. Here’s a simple list of what’s helpful:
- A Compost Bin: This can be a store-bought bin or something you build yourself.
- A Kitchen Caddy: A small container with a lid to collect food scraps in your kitchen.
- A Pitchfork or Compost Aerator Tool: For turning the compost pile.
- Gloves: To keep hands clean.
- A Shovel or Trowel: For adding materials and harvesting finished compost.
- Watering Can or Hose: To keep the compost moist.
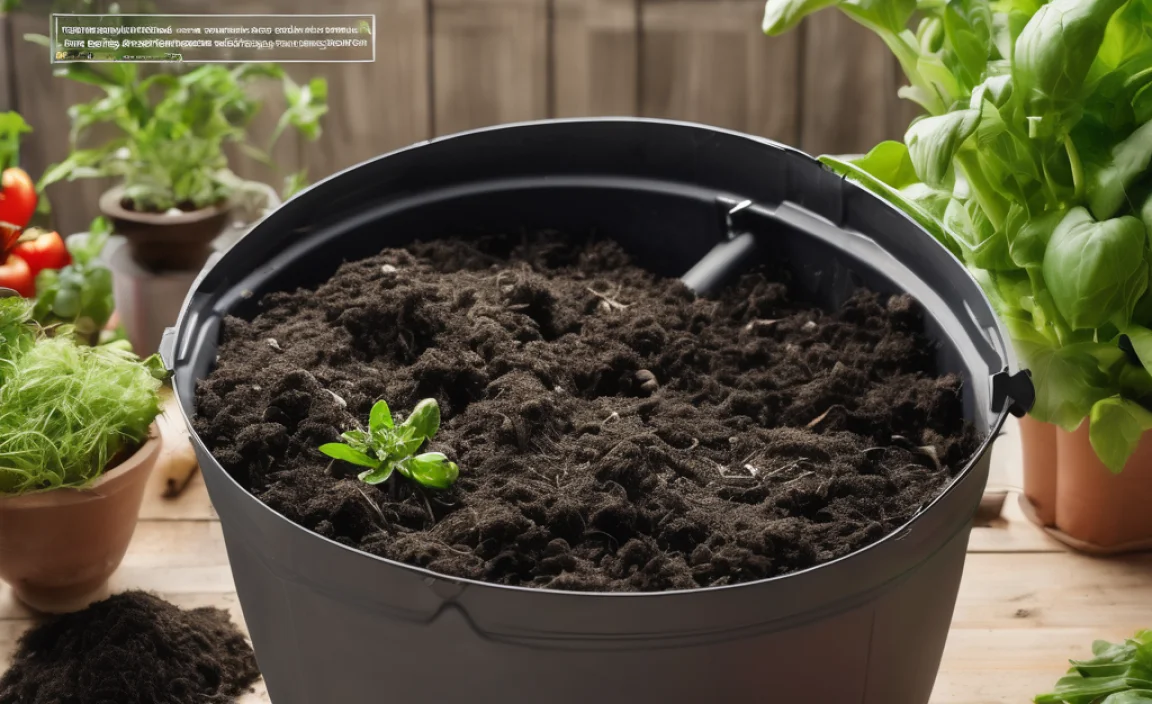
Choosing Your Compost Bin: Options for Every Yard
The bin is where all the composting action happens! Here are a few popular options:
- Stationary Bins: These are enclosed bins, often made of plastic or wood. They are great for keeping things tidy and can be good for smaller yards. Some have lids, which can help deter pests.
- Tumbler Bins: These are barrel-like bins that rotate. They make turning the compost super easy and can speed up the composting process. They’re also good at keeping critters out.
- Open Piles: If you have a larger yard, you can simply create a pile in a corner. This is the most basic method, but it might require more effort to turn and can be more exposed to the elements and pests.
- DIY Bins: Building your own bin from pallets or wire mesh is a fun project that can save money and be customized to your space. Many online resources, like those from the Environmental Protection Agency (EPA), offer simple DIY bin plans.
For families with kids, a tumbler bin or a sturdy stationary bin with a lid can be a good choice. They help contain the materials and make the process a bit more manageable and visually contained for little ones.
The “Greens” and “Browns”: What Goes In?
Composting works best when you have a good balance of two main types of materials: “greens” and “browns.” Think of them as the fuel for your compost pile.
Greens (Nitrogen-Rich Materials)
Greens are typically moist materials that break down quickly and provide nitrogen, which helps the microorganisms work their magic. Kids often have a lot of “green” scraps from the kitchen!
- Fruit scraps (peels, cores, rinds)
- Vegetable scraps (peelings, leaves, stems)
- Coffee grounds and paper filters
- Tea bags (staples and strings removed)
- Grass clippings (in thin layers to avoid matting)
- Plant trimmings (from non-diseased plants)
Browns (Carbon-Rich Materials)
Browns are drier materials that help with airflow and add carbon. They break down more slowly and balance out the nitrogen from the greens.
- Dry leaves
- Straw or hay
- Shredded newspaper (avoid glossy inserts)
- Cardboard (torn into small pieces, no tape or labels)
- Small twigs and branches
- Wood chips or sawdust (from untreated wood)
- Paper egg cartons (torn up)
The Ideal Mix: Aim for roughly two to three parts browns to one part greens by volume. This is a general guideline, and you’ll learn to adjust as you go. Too many greens can make the compost slimy and smelly, while too many browns can slow down decomposition.
What NOT to Compost: Keep it Safe and Effective
Some things just don’t belong in a compost pile, especially when kids are involved, as they can attract pests, create odors, or spread disease.
- Meat, fish, and bones: These attract pests and can smell bad.
- Dairy products: Like cheese, milk, and yogurt. They also attract pests and can smell.
- Oily or greasy foods: These can slow down composting and attract unwanted visitors.
- Diseased plants: You don’t want to spread plant diseases to your garden.
- Weeds with seeds: Unless your compost pile gets very hot, the seeds might survive and sprout in your garden.
- Pet waste (dog or cat feces): These can contain harmful pathogens.
- Chemically treated wood or yard waste: Avoid anything that might have pesticides or herbicides.
- Coal ash or charcoal briquettes: These can contain harmful substances.
- Glossy or coated paper: The coatings and inks can be problematic.
Essential Steps to Composting for Kids
Ready to get your hands wonderfully dirty? Here’s how to build and maintain your compost pile:
Step 1: Choose Your Spot Wisely
Find a convenient location for your compost bin. It should be:
- Accessible: Easy for you and the kids to get to, both for adding scraps and turning the pile.
- Level: A flat surface prevents the bin from tipping and helps with drainage.
- Partially Shaded: Too much direct sun can dry out the pile, while too much shade might keep it too wet. A spot that gets some sun and some shade is ideal.
- Well-Drained: Avoid areas where water pools.
- Near a Water Source: Having a hose or watering can nearby is helpful.
Step 2: Start Layering Your Bin
Begin by adding a layer of “browns” at the bottom. This could be twigs, straw, or shredded cardboard. This layer helps with drainage and airflow. Think of it as the foundation.
- Add a 4-6 inch layer of brown materials.
- Then, add a layer of “greens.” This is where your kitchen scraps come in!
- Continue alternating layers of greens and browns.
- If your compost starts to get a bit dry, lightly sprinkle it with water.
Kid Activity Idea: Have your kids help collect the “browns” from the yard and tear up newspaper or cardboard for the layers.
Step 3: Maintain the Right Moisture Level
Your compost pile needs to be moist, like a wrung-out sponge. Not too wet, not too dry. If it’s too dry, the decomposition process slows down. If it’s too wet, it can become a stinky, slimy mess and attract pests.
- Check the moisture regularly: Squeeze a handful of compost. If a few drops of water come out, it’s about right. If it crumbles, it’s too dry. If water streams out, it’s too wet.
- Add water: If it’s too dry, sprinkle it with water. You can do this when you add new materials or when you turn the pile.
- Add browns: If it’s too wet and smelly, add more brown materials to absorb excess moisture and improve airflow.
Kid Activity Idea: Let the kids be in charge of watering the compost pile during dry spells. Make it a fun “plant spa” day!
Step 4: Aerate Your Compost Pile
Microorganisms that break down the materials need air to live and work. Turning the pile mixes everything, adds oxygen, and helps speed up decomposition.
- How often? Aim to turn your compost every 1 to 4 weeks. Tumbler bins are easy to turn daily or a few times a week.
- How to turn? Use a pitchfork or a compost aerator tool to mix the materials from the outside into the center and bring the bottom materials to the top.
- What to look for? You’ll notice the material at the bottom breaking down faster than the material at the top.
Kid Activity Idea: Older kids can help with turning the pile using age-appropriate tools or by helping to rotate a tumbler bin. Make it an exciting “compost workout” session!
Step 5: What to Add (and When!)
As you continue to use your kitchen caddy, add the collected scraps to the bin. Burying fresh food scraps in the center of the pile can help deter pests and speed up decomposition. Always try to cover fresh greens with a layer of browns.
- Kitchen Caddy Duty: Kids can be responsible for emptying the kitchen caddy into the main compost bin.
- Layering is Key: Always add greens with some browns to maintain that balance.
- Be Patient: Composting isn’t instant. It can take anywhere from a few months to a year or more, depending on the materials, temperature, and how often you turn it.
Step 6: Harvesting Your “Black Gold”
You’ll know your compost is ready when it’s dark, crumbly, and smells earthy, like a forest floor after rain. You shouldn’t be able to recognize the original food scraps.
- When it’s ready: The material at the bottom of the bin is usually ready before the material at the top.
- Harvesting: Remove the finished compost from the bottom of the bin. If you have a tumbler, you can empty the whole thing and separate the finished from the unfinished materials.
- Sifting (Optional): For a finer compost, you can sift it using a screen to remove any larger, uncomposted pieces, which can go back into the bin.
Kid Activity Idea: Let the kids help sift the compost and spread it in the garden. They’ll be so proud to see it helping plants grow!
Troubleshooting Common Composting Issues
Even with the best intentions, you might run into a few snags. Here are some common problems and how to fix them:
| Problem | Cause | Solution |
|---|---|---|
| Smelly Compost (Rotten Egg Smell) | Too many greens (nitrogen) or the pile is too wet and compacted, lacking air. | Add more brown materials (leaves, cardboard, straw). Turn the pile to aerate it. Ensure good drainage. |
| Ammonia Smell (Like Cat Pee) | Too much nitrogen (greens), not enough carbon (browns). | Add plenty of brown materials. Turn the pile. |
| Compost is Too Dry and Decomposing Slowly | Not enough moisture, or too many browns. | Add water and mix well. Add more green materials if needed. |
| Attracting Pests (Rodents, Flies) | Exposed food scraps, improper materials (meat, dairy, oils). Open bin with no lid. | Bury food scraps deep in the center of the pile and cover with browns. Avoid prohibited items. Ensure your bin has a secure lid if pests are a concern. Turn the pile regularly. For extreme issues, consider a pest-proof tumbler bin. Planet Natural has detailed information on rodent control in gardens. |
| Compost Isn’t Heating Up | Pile is too small, too dry, not enough greens, or not enough nitrogen. | Make sure your pile is at least 3x3x3 feet (for an open pile) or sufficiently full for a bin. Check moisture. Add more green materials or a nitrogen-rich activator (like coffee grounds or fresh grass clippings in moderation). Turn the pile to introduce air. |
The “Can” and “Cannot” Table: A Quick Reference
Here’s a handy table to quickly see what’s good for your compost bin and what to avoid:
| YES! These are good compost ingredients (Greens & Browns) | NO! These should NOT go in your home compost bin |
|---|---|
| Fruit and vegetable scraps | Meat, fish, bones |
| Coffee grounds and filters | Dairy products (milk, cheese, yogurt) |
| Tea bags (remove staples) | Oily or greasy foods |
| Eggshells (crushed) | Diseased plants or weeds with seeds |
| Grass clippings (thin layers) | Pet waste (dog, cat) |
| Yard trimmings (leaves, small twigs) | Chemically treated wood or yard waste |
| Shredded newspaper and cardboard | Coal ash, charcoal briquettes |
| Straw and hay | Glossy or coated paper |
| Sawdust (untreated wood) | Man-made plastics, metals, glass |
Making Composting Fun for Kids
Transforming composting from a chore into an exciting adventure is easy with these ideas:
- Compost Monster or Fairy Garden: Decorate the compost bin like a friendly monster or a magical fairy house.
- “Scrap Hunter” Game: Kids can earn points or stickers for finding and adding approved scraps to the kitchen caddy.
- Compost Diary: Create a simple journal where kids can draw or write about what they add to the bin, how it looks, and how it changes.
- Observe the Tiny Workers: Look for worms, beetles, and other beneficial insects that might show up. Talk about how they help break down the materials.
- Sensory Exploration: Let them feel the different textures of greens, browns, and finished compost. Talk about the earthy smell.
- Compost Art Projects: Use finished compost for painting (mix with water and natural dyes) or for planting seeds in small pots.
- “Compost Champion” Awards: Give out certificates or small prizes for consistent effort or for noticing changes in the compost.
Using Your Finished Compost
Once you have your “black gold,” it’s time

I am passionate about home engineering. I specialize in designing, installing, and maintaining heating, ventilation, and air conditioning systems. My goal is to help people stay comfortable in their homes all year long.