Thinking about composting those pet waste scraps but not sure where to start? It’s a great way to reduce what goes to the landfill and make valuable compost for your garden. But with pets, there are a few extra things to consider for safety and effectiveness. Don’t worry, it’s simpler than you might think! We’ll walk through it step-by-step, covering all you need to know to do it right.
Composting Pet Waste: Your Essential Beginner’s Guide
Hey there, green thumbs and pet lovers! Troy D Harn here from TopChooser, your go-to friend for making home and garden projects easy peasy. Today, we’re diving into a topic that’s a bit unique but super rewarding: composting pet waste. Yep, you heard that right! Those little bits and pieces from your furry (or not-so-furry!) friends can actually be turned into rich, beneficial compost for your garden. It sounds a little complicated, maybe even a bit yucky, but I promise, with the right know-how, it’s totally manageable and quite clever.
Many folks worry about the “ick” factor or if it’s even safe to do. That’s perfectly normal! The truth is, when done correctly, composting pet waste is a fantastic sustainability practice. It keeps potentially harmful pathogens from reaching landfills and water sources, and it diverts a significant amount of organic material. Plus, imagine using the end product in your flower beds – pretty neat, huh?
Whether you have a playful pup, a curious cat, or even a bunny or guinea pig, this guide is for you. We’ll break down exactly what you need to know, what to do, and what to avoid, all in plain English. My goal is to make this process feel simple, reliable, and something you can confidently tackle. We’ll cover everything from choosing the right bin to ensuring your compost is safe and effective.
So, let’s get your paws dirty (metaphorically speaking!) and learn how to turn pet waste into garden gold the safe and smart way.
Why Compost Pet Waste? The “Why It’s a Good Idea” Part
Before we get our hands dirty, let’s quickly chat about why this is more than just a trendy eco-habit. Pet waste removal is a big deal for many pet owners. Did you know that a single week’s worth of waste from just one dog can contain enough bacteria to contaminate gallons of water? When pet waste ends up in landfills, it can break down anaerobically (without oxygen), producing methane, a potent greenhouse gas. It can also leach harmful bacteria and parasites into our soil and water systems.
Composting offers a smart alternative. When done properly, the high temperatures reached in a compost pile can effectively kill off many of the common pathogens found in pet waste. This means you’re not just reducing waste; you’re actively creating a safer environment. Plus, let’s be honest, having a dedicated compost bin for pet waste can make yard clean-up a little less of a chore and a lot more purposeful.
Here’s a quick rundown of the benefits:
- Reduces Landfill Waste: Keeps a significant amount of organic material out of landfills.
- Prevents Pollution: Safely breaks down waste, reducing the risk of soil and water contamination.
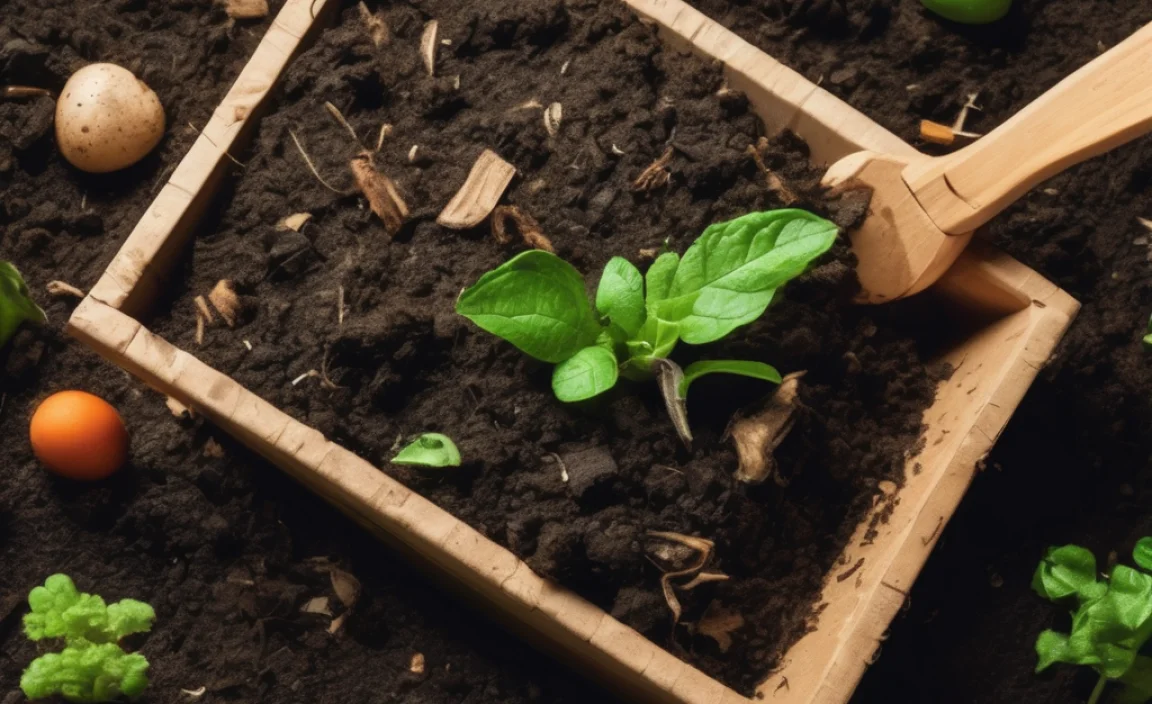
- Creates Valuable Fertilizer: Produces nutrient-rich compost for non-edible plants once properly processed.
- Reduces Greenhouse Gases: Aerobic composting produces far less methane than anaerobic decomposition in landfills.
What Pet Waste Can You Compost? (And What to Avoid!)
This is a crucial part! Not all pet waste is created equal when it comes to composting. Some is great for the compost bin, while others require extra caution or are best left out.
Compostable Pet Waste
The most common and easiest pet waste to compost comes from:
- Dogs: Yes, dog poop is a prime candidate! We’ll talk about how to handle this one carefully.
- Cats: Cat litter, when combined with cat feces, can also be composted, but with specific considerations, especially if using clay-based litters.
- Herbivorous Small Animals: This includes waste from rabbits, guinea pigs, hamsters, gerbils, and chinchillas. Their waste is typically very high in nitrogen and composts beautifully.
Pet Waste to Rethink or Avoid for Home Composting
There are a few exceptions that make composting tricky or potentially risky for the average home composter:
- Carnivorous Pets (other than dogs): Waste from cats, ferrets, and other carnivores can carry more potent pathogens like E. coli and Salmonella that are harder to eliminate in a typical home compost system. While commercial facilities can process this safely, it’s generally not recommended for home compost piles.
- Sick Pets: If your pet has been on medication or has a contagious illness, their waste should not be composted. You don’t want to risk spreading disease through your compost.
- Certain Cat Litters: Non-biodegradable cat litters (like most clay-based litters) should not be composted. They won’t break down and can clog your compost. Opt for natural, plant-based, or recycled paper litters if you plan to compost cat waste.
Quick Tip: If you’re unsure, it’s always best to err on the side of caution. For home composting systems, the focus is usually on dog waste and the waste from small, non-carnivorous pets.
The “How-To” Part: Setting Up Your Pet Waste Composting System
Alright, let’s get down to business! Composting pet waste, especially dog waste, requires a slightly different approach than your average kitchen scrap pile. The main goal is to heat the compost pile sufficiently to kill pathogens. Dedicated bins are the safest and most effective way to go.
Option 1: The Dedicated Pet Waste Composter Bin
This is the gold standard for safely composting pet waste. These are specialized bins designed to handle the job. They are typically sealed plastic bins with a small opening at the top for adding waste and a larger one at the bottom for harvesting finished compost. A good example of this type of system is a “dog waste digester” or “pet waste composter.”
What You’ll Need:
- A dedicated pet waste composter bin (often made of durable plastic).
- A shovel or scooper for collection.
- “Brown” materials to balance the “greens” (more on this soon!).
- Water.
Step-by-Step Setup and Use:
- Choose a Location: Pick a spot in your yard that’s out of the way but accessible. It shouldn’t be too close to your house, play areas, or vegetable gardens. Ensure it’s on bare soil or gravel so beneficial microbes and worms can access it.
- Assemble Your Bin: Follow the manufacturer’s instructions for assembly. Most are quite simple.
- Start Adding Waste: Begin by adding your pet’s waste directly into the bin. If you’re composting cat litter, make sure it’s a compostable type.
-
Maintain the Green-to-Brown Ratio: This is vital for successful and odor-free composting. Pet waste is considered a “green” (high in nitrogen). You need to balance it with “browns” (high in carbon). Good brown materials include:
- Straw
- Wood chips or sawdust (untreated)
- Dry leaves
- Shredded newspaper or cardboard
Aim for a ratio of roughly one part green (pet waste) to three parts brown material. For every scoop of poop you add, add two or three scoops of browns. This helps absorb moisture and odor, and provides a good carbon source for the microbes.
- Add Water: Keep the contents of the bin moist, like a wrung-out sponge. If it gets too dry, decomposition slows down. If it gets too wet, it can become smelly and anaerobic. Add water gradually as needed.
- Turn (Optional but Helpful): Some bins have a mechanism for turning. If yours doesn’t, you can use a long stick or shovel to gently stir the contents every week or two. This introduces oxygen, which helps speed up decomposition and reduces odors.
- Keep Adding: Continue adding waste and brown materials as they become available.
- Harvesting: The time it takes for waste to fully compost varies greatly depending on the bin, climate, and how well you maintain the balance. It can take anywhere from a few months to a year. Once the material at the bottom looks dark and crumbly, and has an earthy smell, it’s ready. Remember, the compost from pet waste should only be used on non-edible plants like flowers, shrubs, and trees, never on vegetable gardens, to ensure complete safety.
Option 2: The “DIY” Compost Pile (with Extra Caution)
While a dedicated bin is recommended, some people opt for a more traditional compost pile. This requires more vigilance to ensure pathogens are killed. This method is best for dog waste.
What You’ll Need:
- A sturdy compost bin or a designated pile area.
- Shovels for turning.
- A compost thermometer (highly recommended for this method!).
- Plenty of “brown” materials (straw, leaves, wood chips).
- Water.
Step-by-Step Setup and Use:
- Designate an Area: Choose a location similar to the dedicated bin – out of the way, not near edible gardens, and on bare soil.
- Build Up Layers: Start with a thick base layer of brown materials (like straw or wood chips) in your bin or pile.
- Add Pet Waste and Browns: Each time you add dog waste (the “green”), immediately cover it thoroughly with a generous layer of “brown” materials. This is critical for odor control and pathogen suppression. Aim for at least 6-8 inches of brown material covering the fresh waste.
- Mix and Turn Regularly: This is where the hard work comes in. You must turn this pile frequently – at least once a week, and more often if possible. The goal is to mix the materials thoroughly and aerate the pile.
- Monitor Temperature: Use your compost thermometer to ensure the pile reaches temperatures of 130-160°F (55-70°C) consistently. These temperatures are necessary to kill harmful pathogens and weed seeds. If the pile isn’t heating up, it might lack moisture, nitrogen (greens), or aeration (turning). This is why dedicated pet composters are often easier because they are designed to maximize heat retention. For more on composting temperatures, check out resources from university extension offices, such as NC State Extension’s notes on composting factors.
- Maintain Moisture: The pile should feel like a wrung-out sponge. Add water as needed, especially when you turn it.
- Harvest with Care: Like the dedicated bin, this compost will take time. It typically takes 6-12 months to be fully finished and safe for use on non-edible plants only. You’ll know it’s ready when it’s dark, crumbly, and smells earthy.
Managing Odors and Pests
Let’s be honest, the thought of stinky compost can be a bit off-putting. But with a few simple tricks, you can keep your pet waste compost heap from becoming a neighborhood nuisance.
Key to Odor Control: The Green-to-Brown Ratio!
The most common reason for smelly compost is too much nitrogen (the “greens,” like pet waste) and not enough carbon (the “browns”). Browns act like a sponge, absorbing excess moisture and gasses that cause foul odors. Always, always, ALWAYS cover fresh pet waste with a good layer of browns.
What to Do If It Smells:
- Add More Browns: If you notice a strong ammonia or rotten egg smell, your pile is likely too wet and/or has too much nitrogen. Bury the smelly material with a generous amount of carbon-rich browns like straw, wood chips, or dry leaves.
- Turn the Pile: Aeration is your friend! Turning introduces oxygen, which allows beneficial aerobic bacteria to do their work. Anaerobic bacteria (which thrive without oxygen) are the ones that produce those stinky smells.
- Check Moisture Levels: Too much moisture can lead to anaerobic conditions. If the pile is soggy, add more browns and turn it to help it dry out. If it’s too dry, add water while turning.
Keeping Pests Away:
A well-managed compost bin or pile shouldn’t attract excessive pests. However, here are some tips:
- Use a Lid: A lid on your bin is essential to keep out curious critters. Make sure it fits snugly.
- Bury Waste Well: Always cover fresh pet waste with plenty of brown material. This makes it less accessible and appealing to scavengers.
- Avoid Adding Meat/Dairy: Even if you’re not composting pet waste, avoid adding meat scraps or dairy products to your general compost, as these are highly attractive to pests and can get very smelly. (This is less of an issue for dedicated pet waste composters, but still good practice). In a dedicated pet waste bin, you are primarily adding waste and browns, minimizing attraction.
- Keep the Area Clean: Clean up any spilled materials around the bin.
What to Do With Finished Compost
The moment you’ve been waiting for! After months of diligent work, you’ll have a dark, crumbly, earthy-smelling material. This is your finished compost. But remember our safety warning:
IMPORTANT: Compost made from dog or cat waste should NEVER be used on edible gardens (vegetables, fruits, herbs that you consume). The risk of residual pathogens, even after proper composting, is too great. However, it is perfectly safe and highly beneficial for:
- Flower beds
- Ornamental shrubs and trees
- Lawns (as a top dressing in areas where pets don’t frequent)
- Potting mix for non-edible plants
You can spread a layer of finished compost around your plants or mix it into the soil. It improves soil structure, water retention, and provides essential nutrients.
How to Use It:
- Top Dressing: Spread a thin layer (1-2 inches) around the base of plants in your flower beds.
- Soil Amendment: Mix into the soil prior to planting flowers or shrubs.
- Lawn Aeration: After aerating your lawn, you can rake in a thin layer of compost to help fill the holes and feed the grass.
Tools and Materials Recap
To make compost from your pet’s waste, here’s a quick shopping list of what you might need:
| Item | Why You Need It | Notes |
|---|---|---|
| Dedicated Pet Waste Composter Bin | Safest and most effective method for bin composting. | Look for sturdy plastic, good ventilation, and easy access for harvesting. |
| Shovel/Scooper | For collecting waste and moving materials. | A sturdy garden shovel works. |
| “Brown” Carbon Materials | To balance nitrogen, manage odor, and aid decomposition. | Straw, wood chips, dry leaves, shredded cardboard/newspaper. Store a good supply. |
| Water Source | To maintain correct moisture levels. | Hose or watering can. |
| Compost Thermometer (Optional but Recommended for Piles) | To monitor pile temperature for pathogen kill. | Essential for DIY piles to ensure safe temps (130-160°F / 55-70°C). |
| Work Gloves | For hygiene and comfort. | Waterproof and durable. |
| Compostable Cat Litter (if applicable) | For composting cat waste. | Ensure it’s made from natural materials like wood, paper, corn, or wheat. |
<
.lwrp.link-whisper-related-posts{
margin-top: 40px;
margin-bottom: 30px;
}
.lwrp .lwrp-title{
}.lwrp .lwrp-description{
}
.lwrp .lwrp-list-container{
}
.lwrp .lwrp-list-multi-container{
display: flex;
}
.lwrp .lwrp-list-double{
width: 48%;
}
.lwrp .lwrp-list-triple{
width: 32%;
}
.lwrp .lwrp-list-row-container{
display: flex;
justify-content: space-between;
}
.lwrp .lwrp-list-row-container .lwrp-list-item{
width: calc(25% – 20px);
}
.lwrp .lwrp-list-item:not(.lwrp-no-posts-message-item){
max-width: 150px;
}
.lwrp .lwrp-list-item img{
max-width: 100%;
height: auto;
object-fit: cover;
aspect-ratio: 1 / 1;
}
.lwrp .lwrp-list-item.lwrp-empty-list-item{
background: initial !important;
}
.lwrp .lwrp-list-item .lwrp-list-link .lwrp-list-link-title-text,
.lwrp .lwrp-list-item .lwrp-list-no-posts-message{
}@media screen and (max-width: 480px) {
.lwrp.link-whisper-related-posts{
}
.lwrp .lwrp-title{
}.lwrp .lwrp-description{
}
.lwrp .lwrp-list-multi-container{
flex-direction: column;
}
.lwrp .lwrp-list-multi-container ul.lwrp-list{
margin-top: 0px;
margin-bottom: 0px;
padding-top: 0px;
padding-bottom: 0px;
}
.lwrp .lwrp-list-double,
.lwrp .lwrp-list-triple{
width: 100%;
}
.lwrp .lwrp-list-row-container{
justify-content: initial;
flex-direction: column;
}
.lwrp .lwrp-list-row-container .lwrp-list-item{
width: 100%;
}
.lwrp .lwrp-list-item:not(.lwrp-no-posts-message-item){
max-width: initial;
}
.lwrp .lwrp-list-item .lwrp-list-link .lwrp-list-link-title-text,
.lwrp .lwrp-list-item .lwrp-list-no-posts-message{
};
}
Related Posts

I am passionate about home engineering. I specialize in designing, installing, and maintaining heating, ventilation, and air conditioning systems. My goal is to help people stay comfortable in their homes all year long.